

A note from Leandra:
I started my crafty life as a sewing enthusiast before I was a paper crafter, so this release ticks a box for me, but what is so clever is how Raquel has taken sewing ideas and applied them to paper. For example, paper piecing, and making paper-fabric. When you see the samples you will understand! Her ribbons can be washi or ribbon or patterned fabric, and the stitched and knitted stencil patterns offer just the most delicious textures, especially when grunge paste is in the mix! You are so spoiled for sure with this release!
Raquel will be along to share with you LIVE her new products and ideas over in our Facebook Group, 'PaperArtsy People' shortly after this post publishes, and ho ho ho, jingle those bells ... we are doing a product giveaway during Raquel's live. Come and join us for the live, leave a comment and you could be our lucky winner for a full set of all 6 new products! We know this is a busy week ahead, particularly for our American friends. The replay will be pinned as a featured post, and please note that the giveaway will be decided during the live.
These stamps are available EXCLUSIVELY from our approved stockists. Please check the list at the foot of this post to find a retailer online or geographically near you, it makes sense to order within your country where possible. Our retailers also endeavour to join the designer live to share their shopping links - this makes it super easy for you to find a store.
Hi everyone, Raquel here
I'm super excited to share with you my newest release for PaperArtsy. 3 stamps and coordinating stencils.
This release is inspired by patchwork quilts, fabrics and haberdashery, a couple of themes that I’ve wanted to explore for a long while, since sewing is my second hobby! It’s been so much fun using all the stamps and stencils to create the samples you’ll see today. So many possibilities! And so many ideas that I although I haven't been able to create yet, I'll try to convey them to you!
I think that the stamps on this release can make you company on those days when your mojo is down. If you don't feel like starting and finishing a project, you can just stamp and colour some of the elements in a piece of paper, cut them and keep them for later. And once you are in the mood, pick those embellishments, lay them in front of you and let them inspire you, I'm sure many ideas will flow. It worked for me without even planning it!

Price: RRP €23.00 +VAT Size:5" x 6" (13 x16.5cm)
All stamps are individually trimmed onto cling foam with a laminated storage/index sheet.
Eclectica³ Scrapcosy Set 36 (ESC36)

I love mannequins, I would love one day to have a vintage one in my craft room. I wanted to include one in this stamp set, however, I thought a mannequin can look a bit soulless (or rather headless) and since I wanted to create a powerful focal point, I decided to tweak a mannequin into a butterfly lady. I drew her and her huge wings, and grounded her with some roots, grass and little mushrooms, because, well, why not? I wanted her to be powerful, strong, delicate and beautiful, all at once.
Once she was 'alive' to me, I was inspired to write the words that accompany her (I’m not a poet, but I’m pretty proud of that collection of words I put together, hehe). And since I love haberdashery, I thought that the other elements in the set could be used to dress up an art journal or any project you create, with or without her.
The empty thread holder can be used as a frame for a part of the poem by selecting the individual words of your choice. It is also really nice to wind some real thread or yarn onto the thread card and add that to a project as an embellishment - you could create a mini set of threads with a range of colours. All the unique buttons can be cut apart or used as they are.
The ruler is always a helpful addition to this theme (it’s at real scale 1:1), and the remaining little elements will be great for creating clusters. Don't forget you can dress her up with this ephemera too ....a skirt of buttons or labels - it's on my to-do list!
Lady Haberdashery
In this first sample I have used almost all the elements in the set! She doesn’t need too much decoration, but I went for more-is-more when I created the clusters. I love to stamp, add colour, cut everything and then play with the cut out elements to arrange them on the paper. It gives me more freedom on where to place things and it allows me to get more volume on my projects. A bit of foam adhesive and I can bend or shape my elements especially those butterfly wings. I stamped and coloured three of each in the set and since I didn't use them all, they will come in handy for other projects.

On one corner of this card I chose round shapes which I grouped under the extended mountains that sit underneath the lady. I stamped multiple times the tree-root-legs to achieve that efect, and I decided on a couple of rulers coming out of the mountains too. I really wanted to create a solid and interesting base for all these collaged elements. Hints of light red (or pink) on some elements add a nice contrast within the card.

By adding real thread on the thread label (I can’t keep my eyes off it!) and by using some ribbon in green and dark red I’ve incorporated another texture to the project besides the paper in the same colour palette. I feel these little details add a luxurious touch that really changes the card for the better.

Look at how the thread adds beautiful dimension and realism to this card.
A Wingy Thingy, or a book mark with wings
For this sample I just played with the leftover cut-outs. I wanted to create a sort of a butterfly and I incorporated some other elements from the set to give it a body and a tail. I used the ribbons as well to add a luxurious feel.

Eclectica³ Scrapcosy Set 37 (ESC37)


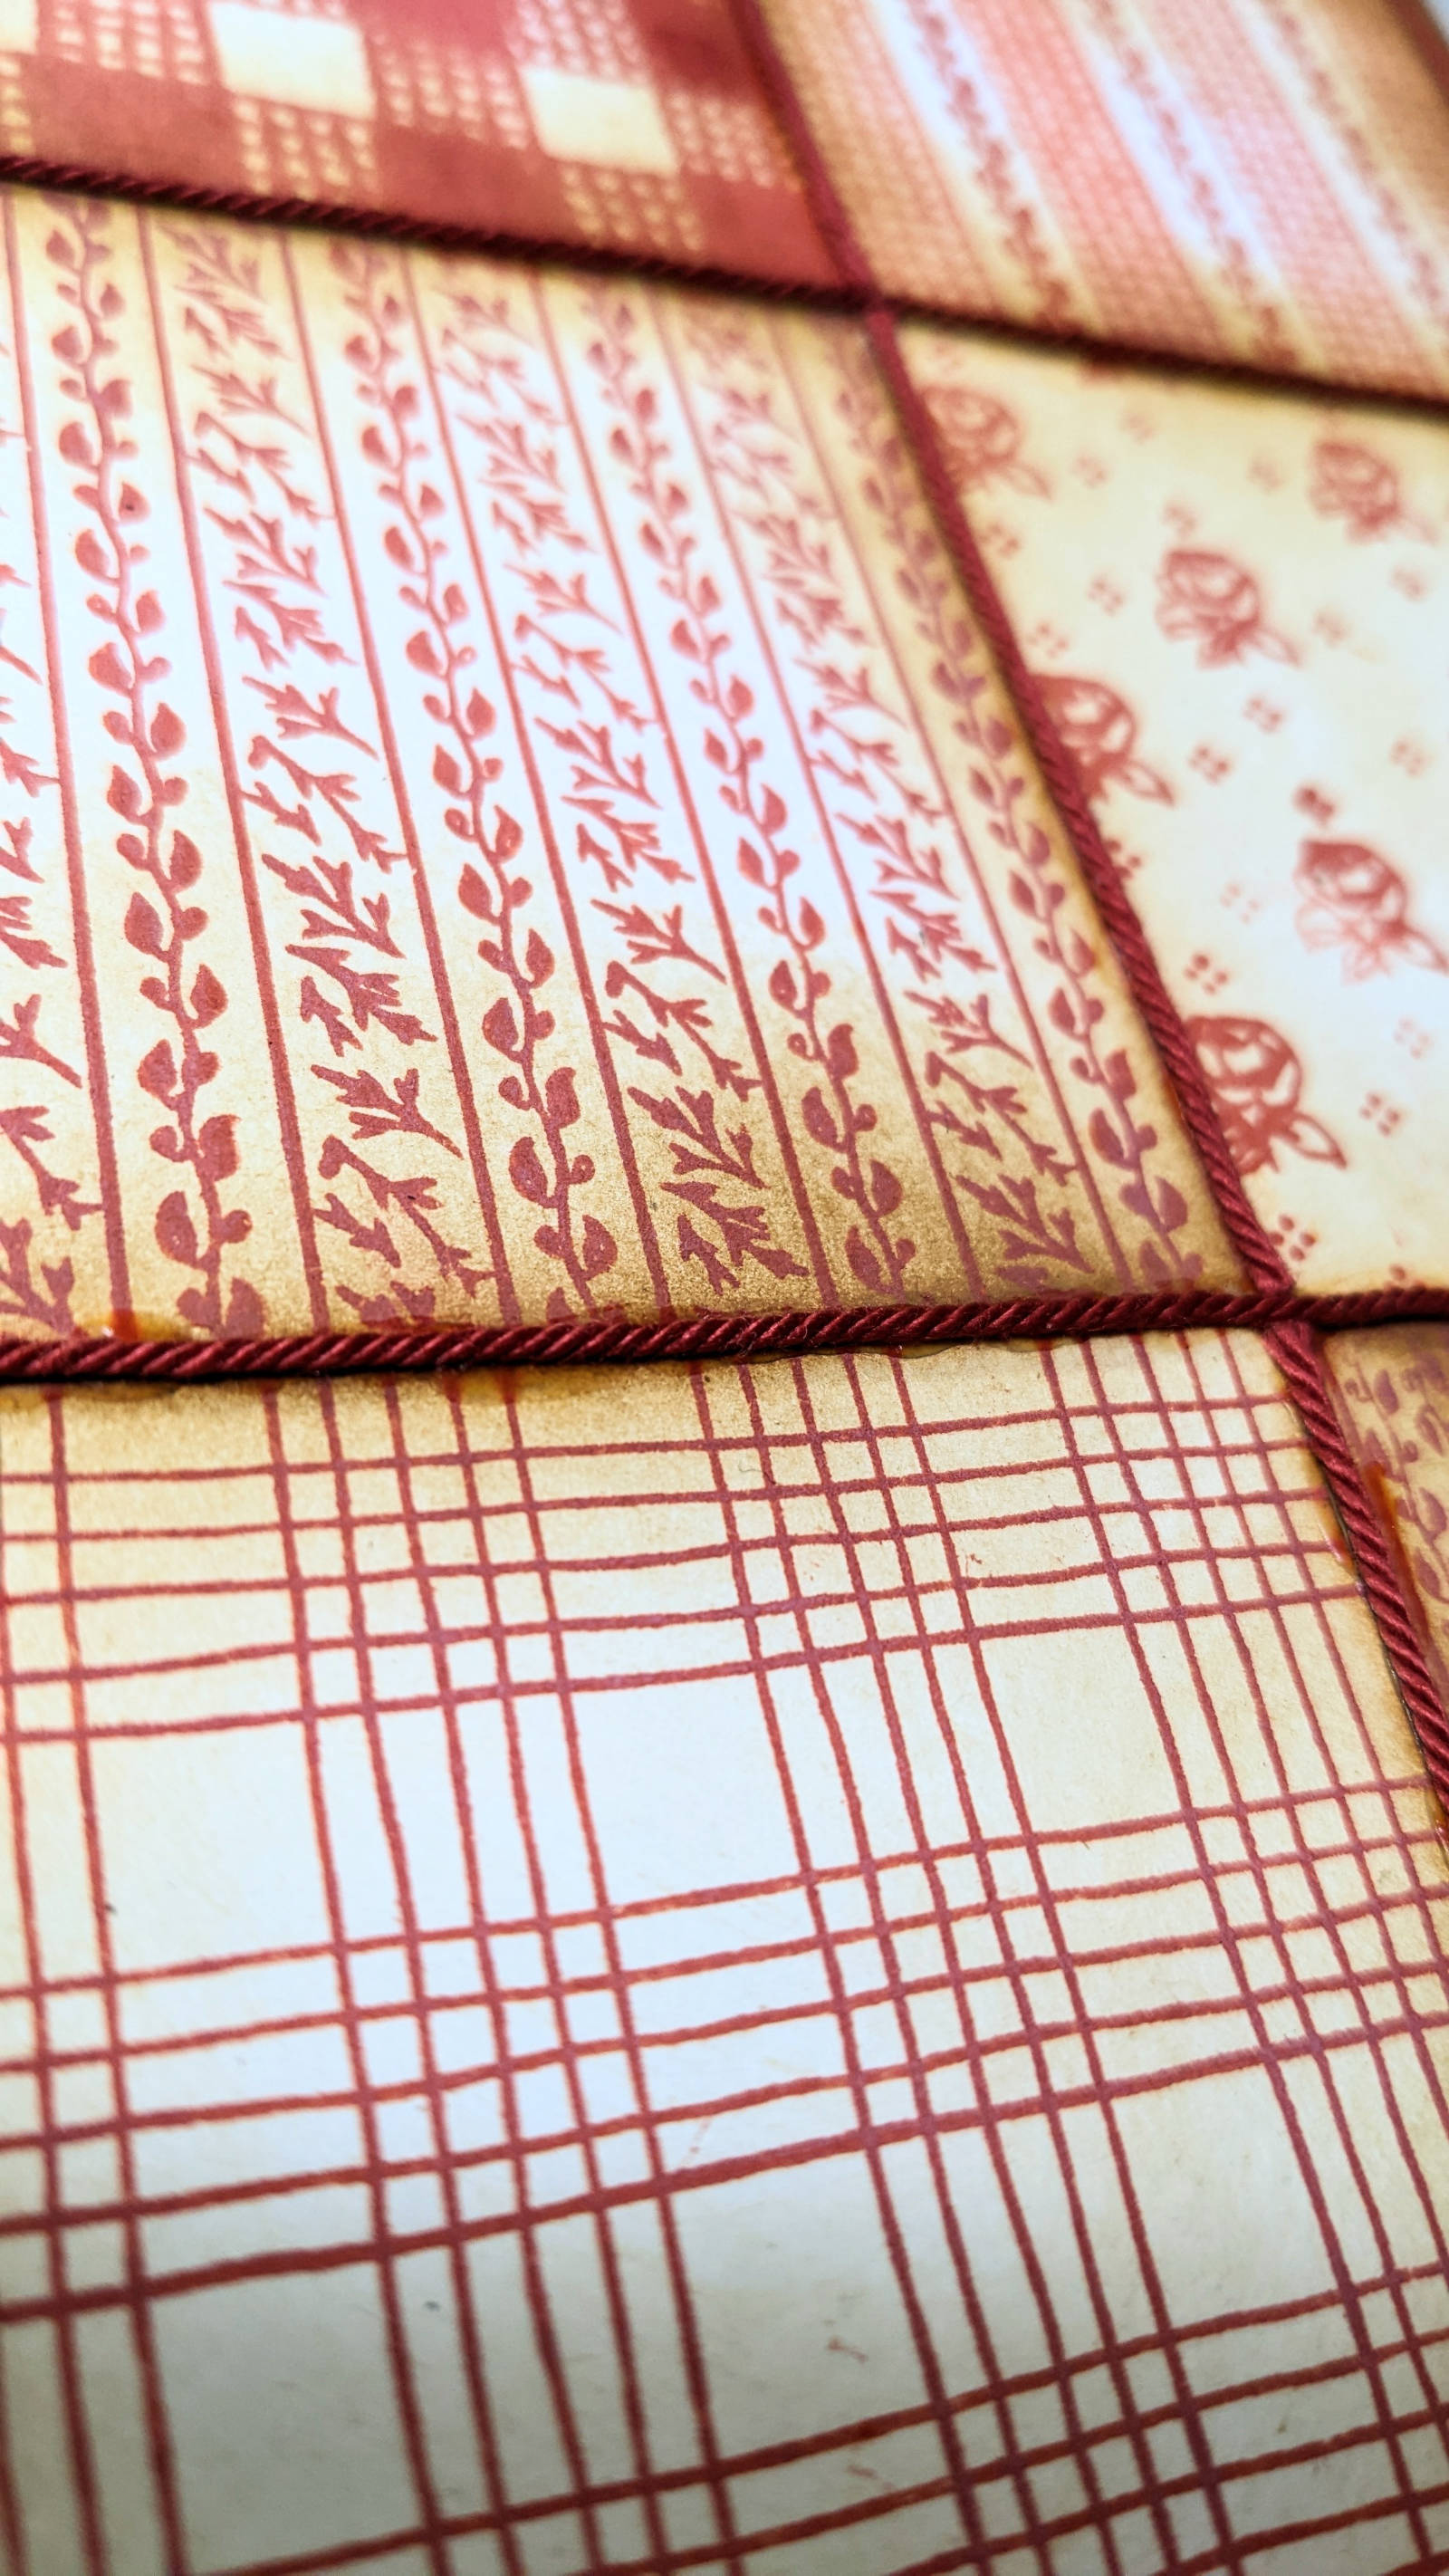
I looove fabric and I love washi tape, so I thought that a fun way to mix the 2 concepts would be to draw stripes of fabric patterns, ribbons and laces.
You can emboss these stripes or stamp them with regular ink directly onto paper, fabric, tissue paper, Kraft paper and so on. Ready to go washi tape can trigger an idea on a day when your mojo is down. Store them away and thank me later when you put them to use!
These stripes repeat to create all kinds of fabric-like patterns as you can see in the red samples. I also drew a buckle I had from my partner’s grandma, she had beautiful buttons and haberdashery sets that I treasure, the lace at the bottom is hers too. I thought the buckle would be the ideal frame for each of the 4 seasons. The other elements on each side of the buckle can also be repeated across the paper to create backgrounds in different shapes. I think this stamp set has become a staple for me now, and I can see I'll be suing it over and over. What do you think?
When I drew this little element with the rose I had in mind to create this type of sample. I wanted to be able to reproduce a wall paper or a fabric pattern as big or as small as I wanted by repeatedly stamping the same element over and over. And I’m so glad I succeeded! You may need a bit of practice first to ensure you align the stamp right. I cut the rubber so it really was close to the elements in the shape of a square, that really helps following a pattern.

To create this type of pattern, think of the stamp as a diamond (or a square turned 45 degrees) and start repeating it diagonally. Try to make little diamonds with the 4 dots on each corner and use that as a reference to see if you’re going straight or if you need to correct the course of your stamping. My sample is not perfect, but that adds beauty and a feel of a more organic pattern which contributes to this vintage vibe. Embrace your mistakes or if you feel they need to disappear, cover them with a stripe, as I did here when I decided the location of the roses ribbon with the spring sentiment stamped, LOL.

Once everything is stamped, it’s colouring time! I used the same 3 colours of infusions: Sunset Beach, Olive Tree and Golden sands, I mixed a tiny amount with water and used a thin brush to colour all the flowers and leaves.

I decided to count the leaves while I was painting them. Any guess how many they are? Almost 200! 187 if I remember well, but it didn’t take too much time since they are teeny tiny and you learn to paint faster as you go.

A Pattern Collection
This is actually the result of my first play with this stamp set. I just wanted to see how many patterns I could get from it. Of course you can do many more, but when I was satisfied and I counted the squares I created, I was happy to see that they could be nicely arranged in 2 samples like this one. From top left to bottom right, here's what I did: repeating the stripe of 5 lines all over, repeating the lace some times, using the snowflake shaped leaves, combining the vintage lines with the vine (this was a fabric present in my aunt's quilt which inspired ESC38), the leaves ribbon combined with the vines and the dots stripes repeated randomly (it doesn't produce a perfect polka dot, I think this is a far more interesting pattern with a more organic look). Now just change the red for a different colour (blue, for example) and you get a completely different vibe!

For these patterns I used some ribbons in 90 degrees (top and bottom left ones) and I'm so happy with the results! Also, the vine is so playful, it can be combined with any of the ribbons and it gives that country look that I love for a fabric type of pattern. And talking about fabric, you could use a permanent ink, or a fabric specific ink and stamp on actual fabric, so you can create your own fabric for projects, like a purse or a wallet, or if you're brave and determined create an entire quilt! I won't stop you!

You could also choose different colours when stamping, one colour for the vertical stripes and a different colour for horizontal stripes (bottom square) or vine in green and leaves in brown for an autumn look.
The snowflake shapes would look awesome stamped and embossed in gold against a green or a blue background for a quick and simple xmas card or winter card. You can add the frame with Winter on it.

Or these 2 samples could easily become the cover (back and front) of a red coloured Christmas Journal, for example. Here I just added the word "winter" stamped inside the buckle frame by way of a title.

Each square can be a background for a card, just by changing the colours and the title, you get a card for each season. Some of the sentiments on the next stamp set will also fit inside the buckle, so for example, a thank you card can easily be made.

Eclectica³ Scrapcosy Set 38 (ESC38)

The Patchwork Flowers
This stamp set was inspired by a quilt that my aunt created for me. The quilt is a TREASURE! I still shiver when I think about all the time and effort it took her to create such a beautiful masterpiece of patchwork (3m by 2m). The smallest pieces are 1cm square, and it's a log cabin pattern. With numerous different patchwork flowers around the quilt and the most beautiful fabrics and colours, she knew I would love it!
I got her into patchwork many years ago (I’m so glad I did!) and when I left my parents home for my first home with my partner, she gave me the quilt as a gift. I cried, of course, because I knew the tremendous work and effort she put into it, and it is the most beautiful quilt I had ever seen. This quilt has been waiting for me in Barcelona at my parent’s place since we left for London more than 11 years ago, and this summer I had the chance to use it and enjoy it again, so it really inspired me.
I selected three of the pieced flowers and created similar stamps. I created my own fabric patterns, but the essence is the same as the quilt. It took me a long while to draw every single stitch, so I wonder how long it must have taken my aunt to actually stitch each of them on the real fabric flowers! I showed her the drawings and she loves them, she congratulated me, but I told her that actually the merit is hers, and she laughed.
For this set i also made a tag and a few useful sentiments that you can stamp on the tag, or bend and stamp along the flower stems. Of course I needed to have a “handmade by” stamp too.
The Patchwork Flowers
This sample was really easy and relaxing to do. You just embossing powder and infusions to add some colour.

Once you stamp and emboss each flower, mix some infusions with water to add colour to the different fabric sections of the flowers. The thick embossed lines will prevent the water from moving from one section to the next, it’s so relaxing!
Metallic embossing powders tend to produce thicker lines as the powder melts than a crisp ink embossed with clear embossing powder, so if you are looking for sharper definition of your images, that is another embossing option.

I bent and stamped some of the sentiments on each suitable spot I found on each flower stem.

With stencil PS360 I created a stiched effect edging to the card with Grunge Paste through the stencil. Once dry I applied and distressed the edges with Chocolate Pudding Fresco Paint.

A clean and simple card, really easy to replicate. And you can do a bunch of these, just swap the colours to get a different vibe or to use the favourite colours of the person you will give it to. Create individual cards, one per flower. No need to use the 3 at the same time.

Flowers and dots
The flowers from ESC38 are partnered with the dots from stencil PS359. It’s a trio of cards, a bit more contrasting than the previous sample. I started creating the backgrounds with paint (Fresco Finish Paint) and then I added the dots with inks through the stencil. The next step was stamping the flowers, but I didn’t pick the right ink… I chose versafine Claire, which is a bit too oily and would take ages to dry… I realised that after stamping the first flower.
In hindsight I should have chosen either archival ink or stazon (although technically stazOn is for shiny surfaces like plastic) ... but both would dry quicker and with a more sharp stamping finish. The other option is I could have embossed the Versafine Claire with clear embossing powder.

…So since there was no turning back, and along the embossing idea ... I decided to add my own Luxurious Chocolate WOW embossing Powder. My initial mistake would give me more interesting and shiny stems after all.

Then I stamped each flower again on another piece of Heavy smoothy cardstock, I painted the leaves with Hey Pesto Fresco Finish paint, which is translucent, so the image can still be seen. Petals of the flowers got touches of Red Lipstick, and the rest was coloured with infusions.

For the borders I chose a different stripe from PS360 for each card and I used the same technique (Grunge paste, Chocolate Pudding painted with excess dabbed off)

I decided to use the tag to stamp three different sentiments and instead of sticking them directly onto the paper, I attached them using a brad, so the tag can actually turn, providing an interactive element. I love to add playful things to my cards when I can.


Large Size: 6.25" x 9.5" (16 x 24cm) Price: RRP €6.58 +VAT
PaperArtsy Stencil 359 (PS359)


I love a pattern and I love even more if it can be repeated and layered. In this case I was looking forward to create a larger dotted stencil than the one I created before (PS073), so I decided to make the dots in three different sizes and instead of increasing the space between them as well, I preferred them to layer one on top of each other. That lets you play far more with them. You've seen on the previous samples how these dots looked when used on their own (Flowers and dots sample), now let's see just a couple of examples of other patterns you can get with them. I just had time to create these 2 simple cards to show you some of the possibilities, but there are far more. I hope to show you more examples during the Facebook live tonight!
Thanks a Dot!
If you combine the different sized dots in this way, you can get a very dynamic and colourful pattern (or stick to one colour if you prefer). I started with a cream colour ink and I created a dotted background with the biggest dots, then I chose a red ink and layered the middle sized dot in the middle of the big dots, and finally with green ink I added the smallest dots in the centre of the empty space and also in the middle of the big dots.

To finish the card, I just stamped a Thank you in black, the flower coming from the side and I glued on top the same flower parts coloured with the same Infusions and water technique as explained before.

With Love
The next card was done with the same supplies and techniques but I changed the flower and the background.

I used the 3 dots sizes with the same colour of inks and this time all of them were aligned. I did some sort of gradient top right to bottom left, from small to big dots with the inks overlapping slightly. If you stick to one colour the gradient effect will be more noticeable, but I wanted the 2 cards to coordinate colour-wise. On the bottom left corner, I did a similar overlapping of dots, but this time I just used the big size and the small size dots.

PaperArtsy Stencil 360 (PS360)


I knew that the stamp of stripes would be really useful to have, so I thought of creating also a stitched style stencil in the same way. Stitches and florals are so good together, so why not a knitted background too! I love all of them and they will decorate many projects, I'm sure.
Winter Stripes
This is a super simple, no need to think sort of card. I just selected 3 inks and I started using one stripe top and bottom with the same colour ink, then I swapped colour and stripe and filled the second line and last but one line, and so on until I reached the centre.

In the middle stripe I went for the same stripe as top and bottom, same colour and I just added my title, in this case, winter, on the buckle frame, both of them from ESC37.

I love how it looks and how quickly I made it! It would also look awesome if I used just one colour of ink. And it would also be nice to just use a couple of the stripes and combine them across the background.

Grungy Butterfly
I love how vibrant this one turned out. The background is so dark and that lets everything pop on top. I think it's my favourite sample of the release. What do you think? Is it too dark for you or right up your street?

After adding Grunge paste through the stencil to create the knitted pattern, I decided to use Infusions (the same three colours as before) but in a really heavy way. I loved the contrast and I love that all the colours pop up in different parts of the background, greens, pinks, oranges, yellows, browns.... oh, I love these... This picture is before all the card was assembled.

Then of course I had to cover them up a bit, because I wanted to add the butterfly lady as a focal point. I grounded her with the Draperie label. It was a pity to cover such a background, but you can still see hints of it in every part of the card.
PaperArtsy Stencil 361 (PS361)


I created this stencil mainly inspired by the Printemps tag in the haberdashery stamp set ESC36. That specific label was attached to a sample of fabrics that I have from my vintage ephemera collection, so I wanted to link the stencil somehow to a dress pattern. I also added some flowers (could be suns too) inspired by the little embellishment under the poem in the same stamp set, but at a larger scale and in 3 different sizes.
Printemps pattern
I love how colourful this card turned out! It has a spring vibe that I love and it was so quick and easy to make! I applied some inks through the stencil with a sponge dauber, one colour for each size of the flower, I started with the biggest one, which I applied 3 times, then the middle one with 3 again and any empty spot I would fill it with the smallest size. 3 is the magic number!

You can swap the earthy colours (brown and green) for yellow and orange and instead of flowers these will seem suns! Or apply some grunge paste on one of the sizes to add some extra texture to the card.

I added a ribbon to add some extra interest and to help me placing the label and when I was looking for a place to stick it, I just saw that if I layered it on top of one of the big flowers it would seem like a sun behind. From the 3 big flowers, this was the placement that I liked the most. I actually love it!

A Vintage Pattern
For this card I decided to go for an old favourite combo of techniques that I sometimes use: smudge and bump technique. The first technique (smudge) requires using distress oxides through the stencil to cover the entire surface and then smudge each flower before it's dry so I get softer edges. Then I added some vintage photo distress to the edges to get a more vintage look. Some drops of water and let the distress inks react.

Once I dry them, then I go for the bump effect. First I create a shadow by using a sponge with a dark ink. Then I reposition the stencil shifted a bit (up and left) and then I apply grunge paste through the stencil, and then it's when the letters come to life and it seems they pop up a lot. I love this technique!

I hope that you liked this release! If you do anything with it, I would love to see it, so please tag me in social media! I hope to see you shortly online in the PaperArtsy People Facebook group. I will share more things and I will show you all the samples here and maybe some more!
You can find me here...
YouTube: https://www.youtube.com/c/scrapcosy
Instagram: https://instagram.com/scrapcosy/
Website: https://scrapcosy.com/
Facebook:
This is my profile: https://www.facebook.com/raquel.burilloperez
And this is my Scrapcosy’s crafty party Facebook Group, for everything scrapcosy. Come and join me! Share all your creations with everyone in the group!
You can find my books here...
In Amazon of your country, search for scrapcosy - Raquel Burillo or click on the links below (just providing UK, US and Spain markets). These are the most relevant books I have but I also have planners and Vintage notebooks, just have a look if you wishTeaching schedule...
I don't have any classes planned, but you can always go to my YouTube channel which is full of tutorials or join any of these online courses, which are available on replay:- About infusions techniques, at Stampers Grove
- About creating a Vintage Bullet Journal, at Loobi Crafts
PaperArtsy Stockist List
Our stockists are your go-to source for all PaperArtsy products, and we suggest that you also use the PaperArtsy People Facebook group to source a retailer in your country. Many are members of our FB group and will happily share links to their online stores.
Australia
Bev's Cross Crafts, Spreyton, Tasmania https://www.bevscrosscrafts.com.au/
Crafters Cupboard, Berwick, Victoria www.crafterscupboard.com.au
Memories on the Murray, Murray Bridge, SA https://www.memoriesonthemurray.net/
Natalie May Scrapbooking, Dover Gardens, SA https://nataliemay.com.au/
Scrapbook Superstore & More, South Penrith, NSW https://www.scrapbooksuperstore.com.au/
The Scrapbooker's Confetti Box, Swansea, NSW https://thescrapbookersconfettibox.com/
The Scrapbook Store, North Perth,WA http://thescrapbookstore.com.au/
Time To Create, www.timetocreate.com.au
Time To Create, www.timetocreate.com.au
Belgium
Cart N Scrap Art, Antwerp, www.cartnscrapart.be
Créatelier Caracolle, Liège, www.createliercaracolle.be
Canada
Clipper Street Scrapbook Company, Langley, BC. www.clipperstreet.com
Paper Art Creations Inc, Leduc, Alberta, www.paperartcreations.com/
Scrapbook Centrale, Dollard Des Ormeaux, Quebec www.scrapbookcentrale.ca
Scrapbook Centrale, Dollard Des Ormeaux, Quebec www.scrapbookcentrale.ca
Scrap Addicts, Edmonton, Alberta www.scrapaddicts.ca/
Scrap and Bean, Edmonton, Alberta scrapandbean.com/
Scrapbooking Fairies, Drayton Valley, Alberta www.scrapbookingfairies.com/
The Paper & ink Boutique, Calgary, Alberta www.paperandinkboutique.com/
The Scrap Yard, Calgary, Alberta, www.thescrapyardcalgary.com/
The Scrap Yard, Calgary, Alberta, www.thescrapyardcalgary.com/
Denmark
Hobbyboden Scrapworld Samso www.hobbyboden.dk
France
Eirl Bancon Cartoscrap, Midi Pyrenees, www.cartoscrap.com
Fée Du Scrap, Saint Sébastien-Sur-Loire, www.feeduscrap.fr/
Horizon Créatif, Ste Jalle www.horizon-creatif.fr
Instant Créatif, La Possession, La Réunion, www.icreatif.re
Katzelkraft, Ingwiller www.katzelkraft.fr/en/
Kerudoc Creation, St Yvi www.kerudoccreation.com
Le Grenier des filles, Pierre Benite
Page de scrap, Saint Pavace, www.pagedescrap.fr/
Scrap Déco Home, Goutrens, www.scrapdecohome.fr/
Toutencolle, Dun sur Avon www.toutencolle.fr
Finland
Heidin Korttipaja, Istunmaki, www.korttipaja.fi/fi
Piia Paper, Kittilä, www.piiapaper.com/fi
Germany
Stempelbar, Berlin, www.stempelbar.de
Stempeloase Munich, Munich www.stempeloase.de
Stempelfee Shop, Hilden www.stempelfee-shop.de
Stempellaedle, Stuttgart, www.stempellaedle.de/shop
Greece
Scraps N Pieces, Kallithea www.scrapsnpieces.gr
Italy
Immagine SAS di Rapaccini, Rome, www.immaginelab.com
Il Negozio Della Mamma Di Cle, Torino, www.ilnegoziodellamammadicle.com
Marte Savona, Savona, www.martesavona.it
Pezze E Colori, Lissone, www.pezzeecolori.it/
Piccole Passioni, Siena, www.piccolepassioni.it
Piccole Passioni, Siena, www.piccolepassioni.it
Japan
La Wadao, Odawara, Kanagawa, www.lawadao.com
Tiny Dots, Funabashi-shi, Chiba www.tinydots.shop-pro.jp
Netherlands
De Hobbystudio, Genemuiden, www.dehobbystudio.nl/
Doe@ding,Spijkenisse doeading.nl/
Hobbycompleet de Duif, Leeuwarden www.hobbycompleet.nl
Stampingcorner, Capelle Aan Den Ijssel www.stampingcorner.nl
Norway
Hobbygarasjen, Kopervik, www.Hobbygarasjen.no
Spain
Cien por Cien Manualidades, Barcelona, www.100x100manualidades.es
Ideas 10 Manualidades Y Scrapbook, Bilbao ideas10manualidades.com/
Marakiscrap, Tarragona, www.marakiscrap.com
Scrap & Papers Experiences, Barcelona, www.scrappapersexperiences.com
The Paradise Corner, Barcelona, www.theparadisecorner.com
Sweden
Butik Elva, Staffanstorp, www.butikelva.se
Taiwan
Mandy's Cards, Taipei www.facebook.com/mandy.card.77
United Kingdom
Amelia's Creative Crafts, Studley, Warwickshire www.ameliascreativecrafts.co.uk
Art from the Heart, Harrogate, Yorkshire www.afth.co.uk
Crafts at The Malthouse, Herstmonceux, East Sussex, www.themalthouse.co.uk/
Loobi Crafts, Leighton Buzzard, Bedfordshire, www.loobicrafts.co.uk
Papermaze, Ipswich, Suffolk www.papermaze.co.uk/
Stampers Grove, Springbank, Lilliesleaf, Melrose,Scotland www.stampersgrove.co.uk
The Artistic Stamper Craft Store, Faversham, Kent www.theartisticstamper.com
The Forget me not Kraft Kabin, Rochford, Essex, www.TheForgetMeNotKraftKabin.co.uk
USA
Artistic Artifacts, Alexandria, VA www.artisticartifacts.com/
Artistic Studio Creations, Fayetteville, Georgia www.facebook.com/ASCbyCrystal
Craftiness, Chatsworth, CA, www.craftinessonline.com/
Ephemera Paducah, Paducah, Kentucky www.ephemerapaducah.com
Everything Scrapbook & Stamps, Lake Worth, Florida https://everythingmixedmedia.com/
Frantic Stamper, Oregon www.franticstamper.com
Free Heart LLC, Denver, Colarado, www.freeheartllc.com/
Joggles, Coventry, Rhode Island, www.joggles.com
PaperCraft Clubhouse, Westbrook, Connecticut, papercraftclubhouse.com/
Qingquing's Stamp Shop, Portland, Oregon
Runaway, Art & Craft Studio, NE Salem, Oregon www.runawayart.com/
Simon Says Stamp, Columbus, Ohio www. simonsaysstamp.com
Topflight Stamps, Irmo, South Carolina topflightstamps.com/
If you are interested in becoming a PaperArtsy stockist contact Dounia@paperartsy.com for more information
PaperArtsy Links
Facebook Group PaperArtsy People
Facebook Page PaperArtsy
Twitter twitter.com/paperartsy
Instagram instagram.com/paperartsy
Pinterest uk.pinterest.com/paperartsyhq
YouTube youtube.com/user/PaperArtsy


5 comments:
Wow! Great release Raquel! I especially love the mannequin stamp set and all three stencils! Great samples too!
Thanks Kathi!
Wonderful new designs, Raquel... I love the mannequin and those fabric patterns are wonderful. Such amazing samples too - those gold embossed patchwork flowers - stunning! Congratulations!
Alison x
Congratulations new release Raquel! New designs are so lovely and beautiful samples. I'm looking forward to using them!! Etsuko xxx
Raquel, I so enjoyed your FB live and seeing your cherished quilt on display. What amazing inspiration behind these fabulous new stamps. Congrats on a wonderful release!
Post a Comment