


Hello everyone! It's Laurie with you today, and I'm here to share with you the super fun play session I had with a bunch of stencils, paint and embroidery floss!!

Stencils. We all have them and we all love them! Stencils have to be one of the most versatile and inexpensive crafty supplies we have. Yet, in my experience, I basically use them with inks and paints. And while one of my projects involves just that, my first project involves embroidery floss!


First off, this project isn't a quick make. It took me approximately 3 days, on and off, to complete. But it was great fun and I am in love with the finished project!


I had an inexpensive, canvas zipper pouch in my stash that needed to be dressed up a bit. I started by using a neutral colour of paint to use with the stencil. In this case, I used Fresco Finish Eggshell and the new stencil PS316 by Nicci Battilana. I adore this stencil! And because my plan was to do some stitching, the simple design is perfect.

Even with just a light coat of the paint it looks great! But let's add some stitching!

I chose neutrals for this project but I think it would look great in brighter colours! I kept the stitching very simple. Just back and forth, covering the stenciled image. Honestly, my first few "x's" were not pretty. But once I got into the groove, they looked much better by the end of the project!


It was at this stage, I decided to stamp the image again so my keychain would have a more finished look. I decided not to colour this one. What is great about this image is that it is ALMOST symmetrical. I glued these images together and only minor trimming was needed!


These I've had in my house for ages! I should mention that I don't think this is a necessary step if you didn't have these pouches. But it will add some durability for sure! After running this through my laminator, we have a sweet zipper pull or key chain!

And he looks adorable on the stitched/embroidered pouch!

I hope you're still with me because I'm still "in the zone"!
My next project is far simpler and much quicker yet still has a lot of impact! This is also on a canvas bag that is larger than the pouch. It uses a few different stencils and some fun, beautiful colours of Fresco Finish Paints!

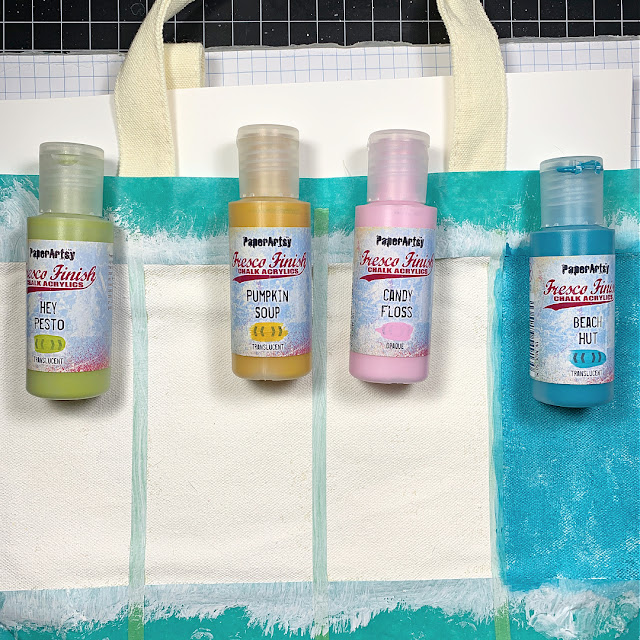
I chose a summery colour palate for this tote. Fresco Finish Hey Pesto, Pumpkin Soup, Candy Floss and Beach Hut.


Isn't this palette delicious?

Before applying a thin layer of white gesso, I did tuck a sheet of cardstock inside the tote to protect the back.
Inside each of the masked sections, I applied the paint with a makeup sponge. These paints went onto this material like a dream and dried quickly!
Before removing the masking tape, I chose a variety of stencils including the new Nicci Batttilana stencils, PS315 and PS316.


I did want to add some text to this tote bag so I chose 220 PA Stencil along with 297 PA Stencil, both by Sara Neumann.


It's going to look like a hot mess at this point. I'm not going to lie, I was a bit worried!! But once I removed all that tape....

I think it turned out great!!! These colours just give me summer vibes!


I know that the first, stitched project may seem a little intimidating. It sure was for me! But I really wanted to try it. Yes, it did take some time. But this bag would make such a great gift and will last for years! The painted tote bag was much quicker and easier. Great for mass producing actually! Both these techniques are new to me and I learned so much from each one.
I encourage you to have a look at your stencils, get out your inks or even your embroidery floss and have a good play!
I thank you for hanging out with me today and hope you found just a little inspiration here!
Until next time!!
Laurie


1 comment:
Amazing work with the stitching!
Alison x
Post a Comment