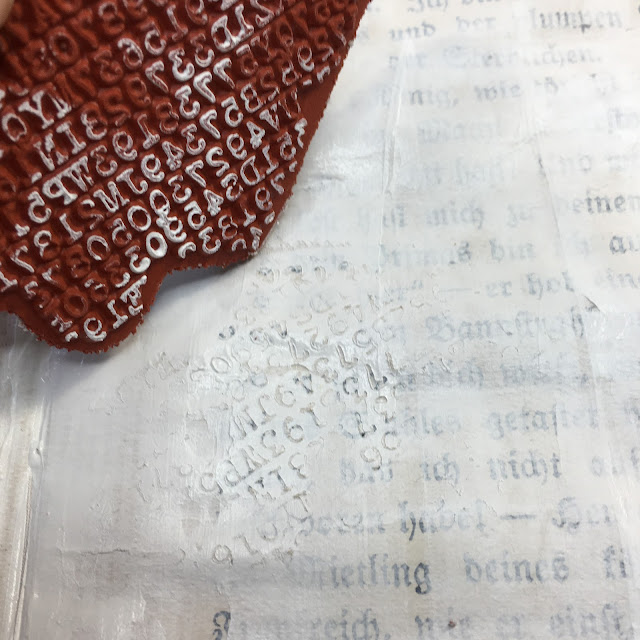
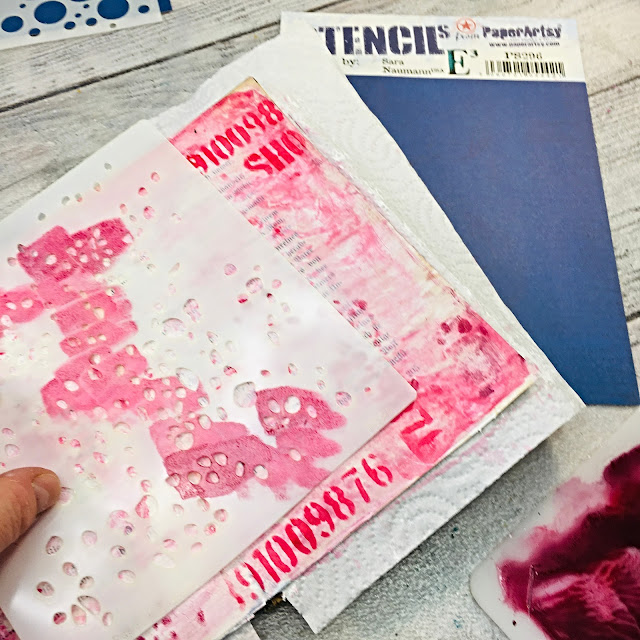
For this project I wanted to use PaperArtsy Fresco Chalk Acrylics as they are less liquid than Infusions and more easy to work with stencils. I also chose few beautiful stencils designed by France Papillon (PS302, PS303, PS227) and for the background- stencils by Sara Naumann (PS296, PS297). I went a little crazy here as I had hard time choosing which one I like the best and well, if I had them- why not use them, right? But you can definitely work with less and make the page less busy than mine.
Next step was to add some colours. I used Fresco Chalk Acrylics (Red Lipstick and Little Black Dress). One part of the red paint I mixed with some black acrylic, then sprayed the water onto the page and made a wash with it. This is my background colour.
I wanted to come back to the beautiful stamp from France Papillon (FP018) and I added a little stamping with StazOn (Jet Black) ink onto the background. It's really important to me to add some black accents for contrast. I think black makes the other colours pop out even more.
Let's do some more stencilling. This time I used France Papillon stencils (PS302 and PS303) to add some words to the page. Once again I used a sponge applicator and StazOn ink. The reason behind choosing StazOn is simple- it is a permanent ink and I am sure it will not be affected at the later stages by water or paint. Inking the edges of the pages was another way to add more contrast to the layout.
I am a big fan of circles- who does not love them? This is why I needed to add some circles from this gorgeous France Papillon stencil (PS302) and this time with Fresco Chalk Acrylic (Banana), but here is another tip on using your stencil- you can draw inside the cuts with your fineliners. I doodled circular wonky shapes inside to give sort of borders to the yellow circles. Stencil drawing is fun!
If you don't have any coloured modelling paste at hand, you can make your own. I mixed PaperArtsy Grunge Paste (GP190) and Fresco Chalk Acrylic (Little Black Dress) to stencil broken circles with France Papillon stencil (PS227). It's always like that with me- once I start making circles- I can't stop!
The last part of the background was to add the floral pattern from previously used France Papillon stencil (PS303), again with StazOn and a sponge applicator. As you can see I am coming back to the same stencils and choosing between the designs- there are so many, so you have a great, beautiful choice at hand.

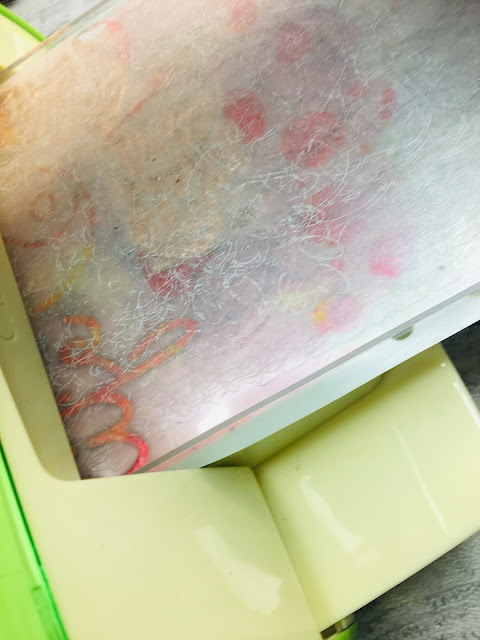
The first part of the project was definitely an easy ride. For the focal part of the project things got a little bit more complicated. I was having doubts as to what to use and how to use it. But I learnt this great stencil embossing technique from Ann Melvin from Positively Papercraft (YouTube) and even though it could be a little tricky, I truly love it. It's all about using stencils as embossing folders. Yes, that actually works! You are basically making a "sandwich" as you would do with regular embossing folder (though the "sandwich" needs to be a little bit thicker) and you put it through your embossing machine. The tricky part for me is to get in the first go how to place the stencil- should it go underneath the paper or above it? This is not a problem if you do the impression on white paper, but if your paper is coloured, things may get tiny bit more difficult- unless you have a very logical mind (which I don't!). I did my embossing on the paper previously coloured with Fresco Chalk Acrylics (Banana and Red Lipstick).
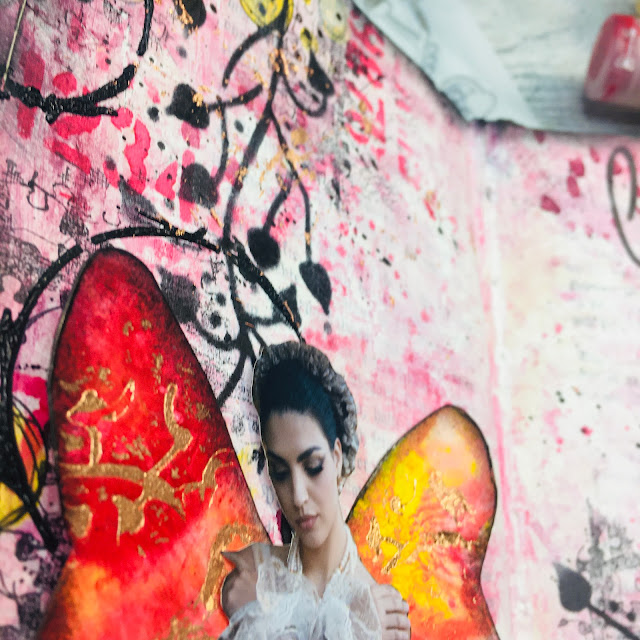
For my embossed image I chose a butterfly from France Papillon stencil (PS302). The stencil was a little too large for my old embossing machine, but I managed to slightly fold it on one side and still run it through the machine without damaging it at all. I also made a small experiment by placing the golden foil on top of my coloured paper and just underneath the stencil, trying to get it to stick in the embossed parts. Here are some step-by-step photos:
I decided not to add any more words to the page- two previously stencilled ones are just perfect! In the middle of butterfly I adhered a photo of a woman- again for more contrast. This was my final touch.


4 comments:
Asia, this looks fabulous - especially love the butterfly
Fabulous brights and darks. Love those flashes of gleaming gold.
Alison
Helen and Alison- thank you so much Ladies! xoxo
Helen, Alison- thank you so much Ladies! xoxo
Post a Comment