PaperArtsy Blog 2020 Year in Review - Part 4/4
 |
| The view from the New PaperArtsy HQ in France |
It's our final post from PaperArtsy HQ for 2020 and what a year it was,
Time for some thank-you-s from us !
To
our designers, who battled through to find ways to continue to bring
new classes all year long instead of teaching in stores, they partnered
with our stockists, and also offered independent content, both free and
paid-for classes, to inspire, distract, encourage and share their ideas
with all their newest products worldwide. Initially they were all very
worried this would be a tricky path to navigate, but in the end, their
willingness to shift to teaching online really fast was the right move
and well received! Families at home, people struggling with day to day
life, or those who had hours to fill all have joined with our designers
as and when they could, and learned a lot along the way. We thank YOU!
 |
| January 2020 - Build up of the PaperArtsy Booth at CreativeWorld, Frankfurt. |
To
our bloggers who kept inspiration flowing when we moved from the UK to
France. Without their flexibility to create, often at short notice in
the void of an unexpected no-freight situation while we established new
contracts here, and who came up with non stop amazing content week
after week. We thank YOU!
To
all the independent retailers out there who carry our brand, thank you
for your advance planning as we closed in the UK, and for your
understanding when it took us a month longer than we anticipated to
re-open in France. Your warm emails of support, your encouraging
comments on our Instagram and for your unfailing loyalty to our
designers and
the wonderful ideas you and your teachers share with your customers.
Your loyalty to the brand and our values is amazing. We thank YOU!
 |
| Squiggly Ink Christmas Post by Keren Baker |
To
Keren who has carried almost all the blog admin before, during and
since our move, who is always cheerful, happy, funny and passionate
about doing the best job she can. She has that innate ability to always
do what is right or necessary at the right time!
And
to Mr PaperArtsy, you are a forward thinker and awesome researcher.
Were it not for all the information gathering you did and continue to
do, we would not be here today starting this new phase. I love that we
get to do this together. Thank YOU! To our 4 now-adult kids. I know I
have been a stressed, menopausal moody cow at times over the last few
years, but you guys have all played your very important part to keep the
show on the road. We did not expect to move to France with all of you
in tow, but Covid had other plans. Your lives, studies and plans have
been willingly put on hold, until travel is possible, but the way you
have all stepped in to keep the PaperArtsy show on the road over the
past 2 difficult years has been amazing. You have trusted in us and
fully supported and helped, and there is nothing more fulfilling then
having you be a huge part of this journey, making our new house your
home too while at the same time also learning a new language and
culture. This is not how we expected it to be, but I am so glad that you
have all been a big part of this new journey.
 |
| Our final Christmas in the UK, Dec 2019 (minus Courtney!) |
To
all our followers, customers, friends, family far and wide. Thank-you
for your support, words of encouragement and positive thinking when
things looked like the dream was not going to come together in the
necessary time frame. We hope you get to come and visit in the years to
come!
So for our final post of the year, we look back on the more recent highlights from Topics 16-20: Hinged, Day and Night, Geometric, Words of Wisdom and Icy Christmas. Read on to see just a sampling of the fantastic ideas from our superb blogging team!

Happy New Year and much love to you all! Here's to your good health and we wish you every good thing for 2021 and beyond!
Cheers!
Leandra
Topic 16: Hinged
I
guess we were all feeling a bit un-hinged by this point in the year,
but the bloggers held it together, and came up with some fun projects
for this topic!
My first pick is this amazing beauty by
Ellie. She bound watercolour paper into a fantastic journal/ book and
decorated the cover. What a beautiful idea. See more here from Ellie Knol (link)

Do
we call this a hinged head? Perhaps unhinged? We love this new stamp
from France Papillon, and Keren does such imaginative things with
stamps, every time! Keren Baker (link)

Got
to love a rustic hinge! and Nikki nailed it with her well executed
rusty treatment of shiny metal to make it look perfectly aged! Nikki Acton (link)

I
did not know washi tapes hinges were possible, but with Jennie all
things are possible! A beautiful book, books really are great fun to
create, and she has several delicately decorated pages within to enjoy Jennie Atkinson (link)

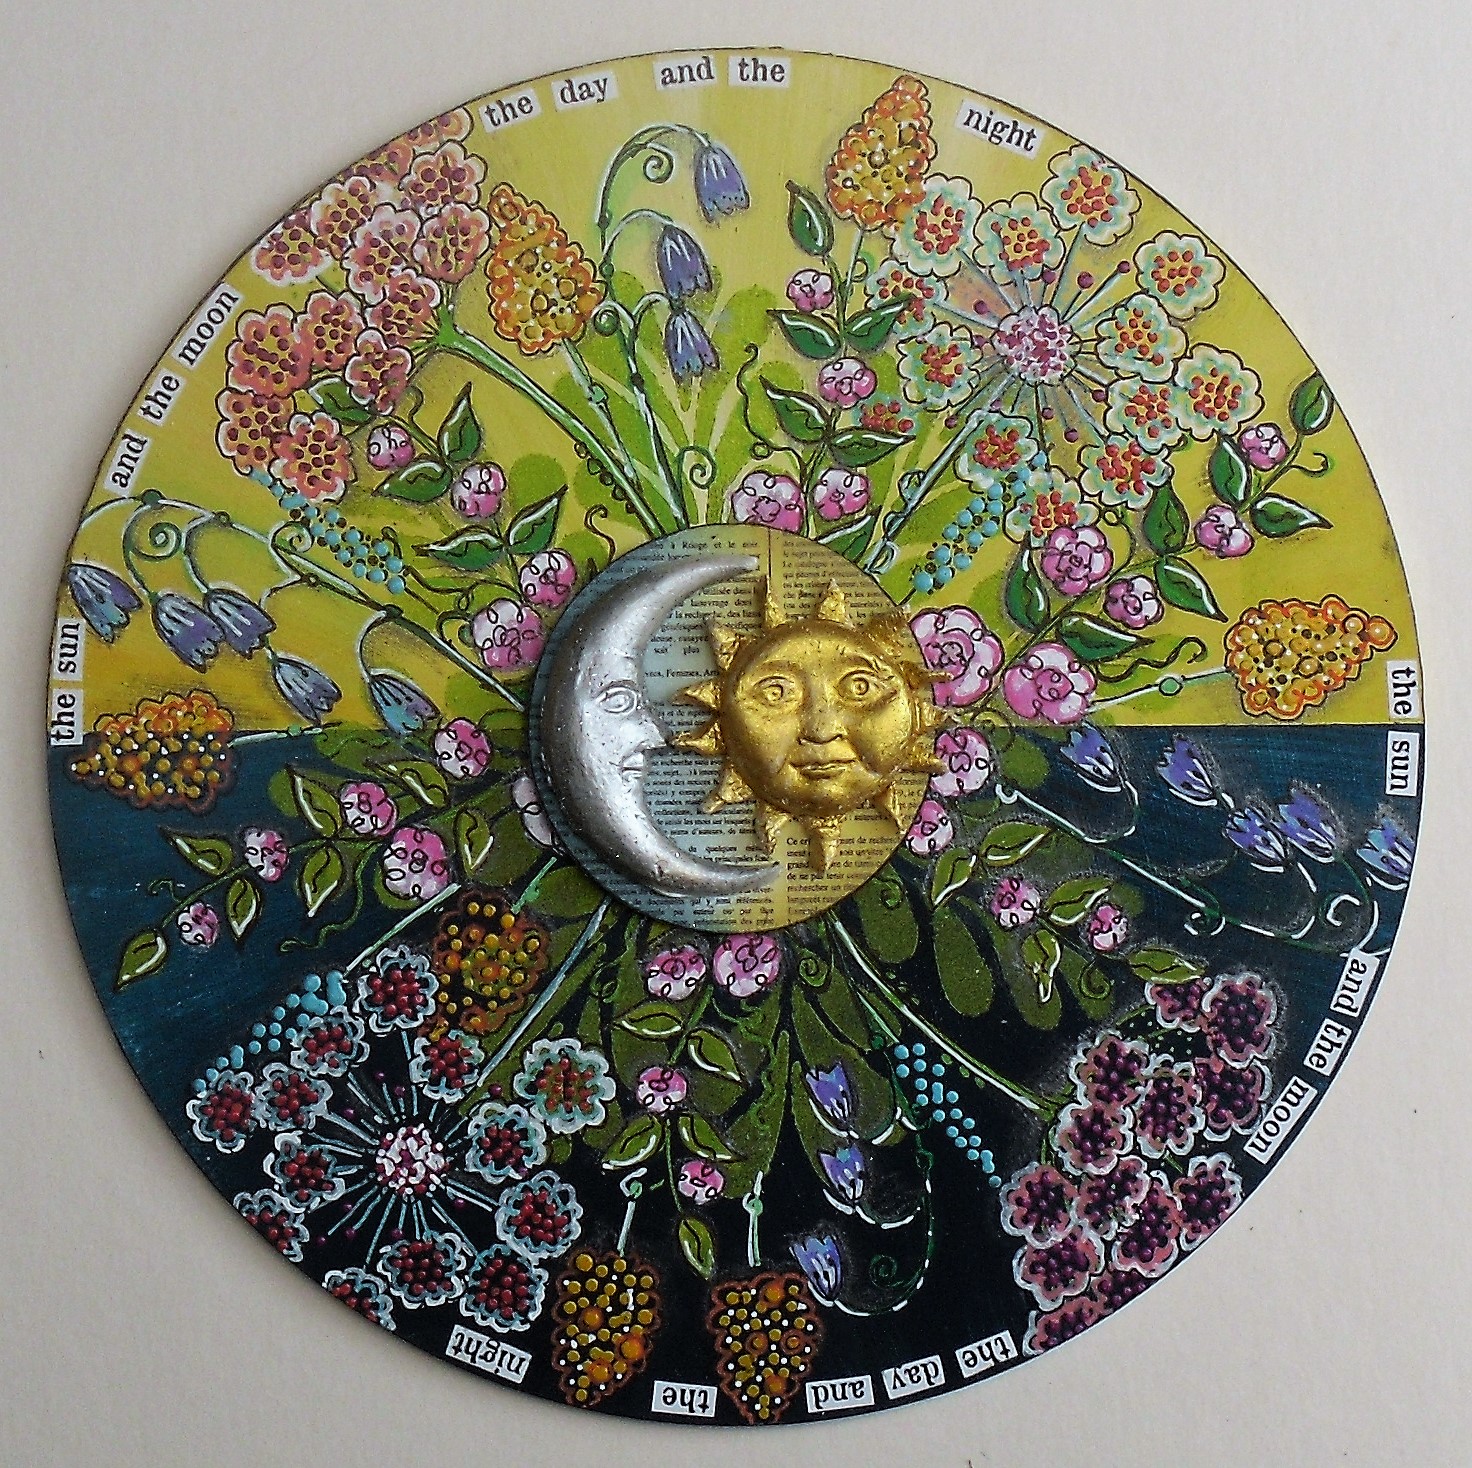
Topic 17: Day and Night
My first pick is this sliding beauty by Jo Firth-Young (link).
Interactive projects are really satisfying to create, and Jo has plenty
of these ideas within her classes or on her blog with her gorgeous
stamps!
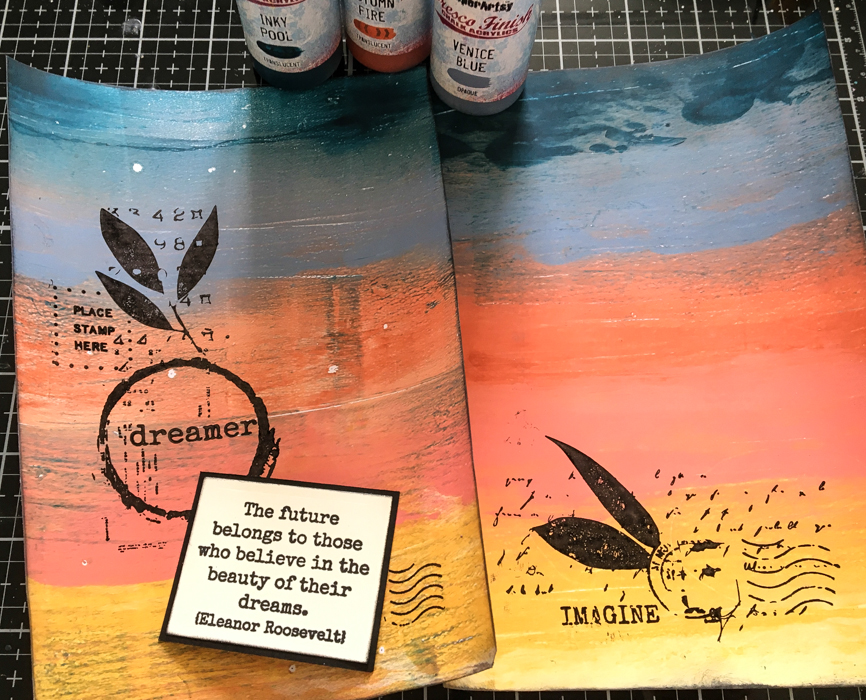
And I hope you didn't miss Claire Snowdon (link) and her contrasting Night-Day journal spread, what a great colour contrast with Tracy's stamps in B&W.


Topic 18 : Geometric
We
have seen a lot of Geometric influences within interior decor trends in
the past year of 2, and for this topic, I knew our designers would pull
some gems out of their hats! I really loved this simple background Miriam Grazier (link) used to set off the Ellen Vargo flower.


Topic 19 : Words of Wisdom
We were all desperate for some wise words as the year came to a close! Jenny Atkinson (link) used lots of ephemera from the Ink and the Dog collection for her project.

Ellie Knol (link) filled tins with words of encouragement for her post! What a lovely and truly uplifting idea!

Miriam Grazier (link) is our biggest fan of Sara Naumann stamps, and she pulled out a beautiful sentiment for her contribution.

I
really love how Amanda Pink pulls a project together. Lots of scripts,
numbers are softly in the background, but her sentiment is perfect! Amanda Pink (link)


Topic 20 : An Icy Christmas
Christmas
and cooler weather seemed a long time coming this yeaar, so perhaps it
was not so Icy as we anticipated, but the blog was dripping with icicles
and glitter!
Nikki Acton used painterly textures to great effect in this post with Seth Apter stamps and a handy palette knife to make some scratchy effects!


Kate Yetter made the cutest decorations with Gwen Lafleur stamps! I love how the composition was just idea for both gift tags and christmas tree ornaments!

And Jennie created this very Icy looking Christmas decoration, would be perfect on a mantlepiece, in soft shades of blue.
 v
vLeandra and all of us here at team PaperArtsy