Showing posts with label Book Binding. Show all posts

Tuesday, 27 April 2021

2021 Topic 5 Find Your Vibe with ESN {by Ellie Knol}

2021 Topic 5: Find Your Vibe


Taking the humble piece of paper and transforming it into something completely more than the sum of its parts is part of what inspires Ellie's vibe. Add in some nature themed images and her gel prints wonderfully morph into books.
~ Keren
 
Hi everyone,
i
t's Ellie Knol with you today, and I'd like to share with you the process of making 3 books using 3 gelliprints for the front cover.
I first struggled to start on this theme... but after making notes I came to a point where I realized what gets me going: the vibes that inspire every time I start a project. 


The text on stamp set ESN47 from Sara Naumann gave me the final push in the direction I took. 


Making books and gel-printed papers, using Scripts and postal themed (ESN05!) product. Nature... that's what I love, that's what I do (did), over and over again... My vibe... 


The first book: heat embossing (Seafoam White Embossing Powder from Ranger) in a collage style onto the colorful gel print. That's all. Really. Nice? 


The second book: just as for the first book.. the stamps from Sara are so beautiful.. less is more... 


Oops.. the third book is a tiny one (ATC size). Why ? Read on and you'll find out. 


Three spiral bound books: two A5's and one tiny one. 


Let's start from the beginning.. I've made three A5 size gel prints; monoprints to be precise... they were one of the 'vibes' that led me to making these books. Aren't they pretty? 

These are the stencils I've used to make the monoprints: PS051PS074 and PS136


The first two gel prints: front cover for two books. What about the third gelliprint?
To start off I heat embossed the main image from ESN47 with a chunky embossing powder... the script was really a mess
I knew it, but wanted to use it because of it's color.. can you relate?
 ... toss it? No.. 
I saved part of it by making the tiny book. 


Some more pictures of the books.As there is a green-yellow color on them, it's quite a challenge to catch the in-real-life colors. Changing the daylight lamps giving indirect light helped a little but gave more 'darkness' on the pictures also.   
Enjoy... 


I've used three stamps sets from Sara Naumann: ESN46, ESN47 and ESN05.


I stamped the sentiment from ESN47 on the inside cover of the two bigger books with brown ink, and on the front cover of the tiny book with heat embossing seafoam white powder. 


Have you ever made a book? It is such fun!! Especially when you combine it with unique gelliprints, they are your very own and very personalized; gorgeous to give as a present. The beauty of what we love to do : creating with the use of beautiful art materials. 
As far as I am concerned the stamps and stencils I've played with are so beautiful, useful, and very versatile. Eclectic, authentic and unique. 
Inspirational, just as they are... nature themed is a plus, and combining all of the stamps and stencils is just amazing. 

Go do what you love to do... and see the beauty of what you did... 

Ellie Knol

Instagram: https://www.instagram.com/ellie.knol/  

Saturday, 19 August 2017

2017 #11 Books: Invisible Birds with JoFY stamps {by Christine Dark}

2017 Topic 11: Books - mini, maxi, binding


We do love a splash of colours, and tonight Chris Dark has a twist on using JoFY stamps which is an absolutely delightful project! We can always use more JoFY birds, even if they are hiding among the flowers! Read on to find out more...


Hi everyone, it's Chris Dark here with you today, and I'd like to share with you a little concertina style fold out booklet that's a style I've always found quick and enjoyable to make as it folds out flat so you can design a scene or simply create a border and add text lines for writing as I've done with mine.


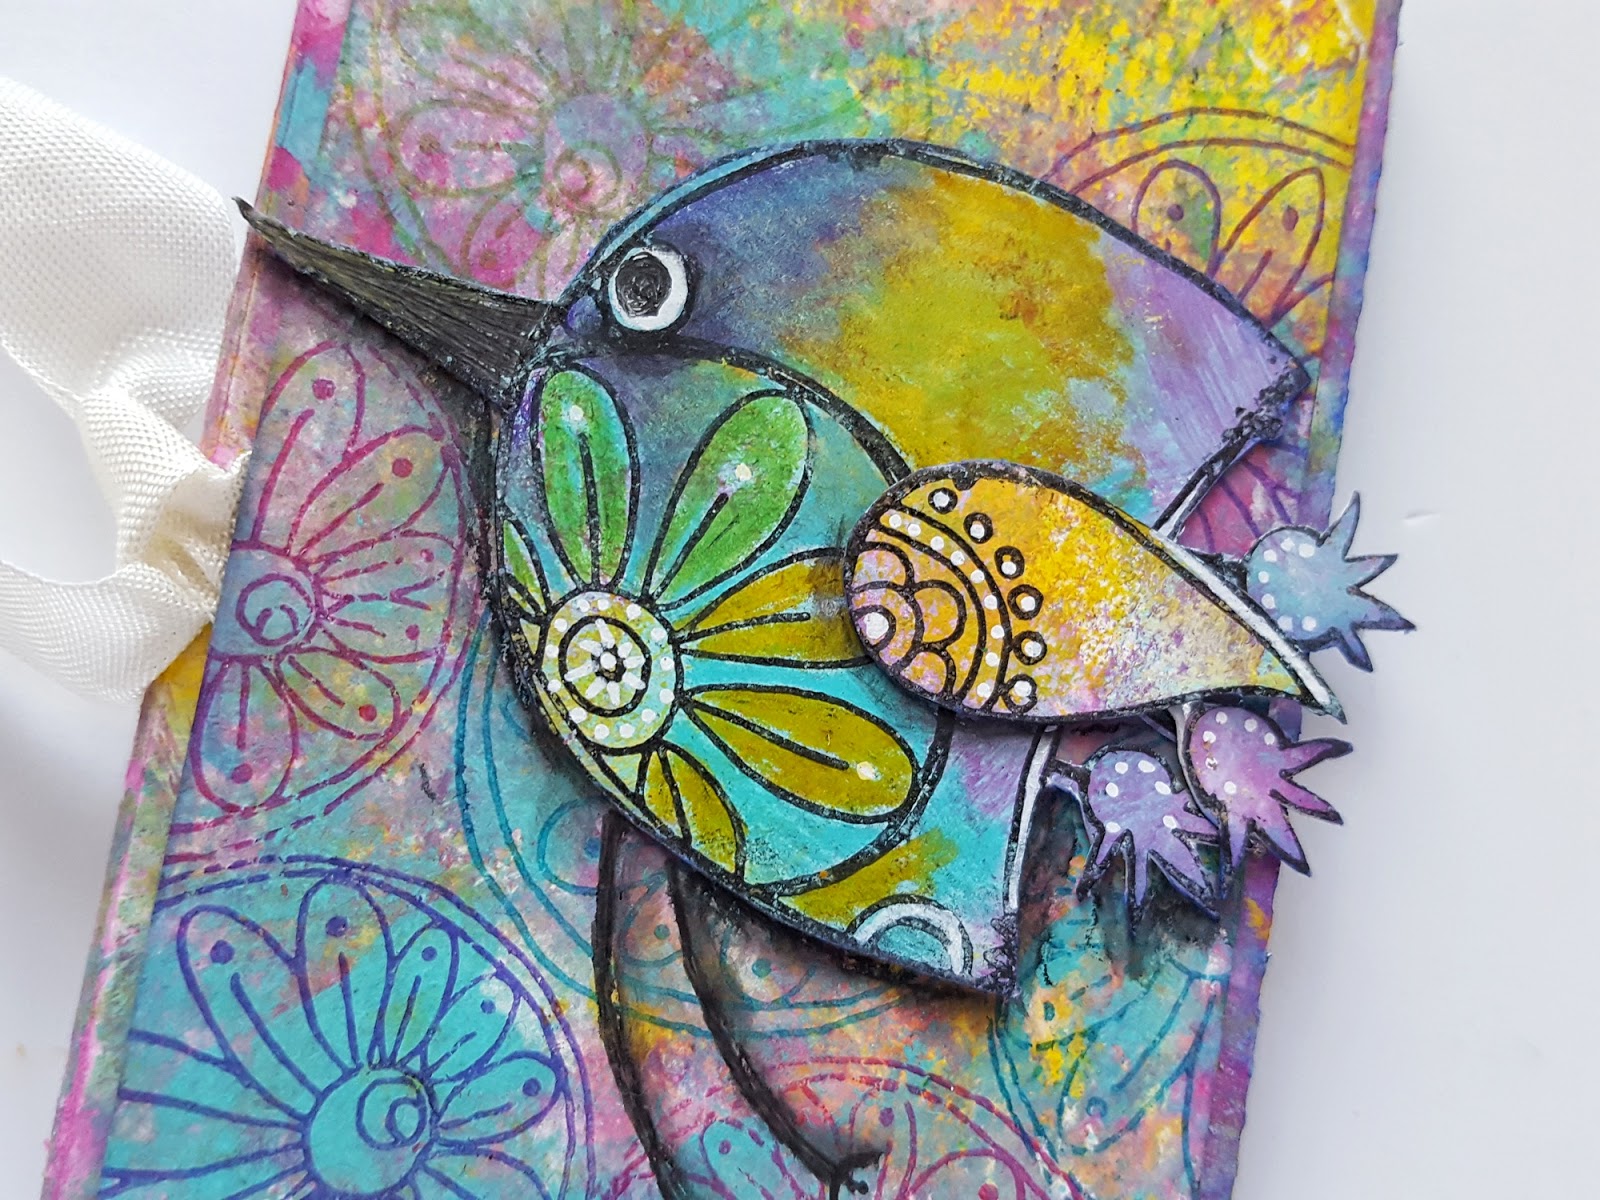
As soon as I saw this stamp set by Jo (Jofy54) I could see the main flower as a bird, the stem indicated a long beak and a leaf could be the wing with those centre stamens suggesting tail feathers! I don't always see stamps in this way and have long admired Lauren Hatwell's quirky take on many stamp sets so I was delighted when the set came to life for me like this.


I wonder if I would have noticed the bird shape if I hadn't picked up the set hotizontally, may be it was the way the little circles close to the top of the stem made me think of an eye! 
JoFY53 and JoFY 54 can be found here.


A baby wipe mottled background is one of my favourite techniques for covering large areas quickly and Fresco Finish chalk paints make it enjoyable because of the layering opportunites of the mix of opaque, transluscent and semi-transluscent colours in the range.


What I love about this stamp set is that there are element stamps that can be used in a variety of ways, I've used the circular floral stamps to create my border.


I added some coloured pencil here and there to the images for a bit of definition, I like to mix mediums together.


I was pleased with the colourway in my second bird, I found an area of colour on my baby wipe background that I particularly liked and stamped there. I've also added lots of doodles and some shadowing around the bird to finish.

This little book gave me so much pleasure to make and I think particularly so because I'd seen something different to portray in my interpretation of the stamps which is always very satisfying. I hope you'll join us in the challenge and show us your own favourite book style, as you can see from my project it doesn't have to be complex, just a matter of scoring a few folds and tying with ribbon!

Thanks for joining me this evening and have a happy and creative weekend!

Chris x

Blog: www.sketchingstamper.blogspot.co.uk
Facebook: https://www.facebook.com/christine.dark.7
Instgram: @chrisd999
Pinterest: https://uk.pinterest.com/cdark4163/
Find my classes at The Craft Barn

Your Lauren-esque take on these JoFY stamps caused a lot of laughter here at HQ! I can't say too much in public (LOL), but they were querying both your medication, and other extra-curricular activities Chris! Haha. Don't worry, I've got your back Chris, your reputation is intact! I love this little book too, the colours are so pretty, and I bet we see a few of these JoFY Birds turning up on canvases and journals! This is a fabulous idea! 


We always hope that you  learn something interesting from our blog

Our creative team love to read your comments so much, so please take time to let them know you've been inspired!  

Why not join our 2-weekly challenge by blogging your create response to the current topic and link it here?

The current topic link Topic 11 (Books: Mini/ Maxi/ Binding) will close 17:00 (London Time) Sunday, August 20th 2017, and the winner will be announced 2 hours later at 19:00.

All links go in the draw to win a £50 voucher to spend on products of your choice from the PaperArtsy online store.

Friday, 18 August 2017

2017 #11 Books: Book in a Box with ETS {by Chris Cresswell}


2017 Topic 11:  Book in a Box by Chris Cresswell


Chris is here today to shows us a 'book in a box' idea. These are a lot of fun, but boy can they take longer than you expect, you finish one side, then there is the whole other side to go...and Chris toiled for 4 days to produce this wondrous scrapbooking-mixed-media hybrid book, and wait till you see how she's used Infusions with the Oxide inks!!
Hi everyone, it's Chris Cresswell from loopsandlines.blogspot.co.uk with you today, and I'd like to share with you my 'Book in a Box'. I have loved making this project for several reasons: it incorporates my 'go-to' favourite colour combo; I was given 'free-reign' as to what I could make; I could use some of Tracy Scott's fabulous stamp sets - brilliant for art journaling - and it was an opportunity to create a mini photo album of my favourite little people - my five gorgeous granddaughters!

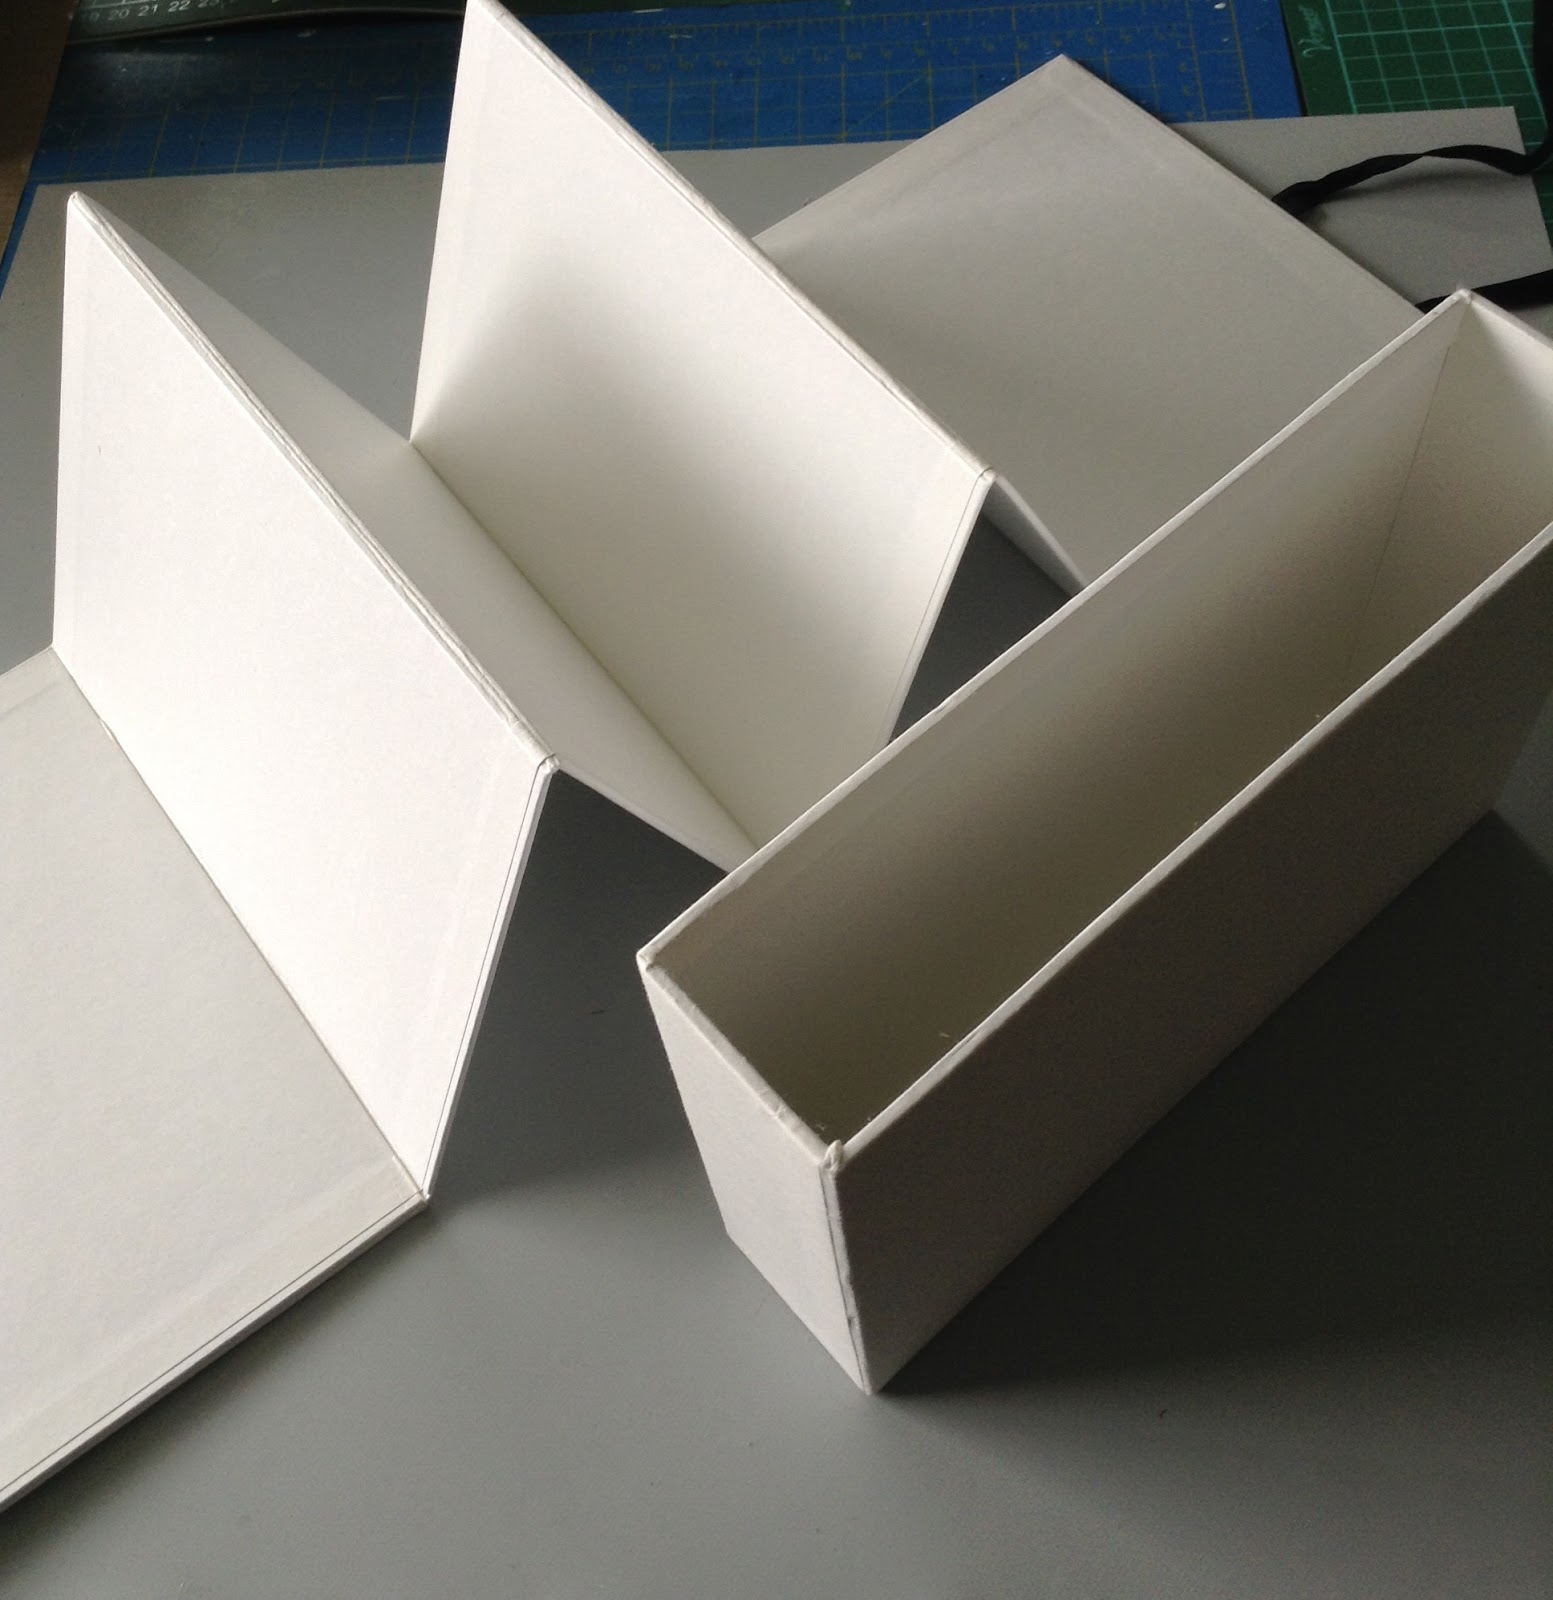
I recently bought a medley of mini books from the lovely Carol Fox in Tracy Evans' Declutter group which included the 'Book in the Box' I have used here. I'm unsure of the make as it wasn't in its original packaging, but I'm guessing Creative Imaginations.


Tracy's stamps are perfect for art journaling which is my first love, so I treated each surface as a large art journal page. However, I also intended to use a variety of mixed media to complete the whole project which took me four days. No one day workshop here! So how did I get from this blank canvas to ... this?


When I'm art journaling, I use a lot of paint - and a lot of colours. These are the ones I started with but I probably added a few more along the way. My huge box of Frescos is right beside me and too easy to keep dipping into for 'just the right colour'.


I'm not going to explain the build up of the way I decorated the box (and the back of the concertina book inside) as I have done that on my blog, but I will show a few photos of the key steps I generally use: collage, paint, stencil, stamp. I love using this structure as it builds a page relatively quickly and puts me right bang into the middle of my comfort zone!


I've used a little Fresco Chalk Elephant across the spread, a tip I learned from Kate Crane @ TheKathrynWheel, which helps to 'neutralise' the use of so many bright colours. I've also used a bubble stencil to add some 3D gel medium through.


You can see here that I've completed the box cover in the same way as the concertina book. When adding a stencil layer, I start with the lighter colours, already used in the spread, before adding darker colours from the same colour pallette - Fresco Chalk Bougainvillea will always make an appearance somewhere in an art journal spread. I love that colour. I've also added touches of Fresco Chalk China to contrast against the yellows, oranges and pinks, just to add some interest. I've used a mixture of Crafter's Workshop stencils and PaperArtsy: PS031, PS021 and PS011.


And now the stamping. These delicious stamps are taken from Tracy Scott's first set: ETS01.


I used Ranger's/Tim Holtz Distress pens to colour the stamps in after I had added more stenciling in black and a few extra marks here and there. I used Gelatos to add colour within the circles, created with bottle/jar caps, which added a lovely transparent layer to the colouring. A little doodling with a white gel pen completed the spread. Now for the inside pages. 


I used PaperArtsy Smoothy 240gms card to prepare some backgrounds for the photos, using Ranger Distress Oxides. I'm no expert with these oxides (I'm no Lesley Ebdon who is a whizz with these) but I am pleased with the ones I eventually selected to use. I tried to remember Lesley's tip of not swooshing the card through the saturated colour on the craft sheet, but just to dab. Easier said than done when you are heavy handed like me! They were vastly improved with the addition of some PaperArtsy Infusions I tried to match similar colours. I used: Golden Sands, A Bit Jaded, Olive Tree, Sleight Blue, Magenta and Frankly Scarlet. They add a gorgeous layer on top of those Oxides.
  

Before adhering the Oxides/Infusions backgrounds onto the book pages, I painted them with Fresco Chalk Bubble Gum and stenciled over it (using PS031) with Fresco Chalk Tango. After mounting the photos onto black card, I was then able to use Tracy Scott's gorgeous heart sets: ETS04/ETS05...


...to stamp and cut out the images to embellish the photos. Again, they were coloured in using a Distress pen. I will add some journaling to each page later.


I made good use of Tracy's stamps, as you can see from the final result. The box was completed in the same way as the reverse of the book, and only needed the addition of a title. Here I've used a Dylusions text stamp set from Stampers Anonymous to create the words. I have added more photos and more detailed explanations of how I created the journaled background, if you are interested, on my blog


It is such fun to create mini books and you have seen a wide variety over the past fortnight. I do hope it has inspired you to use some of these ideas to create your own. Mine has extra significance of course as it captures a few, small moments in the lives of my precious grandfairies. I like this art journal spread so much I might do something similar on a long, horizontal canvas, also using some Zinski monsters, for the littlest grandfairy's bedroom wall! Until next time...
Chris Cresswell.

Blog: www.loopsandlines.blogspot.co.uk
Facebook: Chris Cresswell
Twitter: artmadnana
Instagram: artmadnana
Pinterest: Chris Cresswell

Woohoooo what a brilliant burst of colour, and yes that box is from Creative Imaginations, sadly no longer available, but we used to sell them waaaaaay back! I'm pretty sure it would be easy enough to construct your own with greyboard, then cover it with copy paper and you'd be good to go! Love the amazing end result! What a fun 4 days you had!!! ~Leandra


We always hope that you  learn something interesting from our blog

Our creative team love to read your comments so much, so please take time to let them know you've been inspired!  

Why not join our 2-weekly challenge by blogging your create response to the current topic and link it here?

The current topic link Topic 11 (Books: Mini/ Maxi/ Binding) will close 17:00 (London Time) Sunday, August 20th 2017, and the winner will be announced 2 hours later at 19:00.

All links go in the draw to win a £50 voucher to spend on products of your choice from the PaperArtsy online store.