Showing posts with label Christine Dark. Show all posts

Saturday, 21 March 2020

2020 #5 Mark Making: Dream with ELB {by Chris Dark}

2020 Topic 5: Mark Making

Sometimes the simplest techniques are the best, and Chris has gone old school..literally, using an item we often associate with school; the wax crayon. She has made beautiful marks in so many different ways - it's like a mark making reference book!
~ Keren 

Hi everyone, it's Chris here with you today sharing a card for the mark making topic but what is mark making? I think I've always thought of it as any kind of marks put down on a surface to make art which of course includes stamping. There are so many ways to make them too using a myriad of tools, mediums, patterns or textures. Mark making is the descriptive term for all of these and you only have to look at prehistoric cave paintings to see our long history of enjoying it.

I've built my card front with layers of mark making using brayering, paint splattering, infusions sprinklings, babywipe wiping and wax crayon resist ​incorporating stamping with ELB30 by Lin Brown which has some beautiful accent stamps.


I've also incorporated some of the gorgeous new green Fresco Finish Chalk acrylics in Willow, Spring, Beanstalk and Gumboots which work so well together. For a bit of contrast I also added in some hints of Mustard Pickle,  Bubble Gum and Sherbet.


The wax crayon created a resist, I doodled lines and dots around the edges of my piece of Smoothy (heavyweight) cardstock.


The next layer is a mix of all the green paints with Olive Tree and Rusty Car Infusions on top which I also brayered into the still damp paint. I allowed the paint to dry a bit more before rubbing back a bit at the edges to reveal the white marks from the wax crayon.


A layer of stamping in paint with the beautiful text stamp from the set.
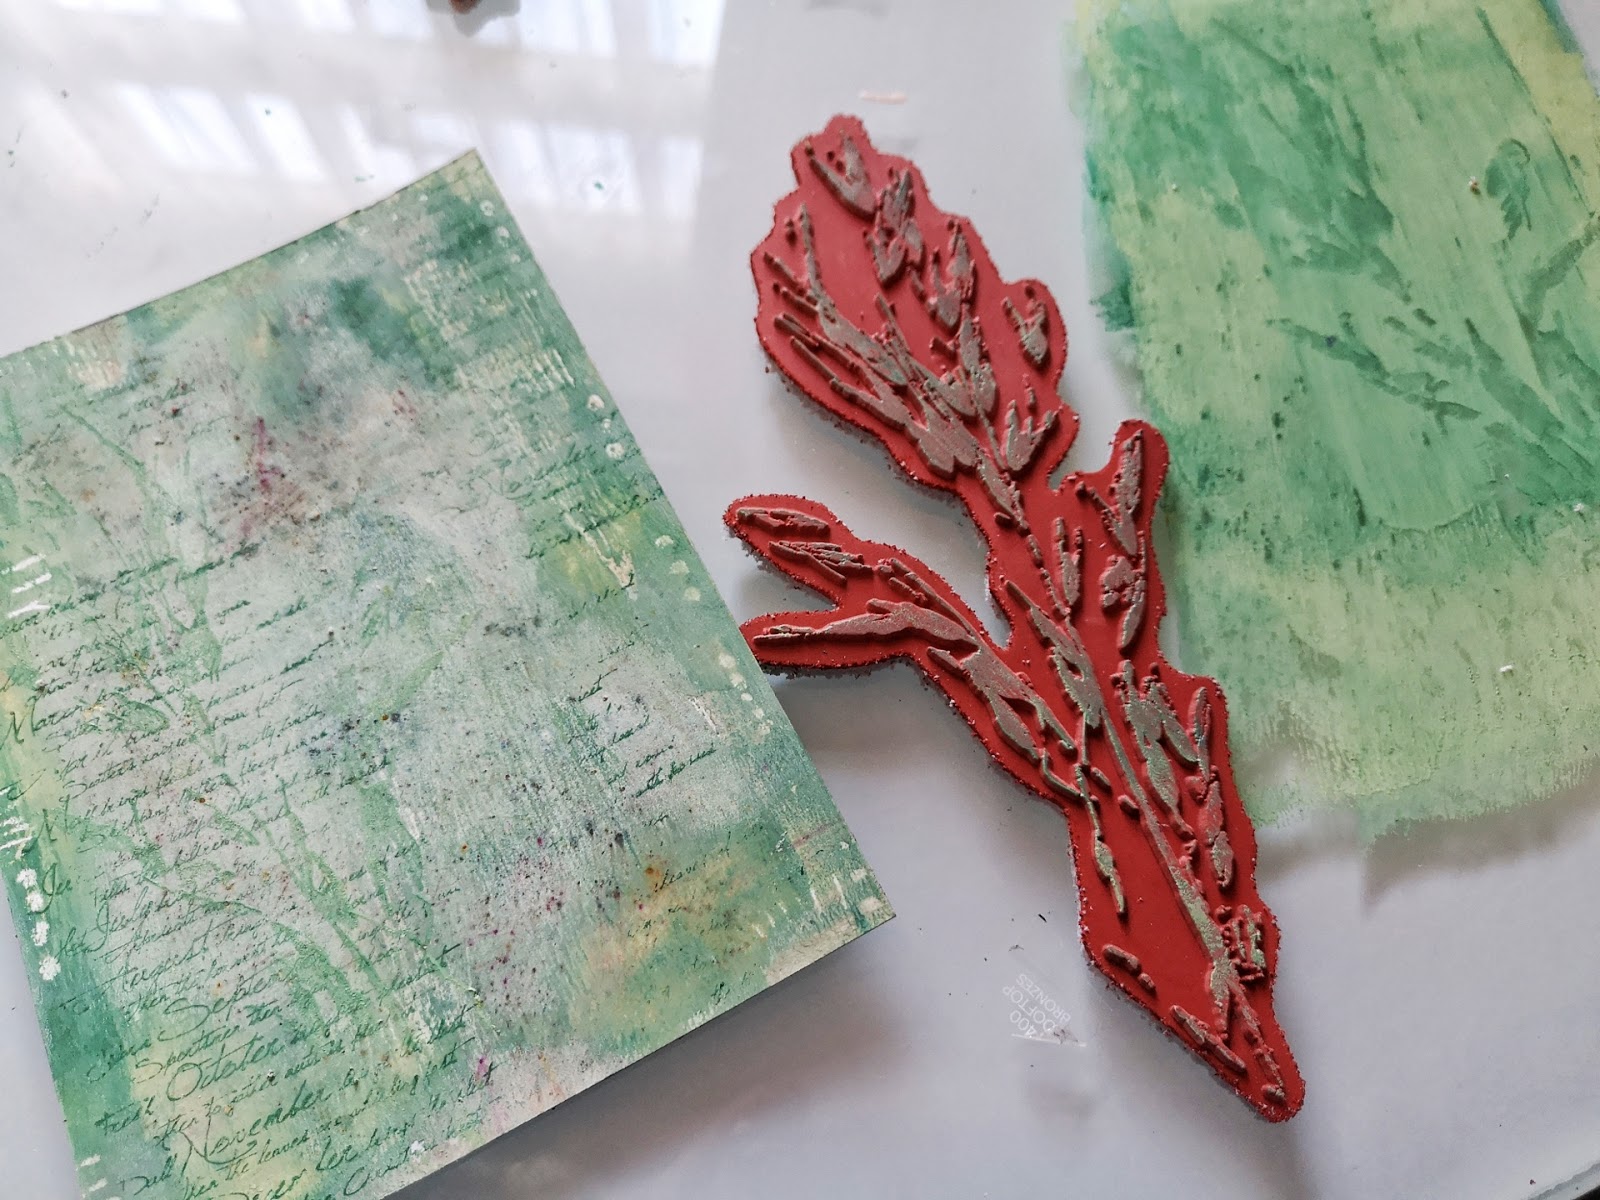

Another layer of paint stamping. 


Some of the accent stamps with the darkest paint which give a glass-like effect due to the transparency.


More layers.


At this point I prepped another piece of card to stamp the leaves to cut them out. 


The leaves are glued over the stamping underneath. I added more accent stamping in pinks, splatters of paint and more mark making using paint pens.


Sentiments are cut out and added with extra marking around them.


The skeleton leaves are beautiful and although associated with autumn, stamped in pink they remind me of my Acer which has pink edged leaves in spring. 


I love splatters and the random effect of them.


I hope you'll join us in this topic, I spent a very enjoyable time creating my layers and love the depth I got from the different kinds of marks, stamping and the different tools I used to make them.  

Thanks for joining me today, I hope you have some creative time yourself.

Chris x

Blog: www.sketchingstamper.blogspot.co.uk
Facebook: https://www.facebook.com/christine.dark.7
Instgram: @chrisd999
Pinterest: https://uk.pinterest.com/cdark4163/

Wednesday, 30 October 2019

2019 #17 A Vintage Christmas: Snowman with EKC {by Chris Dark}

2019 Topic 17: A Vintage Christmas


Chris has created such a gorgeous vintage effect with Kay's stencil and stamps and ended up with a softly pencilled and painted snowman with such an unexpected but wonderfully Christmassy colour scheme.Her gift bags and tags are really special.

Hi everyone, it's Chris Dark with you today sharing my take on A Vintage Christmas. There are so many ways to interpret this topic and everyone's idea of it will be different but holly, snowmen, snowflakes and Christmas tree ornaments are definitely to be featured in mine so I chose to work with gorgeous recently released Christmas stamps and stencils by Kay Carley. All the stockists for the stamps and stencils I used can be found in this post.  It's nice to do a pretty project like this now and again with lots of sparkle and a gorgeous palette of colours that I feel reflects vintage from Tracey Scott's new Fresco Finish Chalk Acrylic Paint release. Stockists for the paints can be found at the end of this post.

I always relish the prospect of working with stencils and Kay's snowman stencil PS161 is a joy. You can build him up so easily as all the parts of the stencil fit together for layering; look at the blog post linked above where Kay shows how the stencils can be used.  It's easy to create a different effect each time but  I've surrounded mine with holly from the PS162 stencil and the EKC32 stamp set. A gel plate helped me make the backgrounds, it works so well with the stencils for more layering of colour and the impression of texture.


I enjoy decorating gift bags and making tags for my Christmas gifts and everyone seems to appreciate them which is nice so I feel it's worth the effort. This one will be for my mum; it can be easily pegged onto the top edge of the bag.


There's a gel print in the background using some of the paints listed above. The Frescos  create a really nice base for stencilling and also for colouring with pencils. The mono print gives an even coating of paint on the card with a little tooth for the pencils to grab.


Die cut some holly, a silver skeleton leaf, silver mini clothes peg, and a silver glitter matting layer all help to add the vintage sparkle.


The gift bag follows on from the tag above in style with a stencilled and stamped mono print and then stencilling over the top. The die cut this time is cut from another mono print where real leaves were used on the gel plate.


The recipients name could be written in the heart instead of using a gift tag.


By using different parts of gel print you can achieve a nice variance in the colours but they all co-ordinate and the new Fresco colours are so pretty together. 


A bit of glitter card is another favourite thing of mine to use at Christmas and some wrinkled seam binding too.


Christmas makes are always my favourites although they are also the hardest makes to fit in at such a busy time of year so I'm glad I've made a start. My colour scheme is set with some of the beautiful new colours in Fresco range and the beautiful stamps and stencils from Kay help to get quick results. I've die cut lots of silver glitter holly for the rest of my tags and bags and I hope you'll join us in the topic! 


Thanks for joining me today and I hope you have some creative time this week.
Chris x

Instgram: @chrisd999
Find my classes at The Craft Barn


Wednesday, 31 July 2019

2019 #12 Eyes: Eye of Horus with EEV {by Chris Dark}

2019 Topic 12: Eyes


It's stunning how Chris has pulled this project together from a simple shape. The way she uses paints and infusions together is fantastic. Much to learn from these ideas! ~ Leandra

Hi everyone, it's Chris here with you today to share my card on this fortnight's theme of 'eyes'. I didn't have an idea for my project initially, I just knew that the plain petal shape from Ellen Vargo's stamp set EV009 was eye shaped so that was my starting point. As soon as the stamp set arrived and I could see the size of the petal stamp the idea came of the Eye of Horus (also known as a wedjat eye) as I knew I could build pattern around it and I've seen lots of variations of this symbol of protection in the British Museum, in artworks etc., it's popular for tattoos as well.

It was satisfying to be able to use all the stamps in the set, once I started I could see the possibilities and one of the pattern circles, the one with the radiating lines made sense to be used as the iris of the eye. As always though I started with the background, it somehow gets the creative juices flowing. 


As you'll see from the main project photo, once dry my card bent a little due to using a bit of wet glue with the hessian sheet but I can pop it under something heavy to sort that out later. I really like the texture the hessian adds and it fits the theme of the card. There's sparkle and shine in there as well with gold sparkle embossing powder and gold paint, they all help to add interest.


Blue Oyster, Blue Lagoon, Bora Bora, Beach Hut, and Gold were my colour choices in Fresco Finish Chalk Acrylics


 with Terracotta and Royal Blood Infusions.


Smoothy Heavyweight A4 White Stamping Card is my substrate, it holds up to the paint, infusions and brayering without the surface degrading. 


The stamp press came out so that I could repeat stamp the main feature of the card. As you can see I'm down to a 12" area of desk by this point! :D


I've stamped all the patterned petals over one of my backgrounds and they slotted together very nicely on the (dirty :D) stamp block to cover the background quickly.

Here you can see the layers of the eye. I stamped the plain petal again onto the turquoise background, drew a freehand border around it and cut it out. I stamped the radiating pattern circle over the white petal for iris and pupil and then glued them together.


I continued building a border pattern around the eye after sticking it to the gold background. The patterns are created freehand with a black paint pen and coloured with alcohol markers for ease of colouring the tiny parts of the patterns. A nice pearlescent effect is achieved because the gold paint beneath shows through the transparent markers. The transparent paints in the range could also be used for this step.


The flourish parts under the eye and the blue eyebrow over the eye were freehand cut from the blue background pieces and outlined with black paint pen. 


The stamped areas are coloured with markers outlined and highlighted with paint pen. I added pastel pencil under the eyelid area as well although a true eye of Horus would be completely void of shading in this area and there would be no iris just the black pupil. For some definition I've added black
watercolour pen around the eye and the sticker sentiments pulled out with a damp brush.


I doodled quite a bit in white, I find it relaxing and I've added more shimmer with some glitter paper and some perfect pearls around the black border using Seth Apters mini stamp EM44 and Versamark ink, I also used the stamp on the gold background with Blue Oyster paint for more texture.

It's very satisfying to make something completely different from a stamp intended for something else, so this was a very enjoyable make for me. I wonder if you have any stamps in your collection that you could re-purpose to create an eye and join in with us this fortnight, I would love to see what you come up with if you do.