Showing posts with label 2020 Topic 5. Show all posts

Saturday, 21 March 2020

2020 #5 Mark Making: Dream with ELB {by Chris Dark}

2020 Topic 5: Mark Making

Sometimes the simplest techniques are the best, and Chris has gone old school..literally, using an item we often associate with school; the wax crayon. She has made beautiful marks in so many different ways - it's like a mark making reference book!
~ Keren 

Hi everyone, it's Chris here with you today sharing a card for the mark making topic but what is mark making? I think I've always thought of it as any kind of marks put down on a surface to make art which of course includes stamping. There are so many ways to make them too using a myriad of tools, mediums, patterns or textures. Mark making is the descriptive term for all of these and you only have to look at prehistoric cave paintings to see our long history of enjoying it.

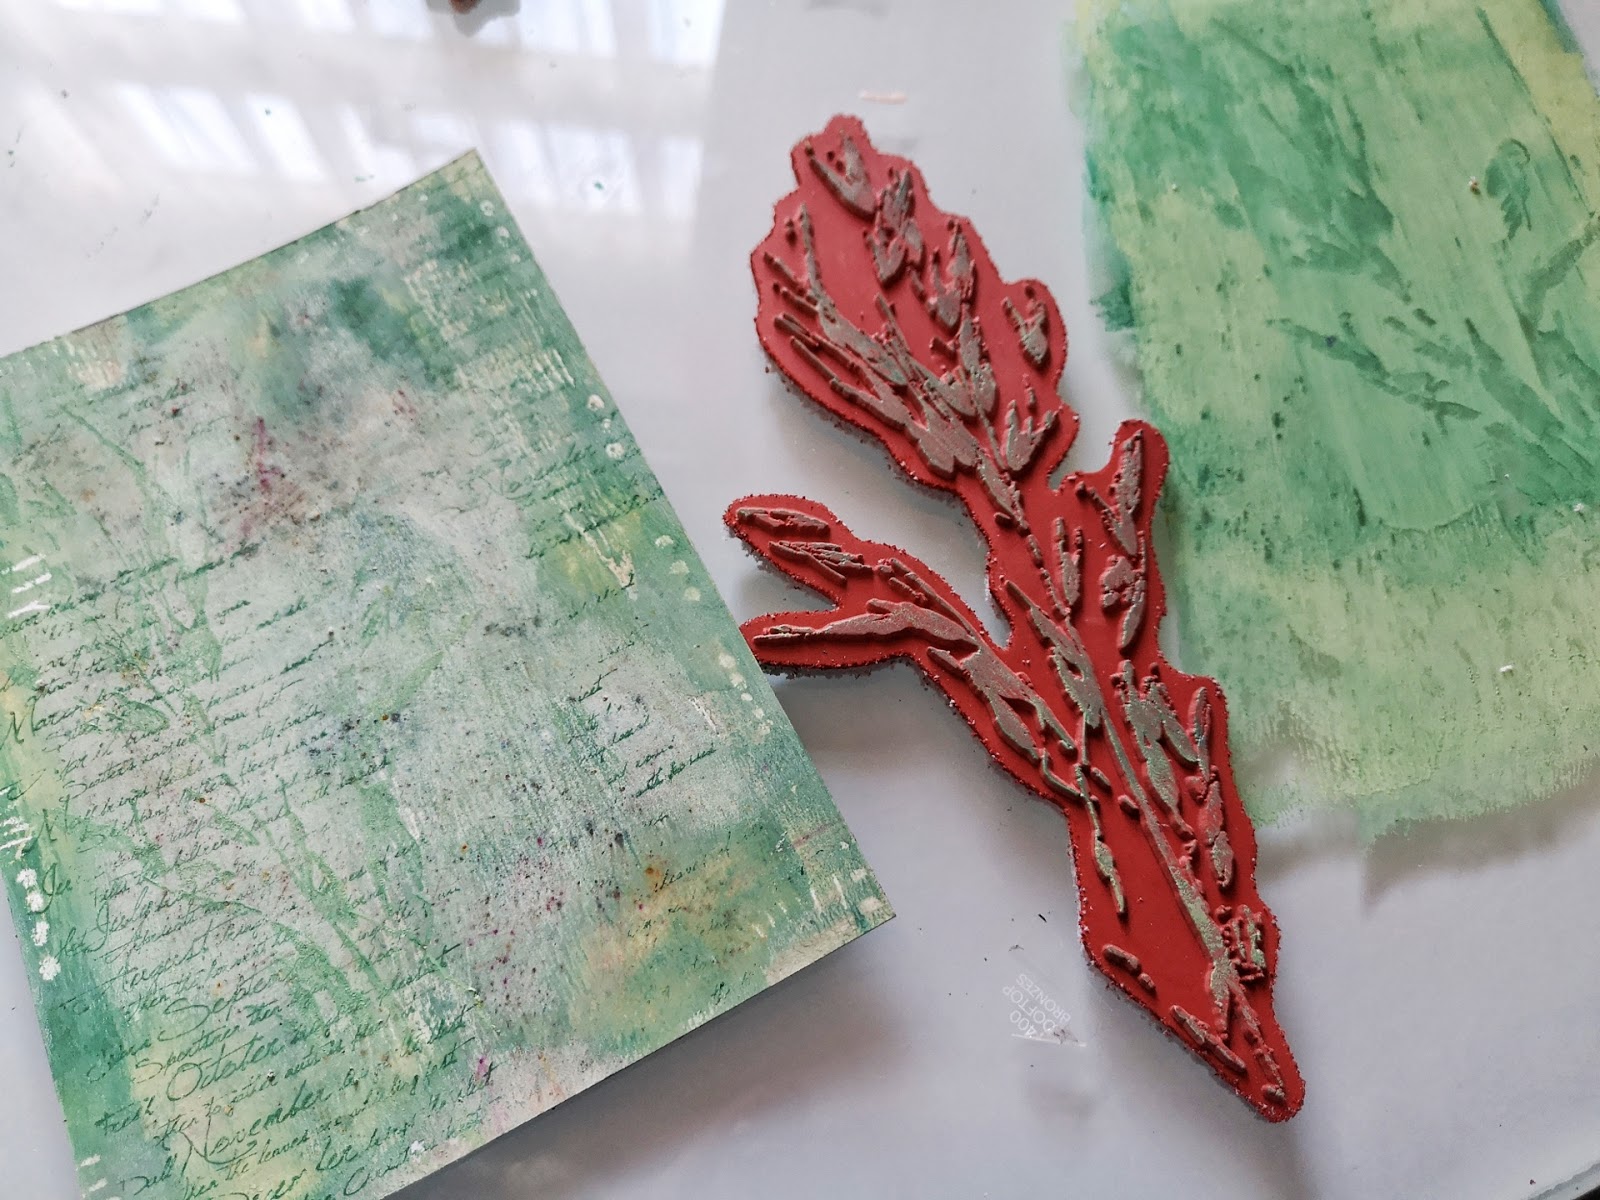
I've built my card front with layers of mark making using brayering, paint splattering, infusions sprinklings, babywipe wiping and wax crayon resist ​incorporating stamping with ELB30 by Lin Brown which has some beautiful accent stamps.


I've also incorporated some of the gorgeous new green Fresco Finish Chalk acrylics in Willow, Spring, Beanstalk and Gumboots which work so well together. For a bit of contrast I also added in some hints of Mustard Pickle,  Bubble Gum and Sherbet.


The wax crayon created a resist, I doodled lines and dots around the edges of my piece of Smoothy (heavyweight) cardstock.


The next layer is a mix of all the green paints with Olive Tree and Rusty Car Infusions on top which I also brayered into the still damp paint. I allowed the paint to dry a bit more before rubbing back a bit at the edges to reveal the white marks from the wax crayon.


A layer of stamping in paint with the beautiful text stamp from the set.


Another layer of paint stamping. 


Some of the accent stamps with the darkest paint which give a glass-like effect due to the transparency.


More layers.


At this point I prepped another piece of card to stamp the leaves to cut them out. 


The leaves are glued over the stamping underneath. I added more accent stamping in pinks, splatters of paint and more mark making using paint pens.


Sentiments are cut out and added with extra marking around them.


The skeleton leaves are beautiful and although associated with autumn, stamped in pink they remind me of my Acer which has pink edged leaves in spring. 


I love splatters and the random effect of them.


I hope you'll join us in this topic, I spent a very enjoyable time creating my layers and love the depth I got from the different kinds of marks, stamping and the different tools I used to make them.  

Thanks for joining me today, I hope you have some creative time yourself.

Chris x

Blog: www.sketchingstamper.blogspot.co.uk
Facebook: https://www.facebook.com/christine.dark.7
Instgram: @chrisd999
Pinterest: https://uk.pinterest.com/cdark4163/

Thursday, 19 March 2020

2020 #5 Mark Making: I Must Have Flowers with EGL {by Helen Chilton}

2020 Topic 5: Mark Making


Helen's beautiful mark making involves different types of paint, pen and thread. Her clever hack for introducing stitching onto canvas board means she's added texture as well as marks to a set of stamps you wouldn't immediately have thought of for this topic.
~ Keren

Hi everyone, it's Helen with you today with a post on mark making.

I suppose every time we stamp an image or put pen/brush/paint to paper, we're making a mark (in my case, not always where I want!). I've chosen some of Gwen's stamps, not the pattern making ones, but the flowers and birds for this post - I wanted to see if I could add marks to them in various ways.


Here's the large flower stamped in black.


You can add doodles in black.


You can add doodles in colour both to the petals and the background.


If you don't want to work freehand, use a stencil to guide you. I've used Posca paint pens for this as I tend to wobble with a fine brush!


Add as much detail as you like.


Work into the background with different colours.


Of course, as well as mark making, you can take out marks by masking as I've done here and on my canvas.


Thinking about mark making, you can also stitch. As I was working on a canvas board, I stitched onto painted paper and then tore it out.


Some stamps have a strong graphic element that just shout pattern and design, and in fact most of Gwen's designs are like this,but I wanted to try adding marks to a more pictorial set.
Don't be afraid to add to your stamped images - they're there to be used as you wish. I've enjoyed adding pattern and marks to my canvas - I used the paint pens as they're opaque and easier than a brush. Just be careful on the canvas as they can splatter a bit. However you could always incorporate that into your design!

Helen

Blog: A Splash of Colour

Tuesday, 17 March 2020

2020 #5 Mark Making: Make Your Mark with EEV {by Jenny Marples}

2020 Topic 5: Mark Making


When we look beyond the obvious to see more deeply, we can find things unintended. Jenny has 'seen' people in Ellen Vargo's set that make me wonder why we all haven't seen this before! With lots of marks both embossed and de-bossed, this is a beautiful tag well worthy of a second look.
~ Keren

Hi everyone, it's Jenny with you today, and I'd like to share with you a textured tag that makes the most of Ellen Vargo's wonderful stamp set.

If you've seen Keren's introduction post for this theme you'll have seen that there are many ways to 'make your mark' and I was inspired to try using a few of them to create this large mixed media tag.


During the process of making it I took photos to show how the main elements and marks were made. Starting with the base, a Tim Holtz Thickboard Small Tag, spread an uneven layer of Grunge Paste along the surface. Mist the diamond patterned stamp from the set EEV07 with water before pressing it into the paste while still wet. Re-mist and re-stamp across the rest of the paste to create the textured pattern seen below.


Once the paste is dry, prime the tag by applying white gesso to the top half (front and back) and black gesso to the bottom half (again, front and back).


Now for the Fresco Finish Paints - brush the top half with Heavy Cream and the bottom half with Squid Ink - I applied just one coat of each colour and ensured that a little of the base coat showed through the brush marks. You may also see that the edges and middle were delicately brushed with the contrasting colours at the top and bottom. Continue this onto the back of the tag, along with the solid central line of Steel Grey which is added more thickly with a smaller brush. When the paint is dry use a permanent ink gold pen to add a thin, hand drawn line over the Steel Grey one.


To make your mark in another way stamp the rectangular patterned image onto some card and cut round. It was at this stage that I it dawned on me that this reminded me of the silhouette of a person!


Cover the card in embossing ink, then a silver coloured embossing powder and heat set; I used Emerald Creek Craft's 'Hammered Metal' for this stage. Repeat three times to add depth to the finish before re-stamping the image into the final layer when still molten. I find using ink on the stamp helps to release the stamp from the embossed pattern when it cools, and it's definitely a technique I feel most comfortable using with deeply etched rubber stamps like these as you know they'll take the heat.


To help the pattern 'pop', brush Niagara Falls Fresco Finish Paint lightly over the embossed 'person'. Use the same colour to paint a lace effect die cut strip.


For another spot of mark making paint a small tag with Gold Rush Fresco Finish Paint before stamping the arrow pattern along it with Buff Fresco Finish Paint.


Taking all these elements I began to 'build' the tag, adding leftover scraps to add texture and contrast behind the 'person'. Included in these is a leftover bit from the Cherry Blossom Gift Box featured on the blog a while back because it also had the Gold Rush colour in the background. There's also a piece of cotton lace coloured with some of the diluted Buff colour - it's amazing what finds a new home when you keep your scraps!


In order to add another pop of contrasting colour I dug out a little die cut heart and coloured it with Salmon Fresco Finish Paint and added it to my 'person'. And to finish there had to be words. The phrase 'make your mark' sprang to mind for so many reasons but I didn't have all of those words to hand so, in a final mark making exercise I stamped the individual letters with a little block set that's been in my stash for years.


Hopefully this has given you a few further ideas for making marks on your art particularly when using the deeply etched rubber stamps and gorgeous chalky finish paints from PaperArtsy. And I'm interested to know if you can see any other shapes in Ellen Vargo's patterns?