Hello everyone, Martha (@CrfatingMartha ) here with you today for a trip back in time! I am so excited to share an interactive 'never-ending' card, packed with warm colours, funky doodle layers, and a delightfully nostalgic palette.


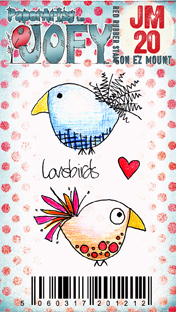
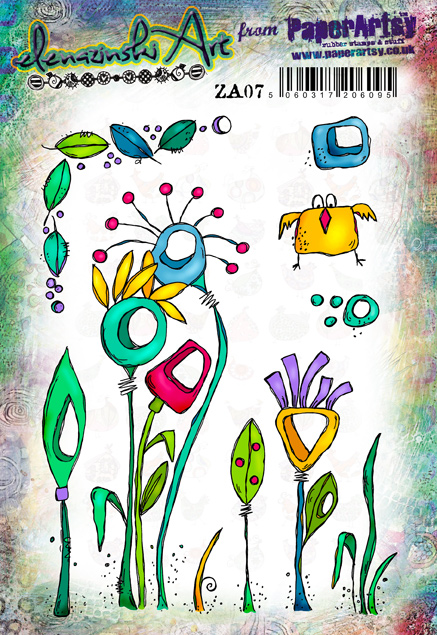
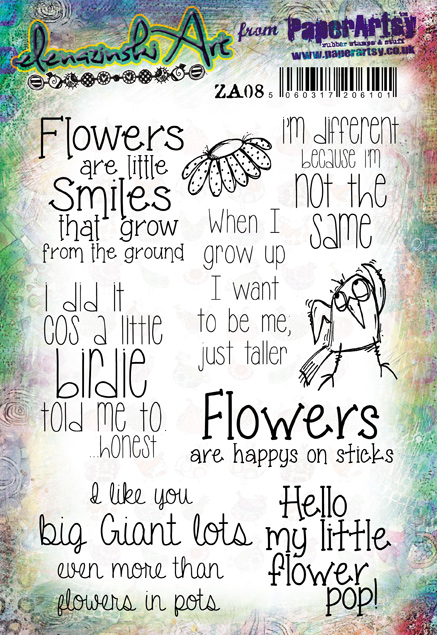
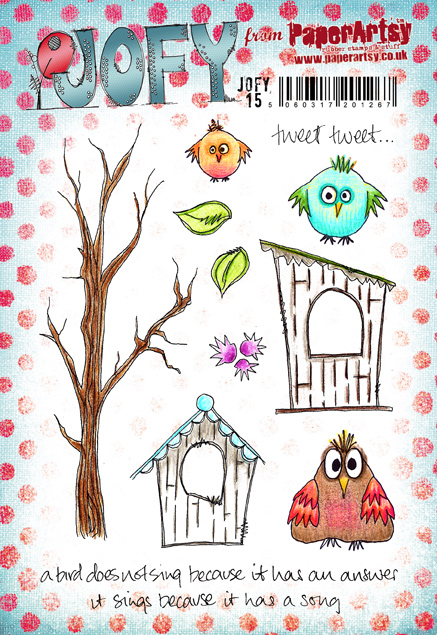
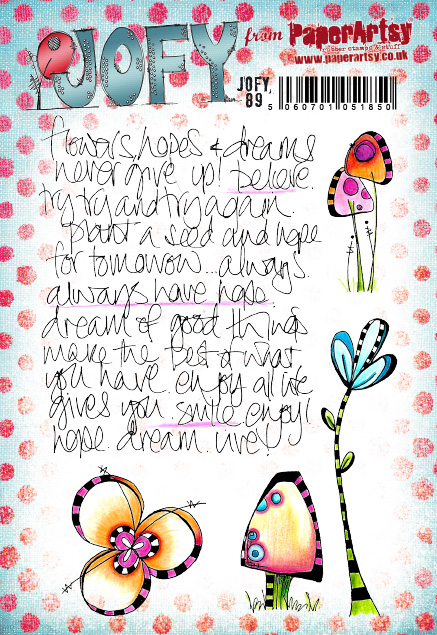
The spectacular March release by Jo Firth-Young instantly stole my heart and inspired me to play with retro vibes using her new mini stamps and stencils. To bring this project to life, I also decided to dust off an older stamp set featuring those wonderfully bold, chunky flowers that scream 'flower power' to me.


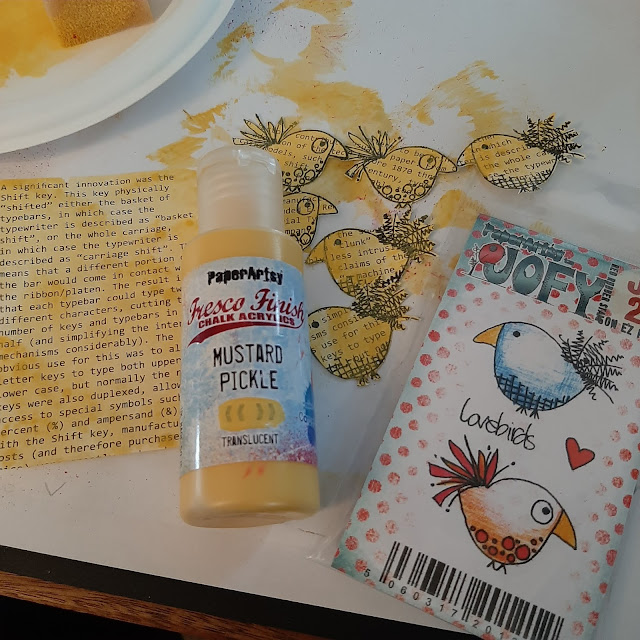
To capture that authentic retro aesthetic, I curated a warm, earthy, and slightly dusty colour palette using PaperArtsy Fresco Finish Chalk Acrylics. I chose the Chocolate Pudding (FF42), Cayenne (FF159), Mustard Pickle (FF148), for a striking pop of contrast, I added Caribbean Sea (FF94) and Slimed (FF137). While the final color balance turned out slightly different from what I had originally envisioned, I absolutely love the result!
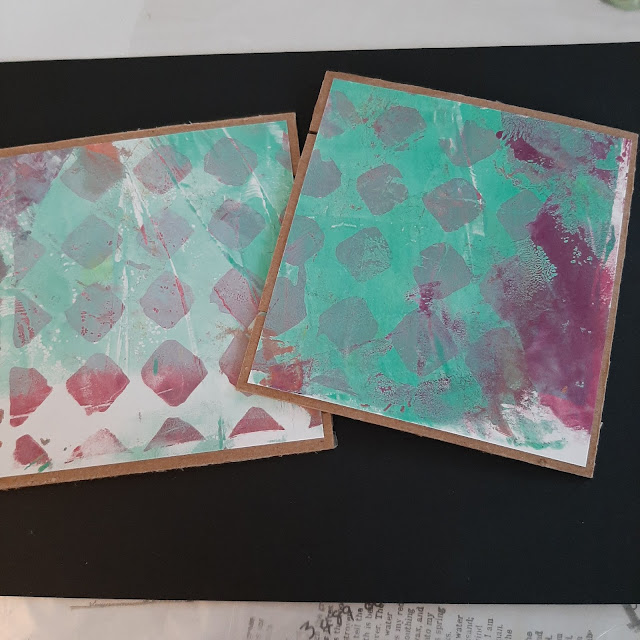
I used the three stencils from JOFY's latest release PS512, PS513 and PS514 ( as usual, you can find the latest release products at the PaperArtsy stockist listed here ), to build my backgrounds, simply applying the paint with a dedicated sponge for each colour.
I used the three stencils from JOFY's latest release PS512, PS513 and PS514 ( as usual, you can find the latest release products at the PaperArtsy stockist listed here ), to build my backgrounds, simply applying the paint with a dedicated sponge for each colour.


The beautiful vase stencil PS514 inspired me to create a layered pattern, overlapping the shapes in different shades to build depth.

By the end of this first stage, I had created a collection of vibrant, textured backgrounds ready to be cut down into panels.


As well as a background, I wanted to use the PS514 stencil to create a focal image too.
First, I stenciled a vase using a sponge and let it dry completely.
Next, I replaced the stencil exactly over the painted shape to act as a protective mask.
I then stamped some of the mini geometric patterns directly through the stencil opening. This ensured the stamped designs stayed perfectly inside the vase silhouette with crisp, clean borders.
Next, I replaced the stencil exactly over the painted shape to act as a protective mask.
I then stamped some of the mini geometric patterns directly through the stencil opening. This ensured the stamped designs stayed perfectly inside the vase silhouette with crisp, clean borders.

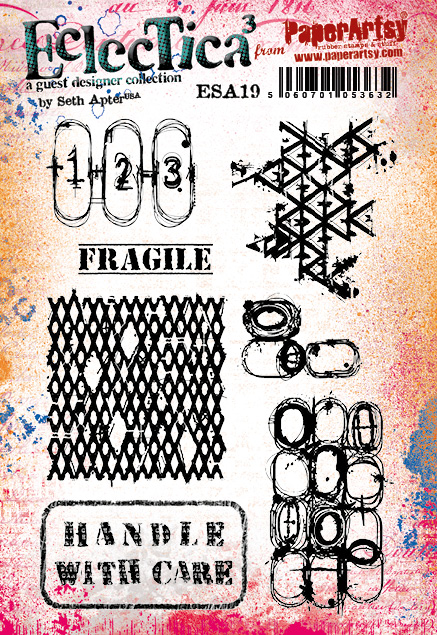
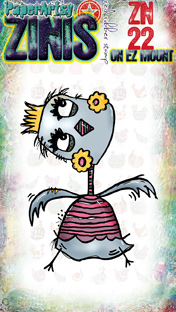
I stamped some flowers from JOFY95 stamp set onto cardstock and heat-embossed the outlines with clear embossing powder.

Once embossed, I painted the petals using my Fresco Finish paints highly diluted with water, creating a beautiful, translucent water color effect.


Since I wanted to showcase some of the gorgeous new mini stamps, I knew a neverending card structure would be the perfect interactive choice.
You can find in the photo reminder of how to make the structure.

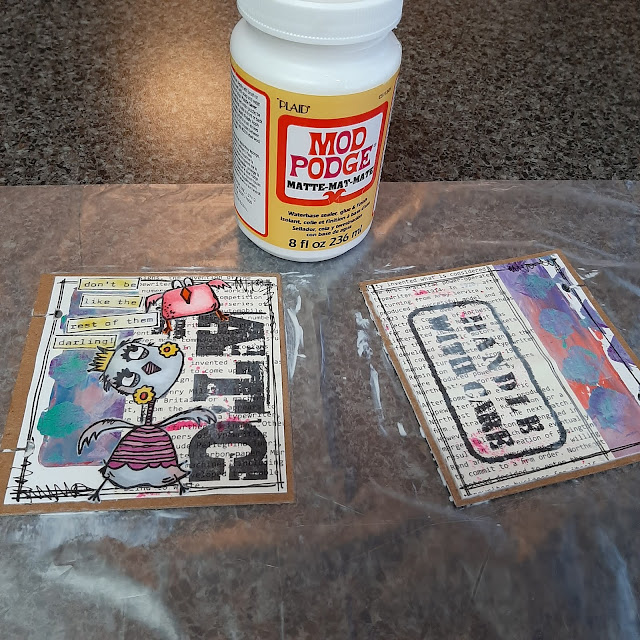
I cut out the squares and rectangles from my custom backgrounds to decorate each section of the card.

For these long side panels, I added some playful, abstract detail by randomly stamping the geometric curves from JM100.

I then fussy-cut the water coloured 'flower power' blossoms and layered them onto the central panels to create a striking focal point.


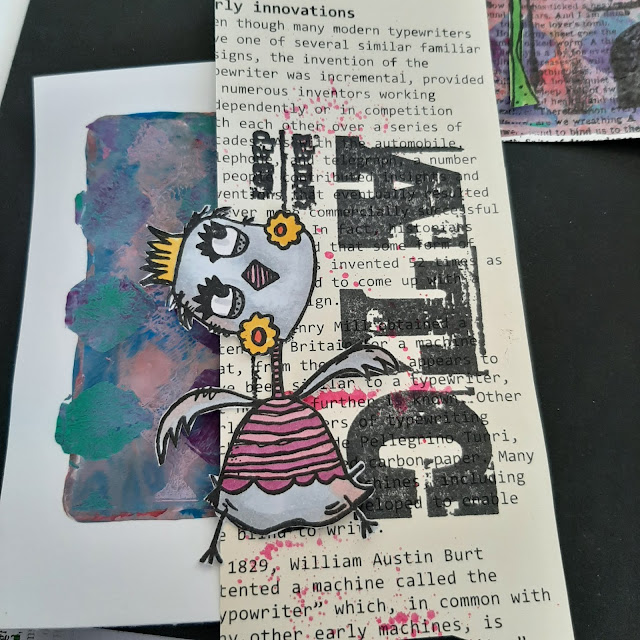
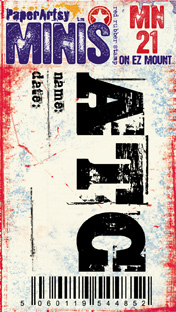
To prevent the busy backgrounds from becoming visually overwhelming, I made a conscious design choice for the other panels. While some images were stamped directly onto the stencilled papers, others were stamped on a separate sheet of cardstock, fussy-cut, and kept in crisp black and white. This created a perfect visual balance. For this part of the card I used JM97, JM102 and JM104.

Again, some images were stamped directly onto the background (with solid color this time, not through the stencil), with JM99 and JM102, while others were colored and cut out.

My absolute favourite spread is the one featuring the large Chocolate Pudding (FF42) vase. The pops of Caribbean Sea (FF94) dots on the vase, combined with the vibrant hand-painted flowers from JOFY123, feel so wonderfully retro.


And here is how the card unfolds, revealing its four different faces.


The defining feature of a neverending card is its continuous folding mechanism, which means you have to be incredibly mindful of the embellishments you apply. On two of the spreads, I made sure all my decorative elements stayed strictly within the square panels.


However, on the other two spreads, I chose focal elements that crossed over the edges. To allow the card to fold seamlessly without catching, I had to carefully slice through these overhanging stamped elements exactly along the fold lines after gluing them down.


I still have a lovely pile of extra stencilled vases on my desk, just waiting to be filled with more funky flowers for some standard-sized cards. The possibilities really are endless!

Have fun!
Martha xxx

Instagram:craftingmartha
Facebook:Crafting Martha
YouTube:Crafting Martha
Blog:alazyscrapper
Pinterest:alazyscrapper