Servus everyone, it's Claudia from Von Pappe II with you today, and I'm happy to share with you an autumnal home decor piece I've made.
Right now the fallen leaves on the ground already start to lose their colours and turn into a muddy grey, but there are still some that have their beautiful autumn colours and these not only pop due to their exploding colours but also catch my eye because their intriguing detail becomes more visible at that time of the year.
Sadly, when you try to use real autumn leaves to craft with, they sooner or later warp and lose these incredible colours and texture - so when I discovered the beautiful stamp sets from PaperArtsy Eclectica Designer Courtney Franich, I knew that was the solution to that problem! I was finally ready to do a little autumnal arrangement of dried seeds, stamped and painted (faux) autumn leaves and twigs in all their golden autumn glory in a cloche!
I had already started looking out for dried flower bouquets that I could take apart (and I finally found one at a reasonable price in a dollar store that had some really lovely seeds on stems I wanted to use) earlier this year, as I always love to have little collections of this 'n' that on hand whenever the mood strikes. I also gathered some rusty wire pieces, a round piece of green foam for arranging flowers, some tacky glue, cheap sturdy printer paper, archival stamping ink, two little empty spray misters, matte acrylic spray sealant, PaperArtsy Fresco Finish Chalk Acrylic paints, Infusions and Rusting Powder and - of course - my cloche.
You might be able to see a piece of wood in the upper right corner behind the paint bottles - an alternative base, just in case I couldn't fit everything under the cloche the way I planned to.
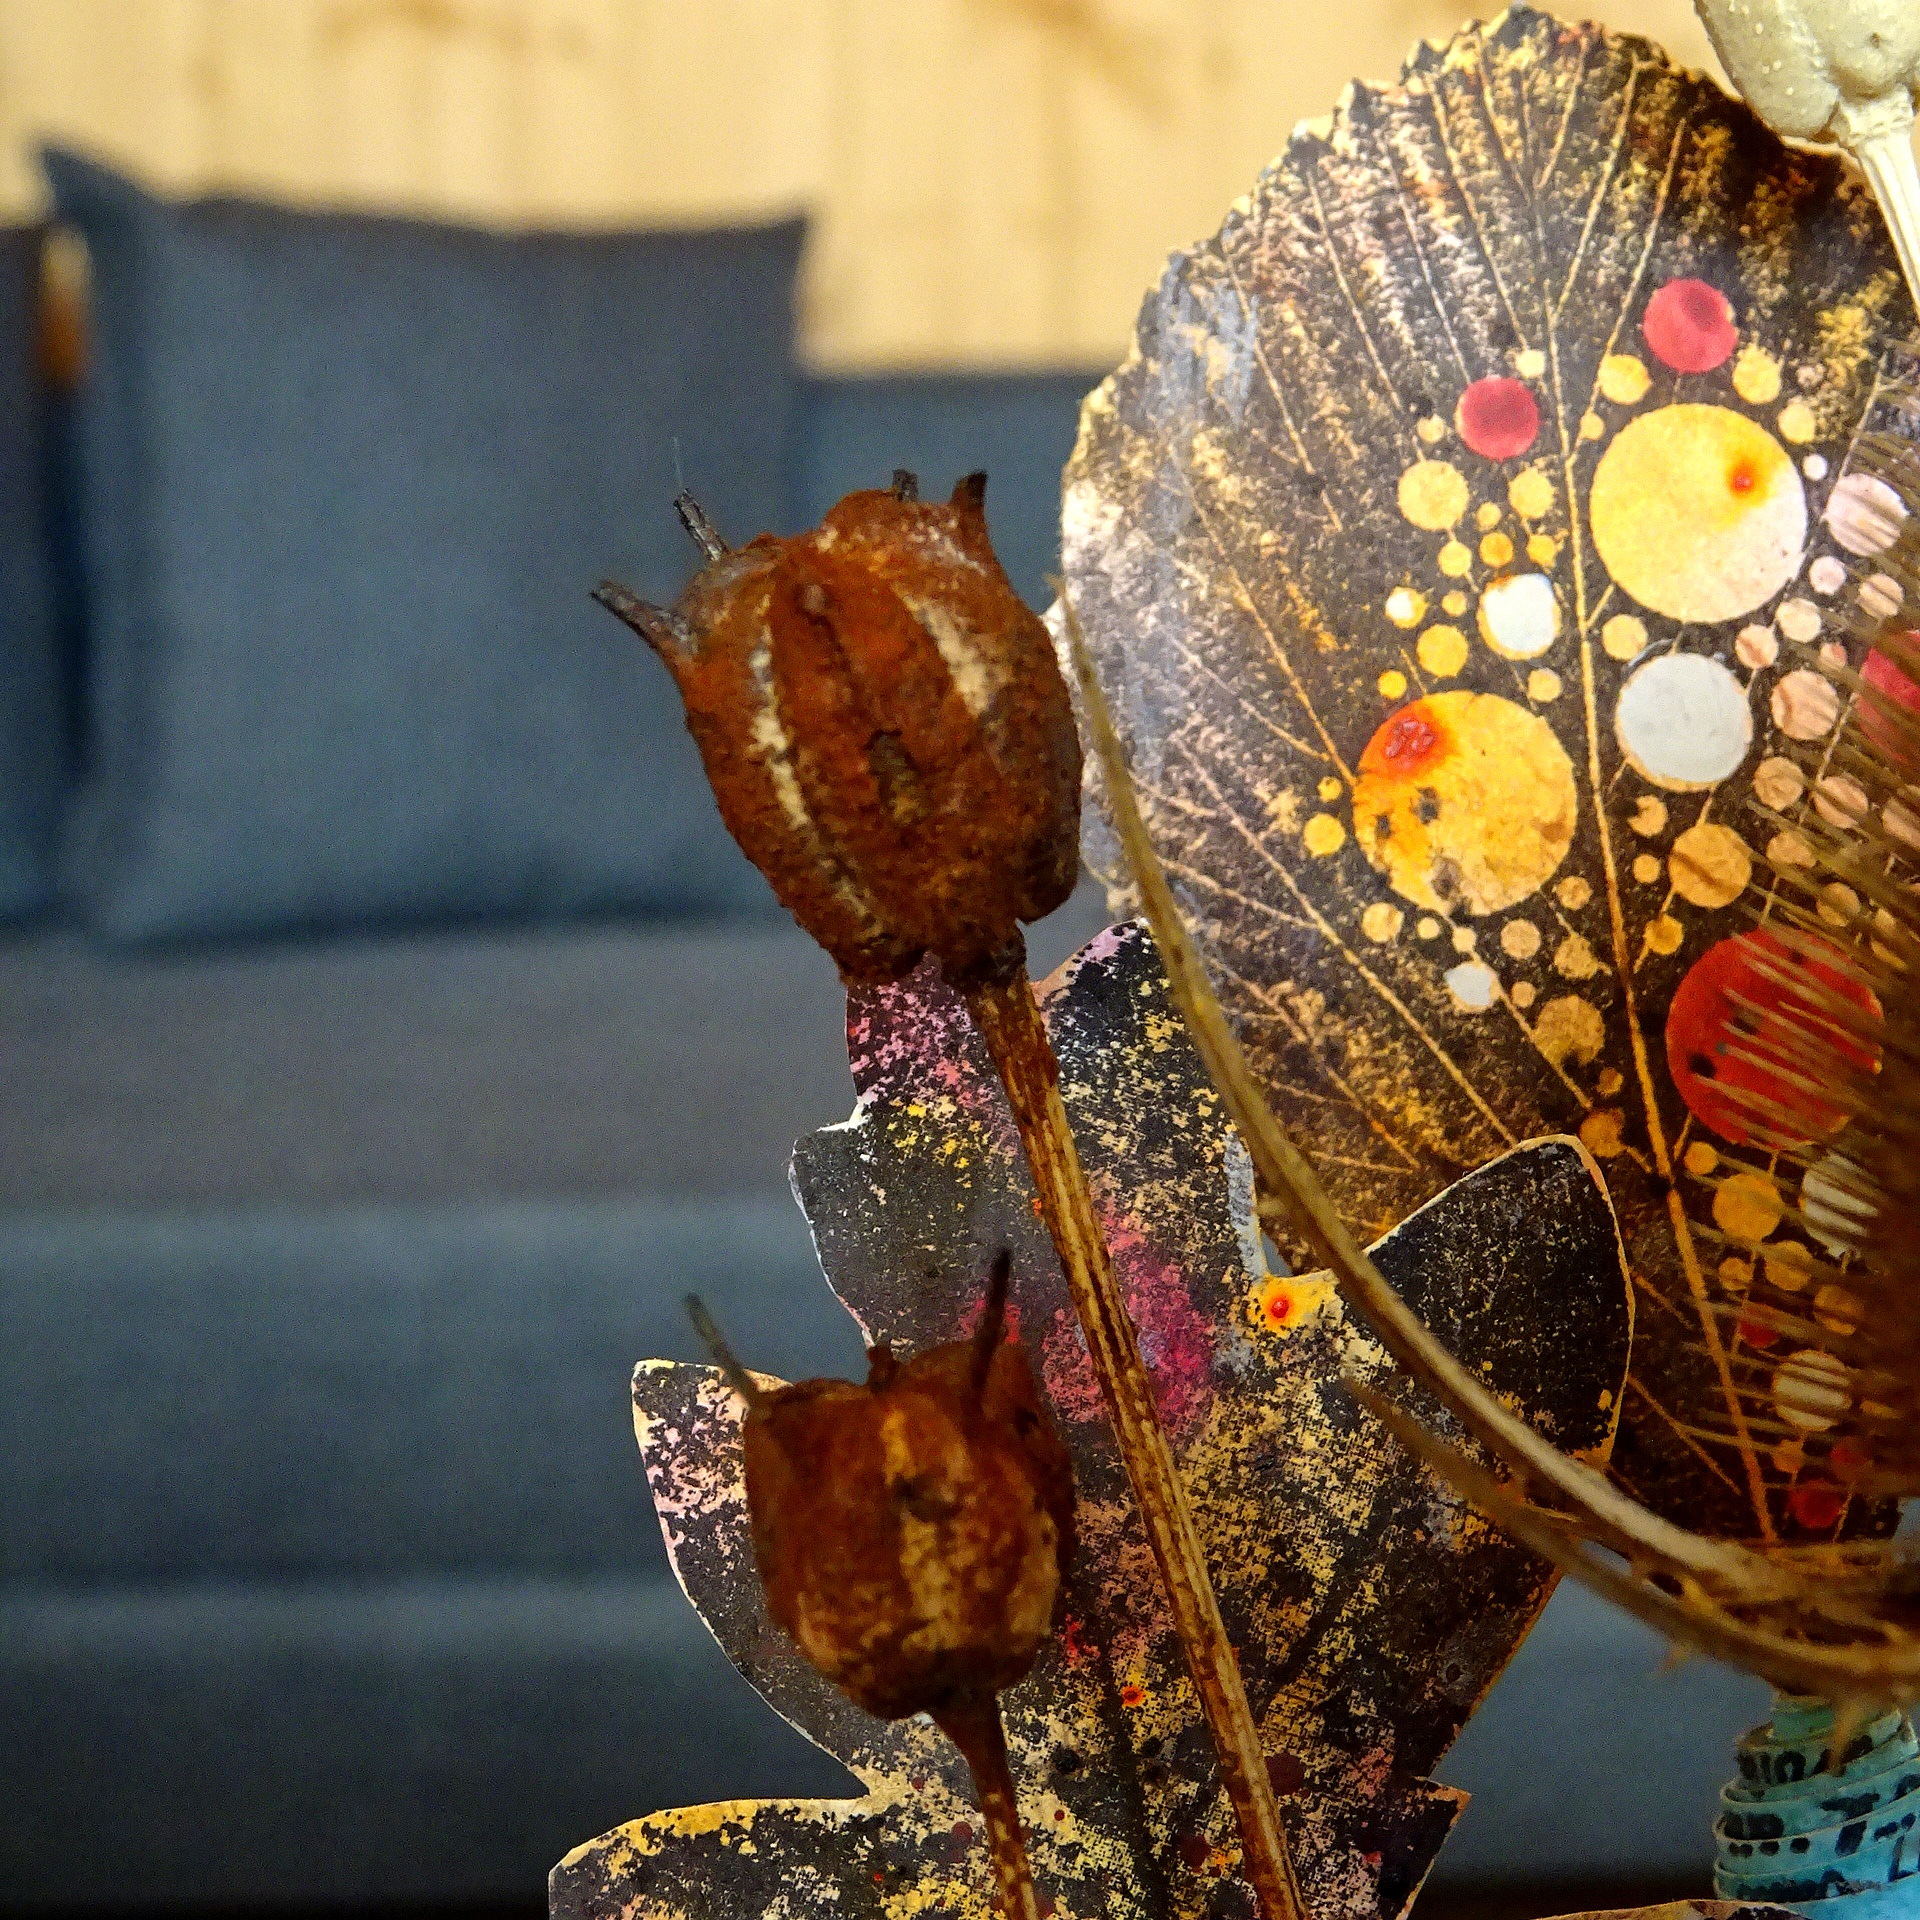
My mother-in-law had also brought home some really cool seeds from her recent trip to Greece (the three small brown ones in the foreground) and I had gathered some dry (and very thorny) teasels near our house. These were all perfect for the arrangement I had in mind.
My plan was to stamp the beautiful leaf designs onto a background created with self-made paint sprays and
PaperArtsy Infusions. So I prepared my first acrylic spray paint by adding a small amount of Paper Artsy Fresco Finish Chalk Acrylic - Claret (
FF31) to my little spray mister and filling it up with clear water. Once I had screwed on the spray nozzle I shook the mister really well so the acrylic paint would be thoroughly mixed. I tested my spray paint on a sheet of sturdy printer paper and added a little more paint to the mix until I got the intensity I wanted. Time to do the autumn leaf backgrounds!
I sprinkled some PaperArtsy Infusions - Golden Sands (CS05) and Rusty Car (CS17) onto the printer paper and misted that with my prepared paint mix.
Where I didn't like the intensity I used a piece of kitchen roll to dab off what was too much. But I really liked the results! What an explosion of colour!
I did a variation with clear water instead of the spray paint. Then I decided to get a little more experimental!
I used my paint spray again with the two Infusions and misted the sprinkled on crystals and pigments really well. Then I made a print by putting another sheet of printer paper on top and rubbing across that with my flat hand. I pulled the print and found that produced some truly gorgeous texture! So I did several of these before I mixed my other spray paint - this time using PaperArtsy Fresco Finish Chalk Acrylic - Koala (FF141) - a nice warm grey. Just perfect for autumnal leaf backgrounds.
While the papers and prints were set aside to dry, I slightly altered some of the seeds I wanted to use by giving them a treatment with sprayed and brushed on Fresco Finish paints and PaperArtsy Rusting Powder (RP45).
To make the Rusting Powder stick to the cones and seeds I used the PaperArtsy Fresco Finish Chalk Acrylic paints. With the seeds above I used up what was left of the Claret spray paint from the mister.
The cone got dry brushed with PaperArtsy Fresco Finish Chalk Acrylic - Concrete (FF63) and then the Rusting Powder got sprinkled onto the still wet paint.
I had cut off part of the green foam disc (as it was too high). Now I used that as a stand the wet cone and seeds could dry in. To activate the Rusting Powder I regularly sprayed them with white vinegar and heat dried that before I sprayed on another dose of vinegar.
It takes a little time for the rusting to show, but it's soooo worth the wait! The picture above shows the gradually rusting cone to the left and the original white one to the right.
Time to stamp my leaves! The awesome Courtney Franich stamp sets (ECF05 and ECF06) with their fantastic autumnal leaf designs were just perfect and stamping these onto the PaperArtsy Fresco Finish Chalk paints and Infusions backgrounds was so rewarding!
I fussy cut the leaves I liked most. During the stamping process I had found the black stamping ink was too hard a contrast, so I had switched to Tsukineko StazOn - Ganache, a dark brown. I already loved my leaves at that point, but I wanted to take them a bit further.
So I went in with a detail brush and added a wash of PaperArtsy Fresco Finish Chalk Acrylic - Claret (FF31) and Concrete (FF63) right from the bottle here and there.
Time to prepare some stamped text paper to create my paper beads from! You could as well use an old book page, but if you don't have one at hand you can simply stamp your own "page". I used the lovely script stamp from the Courtney Franich ECF05 stamp set and Ranger - Jet Black Archival stamping ink.
According to the shape and length you cut your paper strips to, you will result in differently shaped beads.
I wanted my beads to contrast the warm orange, yellow and red tones from the leaves, seeds and twigs, so I decided to tone the white paper to some bright turquoise.
Once the stamped text had dried, I added a wash of PaperArtsy Fresco Finish Chalk Acrylic - South Pacific (FF45) on top and heat dried everything.
The left bead was done from the whole length of my sheet, the other two only from half the length.

Time to prepare the base I wanted all my leaves, seeds, twigs and the teasel onto. I used some of the paper prints I had prepared as my leaves backgrounds and coated the ugly green foam disc with these.
No need to work too precisely as the load of objects being put in and onto the base would draw all the attention towards them. So I eyeballed instead of measuring precisely (which is a lot faster).
To add a little more interest to the base I decided to wrap around some rusty wire before I started arranging everything else and finish up my home decor piece.
The wire stems got attached to the leaves' backs (which I had loosely painted in PaperArtsy Fresco Finish Chalk Acrylic - Koala (
FF141)) using more tacky glue and a little scrap of tissue wrap.
After playing around for a while with heights and positions, every element and detail found its perfect spot!
And the cloche still fitted! Yay!
Combining real nature finds with stamped elements that mimic nature's beautiful designs can really help with taking nature inspired projects to the next - and more durable - level! By replacing real autumn leaves with the beautiful stamped ones from the stamp sets I could finally take autumn inside the house without having it crumble away and lose colour! Also experimenting with the self made spray paints and Infusions was not just great fun but also very rewarding! And getting a dose of rust onto natural objects by dry brushing them with Chalk Acrylic paints and then sprinkling the Rusting Powder onto the wet paint is just so easy and makes a great impact as well!
I hope my little home decor project leaves you with wanting to try out one or the other idea or technique and also be daring and use your products in new experimental ways. Have fun!


6 comments:
Wonderful way to bring autumnal colors into your home! I love the colors and patterns you created on the leaves, the contrast with the turquoise text paper beads, and the rusty seeds and pods.
Thank you for your clear instructions, tips, and step-out photos.
What a fabulous project! I love the autumnal rusty colours
WOW, you nailed the topic and I love all the details .. beautiful techniques too!
Thank you all so much, Kathi, Helen and Ellie! Mwah! xxx
Absolutely fabulous - the ideas and techniques here are so inspiring and the end result is glorious.
Alison x
Really gorgeous project Claudia!! Very clever and original, mixing beautifully many elements, I love it! Thank you, and take care of you. Coco xxx
Post a Comment