Showing posts with label Deborah Wainwright. Show all posts

Sunday, 29 July 2018

2018 #13 Mint, Sage, Claret & Gold with ECL {by Debs Wainwright}

2018 Topic 13: Mint, Sage, Claret & Gold (Colour Topic)



A fantastic deli-paper background technique fro Debs in this post which will no doubt provide enough layers for many backgrounds! Addictive! This looks wonderful Debs! I love the stacked teacup!!! ~ Leandra

Hi everyone, it's Debs with you today with a journal page using some lovely stamps from Clare Lloyd, and the four colours above. I also used a technique with the Fresco Finish paints which can be used on any substrate of your choice, and gives a really lovely effect. So let’s jump straight in and I tell you what I did. 


So I gathered the Fresco Finish Acrylics in Hint of Mint, Claret, and Sage, some deli paper and my Gelli Plate with a few random stencils and created lots of different papers. I loved this colour combo as the greens and gold (which comes later) blend beautifully together and the claret adds such a gorgeous contrast.


Next I attached more deli paper to my craft mat with masking tape and with the same colours and my brayer I built up the layers. Using one colour at a time and then drying it before the next colour was used. I do love how the mix of opaque and translucent paint creates such an interesting pattern on the paper.


Now comes the fun part, once all the papers are dry, tear them up randomly, creating different sixes and shapes. Keep your piles separate. As both sets of papers have the same gorgeous colours they will mix and match once stuck down. I loved playing around with the different shapes as I stuck them with matte medium to my journal page. As mentioned earlier you could use these on any substrate as deli paper is similar to tissue paper, it is very flexible and will go round things as well as in things, the choice is yours.


Once completely dry I added my gold. I chose to add it all round the edges and then random splashes across the page.

The stamp set I used was
Eclectica³ Clare Lloyd Set 10: ECL10

I stamped the face onto watercolour card, as it is such a lovely size to paint and I think I’m more skilled with watercolour onto stamped faces than I am with acrylic paint.


The other elements I stamped onto smoothly heavy card stock as the patterns were so delicate and I needed to use a fine tip pen.


 I also added gold to the teacups to give them a regal look. 
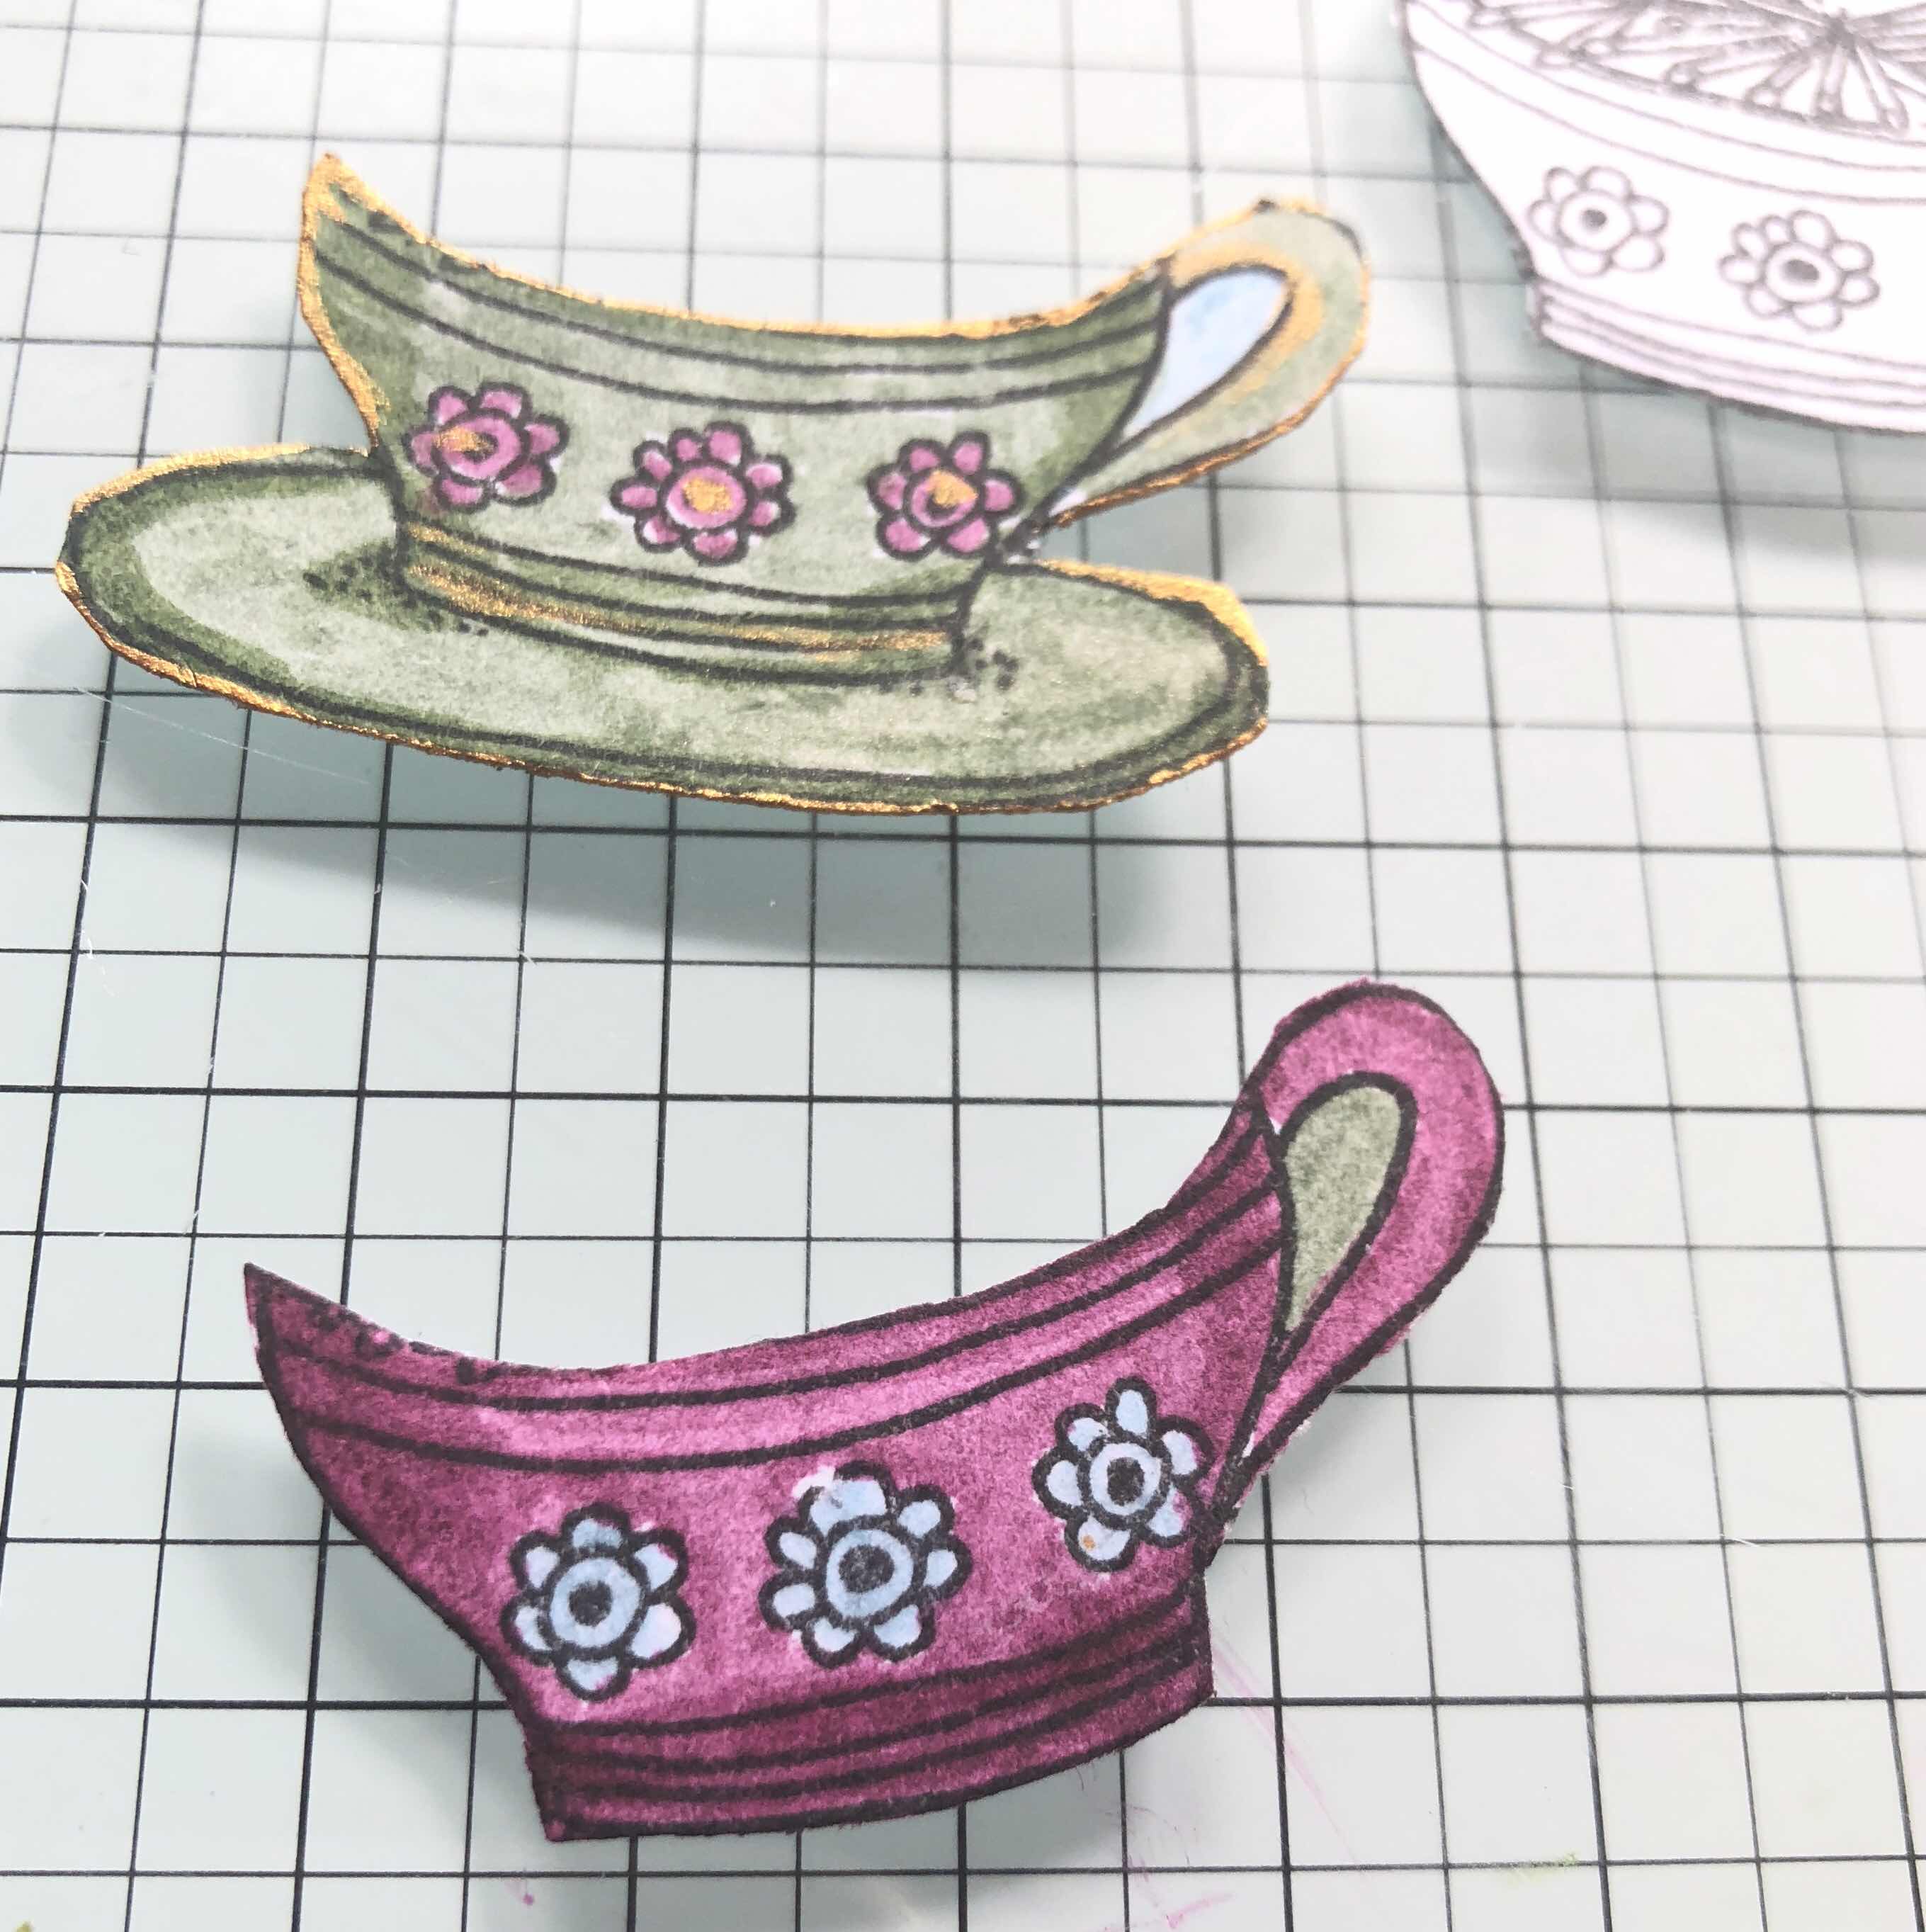


I loved how I could cut out the teacups to provide a stack, all the stamps were easy to cut out which is so useful when you want to build layers on a journal page, but don’t want to stamp directly on the page.


Using the paint this way was so easy, and I think it created a background that is interesting to look at, as it is so different. You could try experimenting with different stencils on the Gelli plate, or try using string and cotton to create a resist. It really is anything goes! Mixing it with the plainer brayered Paper also adds to the fun. You could also stamp onto the paper repeat patterns with ink or paint to add even more dimensions. 

This colour pallet was quite subtle, so the stamped elements worked perfectly, but you could intensify the colours more, or go even lighter. I would love to see what you create using these ideas.

Take care for now
Hugs
Debs 


To join our challenge and win a PaperArtsy £50 gift voucher:
Simply make something arty relevant to the topic, and link your creation from any social URL (eg. Instagram, Pinterest, Blog Post etc) sharing your original make to this challenge page.

The current topic link Topic 13: Mint, Sage, Claret, Gold will close 17:00 (London Time) Sunday, August 12th 2018, and the winner will be announced 2 hours later at 19:00.

All links go in the draw to win a PaperArtsy gift voucher. Please make sure we can contact you as a prize winner - it helps if you share your contact info from the platform you opt to use.

Good Luck! If you have any questions, don't hesitate to ask!

Saturday, 23 September 2017

2017 #13 Metallics: Watercolours with EKD {by Debs Wainwright}

2017 Topic 13: Colour Study: Metallics


Deb is here to share sparkly watercolours that have a metallic lustre to them. Our poor bloggers this week are occasionally struggling to get their cameras to pick up metallic tones, but I'm sure you can fill the gaps with your imagination if required!


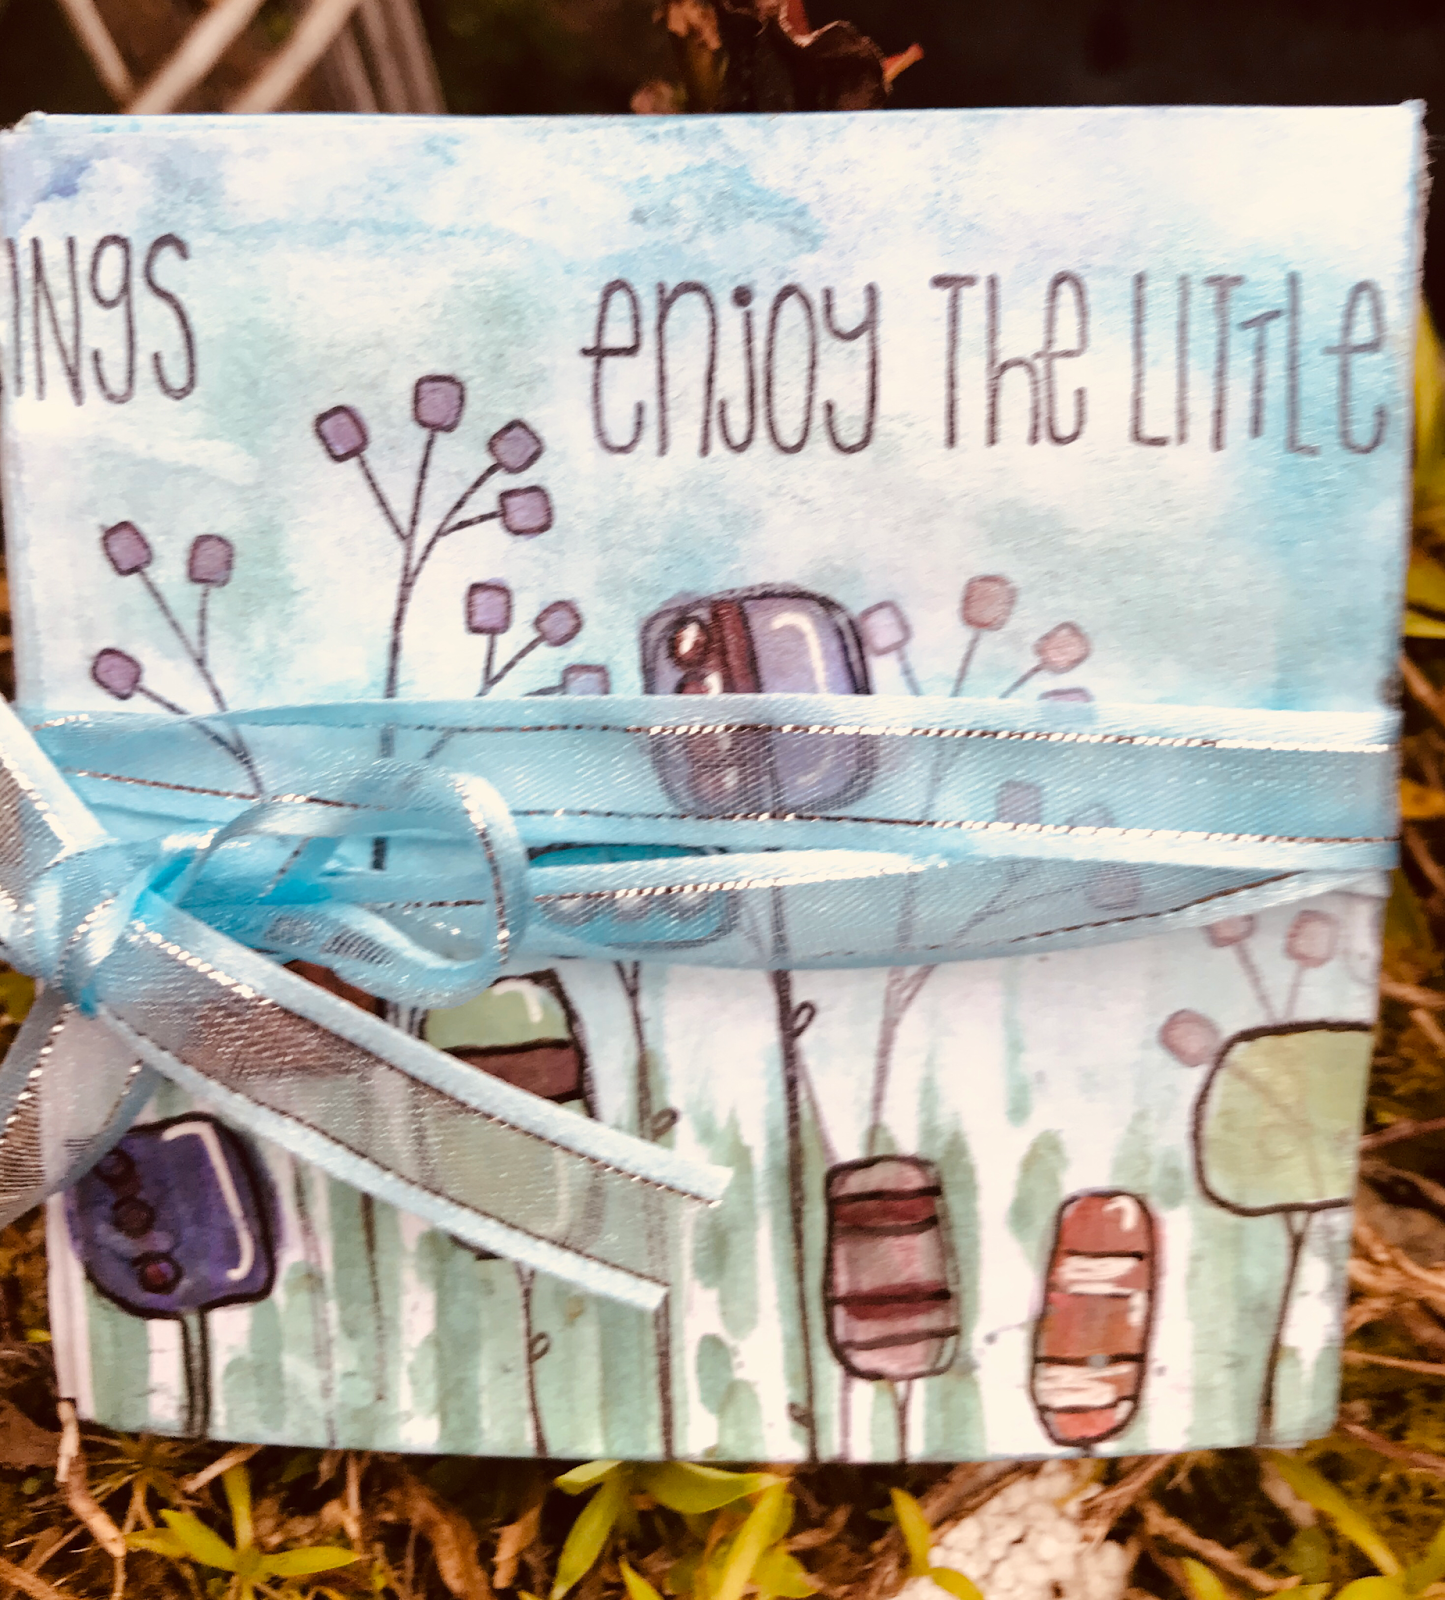
Hi everyone, it's Deb with you today, and I'd like to share with you this little journal book. I wanted to show how well metallic watercolour works with stamped images. I am playing a lot with watercolours and experimenting with backgrounds in my current work, and thought it perfect to share those ideas with you tonight.


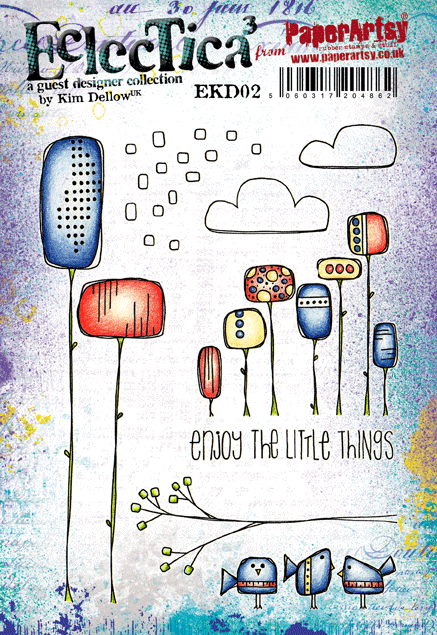
Not wanting a stamp that was too large for my pages I chose Kim Dellow's first two plates as the flowers are not only unique, but fit my pages nicely.


The paints gave a lovely shimmer to the page but unfortunately I was unable to capture it on film. However, I love the colours. Kim's stamps were easy to use to create that full garden look as they layered really well. 


I don't often use stencils for subtle colour, as I'm drawn to bold colours, but love how using two tones has given depth to each page. I kept the colours subtle but have used this stencil in other backgrounds with very bright colours and it works just as well.

The photo below shows how each flower is two tone which is the mica in the product reflecting light. having so many different shapes was shown to its best advantage by keeping the painting simple, and letting the product shine. You could of course cut the flowers out and edged them with Treasure Gold for a different metallic look.


I hope I have inspired you to dig through your stamps and find some you haven't used in a while. Dust them off and try them with some metallic paint, or stamp onto foil for something really Metallic! I would love to see what you make for this challenge. I found using stamps I haven't for a while, is like having a new set to play with, which was great fun!

Take care 
Hugs
Debs xxx

You can see more of my work on the links below 
Blog
Facebook

You can also find me teaching at 
Handmade at Helen's - Dumfries 
Tullie House - Carlisle 


You are so right! Those stamps fit beautifully onto your pages! What a great way to play with watercolurs too! Thanks for the ideas Deb! ~ Leandra


We always hope that you  learn something interesting from our blog

Our creative team love to read your comments so much, so please take time to let them know you've been inspired!  

Why not join our 2-weekly challenge by blogging your create response to the current topic and link it here?

The current topic link Topic 13: Metallics will close 17:00 (London Time) Sunday, 1st October 2017, and the winner will be announced 2 hours later at 19:00.

All links go in the draw to win a £50 voucher to spend on products of your choice from the PaperArtsy online store.

Monday, 14 December 2015

2015 #23 Gifted Box {by Debs Wainwright}

2015 Topic 23: Christmas Gifts and Cards
Hi everyone Debs here, joining you this evening with a post about making your own gift box and tag using card you have decorated. I think it's lovely to give a gift in a box you have made yourself, as it adds that personal touch. My box measures 4x4in and is 21/2 in high. I didn't go for traditional Christmas colours mainly because I associate them with vintage and I didn't want this to have that style. 
Step One: The box was made from Smoothy card on which I had scraped Lake Wanaka Fresco Acrylic. While it was still wet I stencilled the leaves ELB006 using Blue Glass. The sponge I used also had some Lake Wanaka on it, as I picked up what was left. I liked how this mixed with the Blue Glass here and there.
Step Two: Using Archival Ink in Colbot I stamped the flourishes from HPXM03 as well as one of the sentiments.

Step 3: I wanted to add some texture so used the same stencil with Versamark glue and then some sparkly embossing powder from my stash. You cannot see the sparkle on the photo but it looks nice with the White. Like crispy snow!


Step 4: I assembled my box and made a poinsettia by drawing one out and then cutting it out 3 times. I painted them with the same colours and edged it with Treasure Gold in Pewter. I added some bling from my stash. I painted a tag with Lake Wanika and stamped both sides with images from HPXM09. This was also edged with the Pewter.


Here I have shown more of the edge of the box to try and how effective the Treasure Gold is. I had polished this with a soft dry cloth and really shone bright.


I made this box for a small Christmas gift, but you could make them for other reasons too. For example, I like to keep lots of my bellies in separate boxes so I know where to find them. Using the card and painting on top makes them pretty tough and they cost next to nothing. Over on my blog I show you how to make the box. I hope this has inspired to you to have a go. You could make a set all coordinating ones or make a statement with some that clash.

See you all soon, Take Care Debs xx

You can see more of my art here:

On my blog

I am regularly teaching Journal workshops at Birds In The Barn in Marks Tey Essex, the next one is January 9th. Please see link above for details, how to book, etc.


I love the icy cool tones Debs along with the distressed/aged feel to this gift box. The dimensional textured layers and Pewter adds the ideal finishing touches. Thanks for sharing your creativity with us. ~Gillian

More Posts to Enjoy