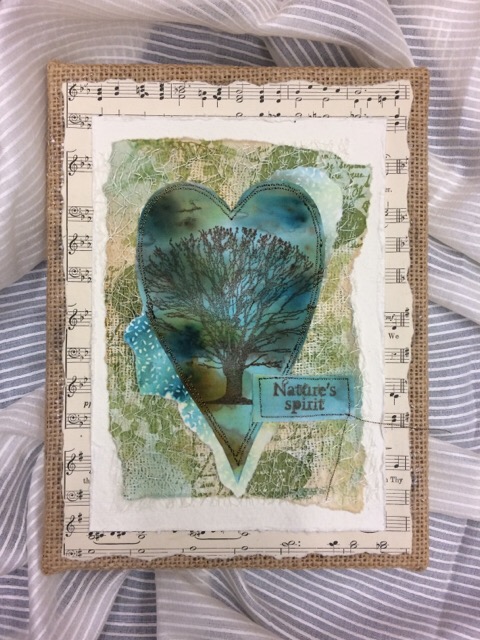
2016 Topic 2: Hearts
Hi everyone Karen Daniell here, sharing a project with you for the hearts theme.
This evening I am showing you a crazy patchwork heart. My mum taught me to sew when I was a little girl, and so I have always loved playing with fabric. I decided to use a patchwork technique for my project but using card and paint as well as fabric and lace.

Step1 – First I made my heart template. As I was working with a 12 x 12 canvas board, I took a 12 x 12 piece of paper and cut out a heart shape. I then drew the crazy pattern onto this, starting with a triangle in the centre, then dividing the rest of the heart into sections. I made 2 of these one to keep as a reference and one to cut up.

Step 2 – Using the pattern, I cut out a heart shape in Bondaweb and ironed it onto a piece of Linen Scrim. (Bondaweb is a double sided glue which is activated by heat, used in sewing to bond fabrics together). I cut the scrim heart using pinking shears, leaving about 1cm around the Bondaweb.
I then brayered Fresco Chalk Acrylic paint onto pieces of Lightweight Smoothy Card and white cotton fabric. I used Bora Bora, Candy Floss, Guacamole and Chalk on some and Spanish Mulberry, Mermaid, Guacamole and Chalk on others. On the card pieces I then over-stamped some of the smaller images from JOFY13, JOFY24 and JOFY32, using Spanish Mulberry, Bora Bora and Chalk. I then used my pattern to cut pieces of the card and fabric to fit the heart. I tried to alternate the fabric and card to give a contrast.
 |
| JOFY13 |
 |
| JOFY24 |

Step 3 – Using Jet Black and Potting Soil Archival ink pads I stamped each piece with images from JOFY13, JOFY24 and JOFY32. I then ironed the pieces onto the linen heart to bond together.
 |
| JOFY32, |

Step 4 – I then coloured in all of the images using translucent Fresco Chalk Acrylic Paint. I used Zesty Zing, Hey Pesto, Pumpkin Soup, Tango, Blood Orange, Claret, Autumn Fire and Blueberry. I also used Spanish Mulberry mixed with Satin Glaze and Glass Blue mixed with a little Concrete. When I was happy with it I added a few dots of Chalk to some of the images.

Step 5 – Next I found some pieces of cream lace and glued them over the joins of the card and fabric using matt medium. I tried where possible to cover the ends of the lace. I then worked 3 lines of stitching around the heart with a variegated sewing thread.

Step 6 – Onto the corners of the canvas board I glued some scrunched up tissue paper to give some texture, then I painted it with Bora Bora and Guacamole Fresco Chalk Acrylic Paint, adding a touch of Candy Floss, Pumpkin Soup and Chalk. When it was dry I rubbed on some Rose Quartz Treasure Gold to highlight the texture in the corners. The heart was attached to the canvas using matt medium, and I also glued buttons to the ends of the lace.
To finish I stamped the alphabet from JOFY21 onto scraps of the brayered card, to spell ‘Hearts and Flowers’, and glued those to the canvas.
 |
| JOFY21 |
I hope you’ve enjoyed this project and that it will inspire you to have a go at some ‘patchwork’ yourself.
Karen xx
I don’t have a blog (yet!), but you can catch up with me on
Twitter
Oh karen I really like this, so pretty and what a different way to use the stamps. The different directions of the flowers provide great movement and the lace adds perfect grounding. ~ Darcy
Oh karen I really like this, so pretty and what a different way to use the stamps. The different directions of the flowers provide great movement and the lace adds perfect grounding. ~ Darcy
We would love to see how you interpret this Hearts topic by linking what you make to our 2016 Challenge #2: Hearts, on this page HERE.
All of our bloggers love to see your twist on their ideas, particularly if you were inspired directly by their post.
All links go in the draw to win a £50 voucher to spend on products of your choice from the PaperArtsy online store. The 'Hearts' link will close 17:00 (London Time) Sunday, February 7th. The winner will be announced 2 hours later at 19:00.
NB this link is open for 3 weeks instead of 2 - all will become clear why on Jan 31st!