Hi everyone, Keren here with you today to talk about what could be described as one of the unsung heroes of the crafting stash. We all have them, they're often made from Mylar and they don't look particularly exciting. We won't get the same reaction just by looking at it in comparison to viewing a beautiful stamp BUT ohhhh the possibilities.
Our new topic will look at different techniques using the wonderful stencil- but are there other things you can make stencils from other than plastic? How can you layer, rotate even cut up stencils to get more options. Are there favoured mediums to use on them? There are so many ideas that we just can't cover them all here but I know that our talented bloggers will come up with inspiring ideas and even surprising uses for the humble stencil.
It's easy to assume that everyone knows (or remembers the basics) how to stencil. So I thought I'd begin with some easy ideas. Even if you've done it for ages and love doing complicated techniques, a refresher on the basics is always welcome.
Here's a PaperArtsy video from a few years ago that should give you a good start.
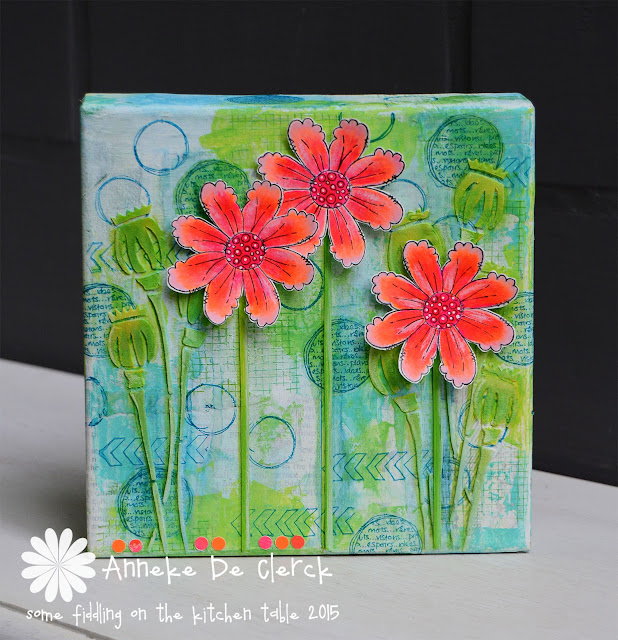
Don't forget how stunning using a stencil simply can be. Kay Carley has used a number of stencils in the background in different colours that gives depth and richness.
Stencil resist is a super technique that you can use so many products for...gesso, paint, embossing powder, PaperArtsy glazes, masking fluid, rubber cement, Vaseline, embossing pastes, inks, salt, wax crayons, wax and more. There's something wonderful about seeing pools of paint creep up to an area and contrast beautifully with a stencilled design. How many of these have you tried?
Here's an example using Vaseline as a resist. Follow the link for a video plus some other inspiring links.
How about alcohol inks, watercolours and stencils? Amber Rain Davis shows 3 techniques using the trio in the following video.
Here's an example of just using alcohol ink with your stencils. You'll need an alcohol ink friendly surface like Yupo but it gives a fabulously fluid result. There's a tutorial in the link.
Have you tried foiling through your stencils? This beautiful example (follow the link for a bonus video) uses a hot foil gel medium and a 'tacky when dry' medium.
Lots of us own a die cutting machine- have you tried dry embossing using stencils? The sample below was using a JOFY stencil and stamp set. How about dry embossing with stencils on metal?
Art isn't just for inside the home. If your garden needs pepping up, try taking your stencils outside and paint your boring paving slabs using an outdoor suitable paint!
Staying with art outside, one of the most infamous artists using stencils is Banksy. Using multi-layered stencils gives bold but detailed images that often have a specific message.
Speaking of a cool way to use stencils, I remember seeing Leandra doing this 'Stencil Bumping' technique that she'd learned from Lynne Perrella. She demonstrates it in the following video.
PaperArtsy has an awesome range of stencils, but sometimes you might try to make your own. Do you cut them out with a craft knife from mylar, cardstock, acetate or recycled plastic? You could create them from vinyl cut out using a electronic cutting system like Silhouette Cameo or Cricut and more. There are lots of free downloadable stencil images available, so well worth hunting out. You could also grab your dies and die cut those shapes from plastic or similar to start getting creative.
This blogger cut her own based on a Photoshop design, and gives a great tutorial on how to do it if you're up for making a unique stencil.
Why use one stencil when you can layer many? This colourful collection features many different layers and stencils but by using a limited palette and knocking back some of the colour using white, you end up with an intriguing and harmonious design.
If you love textiles, you might enjoy stencilling onto fabric. This next tutorial shows exactly how to do it. Depending on whether you want to wash your final result you can use paints or add a product like a clear fabric medium to allow for washing.
Stencils can give us something to add embellishments onto. If you like fibre art, mesh stencils might be good to research. Or simply use more bold solid stencil images with paint and sew onto them. On fabric, you might find using a repositionable adhesive on the reverse of your stencil will make life a whole lot easier.
All of our PaperArtsy designers use stencils so cleverly. If you search 'stencils' over on the PaperArtsy blog, so many examples to inspire will be listed. This piece of art shows gorgeous Fresco Finish Chalk Acrylics layered to perfection.
Does this topic push your creative buttons? We would LOVE you to share what you get up to with us! A great place is tagging us on Instagram @paperartsy or why not join us and post in the PaperArtsy People Group on Facebook. We love to see what you make!
If
you've ever thought that scrapbooking wasn't for you, how about trying
mini albums? With a great artsy feel this is a fabulous detailed walk
through using stamps, stencils, grunge paste, fabric and twine. Spoiler
alert : there are some very cute photos in Kate's fantastic blog post!!
~ Keren
Hi everyone, it's Katewith you today, and I'd like to share a mini album using old photos that I had stored on my desk.
Find
your vibe is a great theme because it is all about making something and
infusing it with your personal touch. Mini albums are a great project
for creative play because of the backgrounds.
I
was able to use a lot of paints and various styled stamps in this album
so it was a great way to dust off some of the products that I haven't
used in a while.
I
started off by gathering PaperArtsy postcards and other cardstock. I
then covered some of them in patterned paper while leaving others blank.
I used stencils and grunge paste to start building my backgrounds.
You might recognise these stencils used to do these backgrounds, PS105, PS051.
Once my backgrounds were dry, I started layering my stamps and embellishments.
This image from the 'Ink and the Dog' Collection: Travel Plate 2,
is often featured in my journals, if you look close, you can see it is
inked in a couple of colours to add more depth and interest.
Painted book paper makes a great backdrop for a focal stamp.
I love the Lynne Perrella stamps too, I've used the sun from this set a number of times.
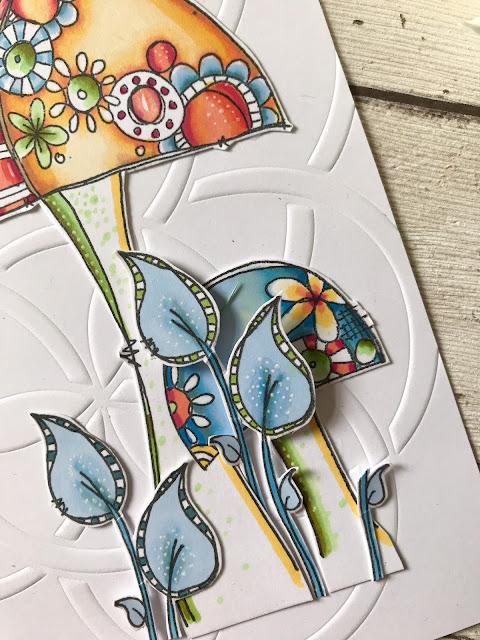
I used a stencil to draw my background doodle.
Making my own flowers from the new Hot Pick 2101
The cards were stamped with newer images from ESN49 and left blank for future journaling.
A mini (EM48) by Seth Apter... makes the space less blank...
All kinds of shapes are used as embellishments, like the zodiac circle below from ASI1
Can you see how the Grunge Paste was over-stamped below with EA4?
The conductor's ticket adds interest, and has space to be personalized...
This is one of my favorite backgrounds. I love the combination of grunge paste/stencil, paint and stamping.
That starfish from Gwen's fishy set EGL15 comes in handy too!
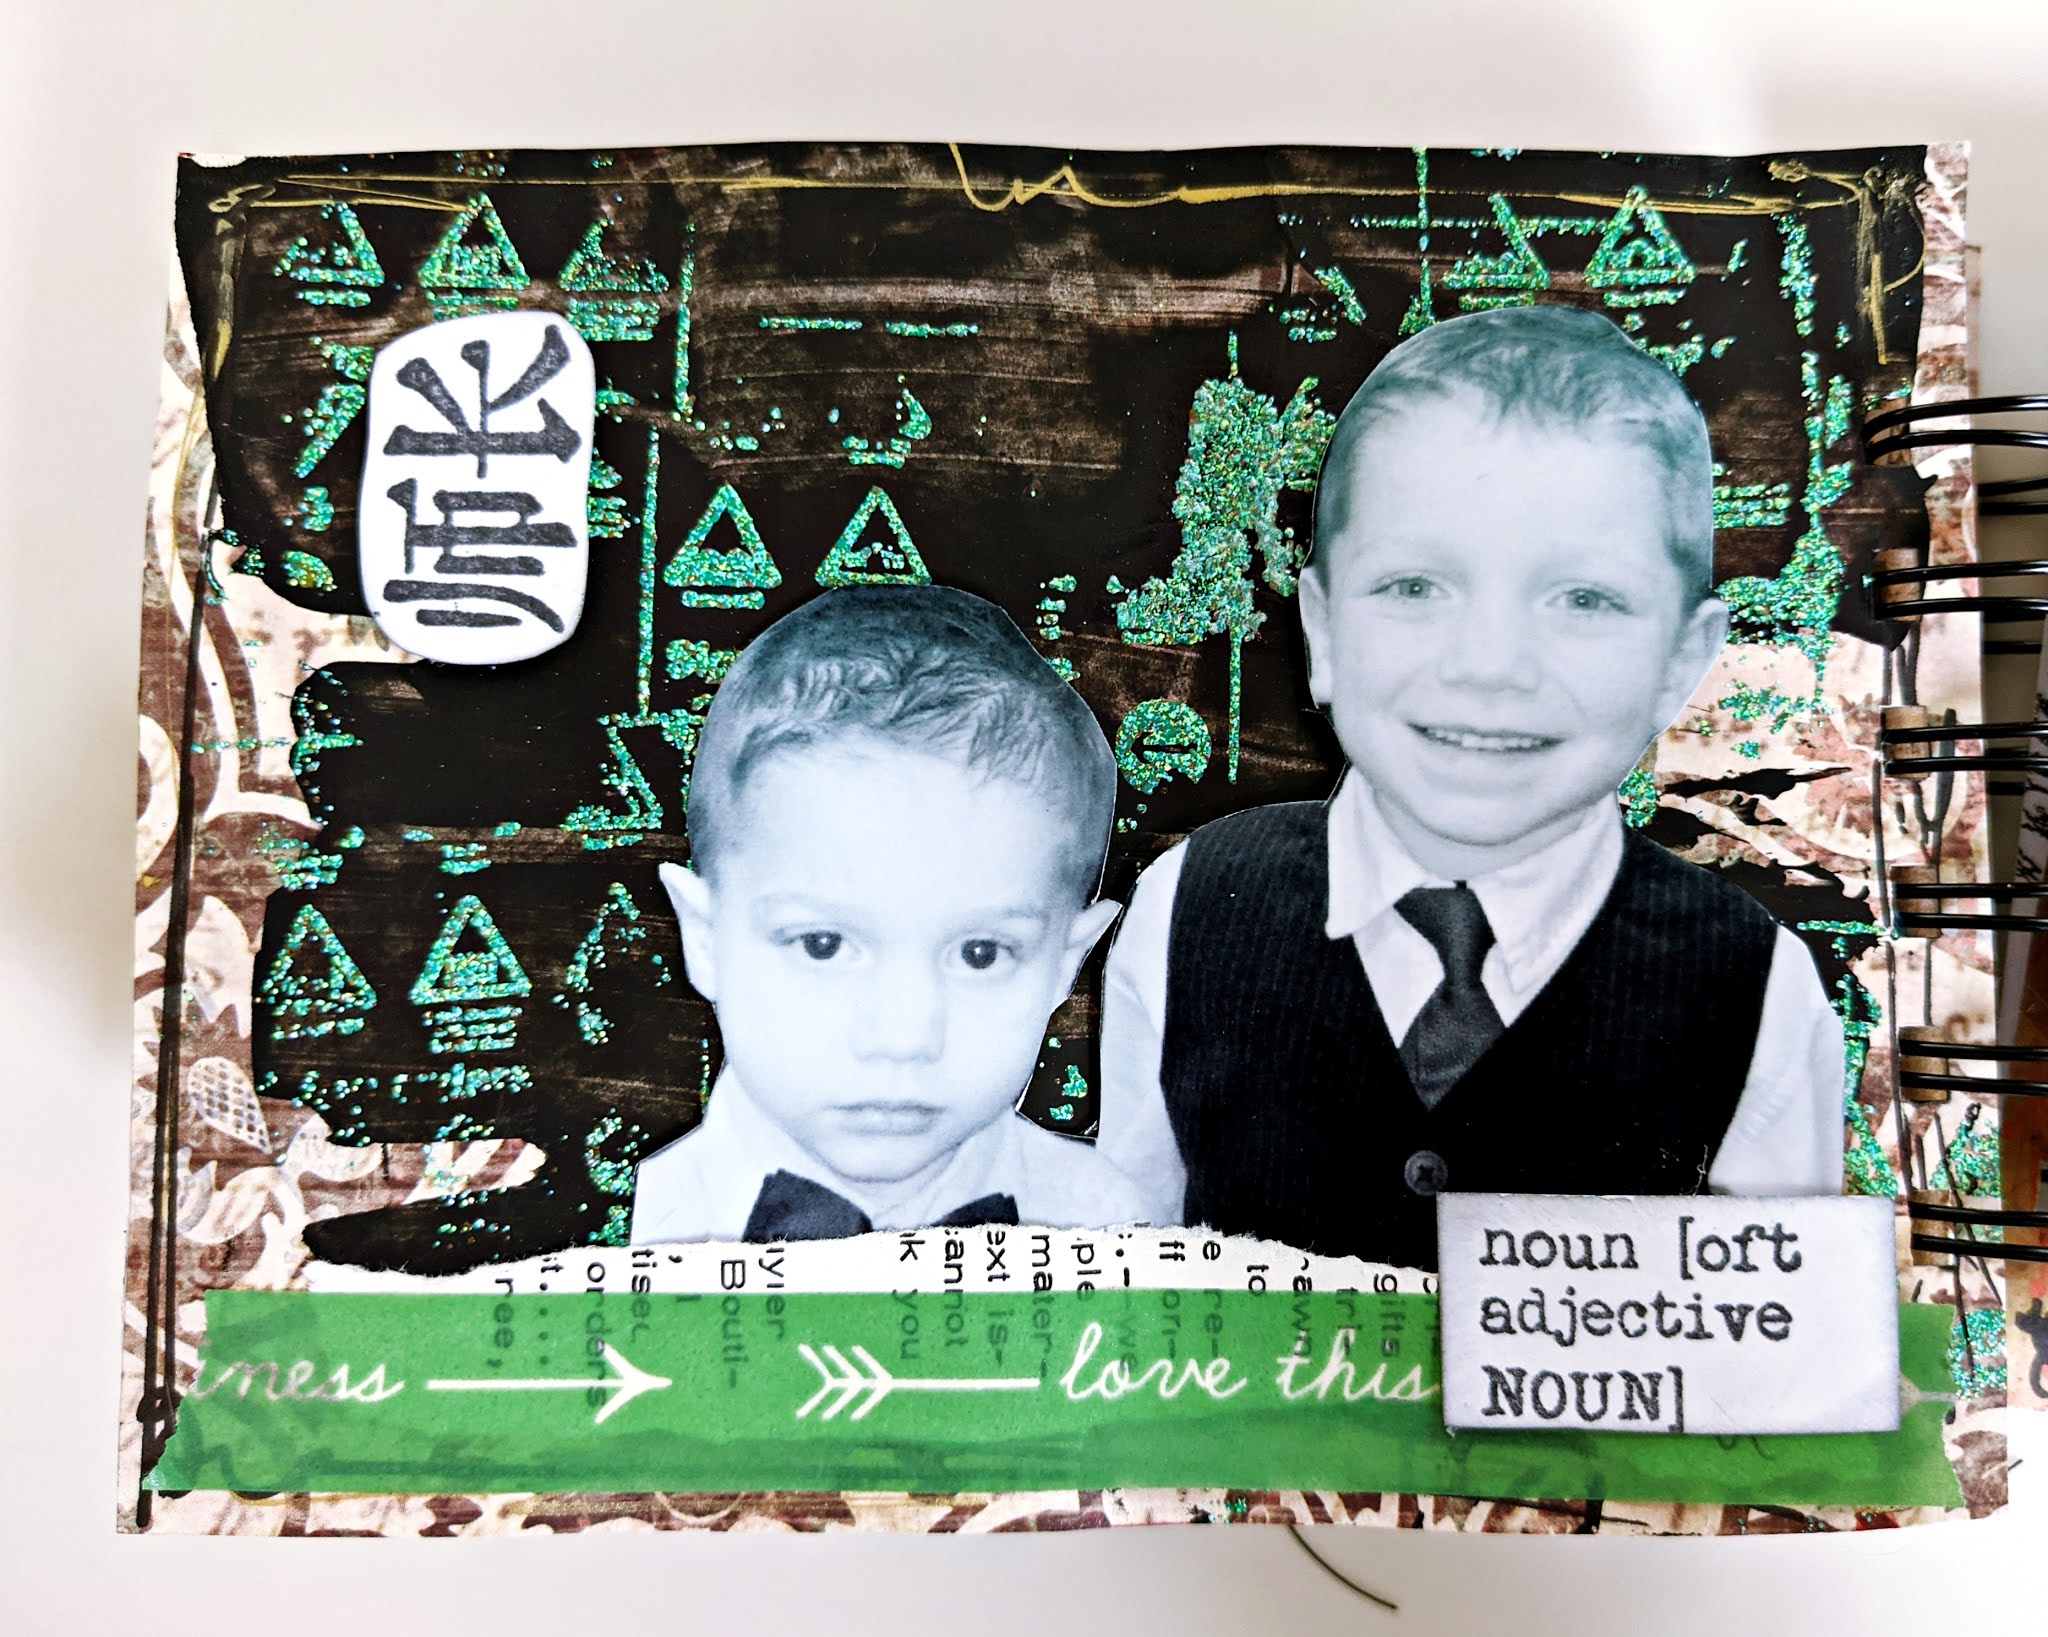
This background was gessoed stamped and embossed.
Boys and bugs, what a combo!
I love these colorful and painted fish from Gwen Lafleur (EGL15).
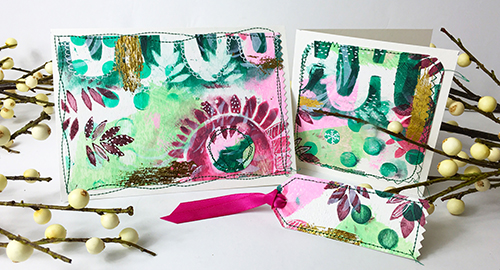
I left the back of this PaperArtsy card blank because I wanted to use the print as my background.
Sometimes I'll tuck things behind layers rather than adding them on top, like these mandalas of Gwen's (EGL12)
The flower from this Ink and the Dog set (ASI4) is an easy embellishment to fill a space
The stenciled area on this background was painted over with a gold POSCA pen.
I
have to admit. I wasn't happy with all the pages in this album as I was
making it. Thankfully, I had the freedom to go back and add or subtract
things I didn't like. Even now that the album is complete, there are
still pages that I like more than others but that is ok. Failure is part
of the creative process.
As
you can see, I like texture and drippy paint for my backgrounds, but
that might not be your thing. Try making an album with your
signature background and use mostly stamps to embellish. I think you
will have a lot of fun.