

Hi everyone! It’s Renata here, and I’m excited to share a super fun and cheerful project featuring some of Jo Firth-Young’s really cute and quirky designs.
When I was first assigned this blog, I had planned to do anything but an art journal page—thinking I’d focus on making tags or cards. But, as often happens, I got a little side tracked and naturally found myself falling back into my favorite thing: art journaling!

As you can probably tell, getting back to art journaling wasn’t the only thing I returned to. I also decided to work with some of my favorite mediums - PaperArtsy acrylic paints for the background, and for coloring, a mix of alcohol markers and, of course, colored pencils. I guess I just can’t seem to shake some of my mixed media habits—but more on that in the next chapter!

As for supplies… well, I’ll admit, I went a little overboard this time! I’ve been crafting less frequently this past year, so when the mood struck, I really went all out. But don’t worry—you definitely don’t need all this stuff to make a fun project, and most of it can easily be swapped out for something you already have on hand.

As you can see in the image, some of the most important ingredients for my project were a bunch of PaperArtsy goodies. I’ll list them here for anyone who’s curious! Starting with Jo Firth-Young products: the stencil I used is JOFY PS310, the big stamp sets are JOFY139 and JOFY140, and for the minis, JM82 and JM86. For the PaperArtsy Fresco Finish Acrylic paints, I went with Vanilla, Khaki, Aquamarine, Aqua Duck Egg, Blue Oyster, Surfs Up, and Little Black Dress. I also added one from the Mattint range—Squeezed.
Quite the long list, as I warned you! But like I said, you can get brilliant results with half as many products. To keep things from feeling overwhelming, I’ll mention several of the other supplies as I use them in the upcoming chapters of the blog.

Once again, I ended up switching up the usual blog structure. Instead of starting with the background, I began by adding the first layers of color directly onto the stamped images. Somehow, creating the images first always makes so much more sense to me. The best way to describe it is that I imagine the main characters of a story and then build a world for them to live in. There’s also a practical side to it—it really helps me figure out the size of my substrate and how to arrange the composition. And honestly, at this point, I was still thinking I’d make a set of cards or tags.

Since I planned to color with alcohol markers, I used an alcohol marker-friendly pad for stamping (in this case, the one from Spectrum Noir) along with a dye ink pad—Memento in Tuxedo Black. Just to be on the safe side, I used a stamping platform, but that’s really optional.
Now onto the coloring part! I was mostly inspired by Jo’s color scheme, though I did switch it up a bit. To help me choose colors and experiment with combinations, I brought out my color swatch of all my alcohol markers. I actually have a folder like this for all my coloring mediums, and I find it incredibly helpful—especially on days when ideas and inspiration are running a bit low.

Now you can see all my images—after at least half an hour of coloring and fussy cutting (though I’m pretty sure it took even longer!). Later, during the mini breaks while layers of my background were drying, I touched up my colored images a bit more using colored pencils and a white Posca pen. You’ll probably notice those final touches in the photo of my finished project.

Believe me, the name of this section of the blog couldn’t be more accurate—I was totally in the zone, going mixed media crazy! But I’ll do my best to break down my creative chaos into a step-by-step process. First, I once again reached for my swatch folder and grabbed a whole bunch of PaperArtsy Fresco Finish Chalk Acrylic Paints. You’ve probably already spotted the full list of paints at the start of my post, so I won’t go over it again.
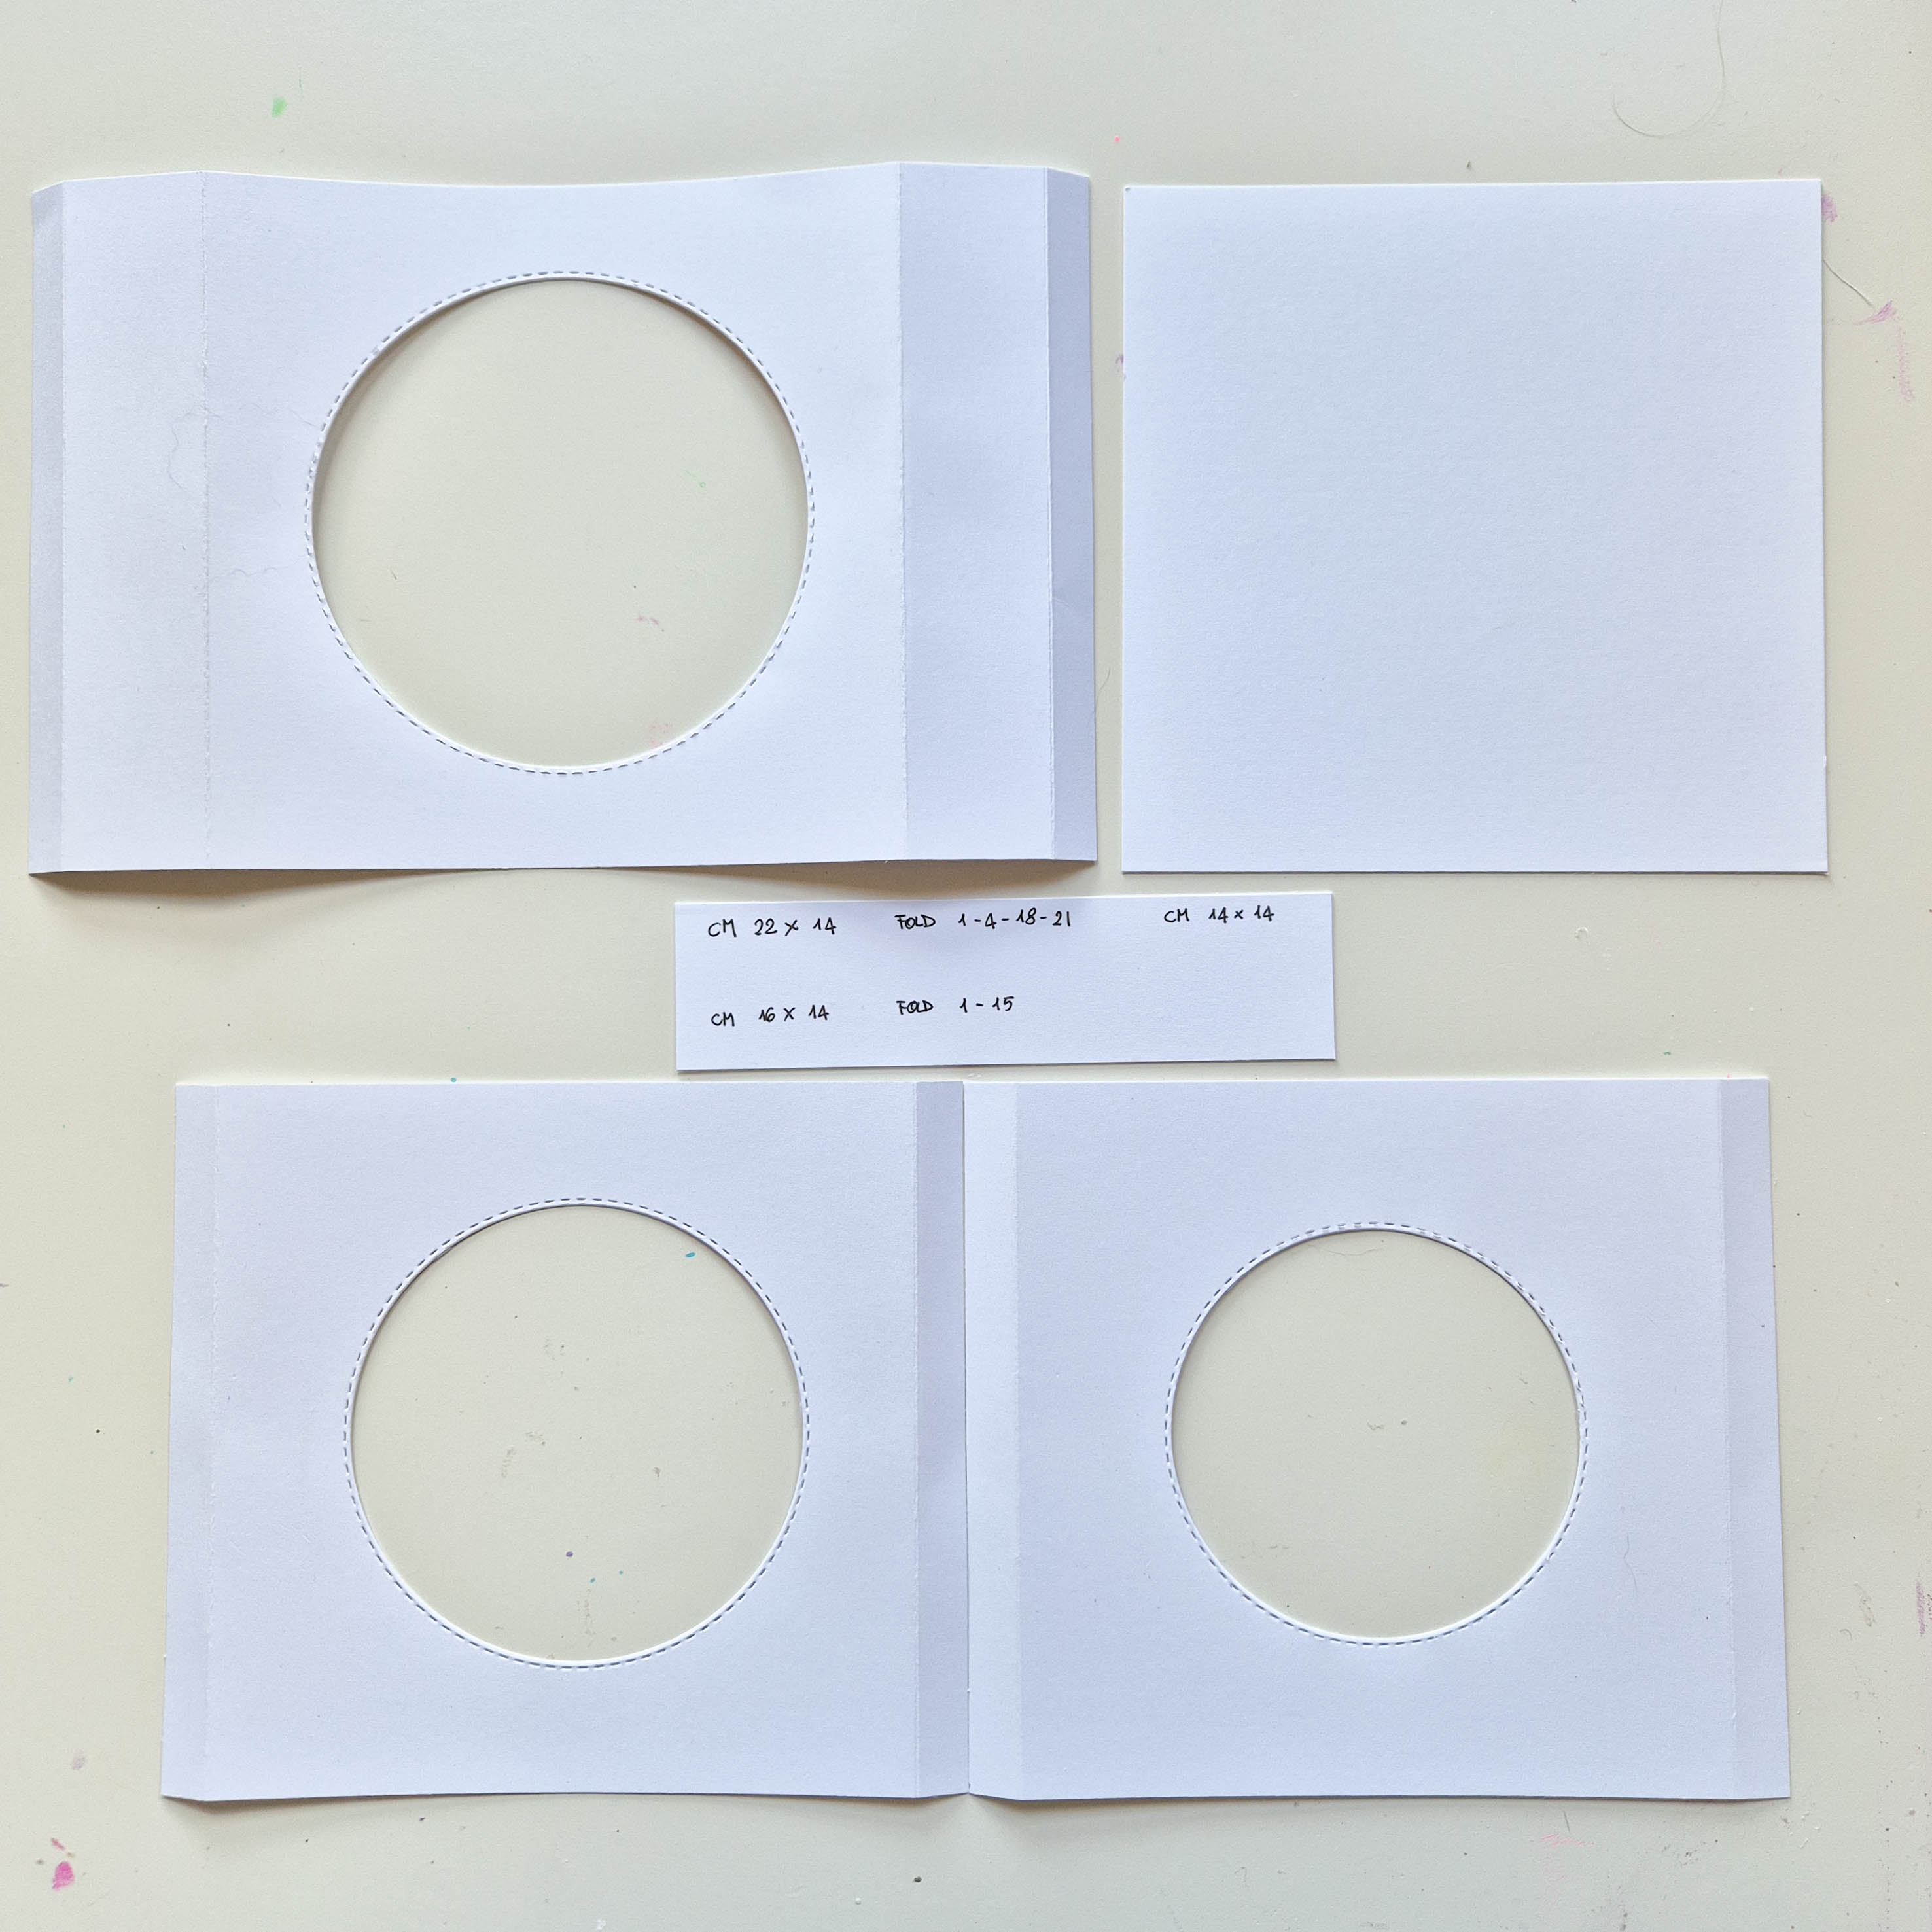
And here’s the moment where, without even realizing it and completely forgetting my original plans, I picked up a bigger piece of mixed media paper and started measuring my substrate to fit the images I had already prepared. Okay, okay—honestly, the idea of making cards, tags, or even a banner did flash through my mind for a second… but it was quickly suppressed, and before I knew it, an art journal page was coming to life.

For applying the paint, I decided to use an old card. To avoid creating too much busyness in my background—since I’d be using a lot of color on both the background and the focal images—I stuck to horizontal strokes. I find that too much color doesn’t always play nicely with too much texture. I also applied the paints without any particular order, just going with my gut, and made sure to dry the layers between every one or two colors at most.

At this point, I felt like something was just missing… it looked pretty, but… you know that feeling, right? I realized the solution was just to add a touch of Squeezed Mattint here and there—and suddenly, it was perfect.

Now it was time to put that gorgeous JOFY PS310 stencil to use. It’s such a lovely design with a big, bold pattern, and since my background was already pretty busy, I decided the best way to use it was with either black or white. I went with black—PaperArtsy Little Black Dress acrylic paint—and in my case, it was definitely the right choice. To make sure the stencil didn’t move and the paint stayed exactly where I wanted, I secured it with some masking tape.

I admit, it didn’t look great at this stage… but abracadabra…

Much better, right? And now just a few details here and there…

To give my background a little extra love, I added some small touches that made a big difference. First, I used an old, half-dry ink pad to go around the edges of my substrate, giving it a nice framed look. Then, I added tiny details to the stenciled pattern with a white Posca pen. But I didn’t stop there—I grabbed my Prisma Premier colored pencils and added highlights and shadows to the stenciled design. This step is totally optional, but it was such a fun little touch for me, and it really added some extra dimension to the background. And if you compare the last two photos side by side, I'm pretty sure you'll spot the difference right away!
Now since my colored pencils were already out, I went ahead and touched up my colored images too, adding a bit more depth and personality to those funny little monsters.

Now the things were mostly ready for assembling—I just needed to figure out a sentiment and plan out my composition.

The sentiment was a bit tricky this time… it was hard to find something that would fit my pre-planned composition. In the end, I decided to stamp two sentiments from JOFY139. To make them match a bit better, I hand-drew the circular pattern around the larger one to echo the smaller sentiment, and then colored them both with alcohol markers.

I also used another technique I love for my art journal pages—adhering my substrate to black cardstock, which gives it a really nice frame. In the image below, you can see all the elements I had prepared. Now it was just a matter of arranging them into a composition.

By the way, did you notice that funny tall monster guy? His arms and legs were, well… ridiculously tricky to fussy cut! So, I decided to stamp them instead and just adhere the head, hands, and shoes on top. Bonus: it made it a lot easier to add some shading with colored pencils around the stamped outlines.

Aaaaand yes… that was about it! All the elements were adhered—some with liquid glue, others with thin foam tape—shading added, and done. I think I managed to balance all the colors on the background and stamped images without making the project feel too busy. Sure, I got a bit carried away with the mediums, supplies, and techniques, but honestly, I had so much fun creating this page. I’m pretty sure many of you know exactly that feeling!

Thank you all for sticking with me through this a bit longer-than-usual blog post! I hope I managed to explain my creative chaos clearly, and even more, I hope I’ve inspired you to try some of these mediums, techniques, and those fun, crazy monsters designed for us by Jo Firth-Young and PaperArtsy.
Have a great day and stay crafty!
Renata 💜


