2021 Topic 15: Journaling Gratitude
How
do you create a textured background that's full of interest and
different textures but that doesn't 'fight' with the sentiments or front
forward details? Read on, and Jennie lists a number of techniques to
get you started. Wouldn't we all like to see her drawer of unused
delicate gel prints too?!
~ Keren.
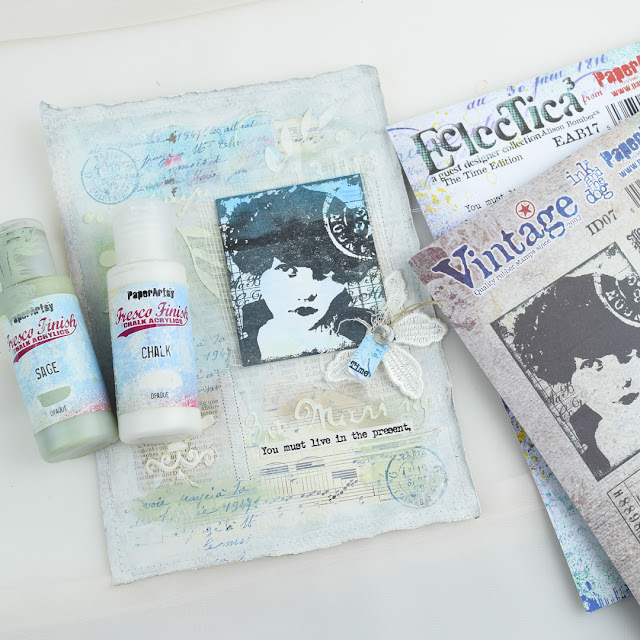
Hi everyone, it's Jennie (Live the Dream) with
you today, and I'm here to share with you a journalling page using
Vintage Ink and the Dog stamps - perhaps not everyone's first go to for a
journalling page.
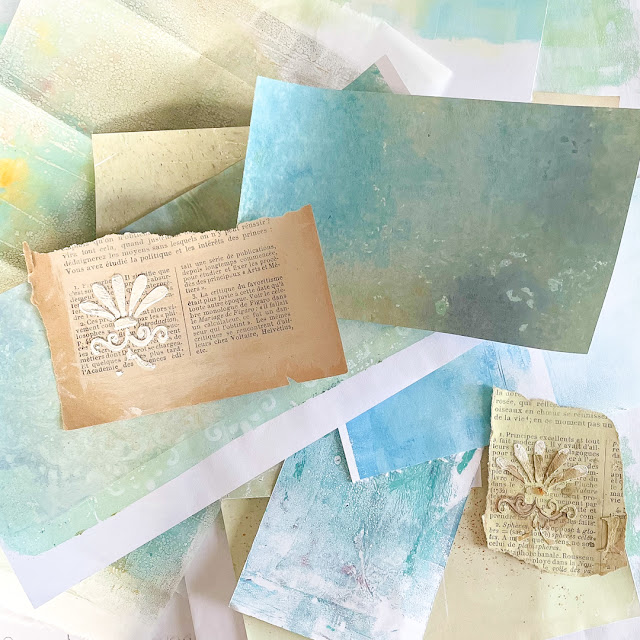
I
find that many of the VID sets have small stamps which are just perfect
for adding to a torn collage background and for this double spread I
decided to use some papers previously created on the gel plate using
PaperArtsy Fresco paints (and possibly like me you have a drawer full !)
I like using torn collage as it allows me to get some different colours
onto the journal pages which I find difficult if painting direct.
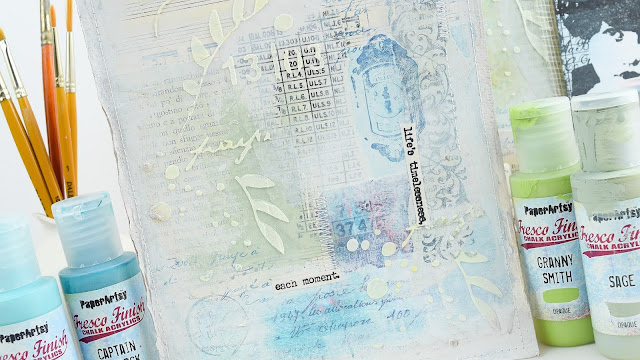
I
have also used a single set of quote stamps by Alison Bomber relating
to Time. Time is something that I seem to have had in abundance this
last couple of years but it still goes as quickly and both the situation
we find ourselves in globally and a couple of personal events have
really made me think about the moment, looking neither back or forward,
but to be grateful to live in the present.
If
you are a fan of gel plate printing you will know how easy (and
quickly) you can accumulate many different sheets of prints, parts of
which might be beautiful and amazing and the rest of the sheet quite
dismal. There's always that chance of pulling another beauty so you just
keep going.
I
chose some colours which I thought might go together, along with some
small pieces of old text paper which had been coloured with Infusions
and a bit of stencilling.
At
this stage of a journalling page I never have a plan ! but I do start
with a good quality thick watercolour paper so I can throw as much at it
as I like. I started tearing some bits of the printed papers, along
with some more open text and music. My notes on the back of the papers
indicated that I had used a combination of PaperArtsy Frescos and I used
two of them to carry through to the pages.

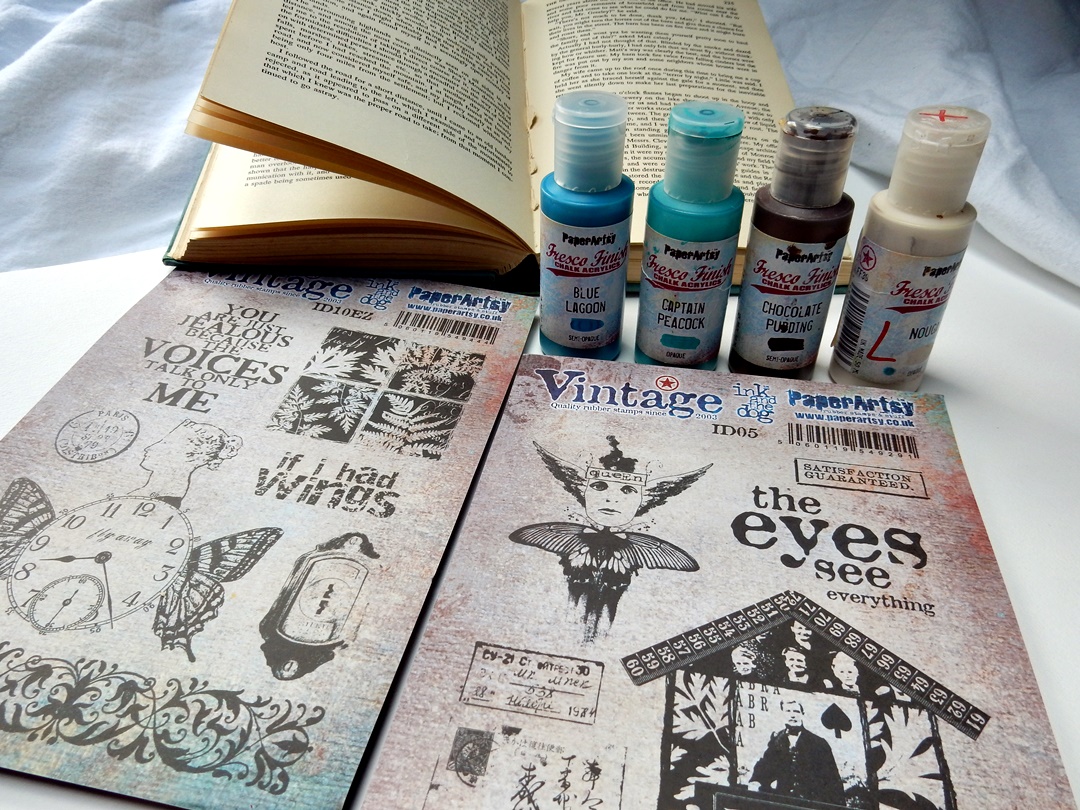
Once
I had a bit of an idea about colours and placement I chose my Vintage
Ink & The Dog stamp sets. Each of these sets has text and number
stamps which work well on the printed papers.
ID08
Once everything gets stuck down it starts to look a bit more organised but still very basic.
The
success of this type of paper collage is to use different techniques to
push those papers into the background. It takes time and sometimes
needs experimentation but I have found these techniques to work.
Firstly
I use a light colour of PaperArtsy Fresco paint (Chalk) to blend in
around the edges of the torn paper. I use my finger to add the paint and
a dry brush to spread it out. You can see the difference already
between the two pages.
I
then go in with a darker colour (this time PaperArtsy Fresco Finish
Sage) which will give me some darker areas for the next stage however
the beauty of using paints in this manner is that you can always tone
colours down by going back in with a lighter colour later).
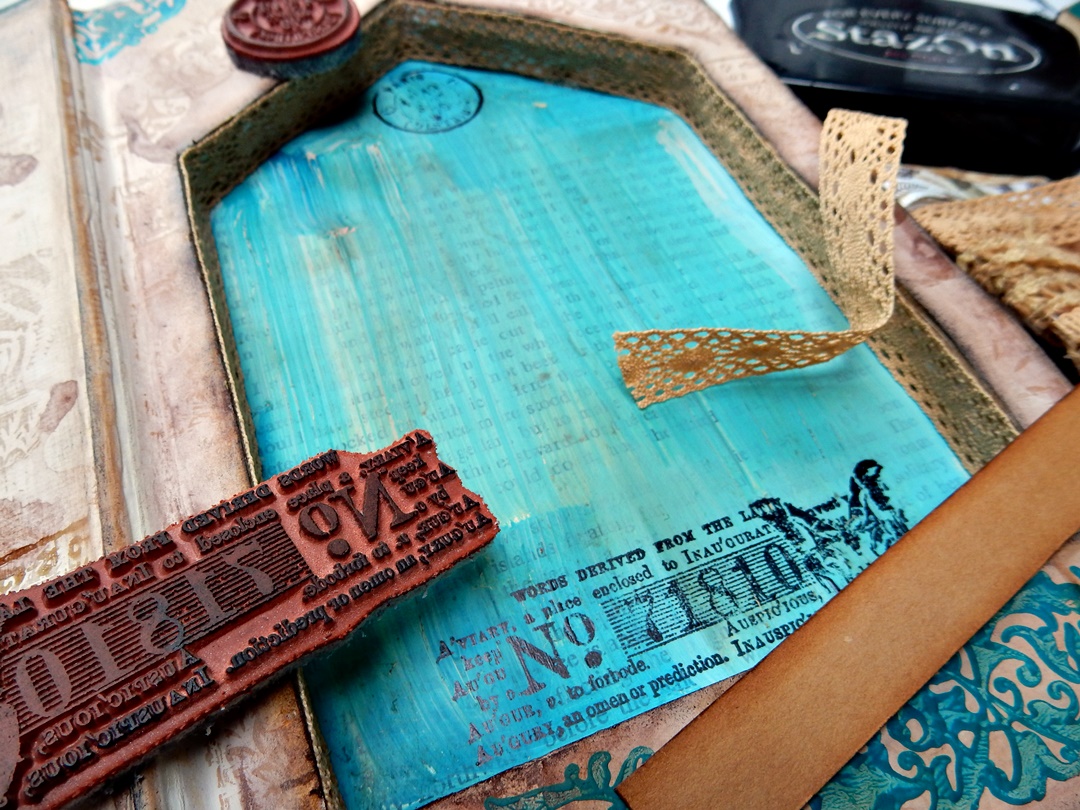
Another
means of knocking back the papers and tying everything together is to
use a stencil and texture paste. I like to keep the stencilling open but
with a definite shape which can be seen. Over-stamping with the same
stamps using second and third generation stamping also ties the
individual layers together and knocks those papers further back!
I am not a great fan of my own handwriting but I am a great fan of Alison's wonderful quotes.
Sometimes I use whole quotes but more often than not look to isolate individual words which sum up what I want to say.
Tea dyed paper always seems to work well and is strong enough to withstand gluing onto a textured surface.
My
final technique for pulling the pages together is to use machine
stitching both around the edges of the pages and to highlight vertical
and horizontal areas. Sometimes this is very useful for hiding a bit of a
ragged edge which escaped the painting stage!
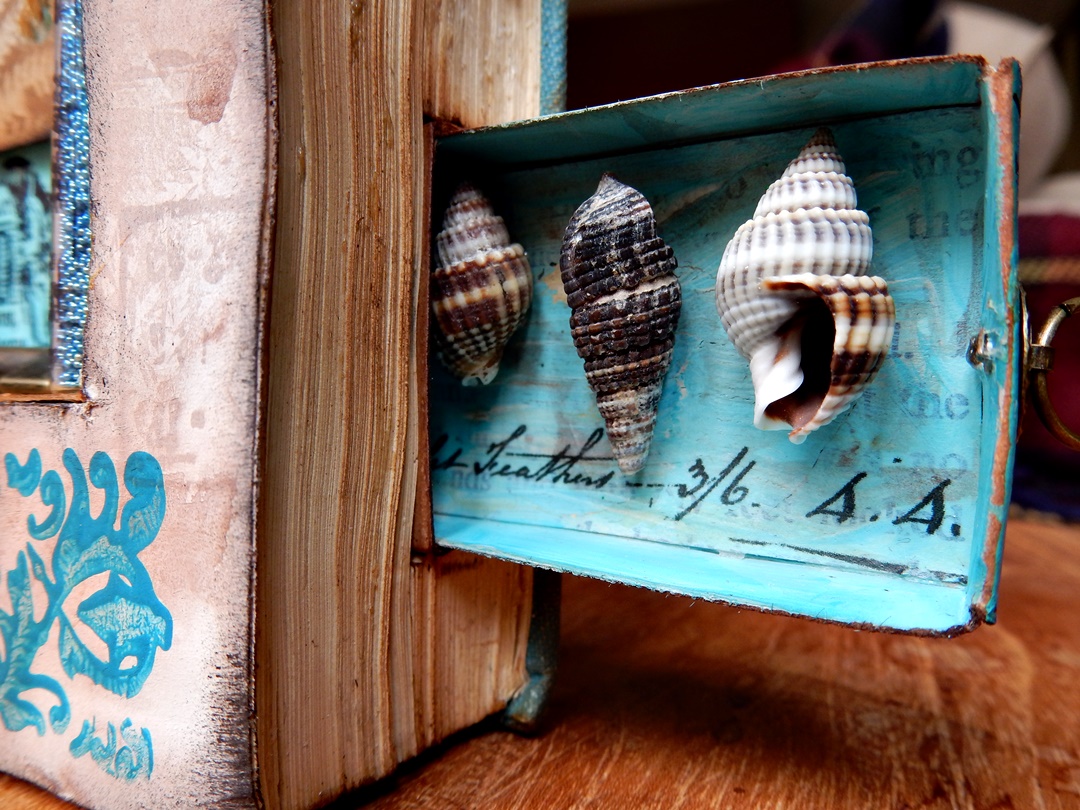
A
thoughtful image was needed as a focal point and this is one of my
favourites. I managed to find some gel plate papers which had a little
white on them which meant her face remained relatively clear.
ID07
The
paper was very thin, so I layered it onto some matt board, but this did
give me the opportunity of being able to layer other elements
underneath.
I have used more of the Sage on this page but I love how the blue pops around the outside edge.
Journalling
is a very personal means of creativity and sometimes difficult to share
publicly. However during the creative process you think about the
sentiments; what is important to you and it can be quite an uplifting
process.
That
said, all the techniques I have utilised can be used in many different
ways and in many different projects, not just for journalling. I looked
through most of my collection of Alison's quotes in order to find the
right words and that was a lovely process in itself.
Paper
collage can be fun but I find it works best to start without any great
expectation of the end result. Just go with it and enjoy the process. I
am pleased to report that it made a slight dent in my drawer of gel plate prints!
Thank you for joining me and happy crafting.
Jennie x


.JPG)


.png)

