Showing posts with label A Vintage Christmas. Show all posts

Saturday, 9 November 2019

2019 #17 A Vintage Christmas: Christmas Village with I&D {by Helen Chilton}

2019 Topic 17: A Vintage Christmas


A whole Christmas scene unfolds as Helen works her way through decorating a Christmas village with Ink and the Dog stamps ~ Leandra

Hi everyone, it's Helen with you today, and I'd like to share with you my Christmas Village. I'm using I&D stamps which have a lovely vintage feel and was going to make some tree decorations but then remembered I'd got the Tim Holtz little house die from a couple of years ago. The stamps are just the right size and scale and I've added a picket fence by Darcy and some of Scrapcosy's trees. I like making things with lots of detail and this is going to sit on my mantelpiece this Christmas.


Starting with the finishing touches, these are the stamps used for the fence and trees...

I've gone for a grungy, textured look for the houses, brayering Frescos and Infusions together.


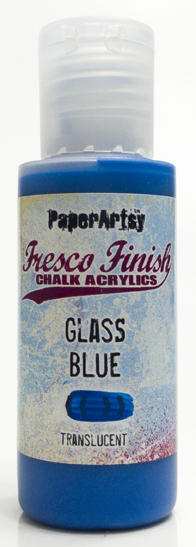
I've also stamped with the Infusions, here in Sleight Blue and later with Are You Cerise. I like the watery effect it gives.


These are stamped onto the tissue paper (I use the stuff that PaperArtsy orders often arrive wrapped in). I coloured on the back.


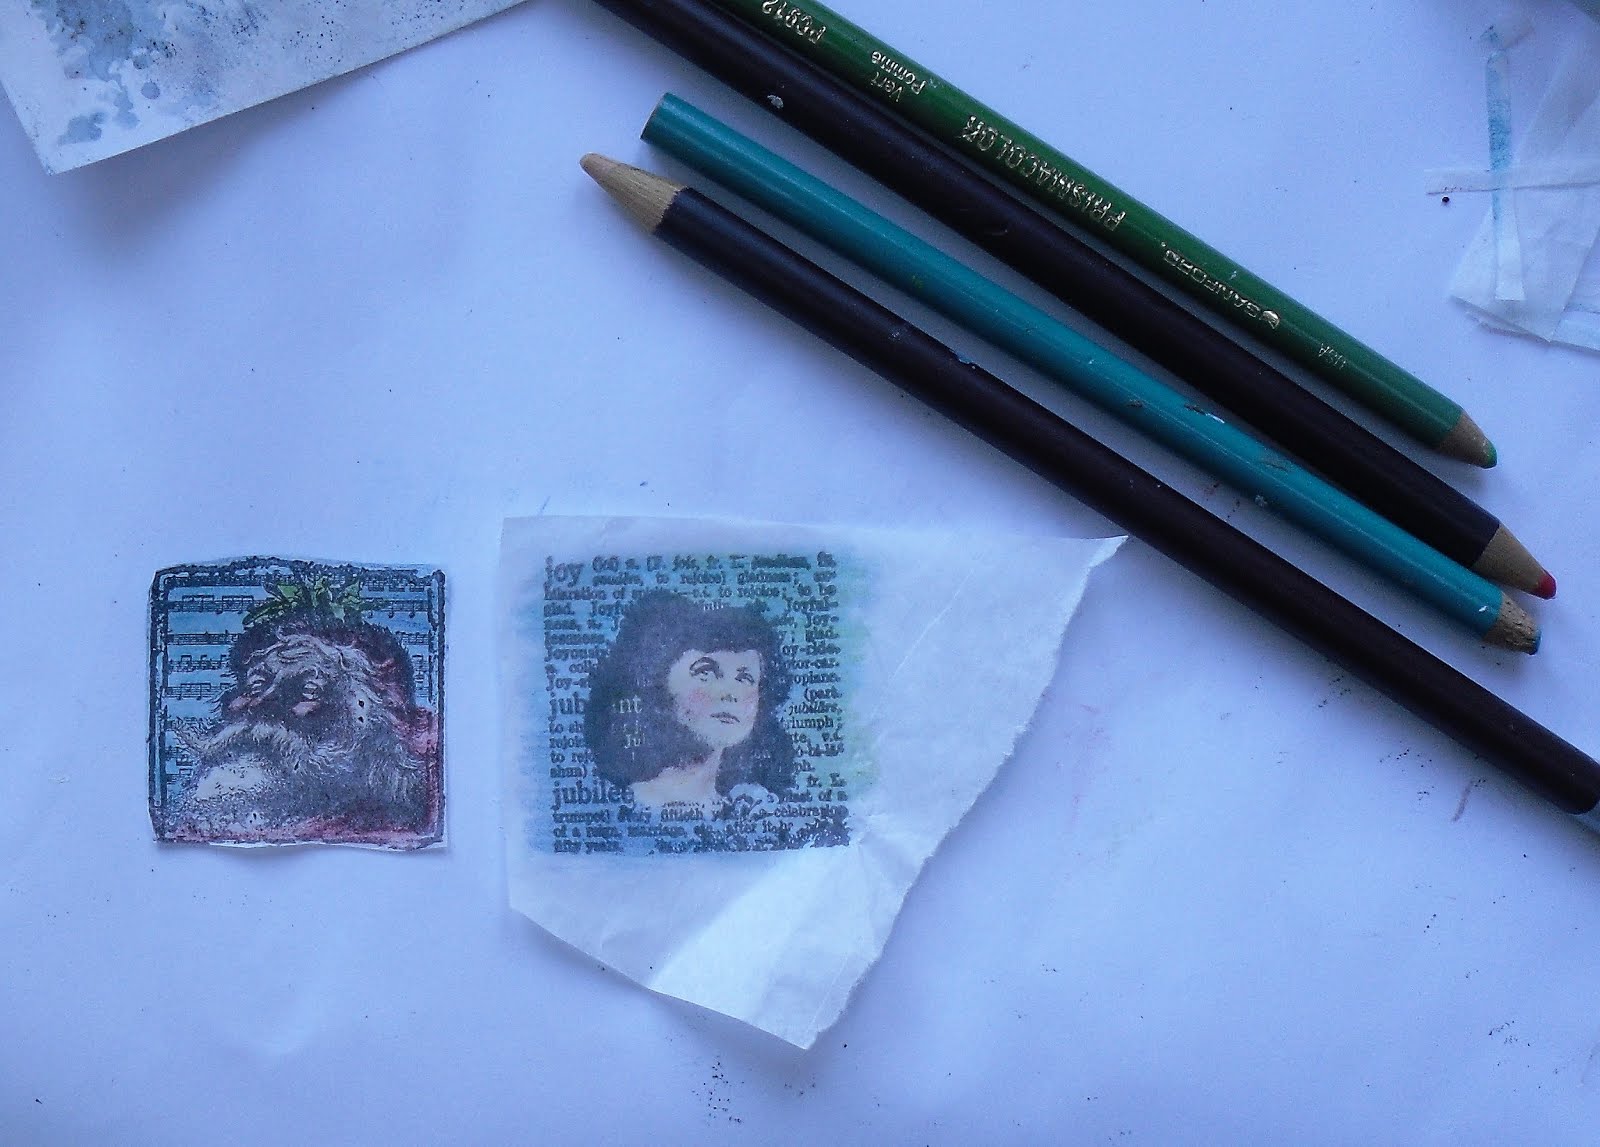
The walnut crystals are starting to show in the stamping here which is great for a vintage effect.


I built up the stamping and used a pen to emphasize the windows


The braids and ribbons just finish it off


I've added trees and a fence plus snow and berries and mossy bits!


It's fun using stamps from different designers in the same project - so often I stick to one designer, and therefore one style only, but I've enjoyed mixing it up a bit. Vintage Christmas is a lovely theme and something like this can be brought out year after year. You don't need the die to create these as the design is quite simple - you could add to your village with taller and smaller houses, birdhouses, lampposts, snowmen, people, gardens - you'll find them all somewhere in the PaperArtsy stamp sets.

Helen

Blog: A Splash of Colour

Friday, 8 November 2019

2019 #17 A Vintage Christmas: Christmas Panels with ESN {by Jennie Atkinson}

2019 Topic 17: A Vintage Christmas


Jennie has some quick makes for you today with a gorgeous blend of Lynne Perrella and Sara Naumann stamps inn traditional Christmas colour palette. ~ Leandra

Hi everyone, it's Jennie (Live the Dream) with you today sharing some reasonably "quick make" panels which can then be used to decorate tags, bags and cards.

I really like to have a creative time making a number of panels which I can then use when needed. It means you can have a bit of a production run and whilst a similar theme runs through the pieces each one is actually different. (Most useful when my two elderly Aunts swap pictures of their birthday or Christmas cards!).


I have created three vintage styled panels using Sara Naumann's Christmas stamp set ESN38 and added another vintage element with Lynne Perrella's LPC043.


I combined two of the new Fresco's Blood Orange and Red Lipstick to get this lovely Christmas red. I have just brayered the colours onto my gel plate for a single pull. I find this is a great way of getting a great mix of colours onto a piece of card. I have used the lovely leaf and music stamp as a background (Archival Vermillion combines well with the Fresco paints) and filled in the gaps with the text stamp. 


I start by placing layers onto my blank card. I have used vintage music paper and stamped onto my own tea stained paper. Doilies are a lovely Christmas element too. I have torn my papers and then blended brown ink around the edges for a vintage look.


When possible I prefer to use my sewing machine to adhere the layers. This is not a very clear photograph but I have used both straight and zig-zag stitch around the edges but have not religiously sewn everything! By the time a flower cluster is glued on on everything is well and truly adhered but still appears to "float".


I have experimented with different brown inks (Archival Tree Branch, SepiaPotting Soil and Coffee) to get different hues on the tea stained paper. If the Archival Ink is too dark try a second generation stamp (stamping off on a scrap piece of paper but not pressing too hard).


As my tea dyed paper is just ordinary copy paper it can be a little thin for die cutting. I loved this gorgeous circle stamp and wanted to make it a feature, so glued a piece of tea dyed paper onto some cardstock before stamping and cutting. You get a few creases but it all adds to the vintage look!


From my little pile of pieces I was then able to make up three panels. I have used some shop bought Christmas flowers and dyed some ribbon with green waterbased ink - I tried using Fresco Chalk Paint but whilst it is a lovely colour it is rather stiff! I DO make sure that I add some good quality tape to the back of the panel before the final decorating with flowers.

So then what to do with the panels?


I used some natural white cardstock to make a gift bag. I have one of these fancy boards which make a pretty good bag, but it is easy to get a template for one on Pinterest or you could use either bought bags or sandwich bags. 


I used the same card to make a blank card measuring 4" x 6" and used the circular stamp inside for my Christmas message.


I used more of the natural white card to make a tag for the final panel. I normally wrap my Christmas presents in white tissue paper tied with sisal string and so this tag will look fabulous on one of the larger parcels.


Combining these two sets of stamps gave me a number of vintage options and although the Lynne Perrella tag is not Christmas themed it makes a lovely vintage tag for any occasion. I also love that Sara's stamps provide lots of opportunities for creating backgrounds but also feature layers as well as being able to isolate individual sentiments.  This will be a very popular Christmas set for me!

I find that making panels without thinking of the end project is enjoyable and stress free. So having a little creative time now making some Christmas panels will make life a little easier when December comes! 

As always thank you for joining me and wishing you a happy Christmas playtime!

Jennie x

Wednesday, 6 November 2019

2019 #17 A Vintage Christmas: Words of Gold with JOFY {by Kate Yetter}

2019 Topic 17: A Vintage Christmas


Kate presents an interesting juxtaposition of vintagey layers with modern-style JoFy stamps. The stained tea bag, rustic gold embossing, a touch of sparkle, layered with bright paint colours that are dulled off with infusions. ~ Leandra

Hi everyone, it's Kate here (https://kateyetter.com/with you today, and I'd like to share with you a Christmas card for our Vintage Christmas theme.

I love any excuse to get started on my Christmas crafting. My tendency is to drift towards the non-traditional colors when it comes to Christmas but my favorite part of a Vintage Christmas is the the metallic and glitter.


My background showcases this stamp in gold metallic embossing.


I used Infusions and Fresco paint with a stencil in the background to add some color but kept the colors muted  to go with the vintage theme.


Using Distress Markers I coloured my stamped Christmas tree.


Next, I started layering my patterned paper, vintage book paper and trim. String was used to add texture and a stamped tea bag frames my sentiment.

To add some glitz, I brushed on some glitter gel.


To complete the card, the harsh edges were softened by brushing on some gesso with the tip of my finger. Now everything seems to mesh.

I love adding a bit of glam on my Christmas cards. For this card, I repeated the background stamp several times throughout the card and used only one focal image that wasn't words. Have a go at using more words and less pictures. I was surprised that I liked the result.

Monday, 4 November 2019

2019 #17 A Vintage Christmas:Decorations with LPC {by Carol Fox}

2019 Topic 17: A Vintage Christmas


This is a cracking idea for a vintage look to your Christmas decorations! I can imagine a tree full of these! ~ Leandra

Hi everyone, it's Carol with you today, and I'd like to share with you a couple of Christmas Decorations.

I wanted the look of old decorations that had maybe been tucked away in Granny's attic for a while carefully wrapped in tissue so the colours were still vibrant but the whole thing has a faded look about it. With this in mind I decided to use unbleached calico as my fabric instead of my usual smooth white cotton and the roughness of this gave the look I was after. 

The Fresco paints worked a treat on it and gave good colour while not smothering the detail on Lynne Perrella's lovely images. I don't have many of her images as I always thought they were too fussy for my style but I am now a convert and I will now need more stamp storage and a bigger Christmas Tree for all the decorations I want to make and as I mention at the end of my post, think of the bunting.


 As the images are fairly symmetrical I just paired them up back to back when sewing together and stuffing so this way they look good from either side.


Using the Stamps LPC016 and LPC020  I stamped my images in Black Memento ink, I tried a few different brands on my Calico and this gave the best image.


I coloured in my image using Fresco Paints in shades of Terracotta, Gold, Peachy Keen and layered Red Lipstick over Glacier Ice to give the mottled affect on the neckline. I edged the wings with diluted Infusions in Golden Sands, just dabbed around the edges with a paint brush.

This one I used Fresco's in shades of Gold, Glass Blue, and Red Lipstick to colour them.


I added small bells by sewing jump rings onto the bottom of the doll.


I stamped the greeting from LPC016 onto shrink plastic and attached it to the bottom of my decoration with jump rings, adding bells for that Christmas jingle.


I used eyelets to attach the hanging chain and shrink plastic decoration to my Angel.


This is my favourite of the two decorations, simply because there was more open area to colour in the image and I liked having enough area to add eyelets without interfering with the image too much. I did find with the eyelets it was best to punch a smaller hole and then add a larger eyelet to it. I found using the right size hole for the eyelet gave it a tendency to fray around the hole, but a small hole and an over-sized eyelet kept it all tight. I did have to wriggle the eyelet in before closing it and it was fiddly but it worked the best.

Having done these now I think that the Russian doll would make a lovely row of bunting and if I get time to do a row of fat stuffed dolls for above my fireplace before Christmas I will share the photo on the PaperArtsy People Facebook Group. You can join here.

Thank you for your visit today and I can be found at the following places.