Showing posts with label Cat's Meow. Show all posts

Thursday, 28 May 2020

2020 #9 If only cats could talk with ECF {by Lynn Good}

2020 Topic 9: Collage It


Not only is it really good to hear Lynn's fur baby is on the mend, albeit looking somewhat like a shaved lamb, but also the vet scare along with a R&R boost from a Tracy class helped inspire this colourful journal page. It's funny how your mojo can come and go when you are faced with uncertain times, and I'm sure that Lynn isn't the only one at the moment looking for it to emerge!~ Keren, Leandra

Hi everyone, it's Lynn Good (Memories on the Page) with you today, and I'd like to share with you an art journal page that I have created for the topic "Collage It"

I actually made two pages before this one, I personally didn't like either of them - they didn't feel right to me but I couldn't say why.  Even though my friends thought they were fine, I decided to take a break -  I was putting myself under pressure and forcing the design.  

I took a wonderful 2 day online class with Tracy Scott and it was just the medicine I needed. When taking a class or following a tutorial, a lot of the design, layout and topic is chosen for you - you end up with a positive attitude and a creative mojo back on your doorstep.

I was then in the right frame of mind to create this page.  My beautiful half Maine Coon furbaby was sick and had to be completely shaved (I will put some pics up at the bottom of the post). He was devastated as well as sick and it gave me the idea for this page.


I created this page in my Dylusions Journal.  After applying a coat of gesso I have covered the page with a brayer and PaperArtsy Fresco Finish Chalk paint in Tango, Banana and London Bus.


I have then stamped images from PaperArtsy Eclectica Courtney Franich set 12 (ECF12) onto tissue paper.


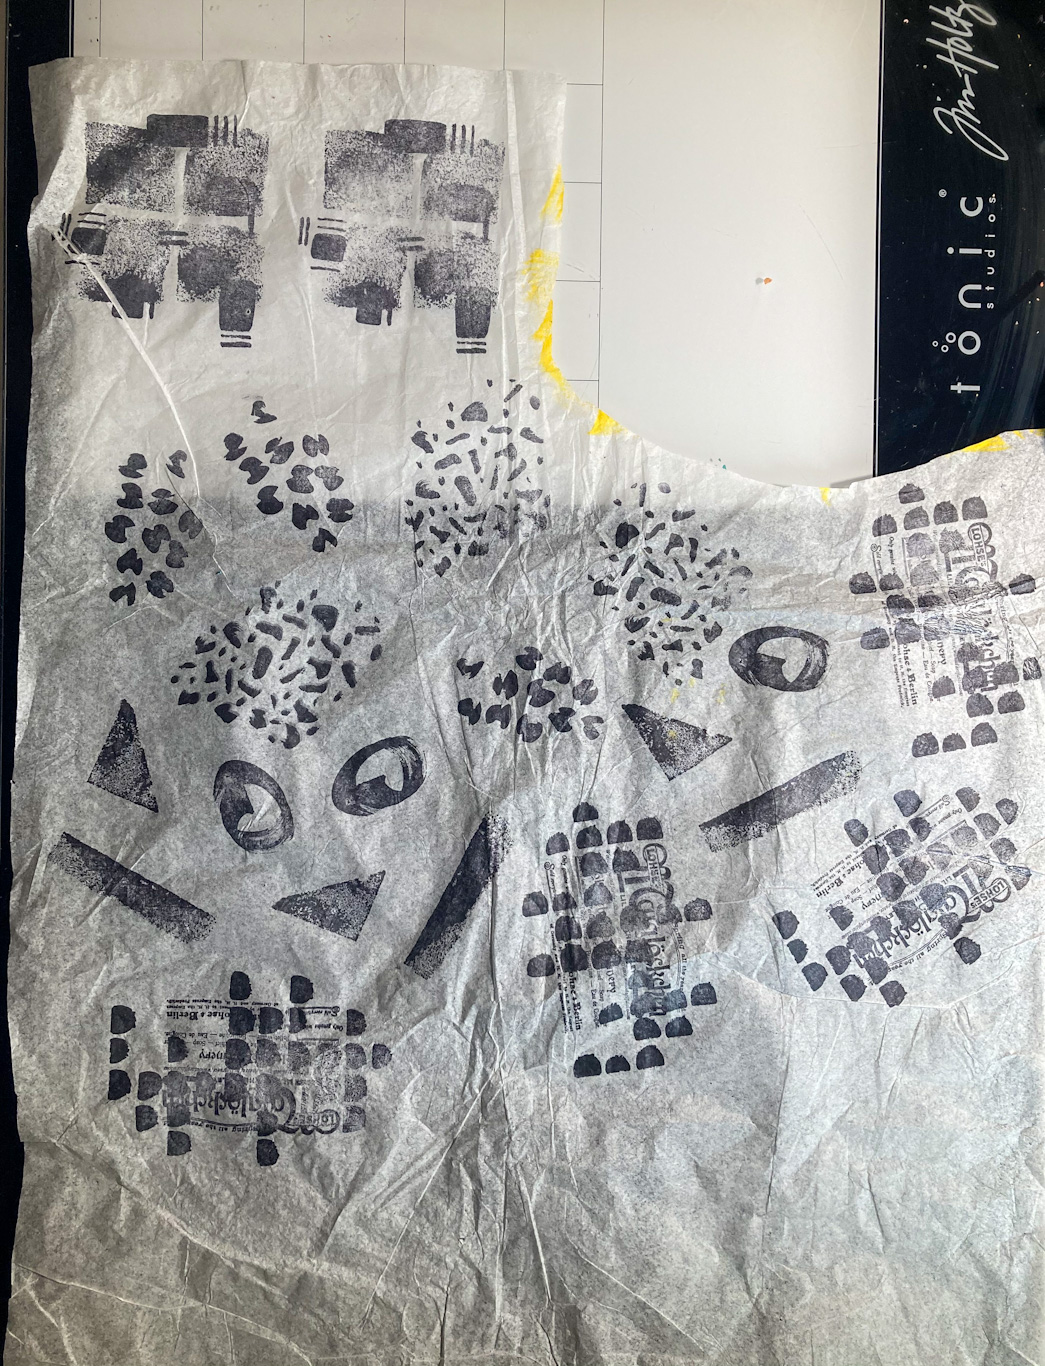
I have then torn them up randomly and adhered them to my page with matte medium


Once dry I have drawn circles on the page and coloured them with PaperArtsy Fresco Finish Chalk paint - Red Lipstick. (this was created at night so they will not be the best process photos sorry)


I wanted to create some flowers to go into the centres so I used a piece of PaperArtsy Smoothy Cardstock and painted randomly with  PaperArtsy Fresco Finish Chalk paint in Tango, Banana and Forget Me Not.  I have then used Paper Artsy Fresco Finish Chalk paint London Bus though a PaperArtsy Stencil PS001) for some more effect and to help join the colours together. 


Using this cardstock I have stamped and fussy cut flowers from PaperArtsy Stamp EKD06 You will note that these are not closely cut out as I find if I try to cut right up to the line I end up cutting off some detail!!!!  I have also used a Posca Pen and doodled around the stamped images on the tissue paper.


I have then stamped on black cardstock and cut out two cats (as we have two) from the Cat stamp set as well as two of the sayings.

Final touches to the page included of course adhering everything down - which I have done with Matte Medium.  I have drawn a string from the cat to one flower so it looks like he is holding a balloon.  I have outlined the flowers with a black Stabillo pencil which activates when wet, as well as some white marks on the flowers and I have highlighted the cats with white posca pen as the ink stamp was not as bright as I wanted.  I have mounted one of the cats with foam dots - there is always a "top cat" in the family!!!! 

Here are some close ups:


I hope that this has encouraged you to have a go at a collage art journal page - It is so much fun to put layer upon layer and watch it form into a completed piece.

As promised here is a before and after of my cat Buster.  He is on the mend - at 13 years old they thought his coat had so quickly deteriorated due to kidney failure but his bloods show he is very healthy and it is a mystery as to what happened.


Thanks for stopping by and I hope that if you get into that creative slump - remember you are not alone we have all been there and keep applying paint - you will get to the other side :) 

Lynn Good

Facebook:  http://memoriesonthepage.blogspot.com/

Saturday, 10 March 2018

2018 #4 Whimsy: Clever Cats with Cat's Meow Collection {by Liz Borer}

2018 Topic 4: Whimsy


Hello everyone. We are continuing with the theme of whimsy, and tonight it's a throwback to our Cat's Meow stamps from 2005, which are still in our catalogue today. These DL size stamp sets are jam packed with lots of fun elements. Liz does them justice beautifully ~ Leandra


Hello there , Liz back with a fun project using Cat's Meow Stamps.

I had to use the Cat and Cheese sets because I have three cats so these made me smile ! I've made three small items because my base was large enough to make some small pieces after I had made the main one and why waste the card ? 

Cat's Meow Collection: Cat (CMCT)

I've used mount board as the base of the project which I painted with a base coat of Nougat Chalk paint.

To create the background I swirled and rubbed paint onto the base coat with wet wipes. I wanted to create a random mottled effect. I started with Bora Bora and Tango, then Autumn Fire and Jade.
Finally I added more of the first two colours. I've used these four colours to paint everything else to make the colours tie together.


I mixed some Nougat into Autumn Fire and BoraBora to lighten them and painted some of the colour onto a scrap of bubble wrap. I then 'stamped' the bubbles  randomly over the background. Although it's very faint I used an oval stencil and a mix of Jade and Autumn Fire ( this creates a dark muted green, good for distressing the edges) to create a frame.


I then stamped cat paw prints around the frame.
I stamped the cat into the frame so his whiskers showed before adding a painted cut out cat  


I stamped most  of the images onto white card, painted them and then cut them out, because it would be difficult to paint over the background.
These film strips are created from the individual stamped image cut out and stuck to a strip of card. I stamped the images onto the 'film' and painted them before sticking them together. I've used the two orange paints for the cat (because I have a ginger cat !) and Antarctic and Lake Wanaka for the mice.


The muted green paint mix made a good colour to wash onto the film strip to darken it.
The strips were attached with dimensional glue. MEOW is stamped and embossed with gold powder and stuck in place.


To create  sign I stamped the top of the note stamp while masking off the bottom and then stamped the base of the stamp while masking the top. After painting I triple embossed the sign and added a painted stick.


I wanted the mouse to face the other way , so I stamped it on tissue paper and attached it to card with Matte Glaze before painting it with Antarctic and Lake Wanaka as before. He is then facing the correct direction to hold the sign !


 Here's the cats portrait, he's so happy !


'If only cat's could talk' 


This is made from the same background but using different images. The paw prints were stamped onto the background with light grey ink. The red heart was painted onto the sign with London Bus paint.

I had great fun with these little projects and I hope you enjoyed them too. 
 See you soon, Liz.

Blog: Decorative Delights
In case you need a reminder of the stamps in the Cat's Meow Collection, designed by Marieke Blokland for PaperArtsy back in 2005 here are the images of the full series. You can buy them all unmounted or EZ mounted here from PaperArtsy.


We always hope that you  learn something interesting from our blog

Our creative team love to read your comments so much, so please take time to let them know you've been inspired!  

You must complete step 1 AND 2 to be entered into the draw. 

To join our challenge:
1. Leave a comment on the Topic Introduction Post and go in the draw to win a PaperArtsy Apron. 
2. Make something arty relevant to the topic, and link your creation from any social URL (eg. Instagram, Pinterest, Blog Post etc) sharing your original make to this challenge page.

The current topic link Topic 4: Whimsy will close 17:00 (London Time) Sunday, March 18th 2018, and the winner will be announced 2 hours later at 19:00.


All links go in the draw to win a PaperArtsy creative apron. Please make sure we can contact you as a prize winner - it helps if you share your contact info from the platform you opt to use.

Good Luck! If you have any questions, don't hesitate to ask!

Saturday, 11 June 2016

2016 #11 Our Painty House {by Trish Latimer}


2016 Topic 11: Our House

Hi everyone Trish here!. Tonight I'd like to share a post about making houses with you this evening :) 
As you might expect, the first thing that came to mind when I thought about a house theme was a 3D creation! As I started working though, it got a little out of hand and ended up just a smidge larger than I had thought! With such a wacky house, I needed some wacky 'people' to live there, and the range of critters and fairies in the Cats Meow stamp range were just perfect for this! 


Step One: The base for my house is a selection of MDF cubes, some with apertures. Perfect for my residents to peek out from! These can be stacked up in whatever combination you choose, I went for a 'the taller the better' kind of arrangement!


Step Two:To decorate the cubes, I made lots of masterboards. I smeared on paint (Granny Smith, Mermaid, Beach Hut, Snowflake), stencilled a little, then did some background stamping. All the stamps used throughout the piece are from EEG07, CM-BLOOM, CM-FAIRY, CM-ICE CREAM and CM-SAFARI.

EEG07,

Step Three: I then did a lot of measuring and cutting up of the masterboards! I added a little Cherry Red smeared paint around the edges of the squares, then stuck them on to the MDF cubes. 

CM-SAFARI.

Step Four: Some extra stamped details can be added to the cubes at this point, I used the stamping on tissue paper technique to add some flowers along the bottom of the base cube...

CM-BLOOM,

Step Five: I stamped the figures onto a combination of scrap masterboard, painted card and watercolour paper...

 CM-ICE CREAM

Step Six: These were then cut out and placed in random places in (and on!) the house!


I added to the whole '3d-ness' (is that a word?) of the piece by adding a fairy and a bee on a wire, and also the title banner. A few words, and a roof, and the whole thing was done!

CM-FAIRY

I really like creating houses, whether they are bold, bright and a bit wacky like this one, or more sensible! Houses are something that can really grab the imagination, altering techniques and themes to suit just who you may imagine living there! In this case, a bear, an elephant and a couple of fairies... :)
See you soon,

Trish

Wow Trish, this is so much fun. Your tower looks such a happy place to live. The background masterboards are delicious, how could they not be with such yummy names, and the pops of red really bring the whole piece to life. The whole thing is the perfect antidote for the grim weather we are having. I think I might need an elephant now!

We would love to see how you interpret this House topic by linking what you make to our 2016 Challenge #11: Our House, on this page HERE.
All of our bloggers love to see your twist on their ideas, particularly if you were inspired directly by their post. 
All links go in the draw to win a £50 voucher to spend on products of your choice from the PaperArtsy online store. The Our House link will close 17:00 (London Time) Sunday, June 12th 2016. The winner will be announced 2 hours later at 19:00.