Showing posts with label Blah-Mange. Show all posts

Friday, 17 October 2025

Squiggly Christmas with PaperArtsy's Squiggly Ink stamps {by Nikki Acton}


Hi everyone, good to be back, it's Nikki here (a2a.craft) to share my latest project.

This year on the blog, we have free rein to do a deep dive into a PaperArtsy product range of our choosing. For this post I have been exploring Squiggly Ink products.

I'm going to be sharing some Christmas cards combining a (mostly) stencilled master board and the fun and easy to use Christmas stamps from the Squiggly Ink Collection.


I will show you how I created my master board for these cards to form the background before getting all sparkly for Christmas with the stamps.


I wanted to use the traditional red and green of Christmas while keeping it bright - so selected the range of colours you can see above.


The image above is my finished master board. I created this on one sheet of A4 white card.


To start I cut myself some triangles out of A4 copy paper to use as stencils and started my painty background using Fresco Chalk Acrylics in Kiln (FF234) and Blah Mange (FF140).


The next layers use PaperArtsy stencils by JOFY - PS438 and PS309 and Fresco Chalk Acrylics in Toffee Apple (FF219) and Frosty (FF190).


As I knew I would be cutting up this master board I wasn't too worried about the composition but tried to fill some gaps while also overlapping the triangles previously added.


Next I added the brighter green dots / circles using Fresco Chalk Acrylics in Parakeet (FF225) and another JOFY stencil (PS477).

I then reached for the small snowflake and present stamp off PaperArtsy Squiggly Ink - Nut and Meg 1 stamp set (SINM1). I stamped in Fresco Chalk Acrylic in Chalk (FF83) and Ranger Archival Ink in Olive.


Finally I added Fresco Chalk Acrylic in Gold (FF20) - again using stencil PS477.

There is a lot going on in this background, but I liked it! Now to make some cards.


For the first card I used the Christmas tree and greeting from PaperArtsy Squiggly Ink - Nut and Meg 3 stamp set (SINM3)

I cut some of the background for the inside of the card and the front flap and matted onto another layer of card painted (just around the edges that show) with Fresco Chalk Acrylic in Parakeet.


For the tree I quickly painted a piece of card with stripes of the colours I used on the background. I stamped and fussy cut the tree.


I added some Ranger Stickles to the tree for some sparkle and cut an oval for my tree to sit on. This was decorated with more stencilling and stamping.


I punched some little stars and mounted the greeting on some sparkly paper for some added bling!


The second card was built the same way - but this time I used the snowman from PaperArtsy Squiggly Ink - Nut and Meg 2 stamp set (SINM2).


I added some slightly watered down Fresco Chalk Acrylic in Frosty to some white card before stamping the image. I took some coloured pencils and coloured his face / scarf etc before adding Stickles to some areas.


This was fun! Like many of us I love making backgrounds and these stamps contain clear focal images that are great to stamp with and easy to fussy cut.

Thursday, 11 August 2022

2022 Topic 11: Stamp Mash-up {by Kate Yetter} with Tracy Scott, Nicci Battilana and Scrapcosy stamps


Hi everyone, it's Kate (Kate Yetter – Musings, Tea and Drippy Paint) with you today, and I'm here to share with you a stationery set.


Letter writing is one of my hobbies and I love writing on pretty paper. Lately, I have found it difficult to find stationery in the stores as letter writing is a lost art. I thought, "Why not create my own set with matching envelopes?" 


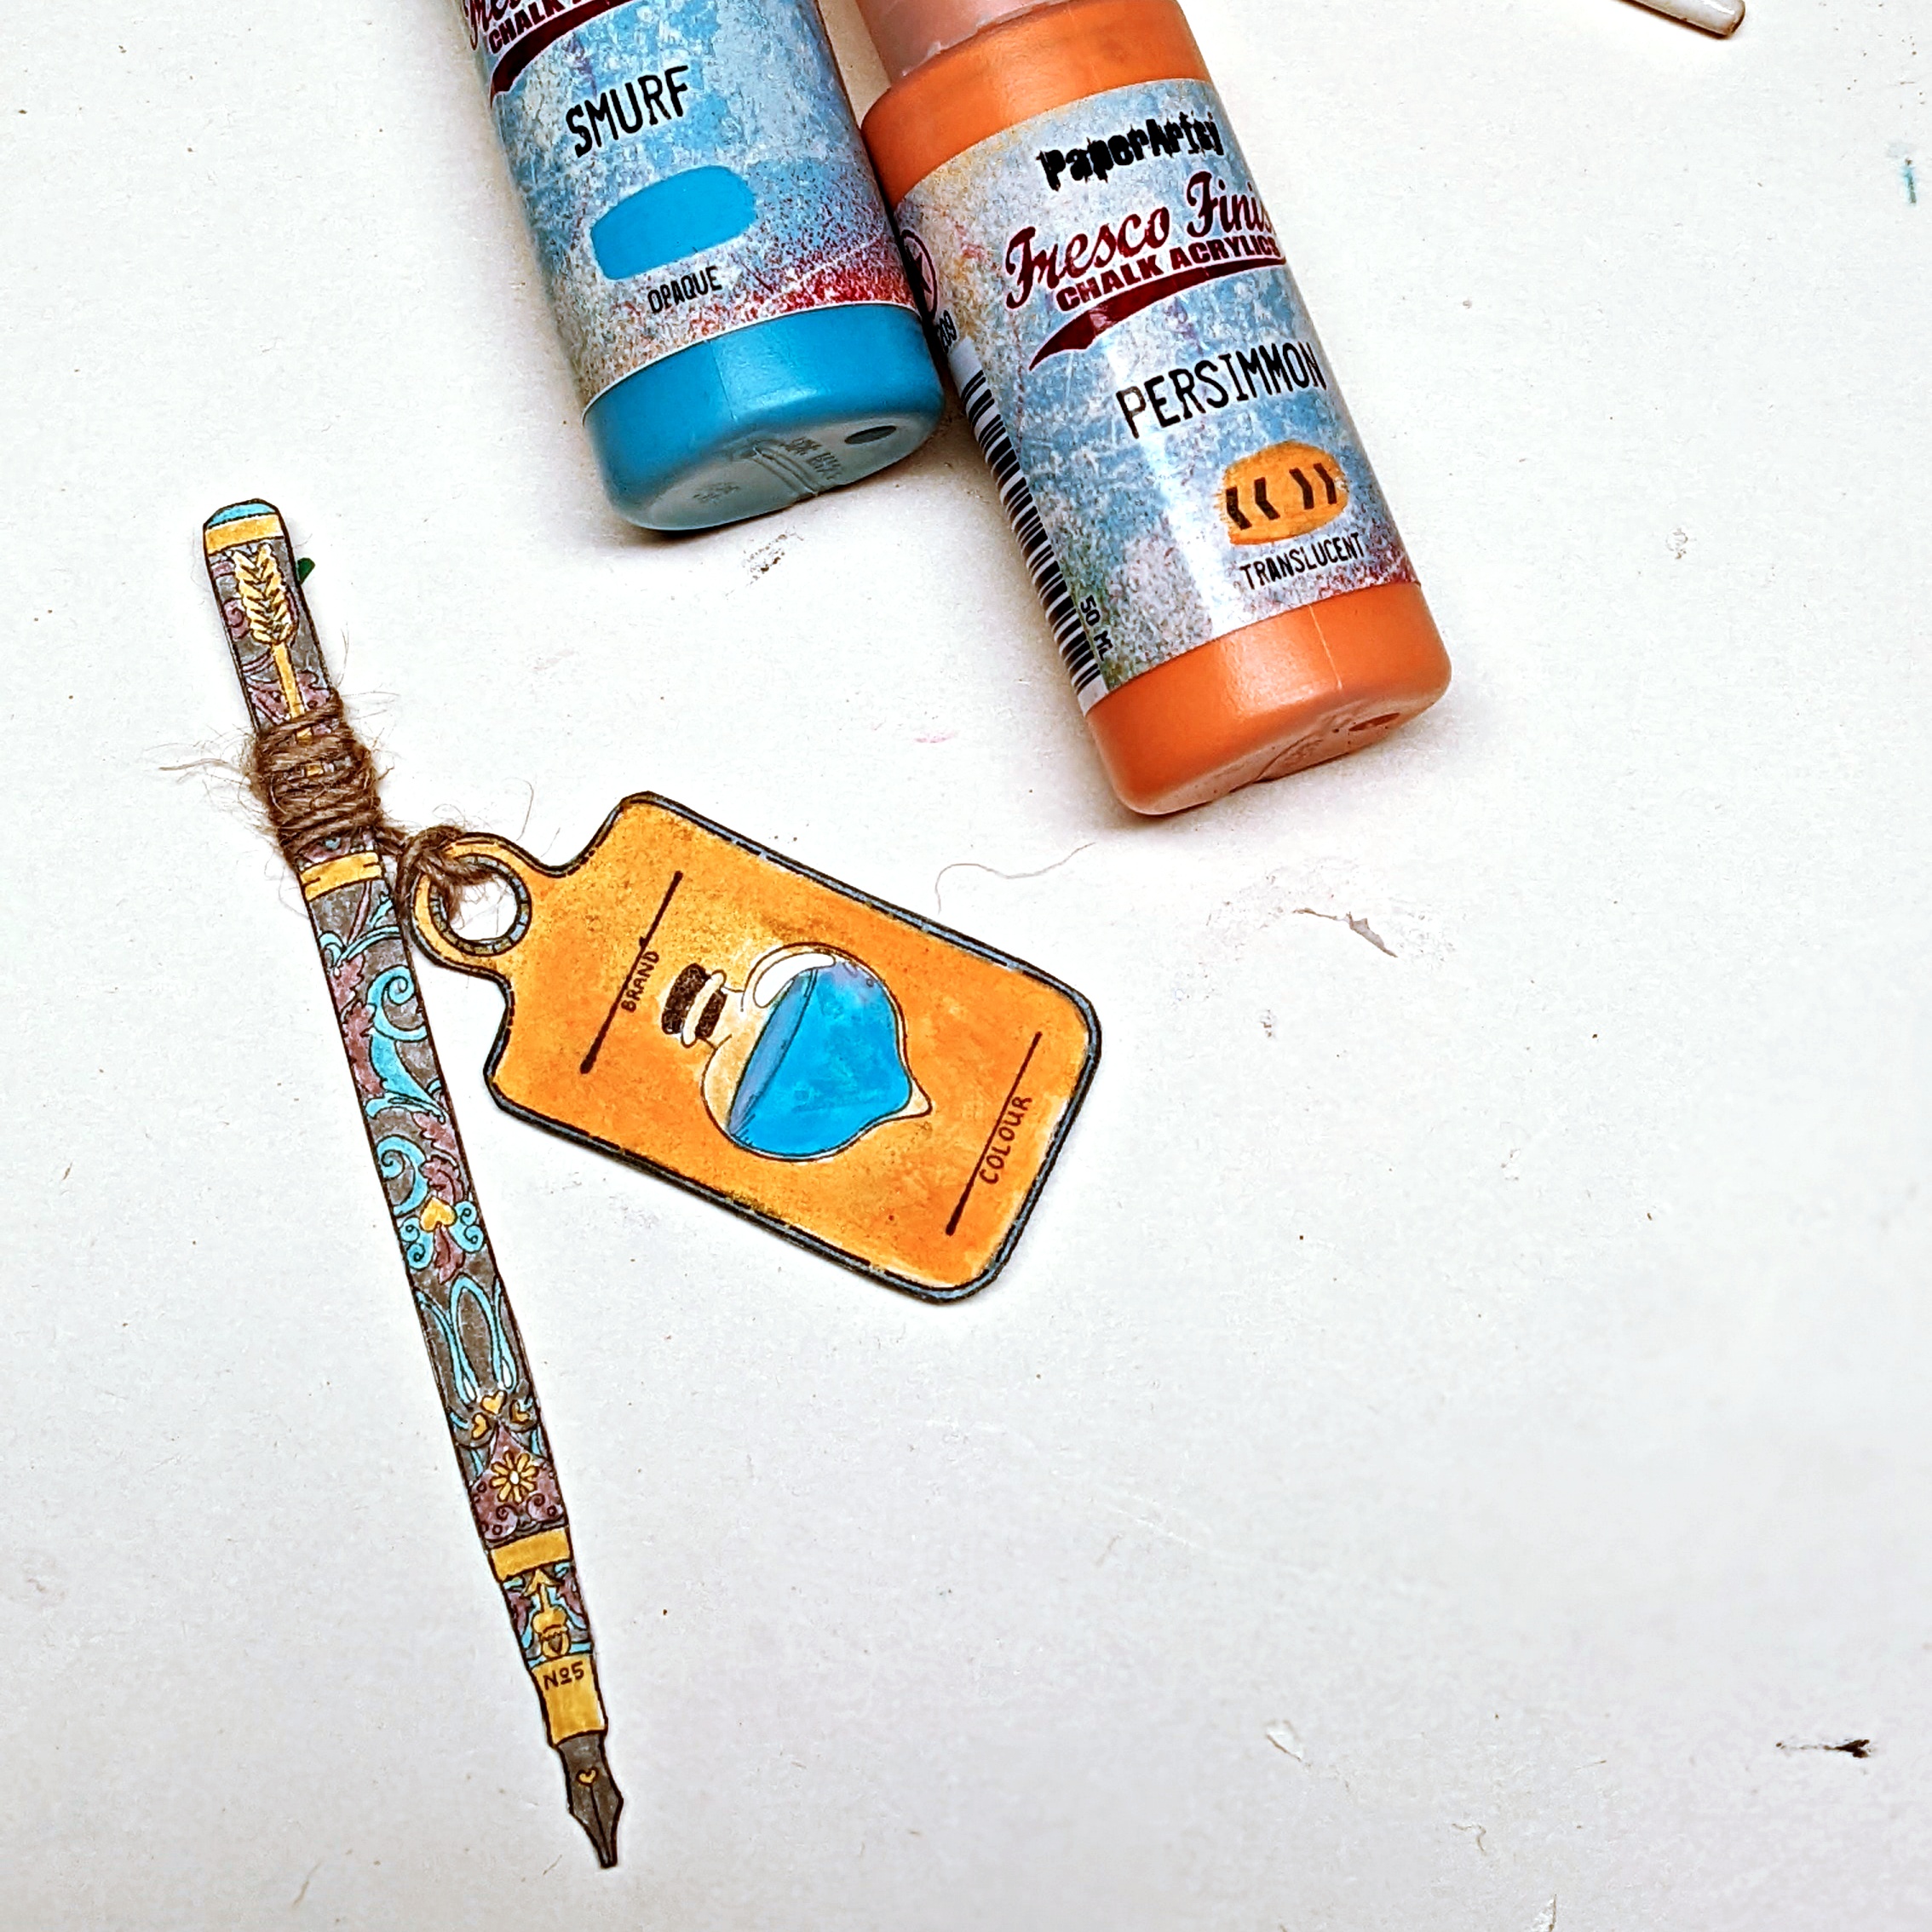
I knew this was going to become a set of stationery, so I decided to keep the colors pretty and pastel. Some of the stamped images were very detailed so I chose coordinating colored markers for the small areas on the paintbrush and pen handles.


As this was mail art, I challenged myself to keep everything relatively flat. With the rate of postage nowadays, I don't want to pay through the roof for a thick envelope. My goal was to keep it simple yet pretty.


When choosing how to use the stencil, I thought it would be cute to have the squid blowing bubbles up the page. I ended up loving this stencil and using it throughout the set.


Who doesn't like to get a bookmark in the mail? A matching bookmark seemed like the perfect way to use this paintbrush stamp.


On the envelope below, I decided to use the bubble stencil again to create continuity throughout the set. To add depth to the bubbles, I used some pink.


 On the envelope closure, I added the stamped seal, colored with markers. 


 Stenciling around the paintbrush added color and texture.


For the greeting card, I again used the two-toned bubbles and stamped script on top.


Stamping with paint is also an effective way to use paints and stamps together. Just remember to clean your stamp off right away.


To finish off the letterhead, I used an ink pen around the edges to add squiggles. I love adding this hand drawn border to tie a piece together. {NB Irish Cream is a discontinued colour}


To complete the bookmark, I stamped on top of the stenciled area to create more interest.

An area for the name and address was added to the envelope below.


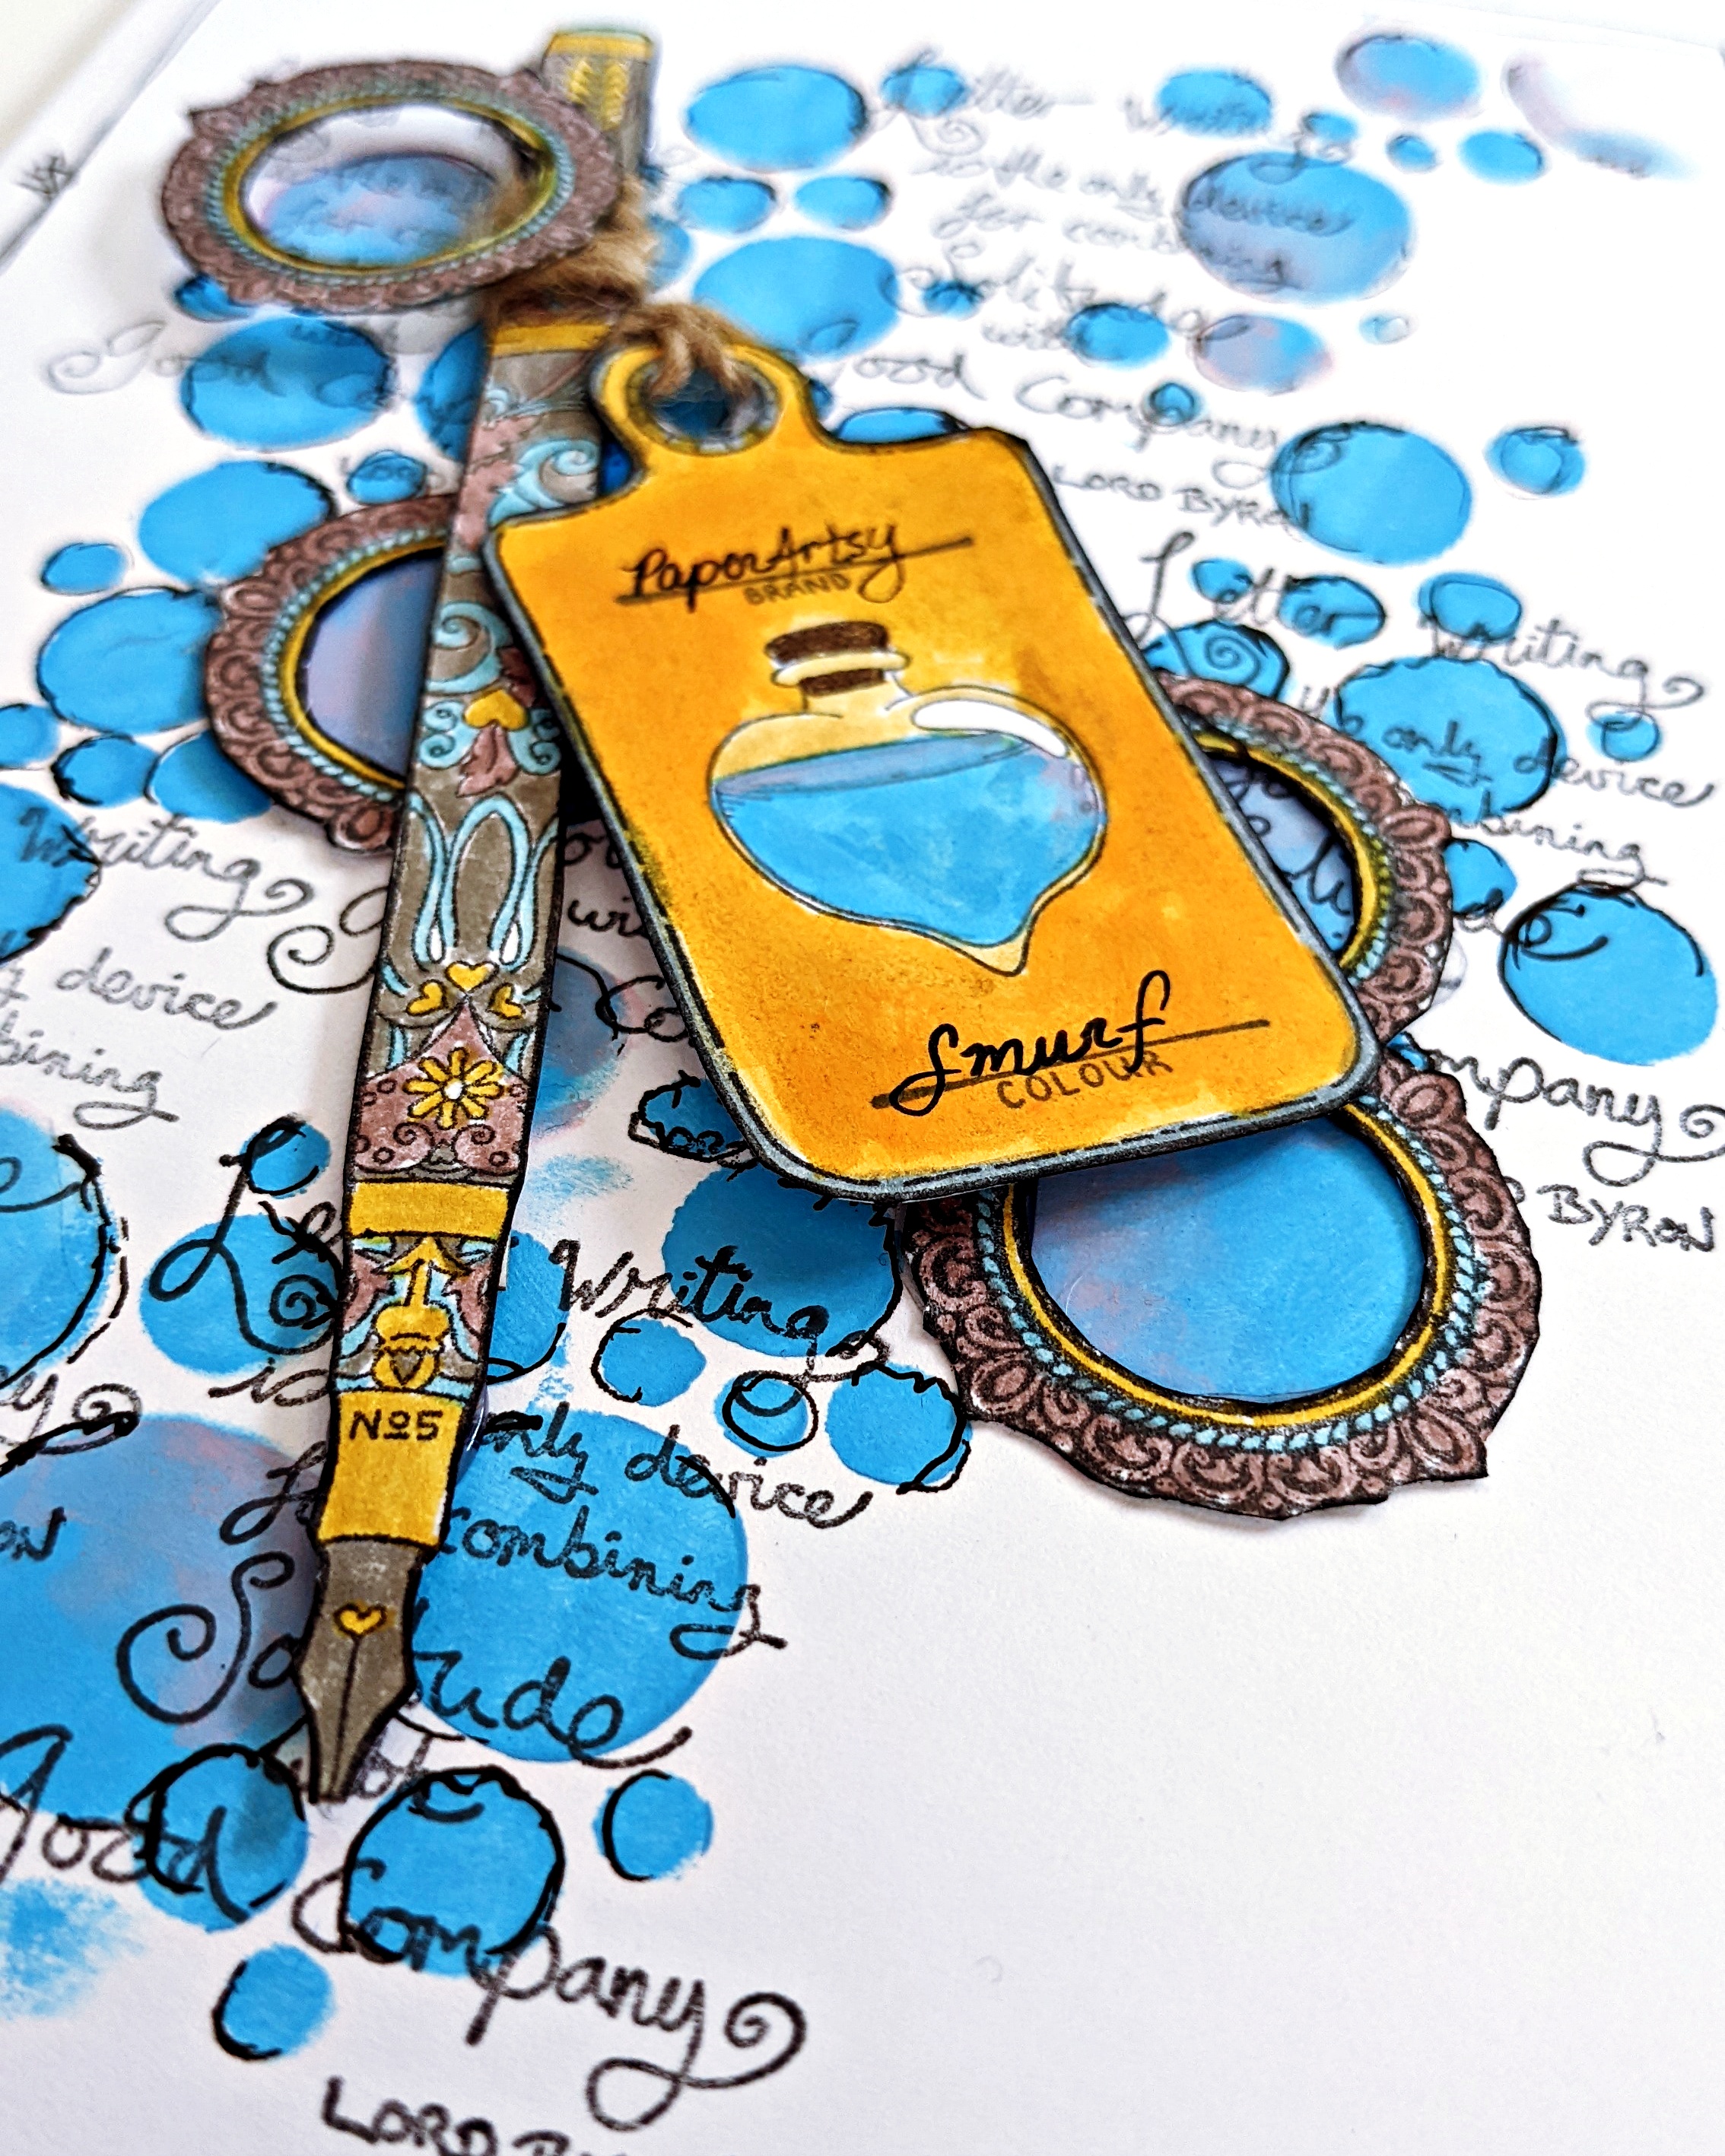
Embellishments were made for the greeting card using stamped images, paints and markers. I also stamped, colored and cut out several circular motifs and layered them on top of the bubbles.


Below is the completed greeting card and matching envelope. This card was the only one where I layered embellishments.


I had so much fun putting this stationery set together. I never intended to make this many things but once I got started, I couldn't stop. While creating, I made an envelope that I had to throw out as it didn't match the set at all. That is what happens when I venture outside the chosen color palette. I like how everything turned out and I am in LOVE with those bubbles! I hope you saw how easy making your own stationery can be. All you need is paper, stamps and some color. You should give it a try!

Until next time,
Kate