Thursday, 4 August 2022

2022 Topic 11: Stamp Mash-up {by Laurie Case} with Tracy Scott, Nicci Battilana and Scrapcosy stamps


Hello and welcome!! It's Laurie with you today to share a project full of twists, turns and ups and downs! When creating, sometimes things don't go exactly as planned and that's okay! At the end of this process, I learned a lot, ended up with THREE finished designs and most importantly, had so much fun "Mashing Up" three different designers!!


Recently I came across the technique of altering playing cards. I've done a couple of standard sized cards which were fun and quite simple due to their size. However, while perusing Amazon one night, I discovered large playing cards, 5X7 inch cards!! I thought, how fun! I must alter these!!!


These are the supplies I initially gathered. You'll find as I go on, I've either added product or not used it at all! This was a highly evolving project!!


I want to start by showing you the first card I created. I didn't end up using this card on my feature project because there were a few things I didn't like about it.


I love the colours and the collage! Downside Number 1: my Copper paint seems to have settled a little bit, so when I mixed it with Grunge Paste, it gave this gorgeous pink colour but this was not the look I was going for. Downside Number 2:  I felt that I covered too much of the card. I really wanted people to know that this was a large playing card, not just a piece of cardstock or card board!

So it was back to the drawing board!!

 

I pulled another card from the deck and chose a different area of the Printed Tissue. This area was less densely packed with images. I used gel medium to adhere.
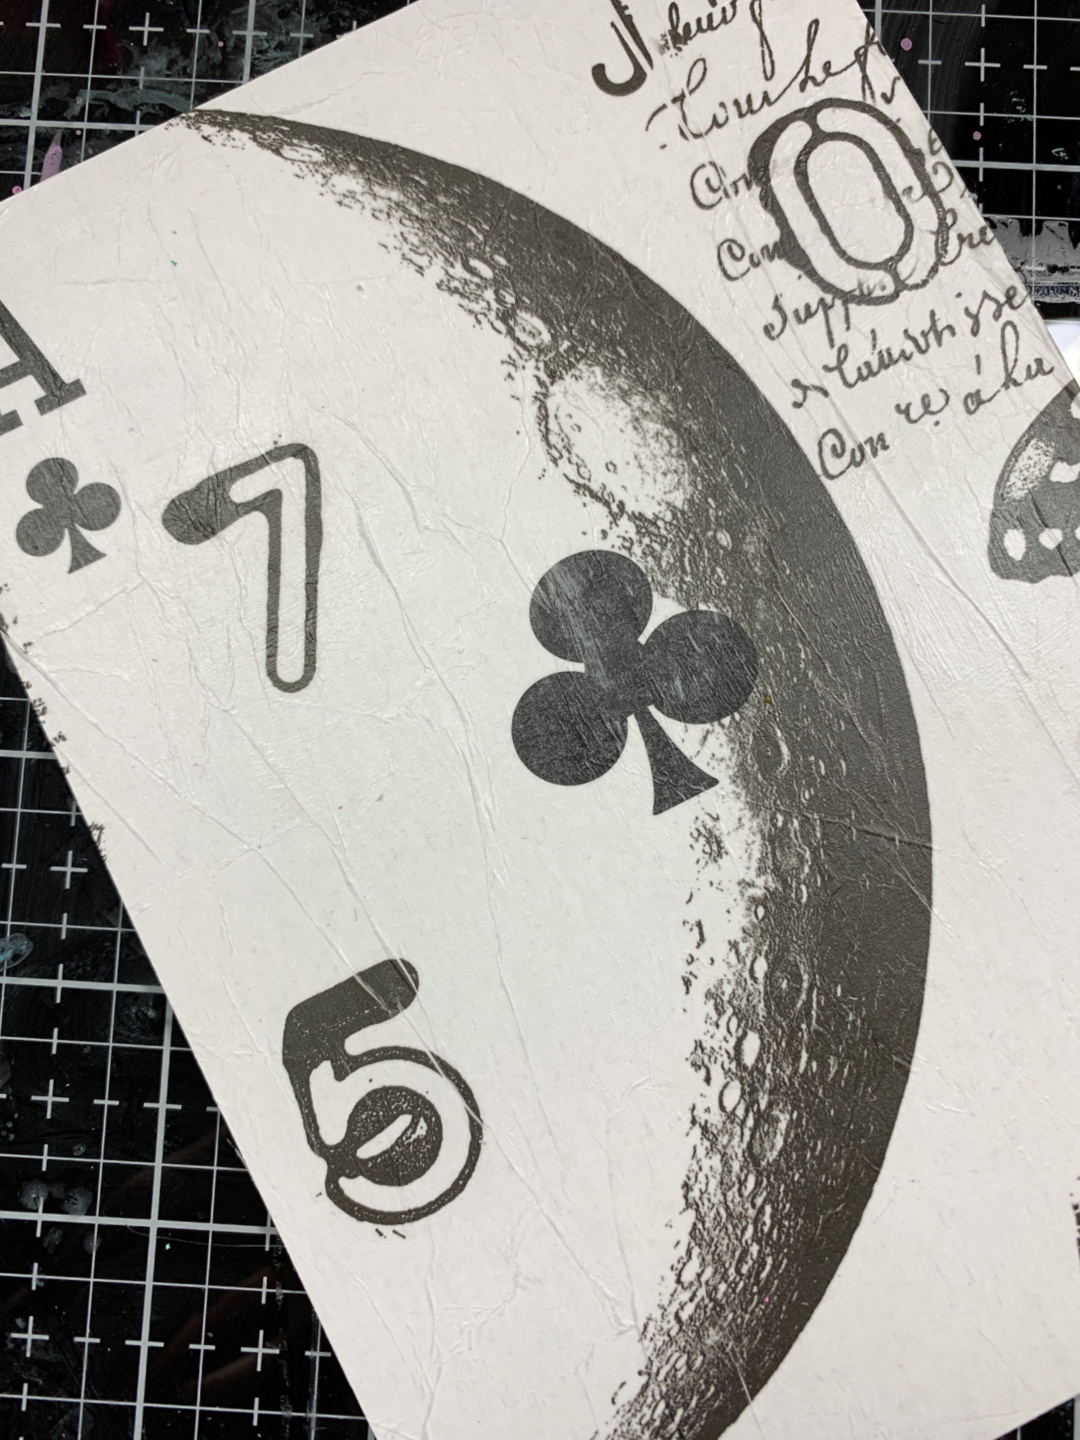

I love that you can clearly see that this is a large playing card! I also love the images I was able to get from the tissue!


This is a regular sized card. I thought it would be fun to create some layers using the exact same card and suit.


I place the regular playing card in the centre of the large card, trying to match the centre club as best as I could. I laid the PS290 stencil over the top and applied Grunge Paste in a diagonal from top left to bottom right.


Now, this is where I thought I'd try something new. I sprinkled some embossing powder over the top of the Grunge Paste. I've seen this technique done before but in this case, it came out with mixed results, haha! Some of the powder flaked off the paste, some stayed on...at this point, I just went with it!!


I added some Mouse Ears and Bubble Gum Fresco Finish Paints. I used A LOT of water to get that splotchy look!


After the paint was applied and dry, I added a thin layer of white gesso to dull the colour slightly. I rubbed away whatever embossing powder that wasn't set into the Grunge Paste. This actually gave a very nice, matte look.


You can see some subtle stamping on the background. This comes from the AMAZING new set by Scrapcosy (ESC33). This stamp set is a must have!!

It was finally time to add the "wow" factor to this project!  I stamped a few images from TS043 and ESC33 onto some white cardstock. I heat embossed the large frame using the same embossing powder I used on the background. I didn't end up using most of these but it never hurts to have extras!!


I used alcohol markers to colour everything in but chose to use only the floral images. I fussy cut around the large flower. I also coloured two of these!


I placed a small circle die, cutting side up, with tape already on it over the Club on the large card. I lined the regulation sized card up with the stencilled Grunge Paste and pressed down, making sure the die adhered. I ran this through my die cut machine. It's not perfectly centred but close enough!  I thought this looked super cool!


Before adhering everything together, I added some finishing touches with a white paint marker. I love the look of stitching! I really must try it with a sewing machine one day, hahah!
To make each layer stand out, I added some black ink around the edges. Now let's put this together...


I used A LOT of foam adhesive on this! I wanted each layer to pop from one another. The small card, the frame and the flowers all have dimension!  You can also see that I stamped a small quote in the middle of the circle. This comes from the ESC33 set and was gold heat embossed.



This project turned out nothing like what I had in my mind. I started, then started again then started AGAIN!! I made 4 of these playing card backgrounds! This is the one I just happen to like the most. Never fear, I did keep the other backgrounds and actually finished them.


I always have to remind myself that the idea I start out with isn't always what I'll end up with. In the end, I wound up with 3 beautiful, altered playing cards and an extra one to play with! 

Thank you so very much for spending some time with me today!


Laurie



Blog:  https://itsallcutanddie.blogspot.com/
Instagram: crazycardlady


Tuesday, 2 August 2022

2022 Topic 11: Stamp Mash-up {by Nikki Acton} with Tracy Scott, Nicci Battilana and Scrapcosy stamps


Hi everyone, it's Nikki here with you today with some 'mashed up' occasion cards using stamps and stencils from Tracy Scott, Nicci Battilana and Scrapcosy. 


I decided to create some greeting cards using the designers products - although, as usual, my first idea is not what I ended up with! After our 'Leftovers' blog topic I have enjoyed using scraps for collage so thought this could play a part too!


I began by selecting my colours - well actually they were on my desk from a recent project! I do not naturally reach for purples, but the recent project was something for a friend's special birthday... and it is her favourite colour.


I created some prints using my gel plate and selected colours - PaperArtsy Fresco Chalk Acrylics - Purple RainPeriwinkle and Bora Bora. I also incorporated PaperArtsy stencil - PS336 , by Nicci Battilana, with both paint and simple drawing of the circles with a black or white pen.
 

For some prints I worked on black paper - I discovered recently that when you tear this it gives a wonderful effect!


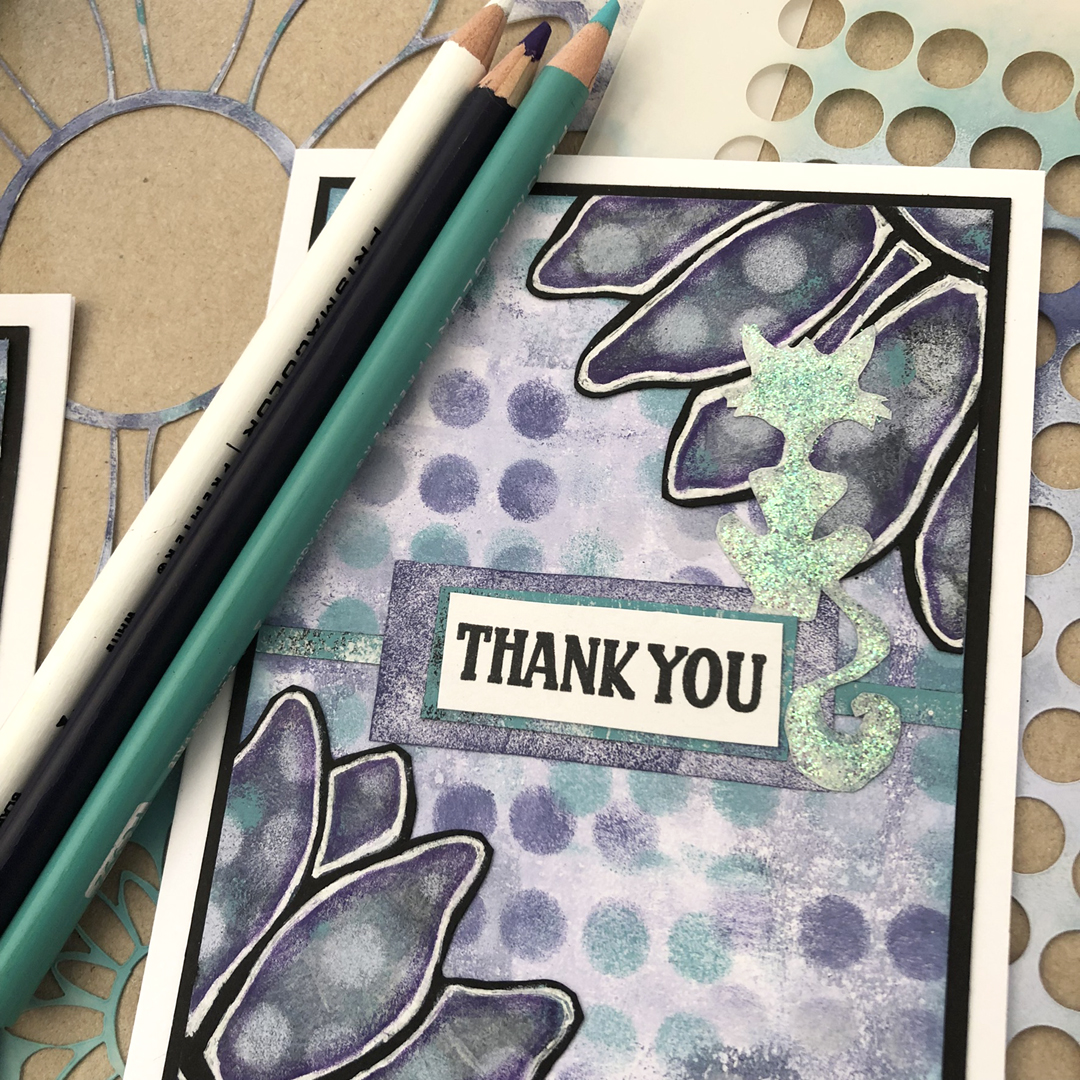
Next I decided to explore using the large flower image on PaperArtsy stencil PS340 (Tracy Scott). I sponged through the image onto black card with my three colours. I then used a white pen to outline the painted flower before fussy cutting.


On this card I took half of the image and reached again for Nicci's stencil (PS336) and added some white lined circles. I then stamped one of the rectangles from PaperArtsy Stamp Set ETS073 by Tracy Scott on one of my backgrounds.
 

I had to use the other half, so cut it again and added some more circles/dots - this time in paint to add to another of the backgrounds. 

I made it quite easy for myself to incorporate the Scrapcosy stamp set - PaperArtsy ESC29. The greetings can be used for lots of occasions and you may have also spotted earlier how I used some of the labels on white paper as one of collaged elements.

The finishing touches on all of the cards included some highlighting with coloured pencils - this adds definition to some of the stencilled shapes. In addition I added some Stickles to each card. For the thank you card I stencilled one of the cats from PaperArtsy Stencil PS287 by Nicci Battilana. Pretty sure the cat is designed for Halloween but not here - he/she is green and sparkly!
 

Another of the rectangles from Tracy Scott stamp set ETS073 was great for layering the greeting on this card.


As I always say in these Mash Up posts - they are a great challenge - limited supplies and trying to make things work together that might seem a little strange. It is fun, give it a go (and don't forget to use black paper for gel prints sometimes!).

Nikki

Monday, 1 August 2022

2022 Topic 11: Stamp Mash-Up with Tracy Scott (TS), Nicci Battilana (ENB) & Scrapcosy (ESC)


Hi everyone, Keren here with another exciting round of combining our lovely PaperArtsy designers. This month we're looking at Tracy Scott, Nicci Battilana and Scrapcosy (aka Raquel Burillo Perez ).

Three really differently styled designers which will challenge our bloggers on how to meld these wonderful styles together. We'll look at each designer separately to get a sense of their art and design influences.

We'll begin with Tracy Scott who has been designing with PaperArtsy since 2016. Tracy is really recognisable for her doodled journalling style art and many of you might have enjoyed her 'DoodleADay' whether watching her mesmerizing doodling or taking part yourself. You can catch those on Instagram or her Facebook group Tracy Scott Creative Cafe. Her love for drawing and using her stamps cleverly in creating faces and animals is evident. She has an increasing amount of vibrant coloured Fresco Finish Chalk Acrylic paints. The number currently stands at 20 and you see can most of the colours here. She's also developed 3 Lace Booklets which just beg to be painted on, stamped and doodled.

These first couple of art pieces are from Tracy's earlier releases. Her love of vibrant colour, doodled elements and nature encapsulated is obvious.


Tracy explains that "My designs tend to be influenced by current obsessions. I keep a list of projects that I want to do and will very often use that as a starting point".


Heading through the releases, we see Tracy creating wonderful detailed faces and animals. Layer upon layer of texture, paint and stencilling. When asking her about how her style has changed over the years that she's been designing for PaperArtsy; " My style has changed massively over time. My drawing style and ability, my ideas and how I want to use my stamps and stencils has changed, so inevitably, style evolves with this too".


One of her passions is teaching and encouraging others to pursue their artistic dreams, "I am a self taught artist which is why I am so passionate about promoting that the application of patience, practice and perseverance will get you anywhere you want to be on your artistic journey".


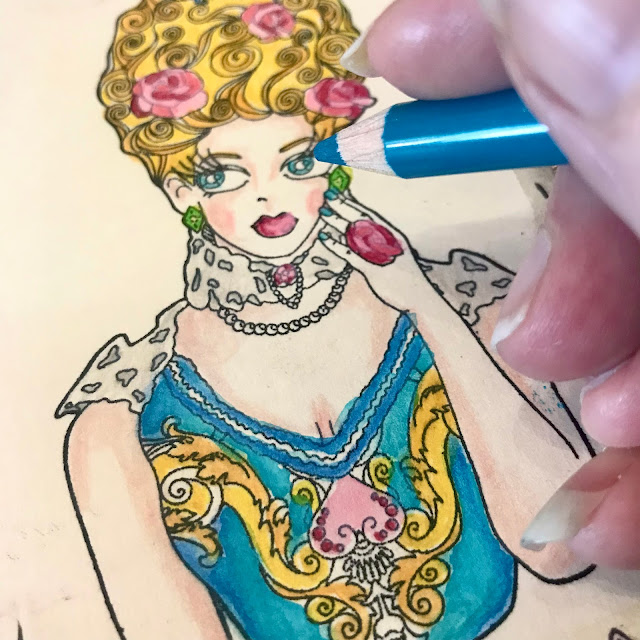
Tracy also excels at patterns- many of her stamps useful for creating wonderful tiled patterns and mandalas. You can see how amazingly adept she is at blending, and creating highlights and shadows. She describes herself as "Eclectic, passionate and still excited about all the artistic adventures to come". We're all excited to see where that leads too, Tracy!


For a complete change of style, we turn our attention to Nicci. She has been with PaperArtsy from 2021 and you'll notice a bold hand-drawn vibe. She creates wonderful characters with larger emphasised elements and has a real sense of story telling through her images. You'll find characters, animals and quirky elements, often linked to themes. Apart from her stamps and stencils, she's also published 2 books about how to draw and journal. She has a vibrant group called Nicci's Un-tethered Artsy Unicorns (doesn't the name intrigue you!).
You'll often find Nicci creating journal pages, and she designs her images to be as versatile as possible.


Nicci says that "my main influence when designing my stamps and stencils is to create designs that I would love to have seen on art supply store shelves myself". Her next reason is a wonderfully collaborative one; "Also, I'm influenced by creating elements that can work well with other Artist's products. For instance, I use a lot of Tracy Scott's designs and a few other Artist's work in my personal art journals as well".

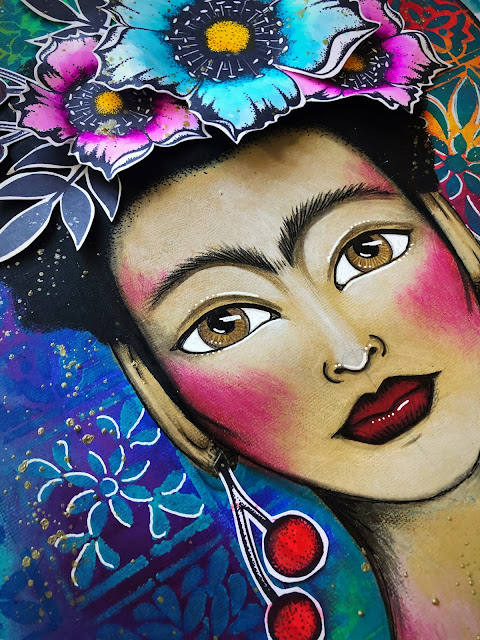
Her character's eyes are often so soulful. Nicci describes her style as "a mixture of pop-art, cartoon-like creatures drenched in Kool-Aid with a dash of Tim Burton and a whack load of thick black eyeliner". See this beautiful example with stamped images in her hair and another image as a tattoo.


The 'artistic quirky' is strong with Nicci- and she's perfectly at home with grunge and uniquely creative decorative elements. I asked her how her style had changed since she has been designing for PaperArtsy, "My work has become more detailed. With creating my designs on a digital tablet and knowing that PaperArtsy can achieve great detail in their products, I have really enjoyed adding scribble words of positivity and intricate designs in my work".


Nicci explains what art means to her, "For me, creating art is a part of my being. It lives deep within my soul". She describes how the downtime forced upon so many of us two years changed her life. As she had time, she decided to use it to her best advantage. "To help others, I streamed art creation and art classes 5 days a week for almost a year, knowing how being creative can help people". During this time she wrote her books and mainly used PaperArtsy Fresco Finish Chalk Acrylics and built a relationship with Leandra that led to me being part of the PaperArtsy design team".

Her designs extend to the historical with a theatrical element and has also imagined beautiful elements for us to use in swatching our supplies.


It's intriguing listening to artists talk about their futures. Nicci is no exception, "I do not know where my creativity will take me in the future, but with continually embracing what makes me feel like me, being creative and expressive, I am sure there will be many interesting adventures like the ones I've already had". 
We'll be watching her adventures with interest too!


Our third designer is much loved too. Scrapcosy's (Raquel Burillo) inherent love of nature and vintage play out beautifully in her designs. If you think about Raquel's art, you'll often see her using Infusions, Grunge Paste and paints to enhance the beautiful fonts she curates. You'll notice that she weaves in some of her personal collection of ephemera to create a unique collection of stamps and stencils.


Scrapcosy shares a little about her newest release. "For quite some time I have wanted to create a clocks stamp set and, since the previous release, I've been obsessed with frames. I love butterflies, flowers and ephemera and I thought it was also time to add a more masculine set to my collection. Although these things seem to not be related at all, they are all features of this release and I have found that all 3 stamp sets work really well together.
 
The release was inspired by my visits to the London Zoo and my walks in London in springtime. I always have my phone ready to capture the creatures, things or flowers I encounter on my way so that I can draw them later. By combining my drawings and compositions with snippets of vintage ephemera we get a release with my usual vintage vibe."


Raquel also loves experimenting. Her YouTube channel is filled with some original techniques using paint, stencils, Grunge Paste, Infusions and more. You can also find her in her Scrapcosy's Crafty Party on Facebook too.
You'll notice her signature brown hues throughout her work and each collection often builds on the themes of previous ones.


She has a wonderful affinity with texture and you'll regularly see Embossing powders in her art. Designers often speak about their design inspirations and for her March 2022 release Raquel went back to some of her previous designs. "I went back and revisited all my 29 previous stamps and in the majority of them I could find at least one little element that could fit inside my postage frame stamp (and that’s just my line, I bet you can find many other stamps that will fit it, and even if they went beyond the frame, you could mask it off too). I find this frame soooo useful! I know I’ll use it many, many times". When Raquel creates designs that work for her artistic creations, it means that they will find a home in many of our collections too!


You might think that a subtle more limited colour palette couldn't be as interesting- but upon examining these examples you'll see delicate touches, real attention to detail and intricately designed stamps. A great example of pared back beauty.

Scapcosy will use her art to encourage people. She shared one of the reasons that she created a previous release, "I wanted to also create stamps that bring people smiles, happiness and, most of all, hope! So people can share and send their creations to friends and spread some well needed happiness." 
Your stamps certainly bring happiness and inspiration to us Raquel and we are looking forward to the next set of joy-filled art that you create.


If these designers have inspired you, do visit their Facebook Groups and view all of their designs on the PaperArtsy website. If you'd love to learn their techniques and create art alongside them- look for their workshops, both virtual and at many of our supporting brick and mortar stores.

How can you combine the painterly vibrant, the artistically edgy and the sumptuously vintage to create something stylish and coherent? Well that's the challenge facing our creative blogger pool over the next few weeks. Will they conquer and rise above ? You'll have to come back and see! 

Up for the challenge? Can you combine these artists to create unique art? If you want to create along with us, please share on our social feeds so we can see what you get up to. The best places are Instagram @paperartsy or post in PaperArtsy People Group on Facebook. Make sure you tag us in your contributions, we love to see what you get up to in your creative world!