
Showing posts with label Stamp Mashing. Show all posts

Tuesday, 22 March 2022

2022 Topic 05: Stamp Mash-up {by Laurie Case} with Zinski, Kay Carley and Hot Picks stamps


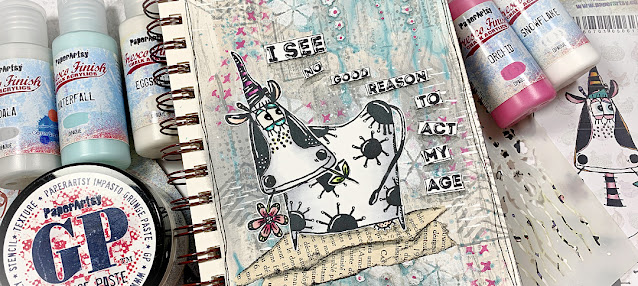
Hello everyone and welcome!! It's Laurie with you today and I'm super excited to share this art journal page with you! Full disclosure: I'm fairly new to the world of art journaling. My journal pages tend to lean towards cute, quirky and fun without any actual "journaling". But I always try to make the quote a little personal to reflect my mood or what's on my mind at the time.


I wanted to create a page that would simply make me smile. Normally, I would use a rainbow of colours but I wanted to give myself a challenge and keep it fairly muted. I also wanted the focal point to be the star of the show!



I usually use a disc-bound journal system. This allows me to take the pages out, work on them and place them back. This has always seemed "safe" to me. If I didn't like what I had created, no problem, I can just get rid of it. So, for some added excitement, I chose to use a spiral bound journal! I chose some some nice muted colours for the background along with a bright pink for just a little added colour.
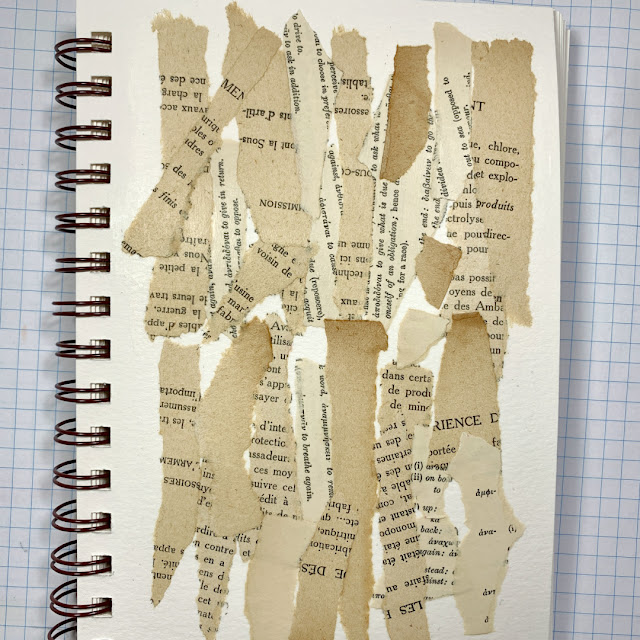

This is where I began. Ripping some old book paper into strips and using a gel medium to adhere them to the page (poof...the blank page has disappeared!). I added a thin layer of white gesso just to lighten things up a bit.


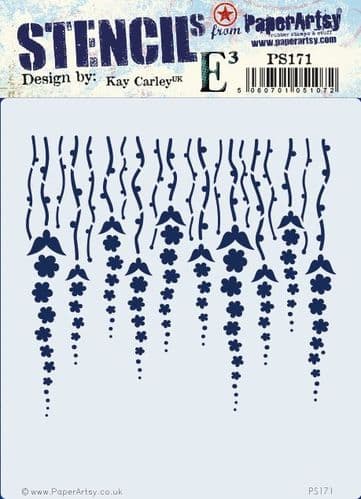
To add a little texture, I used the PaperArtsy Kay Carley Stencil PS171 PA along with some Grunge Paste. I kept the texture to the upper right and lower left corners.


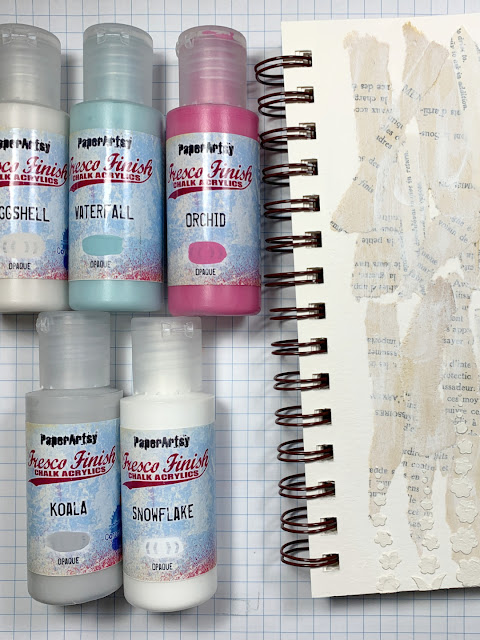
Once the Grunge Paste had dried, it was time to add the paint! I chose Koala, Eggshell, Waterfall, Snowflake frescos and for the little pop of colour...Orchid. I used a wee bit of water to thin the paint on the centre of the page and quite a bit of water to achieve the drip effect with the Waterfall paint in the corners.
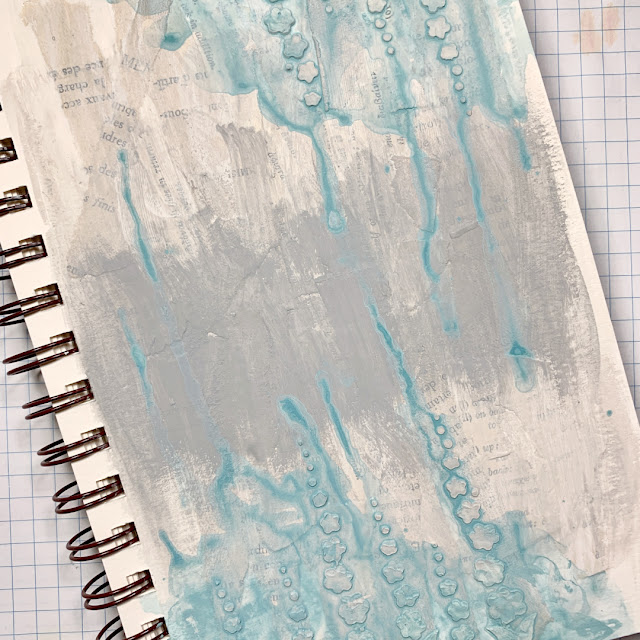

As you can see, the texture of the stencil is awesome but I really wanted it to stand out a bit more. I lined the stencil over the paste and added some PaperArtsy Snowflake Fresco Finish Paint over the top. This really brightened the corners up!


Of course, every background needs some stamping. I found a few stamps that are great for mark making and used Ranger Distress Archival Ink (Smokey Grey) for the stamping.

Now that the bulk of the background was done, it was just a matter of adding some details, including the Orchid paint!
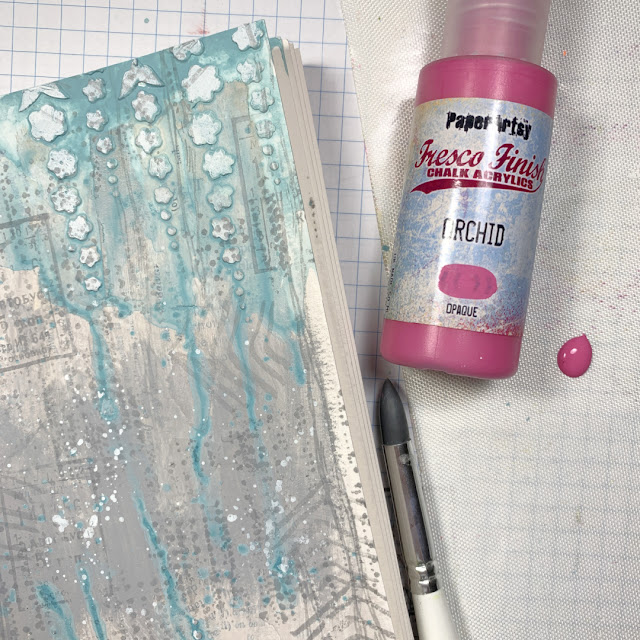

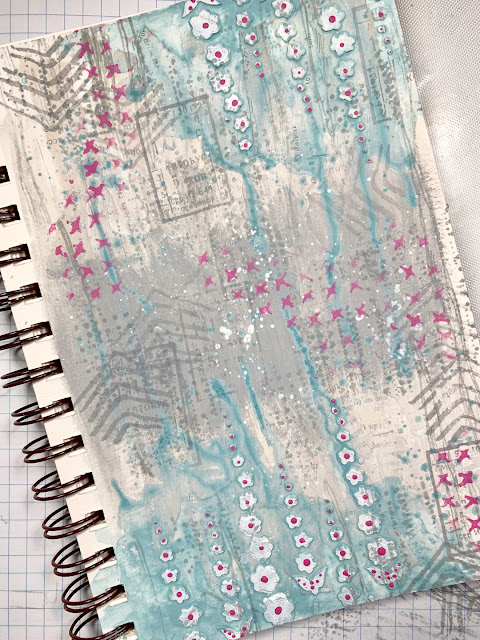
Using a silicone tool for mark making (Dina Wakley), I added dots of colour to the stencilled areas. This really gave it the small pop of colour it so desperately needed.  I also decided to add a bit more Snowflake to the centre portion of the page using a small stencil from my stash.

Now, let's work on the focal image! I adore ALL of Zinski Art stamps but the cows from Set 34 had me cracking up!!
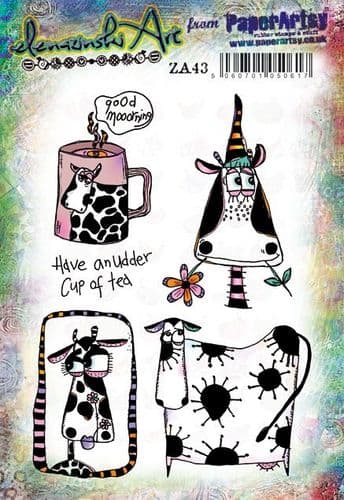
 

Rather than use only one image, I thought it would be fun to combine a couple.


I used alcohol markers to colour then fussy cut them out. I LOVE the way those two images work together!

 

All that was left to do was create a quote/sentiment and put everything together. The PaperArtsy  Hot Pick 1605 had the most perfect quote for this page..."I See No Good Reason to Act My Age".
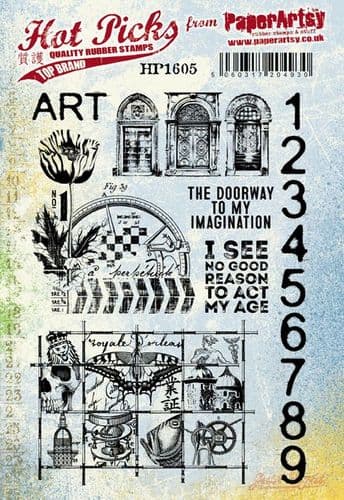

I stamped the sentiment out onto a piece of white cardstock using Ranger Archival Ink (Jet Black) and trimmed each word apart so they could be spaced throughout the page.


As you can see, I added some torn strips of book paper to represent a hill and ground my cute cow.


And to finish everything off, I added some white gel pen details the black areas of the cow which adds even more whimsy!


This project was a lot of fun but it was also a challenge...which I really enjoy! Combining your stamp sets not only gives you more bang for your buck but also makes you think outside the box. The products I used here today are quite different from one another and truthfully, I wasn't sure how I was going to bring this all together. But they work beautifully with each other and I couldn't be more pleased! 

I hope you'll dig deep in your PaperArtsy stash and challenge yourself to mix, match and make something amazing!!

Laurie

                  @my_art_journal_journey

Sunday, 20 March 2022

2022 Topic 05: Stamp Mash-up {by Liesbeth Fidder de Vos} with Zinski, Kay Carley and Hot Picks stamps


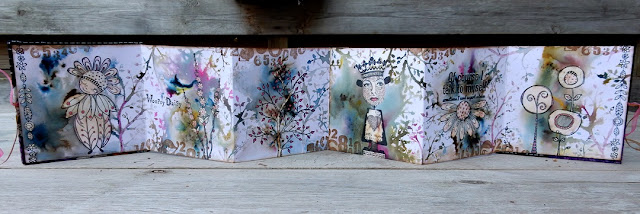
Hi everyone, it's Liesbeth with you today, and I'm here to share with you my Leprello book made with a cuddly cover and a Mash Up of three very different styles of stamps and a lovely Infusions technique!


Using a puddle of water and Infusions as an ink pad...that´s the idea I wanted to use to create a nice background for a Leporello book, and create a kind of a story by adding the wonderful images. I called it  Daisy Talk :-)


These are the three different stamp sets I decided to choose, I think they will work together! : 

                                                    Zinski Art set 69 (ZA69)


For the inside of the book I took two strips of mixed media paper:  13 x 42 cm and 13 x  39cm. With a pencil I drew lines every 13 cm, for the pages. I did not score them yet.


This is the background technique using Infusions I found out accidentally a few years ago! You have to work a little quickly. Onto a small area of one of the strips, left side, I sprayed lots of water; a puddle.

 
I quickly sprinkled some The Sage Infusions into the water and let it flow for a few seconds. Look at that color! Love it so much!
 

I took the branch stamp from the Kay Karley stamp set, pushed it into the wet Infusions and stamped it down a few centimetres next to it. So you use the Infusions puddle as an ink pad! 


Repeat a few times and clean the stamp in between. I wiped away  most of the very dark pieces and the grains. I repeated the process on the next part using another wonderful colour Infusions Sleight Blue, repeat and change the two colours until the two strips are covered.


I loved that appearing pink/magenta so much, I decided to pick up some of it with a brush and paint with it here and there as long as it was still wet. I coloured some branches with it. I also picked some other light colours from the puddles, to paint a bottom. I let it dry very well.


Now the stamping starts, yes! Mixing up the three very different styles of stamps was so much fun! As you can see, I used lots of images from the three sets, (I also used the branch again. I stamped them with Tsukineko StazOn (Jet Black). I prefer this ink for this technique because it will stay black if you use chlorine/bleach later.


I bleached parts of the stamped images, like faces, body's, leaves, flowers...everything I would like to pop out. Bleach works perfectly with Infusions! I used a synthetic brush and chloride/bleach. Be careful, it's nasty stuff. (Use StazOn, or first test your other black ink with bleach, some really don't stay black at all).
 

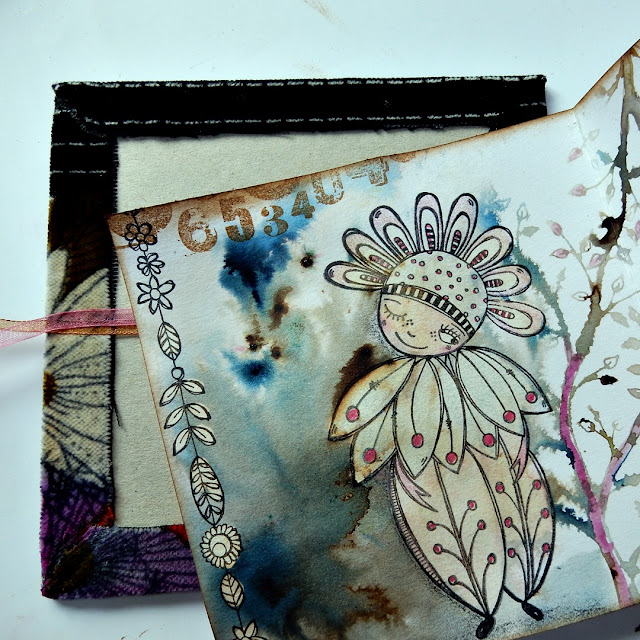
After the bleaching thing I felt it was still missing something so I stamped the numbers stamp from the Hot Picks set using Distress Ink- Gathered Twigs here and there at the edges.


I made both strips this way and it looked like this below...and it still missed something haha! 
 

I needed some make-up: I used colour for the dolls and their faces and also the flowers, very subtle. I made some shadows here and there using a charcoal pencil, and a white gel pen to let things pop, like the text.


To make it a bit more expressive, I coloured some details with a pink glitter pen.


Now, to make the covers: I found a piece of flowery soft fabric in my stash with the perfect colours for this project! I cut two pieces of 2mm greyboard (13,5 x 13,5 cm) and two pieces of fabric (16 x 16 cm) and I covered the greyboard with fabric as shown here.


I glued long ribbons on the inside of both covers, I used brown and pink, about 50 cm each. This will be the closure of the zigzag book.
 

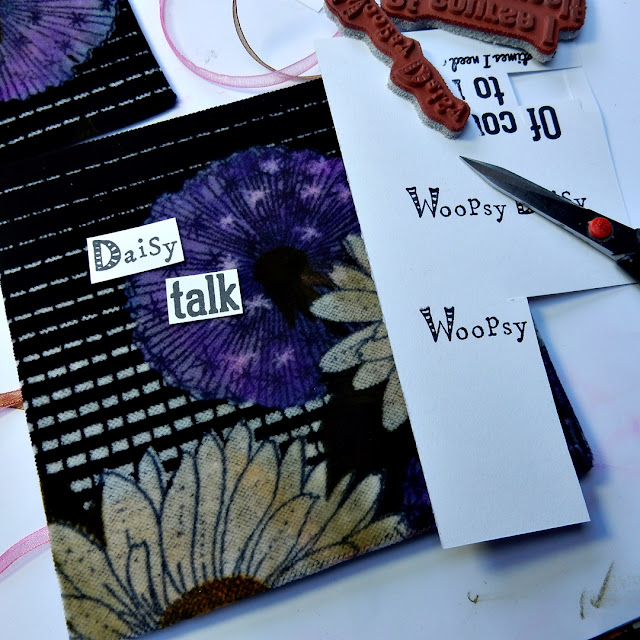
I made some title words using the same text stamps as I also stamped in the book: Daisy talk! I coloured them with some brown ink and added them on a piece of kraft paper and tore out. See the picture at the top.
 

I sponged the edges of the book with the brown (Gathered Twigs) Distress ink, scored and zigzag folded the pencil lines and connected the two strips by gluing the right one onto the adhesive strip of the left one. Using eraser, I removed the pencil lines.


I glued the first and the last page onto the back side of the covers. Ready!


This Leporello book was so much fun to create! I love the combination of this three stamp sets I used. I think the images turned out in a perfect whole! It's so nice to see a project like this grow. The branch stamp from the Kay Carley set EKC37 works so perfect for my 'Infusions-puddle-stamping' technique! Hope you give it a try too! Have fun, I would love to see your results! Hope I inspired you, see you next time.

Liesbeth