2015 Topic 1: Fragile Papers
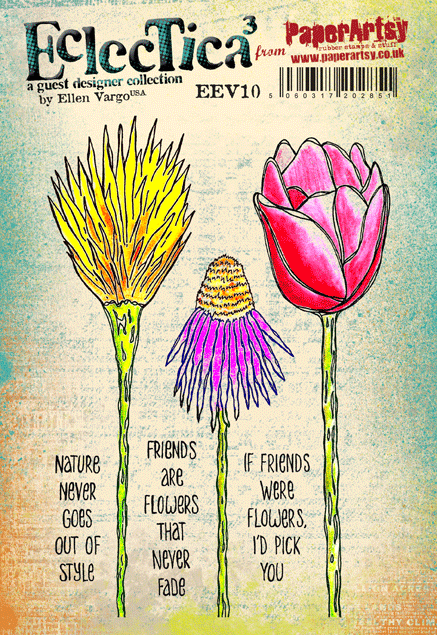
Tonight I've got videos and lots of pictures for you! I'm brayering left right and centre to show you Part 3 of the brayering series (lots of colours and lots of stamps this time), and then using the results and my Fragile Papers to make a gorgeous feature flower with the adorable Ellen Vargo Eclectica stamps.
If you want to see more ideas using the brayer, and Ellen's stamps, then please go and check out Ellen's blog, she really is the brayering guru! She uses bold bright colours with her wonderful stamps to great effect! Stunning backgrounds which end up quite different to my more soft pastel versions, yet using similar techniques.
As you probably realise already, if you've followed my brayering video series (video 1 here, video 2 here), brayering colour is such a quick, un-messy way to alter card, paper, even fabric. I'm not much of a purple girl, but I do love an ochre/ eggplant combination, and that is the gist of what I had in mind to do.
So first up we need to brayer shades of ochre colour onto our book page. I try to create depths of the same or similar tones with Toffee, Vanilla, Haystack, Caramel and Pumpkin Soup. Then stuck it onto a 4x6" Box Canvas with Ranger Multi Medium (Matte).
NB. A video showing how to make this ochre BG, is at the foot of this post.
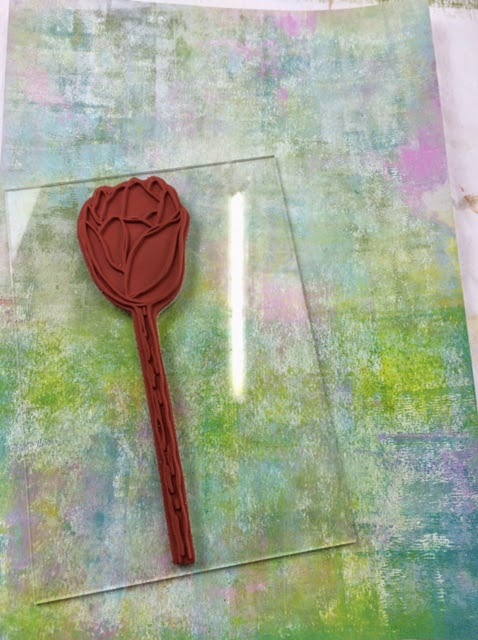
Well, its not like me to plan things to this extent, but the ideas were whizzing in my head too fast, and I just needed to commit to one of them. I grabbed some Prima Bellies, EEV10 flower stamp, and some charms. Then feeling a bit scatterbrained, I had the good sense to take a photo and thus committed to a plan.
....and then quickly, before I could change my mind, slapped Pansy (fantastic high coverage opaque) onto the bellies.
.... and then added the obligitory Bora Bora by dry-brushing to add interest and depth. Not one to drybrush once, I also dry-brushed Eggplant, Squid Ink, Mermaid and Snowflake.
It is certainly true that the more layers you add, the happier you will be. More is more when it comes to dry-brushing! Of course, it won't end here, the finishing touch will eventually be Treasure Gold...but which one?? You'll find that out later...
Step Three:
Onto Ellen's lovely flower stamp set.
First up I grabbed the background I made in Video 2...see there was a masterplan all coming together in this blog post!
...and slotted the flower into place on the canvas.
Step Four:
As I said at the start, brayered and layers of the stamped Waxed Tissue Paper is the focal point of the flower head.
Check out the video below to see how the paint was layered on the tissue with the brayer, and then I used a variety of stamps: EEV02 (scratchy), EEV06 (Spots), ELB04 (bold solid flowers), HP1304EZ (large script), in numerous Fresco Chalk Acrylic Colours to build up a striking and very easy to achieve, fragile paper.
Step Five:
Now the background is made, I'm going to stamp it 6 times to make a layered flower head for the canvas, with Coffee Archival Ink. Heat set quickly, sometimes ink bleeds on tissue if you leave it for a bit.
Step Six:
Now it's just a matter of layering the tissue carefully with a touch of glossy accents as a fast glue, and tiny foam pads to add dimension. And always finish things off with a tickle to the embellishments of Brass Treasure Gold.
Here's a video showing the ochre background being made (back in Step One), and the tissue layers, plus a few finishing touches to the project with Fancolour Water Soluble Pens (the student version of Fibralo Pens)


.png)

