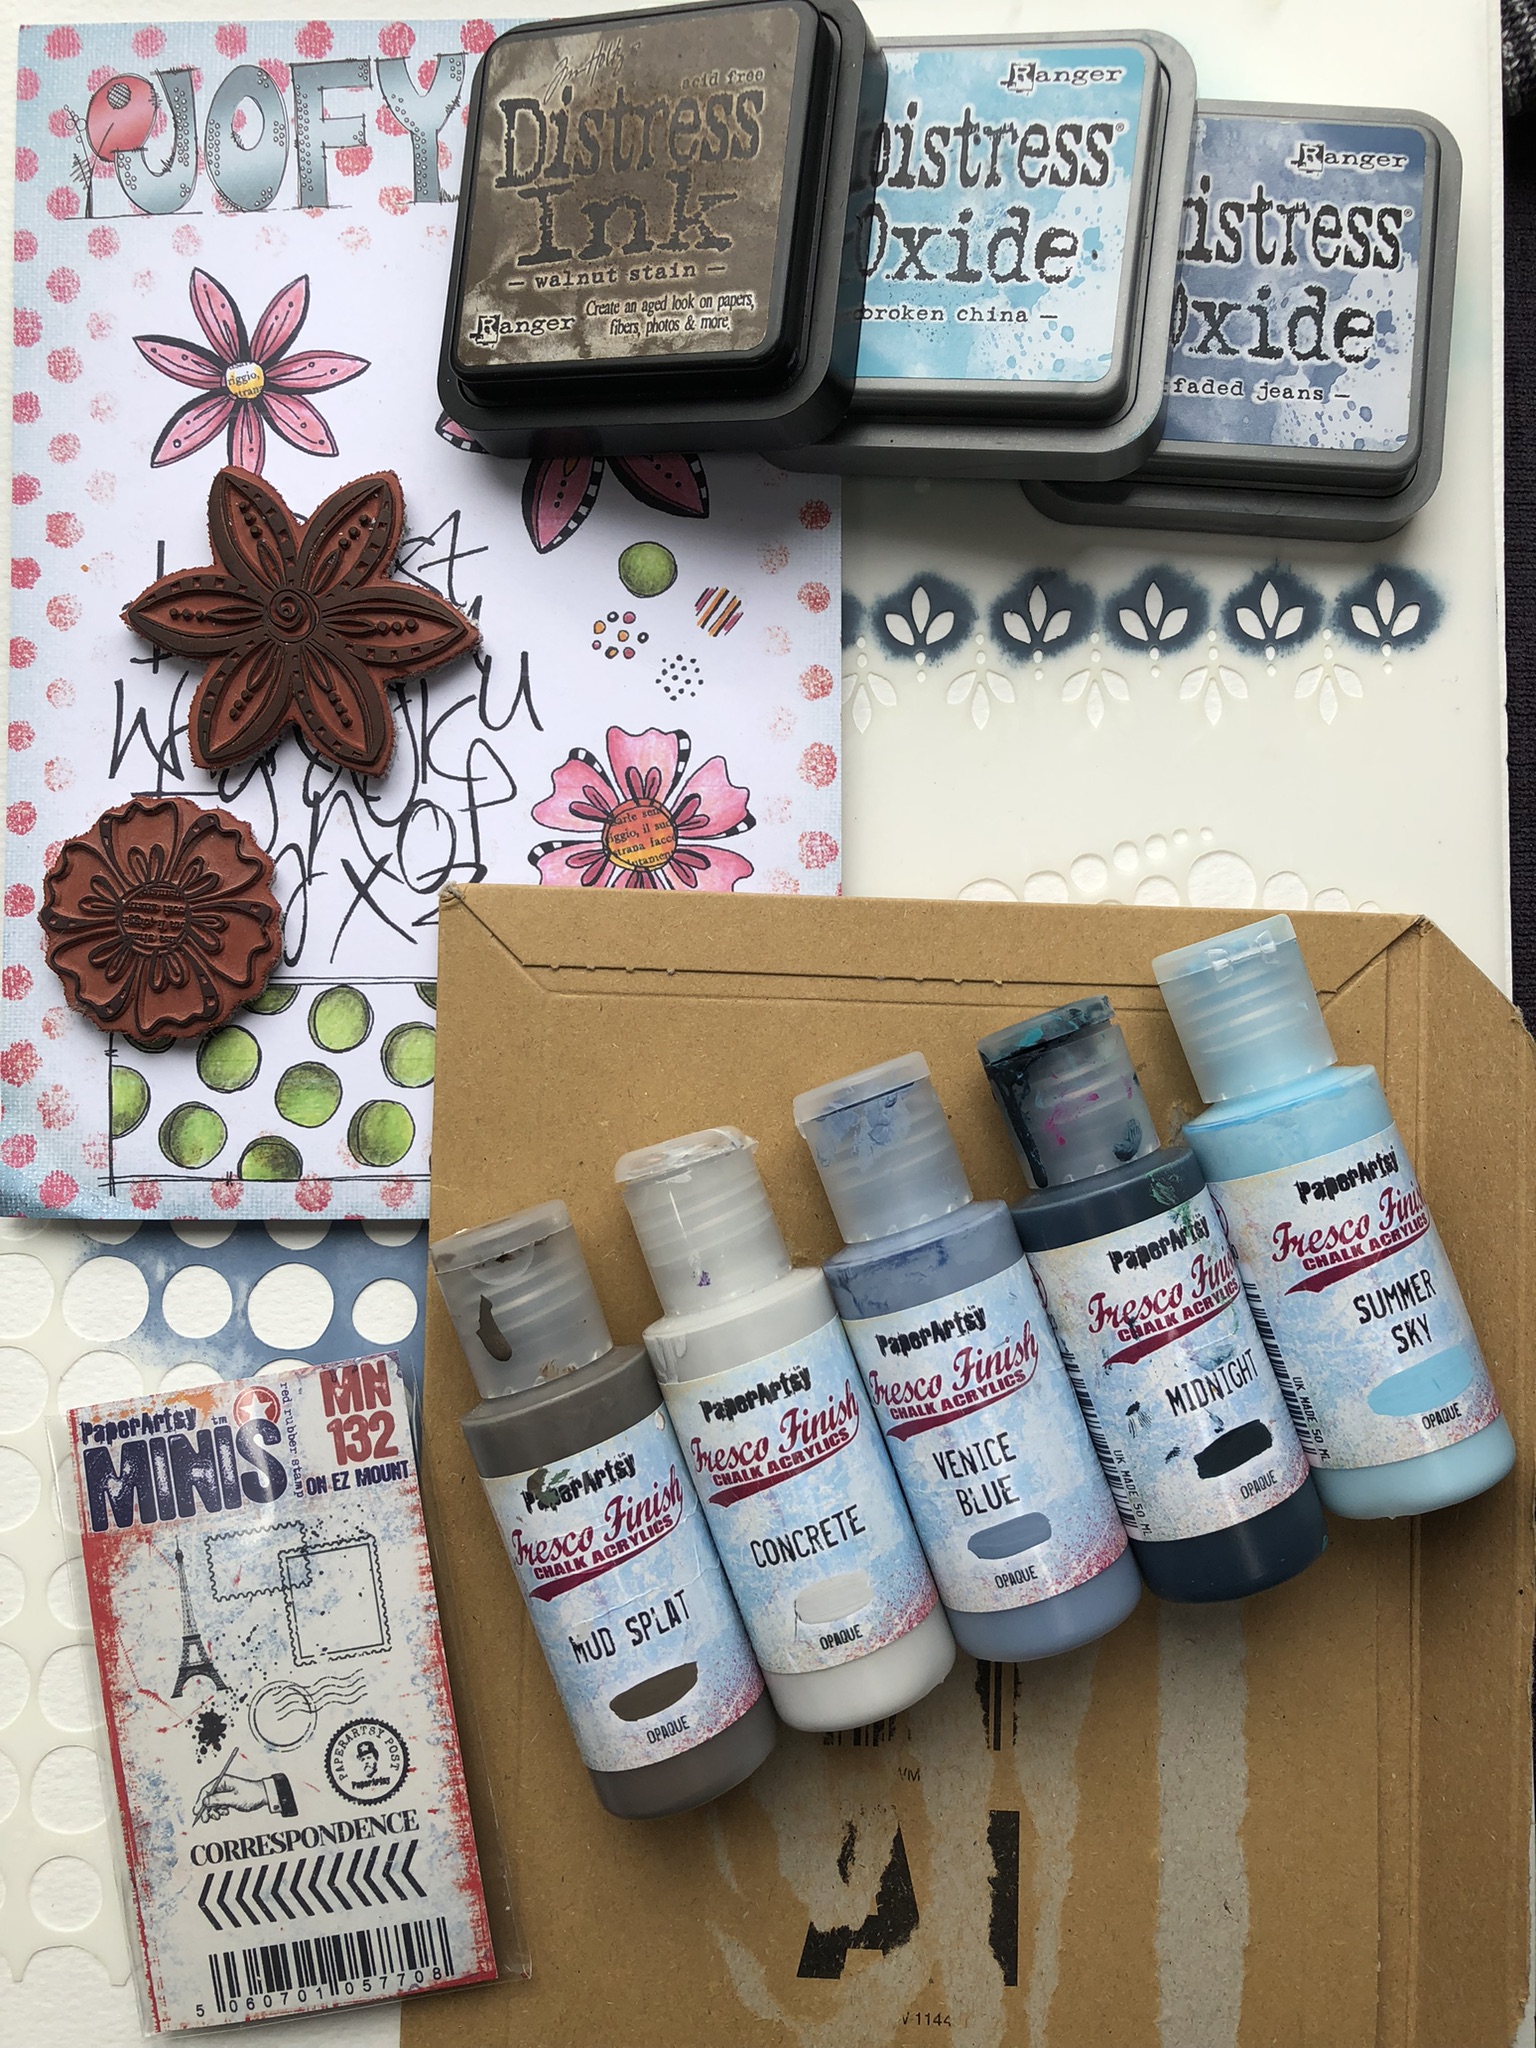
Hi everyone, Martha (craftingmartha) here today to hang out with you on the blog.
Have you seen how many lovely new releases have come out? I’ll be getting stuck in myself soon, but for now I’ve made a mini waterfall album using the ever-popular JOFY stamps and stencils.
Have you seen how many lovely new releases have come out? I’ll be getting stuck in myself soon, but for now I’ve made a mini waterfall album using the ever-popular JOFY stamps and stencils.

I absolutely love JOFY’s flowers, they’re so cheerful and whimsical and they’ll brighten up every page of this mini album.


I decided to create the mini album from scratch, so I picked four of my favourite PaperArtsy Fresco Finish Acrylics in Caribbean Sea (FF94), Bubble Gum (FF116), Slimed (FF137), Firebird (FF210) and the Smoothy A4 White Stamping Card (SCA4), from which I cut out six pages measuring 4" x 4" and of course I kept the leftover bits too!


I thinned the PaperArtsy Fresco Finish Acrylics down with water, then used a small flat brush to add some loose stripes to the leftover pieces of card.

For the album pages themselves, I switched to a larger brush and gave them a full wash of colour...

...a fun and relaxing way to get started.

To make the background a bit more interesting, I used a blending tool to apply the Mattint in Fern (MT03) through Stencil PS231.

I went for a tone-on-tone look with the Mattints on the pages, so along with Fern, I also chose to use Mattint in Shark (MT04), Bellflower (MT17) and Foxglove (MT18) to keep things soft and harmonious. (These last two Mattints are among the newest releases, so if you can’t find them on the PaperArtsy website, you can check the list of PaperArtsy Stockist here).

For the backs of the pages, I used the PaperArtsy Fresco Finish Acrylics, applying them through the PS309 stencil with a blending tool, for a coordinated finish.

I wanted the first page to set a different tone from the rest, so I grab the JOFY's Printed Tissue PT03 ...

...and I applied with Mattint in Acid (MT14), which created this beautiful blend of colour.

Have I mentioned how much I love JOFY’s flowers? For the look I had in mind for the pages, I needed a floral cluster, there’s a gorgeous one in the JOFY133 set, but I wanted a few more, so, using masking technique, I turned some of the single flowers from JOFY101 and JOFY123 into the clusters I had in mind.

Now it’s just a matter of cutting them out and moving on to the tricky part, building the ‘mechanism’ for my waterfall mini album!


Now that we’ve created our pages, we need to build the structure onto which they’ll be applied.
The measurements are shown in the photo, but for convenience I’ll list them here as well: a piece of Smoothy (Regular) A4 White Stamping Card (SCA4) measuring 9½" x 4", with the first score line at 3¼" and the following ones every ¼"; a strip measuring 8" x 2"; and a small piece measuring 2½" x 1¼".
The measurements are shown in the photo, but for convenience I’ll list them here as well: a piece of Smoothy (Regular) A4 White Stamping Card (SCA4) measuring 9½" x 4", with the first score line at 3¼" and the following ones every ¼"; a strip measuring 8" x 2"; and a small piece measuring 2½" x 1¼".

Apply some glue along the spine, starting from the second fold, attaching what will be the last page, and continue with the others in reverse order.

Then finally attach what will be the first page, the one we had previously decorated with the Printed Paper (PT03).

On the shorter side of the structure, glue the 8" x 2" strip in place as shown in the photo…


…and then apply glue over the entire surface to stick down the last page of the mini album.

Decorate the longer part of the structure using the Stencil PS309, this will remain visible when the waterfall mechanism is activated.
Then attach a tab to help flip through the pages.
The mechanism is now ready!
The mechanism is now ready!

Using Smoothy (Heavyweight) A4 white stamping card (SCA4H), create the cover that will serve as the base for the waterfall structure. Cut a piece measuring 11" x 4", with score lines at 5¼" and 5½", and colour it using the same PaperArtsy Fresco Finish Acrylics used for the pages.

I liked the idea of echoing the elements used on the pages in the cover design, so I decided to use the polka dots from the JOFY101 set, and later I’ll add some stamped and cut-out flowers.

With the Mattint Foxglove (MT18), I glue a piece of Printed Paper (PT03) to the end part of the inside cover.

And now we can proceed to glue the waterfall structure onto the cover, applying glue only to the area indicated in the photo.
The flower clusters we created earlier, once cut out, make a lovely decoration that also serves as a holder for our photographs, just be sure to apply glue only along the two side edges.

To make the inside cover a bit more interesting, I cut a pocket from one of the leftover pieces of SCA4, then decorated it using stamps from the JOFY133 set.

Inside, you can insert tags, memorabilia, or similar items.


Here is my finished waterfall mini album! I really enjoyed alternating between the purely creative part, decorating with colours, stamps, and stencils, and the slightly more technical part of building the structure, even though it was quite simple.

Here you can get a better view of the inside of the cover, with the pocket and the first page covered in printed paper. I coloured the word “bloom” using Mattint Foxglove, and the little flower was cut out from a leftover piece of Stamping Card.


By alternating colours, stamps, and stencils, I tried to give the pages a vibrant yet cohesive look. The white squares are just waiting to be used as photo mats for the pictures that will be stored in this mini album.


I’m really pleased with how this mini album turned out. The waterfall structure has always intrigued me, it's often used as an additional element in more complex projects, but here I wanted it to take centre stage. Now that I’ve got the hang of it, I’ll definitely be making more! Next time, though, I might not leave the strip that holds the mechanism plain white… I thought it wouldn’t be visible, but the edges are, and I’d prefer them to be coloured.
Can’t wait to see your creations too.
Can’t wait to see your creations too.
Have fun.
Martha xxx

Instagram:craftingmartha
Facebook:Crafting Martha
YouTube:Crafting Martha
Blog:alazyscrapper
Pinterest:alazyscrapper