

Hi everyone it's Autumn Clark from SewPaperPaint here with you today. I've taken a little creative break for the past few months, but am happy to be getting back in the swing of things and playing with some incredible brand new products from the new in-house stamp line by PaperArtsy, which is a bit more modern in style and you can read all about HERE.

Because it's been a while since I had a good artsy "play", I decided to do something that would be really fun and get my creative juices flowing. My friend and I recently attended a class at our local library on simple bookmaking and did a folded paper zine, or one page wonder book at the class. One of the teachers had made a book from a large piece of newsprint and I thought it would be fun to try out this bookmaking style with a large sheet of paper too.


I purchased a huge sheet of drawing paper and grabbed an plastic squeegee to use to pull the paint in thin layers over the paper. I decided upon three colors of PaperArtsy Fresco Chalk Acrylic Paint to coordinate with the new PaperArtsy Mattints in High Vis, Mojito and Acid.


I started dribbling my paints over the paper and scraping them at random. I used a combination of Fresco Chalk Acrylics in Weathered Copper, Cerise and Deep Sea, which ironically are all Tracy Scott colors, but I didn't realize that at the time. You can see I left a good bit of white space with which to cover by scraping the various Mattints over these initial layers.


Next I started to build some pattern by sponging Cerise through PaperArtsy stencil 447 (PS447) using a foam sponge.

I really wanted to build up different types of texture and pattern, so I took out some art crayons and did a rubbing by placing the stencil under the paper and coloring over the paper covered stencil with the crayon on its side. I really like the unique marks this created!


I thought I would try to use my small round gel plate as a stamp over PaperArtsy Stencil 449 (PS449). I applied Deep Sea with a brayer and pressed the plate over the stencil onto the paper. I wasn't quite as happy with this as I imagined.


Last, I used a spray ink through PaperArtsy Stencil 448 (PS448). I really like how this looked in the overlap of the various paints. Honestly, all of this was really fun and relaxing. And the best part was just letting go and seeing what happened with the layers. I wasn't sure if I would use a ton of paint making this project, but each color only took a few drops to scrape all over the panel and the squeegee did the work of thinning it down.


I did some random stamping and then folded up my zine as shown below. It was really cool to see the different marks on each page and the crossover of pattern from page to page.

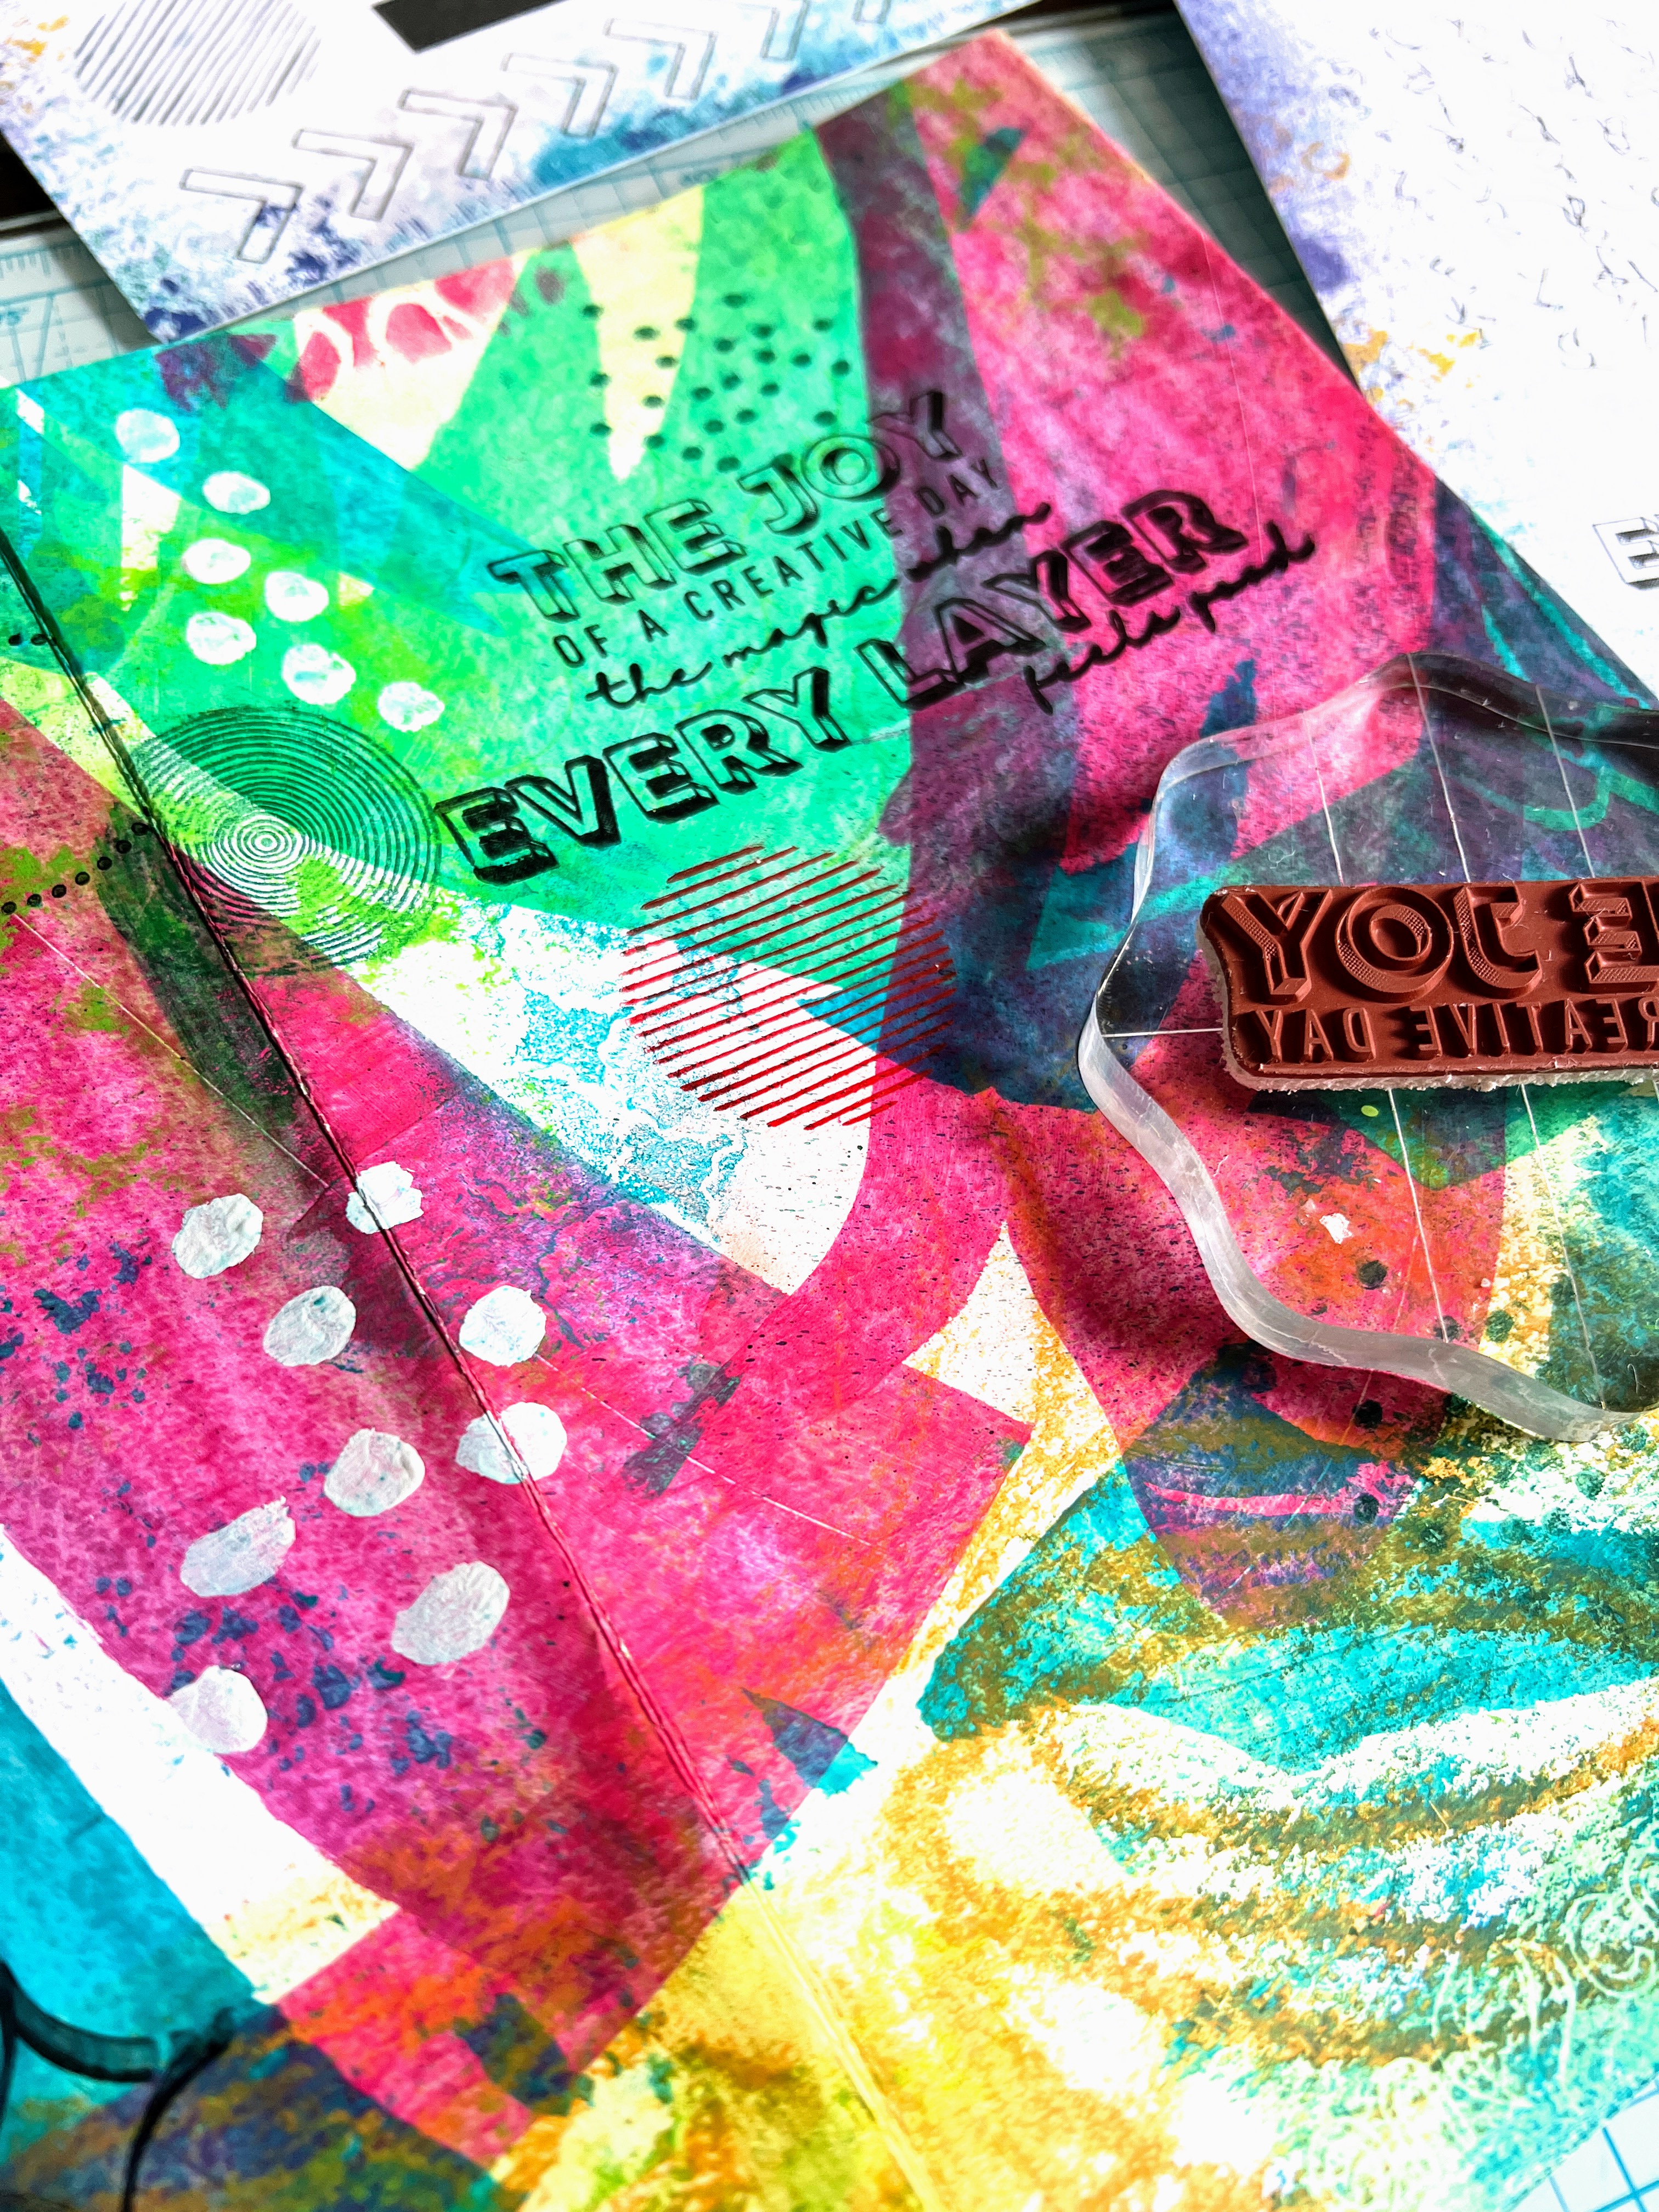

At this point, I began to do some fine tuning to complete the flow of color and pattern on each individual page. The two sentiment stamps from the inaugural in-house PaperArtsy stamp designs in stamp set 1 (EPA01) were exactly the right statement and design to complete my cover. I combined the sentiments into one larger statement and colored in the block letters with a white pen.


I continued stamping more circles and dots from PaperArtsy stamp set 3 (EPA03). The line of dots stamp worked really well to curve and stamp around the various swipe marks for emphasis.


Last, I stamped the awesome circles and dots from PaperArtsy stamp set 2 (EPA02) to help fill out the page. Then I used PaperArtsy Fresco Chalk Acrylic in Cloud 9 to free paint some dots and create a shadow around a rough bird sketch on some of the pages. This will allow for journaling in or around the birds.


This project was a joy to create and I hope it will inspire you to make a zine of your own, no matter what size! There are variations where you can add pockets or more pages, so make sure to Google the concept. I personally think this is a great way to get to know new stamps and I'm so looking forward to using these gorgeous background stamps for other projects in the near future!
These days I find that I really need more spontaneity and freedom in my creative routine and making what I call "artsy papers" really brings that out in me and helps me to see that each mark can be incorporated and there is no need to fear messing up because you can keep layering until you're happy. I'm so happy that I tried the crayon rubbing and already have other ideas of how incorporate this into my art in different ways, which wouldn't have come about if I hadn't been brave enough to possibly "make a mess". Ha ha! I hope you'll join me in this pursuit. xx, Autumn

Blog: SewPaperPaint
YouTube: SewPaperPaint
Facebook: Autumn Clark
Instagram: @sewpaperpaint
Pinterest: SewPaperPaint


.png)


