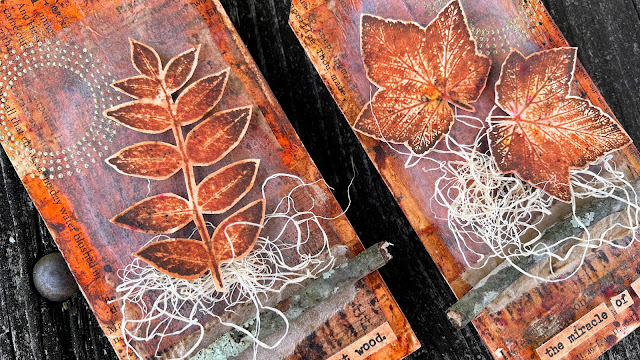
Once dry I carefully removed the paper towel to reveal the gorgeous rust beneath, keeping the paper towel to use later in the project.
My next job was to create an easy way to add and space the papers that I was going to place on the base of the tag. I striped back the top layer of paper from some corrugated cardboard and glued a section of the remaining cardboard to the tag.
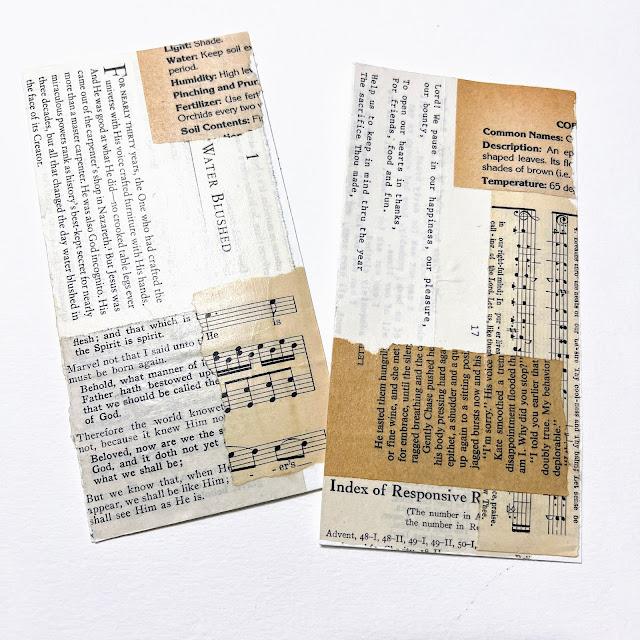
As I said previously, I wanted to create as many textured and interesting papers as possible. I had a ton of ideas in mind and had great fun playing with the stamps and supplies I had chosen. The choice of paper made a lot of difference to the outcomes, as you will see shortly. I gathered a selection, including glossy photo paper, watercolour card, tea stained copy paper and patterned book pages.
The first paper I wanted to try with the sprays was glossy photo. It sucked up the colour well and I discovered that once they were dry I could use a damp cloth to wipe away the brown walnut ink and leave a much more vibrant yellow colour. This photo shows the 'before' colour.
Whilst I had the spray to hand I wanted to stamp using the dye stain. I sprayed a little onto a craft mat and used this like an ink pad to pick up the colour and stamp onto the photo paper. I loved the effect that stamps from Ellen's collection (EEV05) achieved with this technique.
As you can see in this photo, the results were very pleasing and the texture was subtle but very interesting. The bonus of some rusty tissue was also great !
Moving on from the Rusting powder I tried an experiment with PaperArtsy Crunchy Waxed Kraft paper (WKPA5) I found some Sizzix typography embossing folders and embossed several sheets of the waxed kraft paper.
I was now ready to start assembling the elements for the bottom half of the tag. Using a ruler as a guide, I tore strips of the papers approximately 2 cm, 1.5cm and 1cm wide and folded them all in half width ways. The rusty tissue proved a little difficult to tear evenly but with care I achieved it.
Once all the initial strips were dry I positioned the second set of strips between the first (on the peaks of the cardboard). Arranging them first before gluing helped me to decide if the colours, textures etc. contrasted enough. Once I was happy I glued them in.
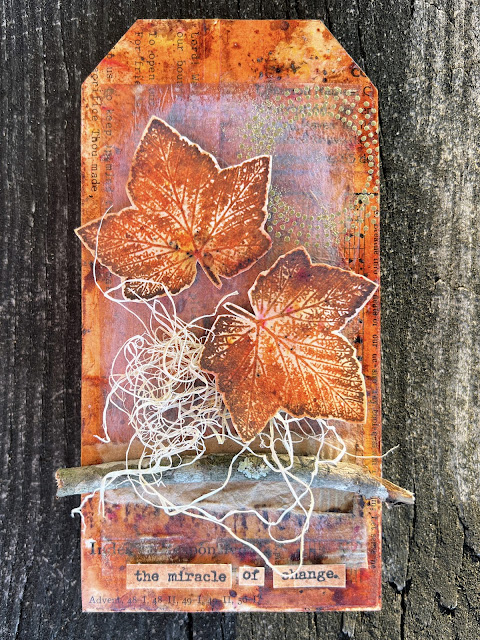
The tag was nearly finished, it just needed a little more. I nearly always ink the edges of my projects, whether it's a tag, journal page or card. This tag was no different, I used Ranger Archival ,Vintage Photo ink and a sponge.


.jpg)


.png)
