
2021 Topic 5: Find Your Vibe

It's always fascinating to see how the stamp designers use their own images. Sara Naumann's step by step resin tutorial takes the lowly serviette and catapults it to something extraordinary using her new stamps and stencils. It's amazing to see the effect of resin onto different types of papers and I think she'll convert many of us to trying out resin for the first time.
~ Keren
~ Keren
Hi everyone, it's Sara Naumann with you today, with a junk-style resin journal!
The invitation to "find your vibe" presents such a good opportunity to think about what creative processes, styles and techniques make us happy. For me, finding my vibe is the same as getting into a "zone"—you know, that sort of meditative space you enter when you're really, really into what you're doing? This is when you look up from your work and realise time has flown by. You feel restored, relaxed... it's often just as much about the creative process as it is the end result.
Working with resin puts me in this zone really easily. I think part of it is the focus needed to measure and mix the resin correctly. And because you have a limit on your working time (30-45 minutes with most resin) you really can't dawdle or second-guess yourself too much. Sometimes working quickly produces some really remarkable results!
For this session, I made a resin journal cover from a store-bought paper serviette, brayer-painted, Grunge-Paste stencilled, and stamped. Coating the serviette with resin makes the paper sturdy and ideal for book covers. It's still flexible—you can cut it with scissors and hole-punch it (that's how I bound my book with rings) but it's waterproof and durable, perfect for stashing little papers, notes or other journal-worthy things. My junk journal is refillable, and I've put square envelopes, painted paper fragments and other ephemera inside.

Resin is a fabulous medium for mixed-media people, as it changes the translucency of your paper and makes fragile papers stronger. And it's easy to use...I'll show you how in the steps below. You'll need to have your paper ready to go before you jump into the resin part, so grab your paints, stamps, stencils and Grunge Paste first.

I brayer-painted the serviette with Blue Moon, then Verdigris paints—working gently, as the paper is fragile. I like to leave some white showing.

Some Grunge-Paste stenciling with PS248, the chevrons. I use my finger to apply the Grunge Paste... again, working gently.

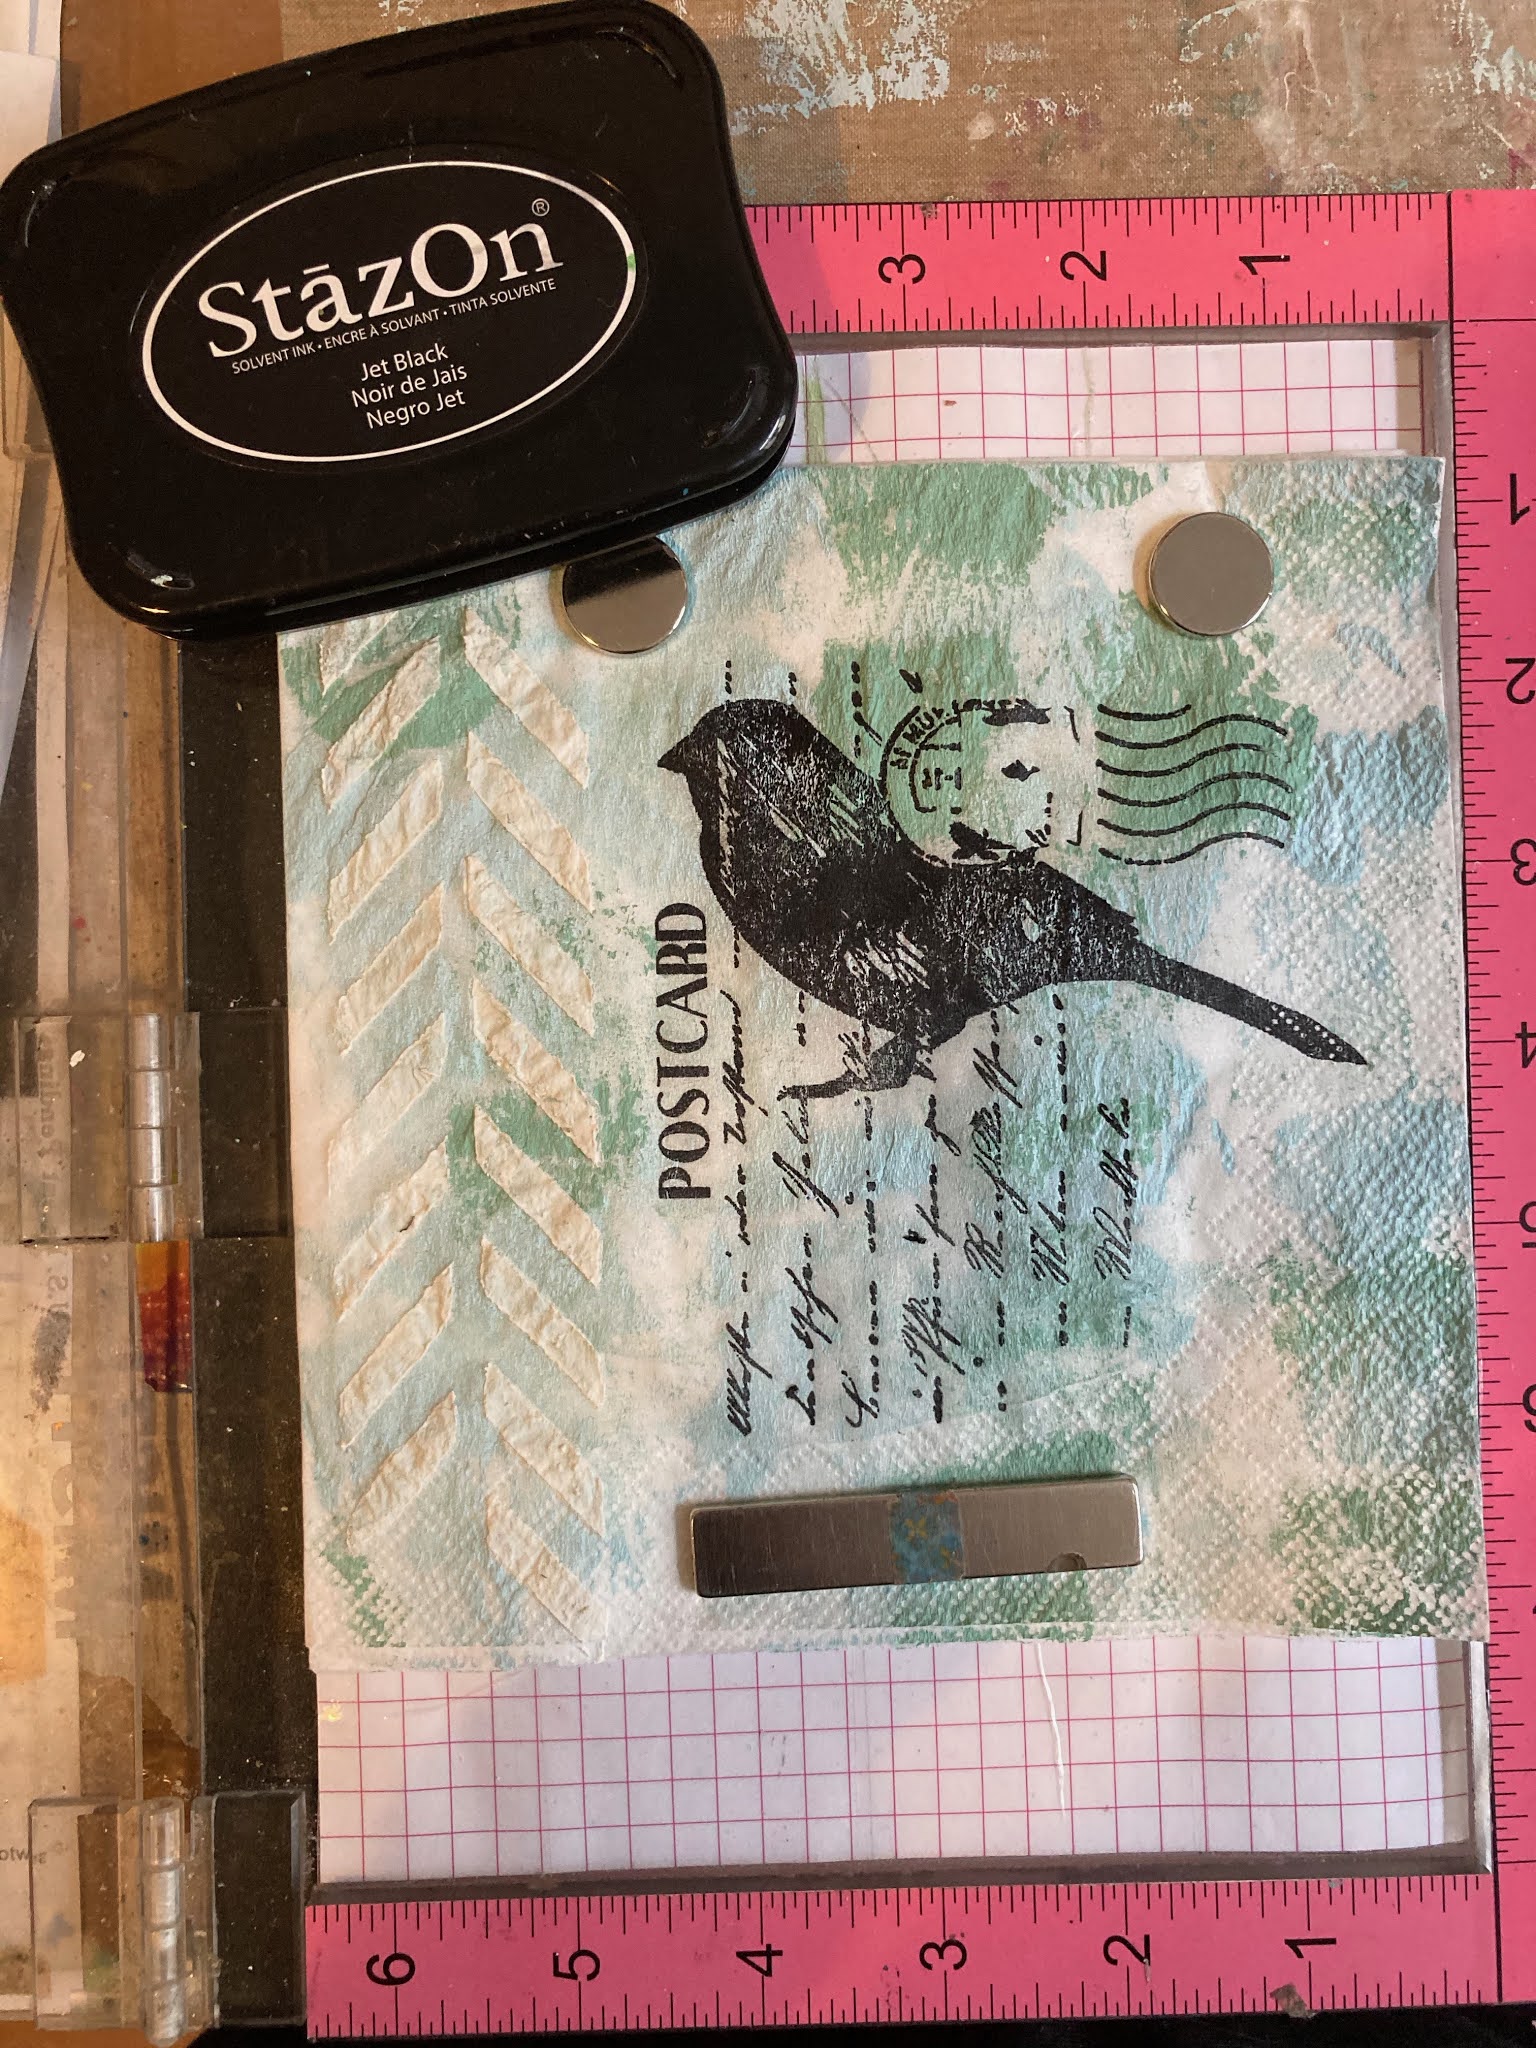
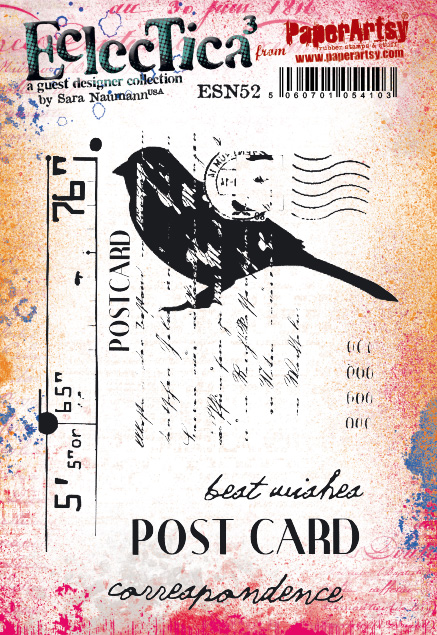
I stamped the bird from ESN52 with black StazOn. Dye inks might bleed when you add the resin, so a solvent-based ink like StazOn is recommended.


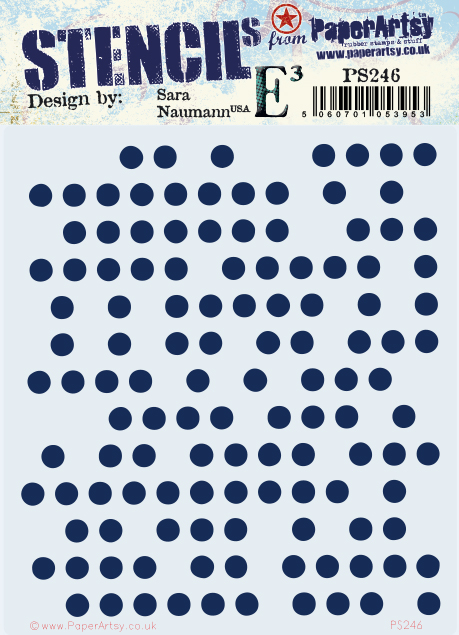
I love to use a good old-fashioned stippling brush for stenciling, and this time I used Weathered Copper and Aquamarine in a mash-up of colour through the PS246 Dots stencil-even over the Grunge Paste chevrons.

A little splattering with a darker colour—this time, Blue Lagoon—adds contrast. You'll notice I have stenciling on the other half of the serviette too. That will be the back cover of my journal.

Now you're ready to add this translucent, shiny effect with resin! Here's the step-by-step:

What you'll need: A 2-part resin epoxy (Alumilite is good, so is ICE Resin), a plastic measuring cup, stir stick, and a small piece of kitchen sponge. You'll need a craft mat to protect your work surface and for your resin piece to dry. Please protect your hands by wearing gloves. It's a good idea to open a window or turn on a fan, too.

You'll mix equal amounts of Part A (resin) and Part B (hardener). Start with Part A.

Add Part B into the same cup. It helps to make sure you have good strong lighting!

Then, use a gentle folding method to stir the two parts thoroughly—give yourself about 3-4 minutes. Be sure to scrape down the sides of the cup and the stir stick. Once all the striations are gone and the resin is clear, you're ready to go! (Don't worry about the air bubbles.)


You'll notice the white colour change and begin to turn translucent while the paint and Grunge Paste will pop.

The resin will dry in 6-12 hours; when it's dry to the touch, you can start working with it! I folded my serviette in half so the bird is on the front cover and the brayer-painted and stencilled area you see above is the back cover.

I used a regular hole punch through the cover, then inserted pages and bound the journal with metal rings. I added ribbons on my metal binding rings, and a resin-paper-covered domino.


On the inside of the journal I have tons of square envelopes, decorated with other scraps of paper and resinned snippets.

Who doesn't love a journal with pockets to tuck things into? And while I'll use this journal for myself, it would also make a great gift for someone special. Just think, you could put plain writing paper or watercolour paper inside, or decorate the pages and pockets with photos or recipes, notes and quotes. The sturdy resin cover ensures your journal will last.
Thanks so much for spending time with me in my zone! I really do hope you get a chance to celebrate getting into your vibe and enjoying not only the fabulous things you can make, but the creative process that goes into it.
Blog
Facebook: https://www.facebook.com/sara.naumann.75/
Twitter: https://twitter.com/SaraCnaumann
Stampers Grove Facebook Live: Sunday, May 16 at 3:00 UK time, I'll be demoing resin with paper, featuring Ranger's ICE Resin. It's live, it's free and it's recorded just in case you're not able to catch it live. Hope to see you there!


6 comments:
Fabulous and instructive blog post and yes we really looking forward to your demo on the 16th. 🙂
I love this Sara
Beautiful project and lovely cover, resin coating is great idea Sara. I love it!! xx
Not come across using resin with serviettes before Sara and will definitely be adding this to my list of techniques to have a go at. Great project and I love, love, love that stamp! ~ Stef
I love the idea of using napkins at any time, but particularly like the addition of the Resin. What a lovely project.
This is such a great idea and I enjoyed reading it and then seeing you teach the FB live for SG. So many possibilities!!!
Post a Comment