
Hello everyone!!! It's Laurie with you today, and I'm here to share my first project with you!! To say I'm excited is an understatement!! Let's jump right in, shall we?
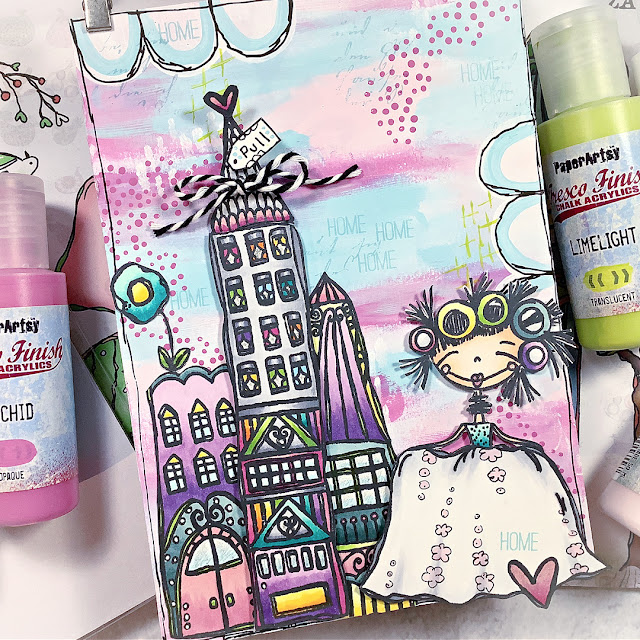

I made a cute home decor piece with a surprise, interactive twist! I adore making these little scenes, I have quite a few placed in frames throughout my craft space and now I have another one to add to my collection!

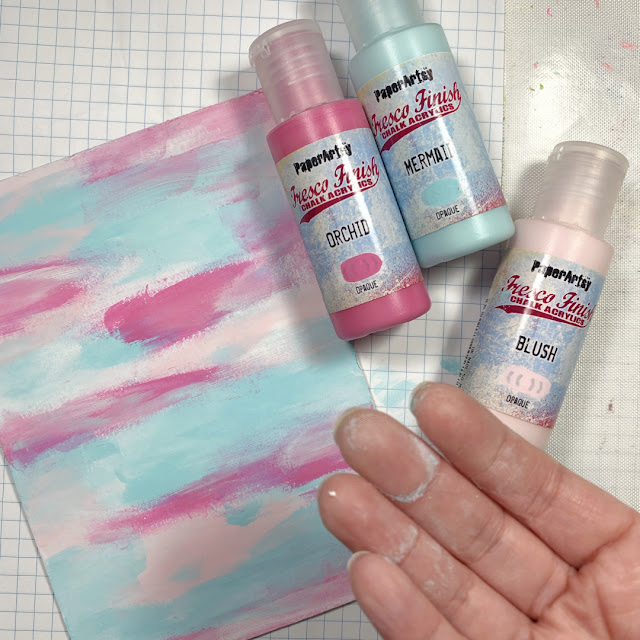
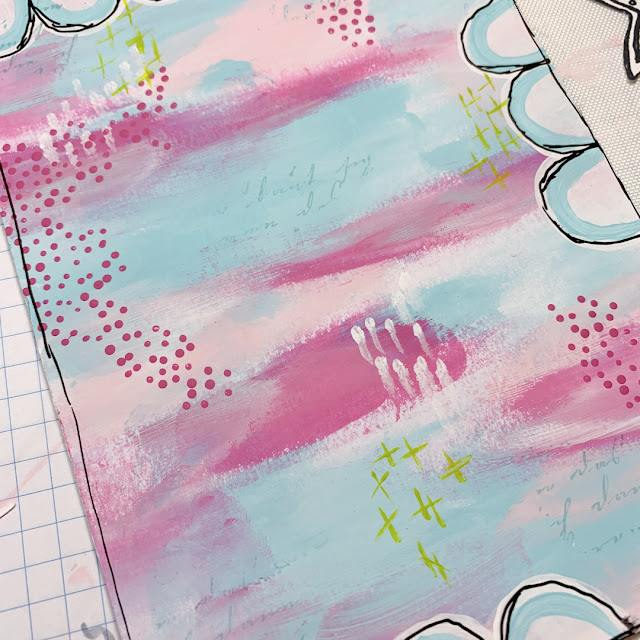
My substrate of choice was the 5X7 Greyboard. And using the best tool I have (my fingers!), I used Orchid, Blush and Mermaid Fresco Finish Paints. Finger painting is so fun and is the easiest way, for me, to blend colours.


I stamped out some images from Zinski Art 34 and Zinkski Art 39 using Memento Ink (Tuxedo Black). I used an alcohol friendly ink as I knew I was going to colour my images in with alcohol markers.
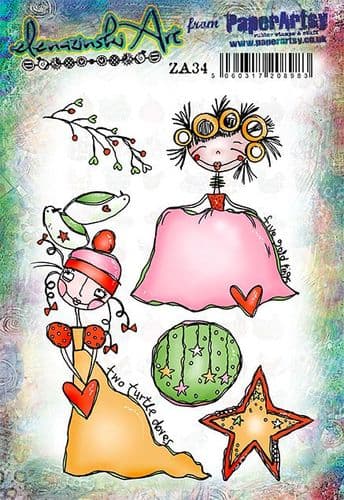
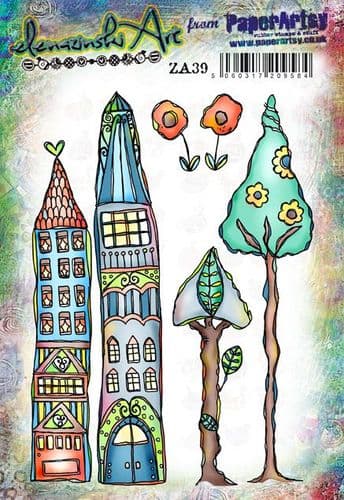
You will find that I changed my mind throughout the process and used some different images and eliminated some....does that ever happen to you?? After everything was coloured and fussy cut, it was time to play with the layout.
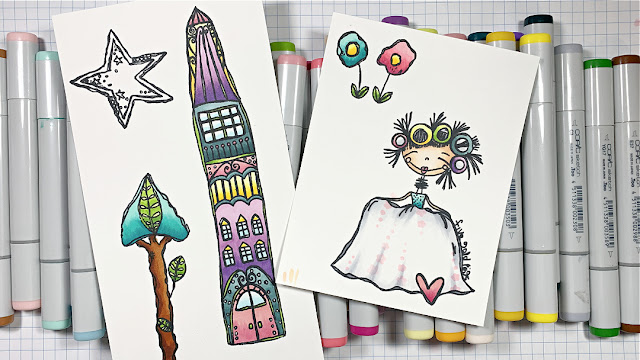
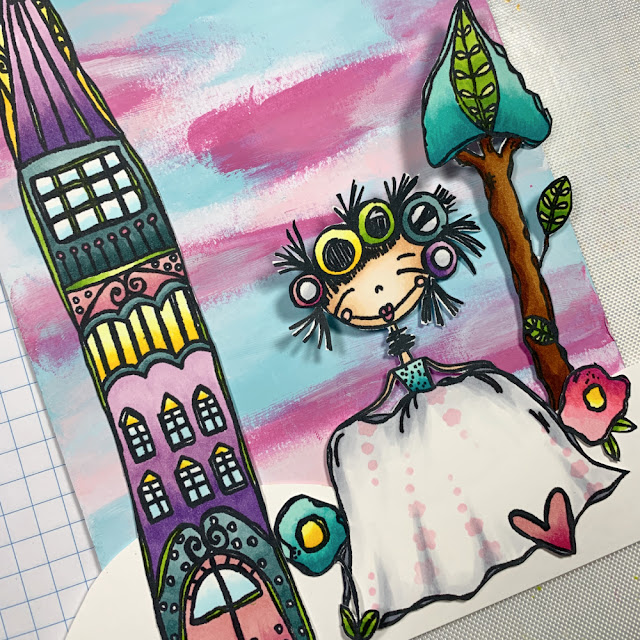
This was the "try out" phase. This was the point at which I changed my mind on some of the images. I thought the tall house was a little too tall. So, I stamped the smaller house in the same black ink and coloured it up!
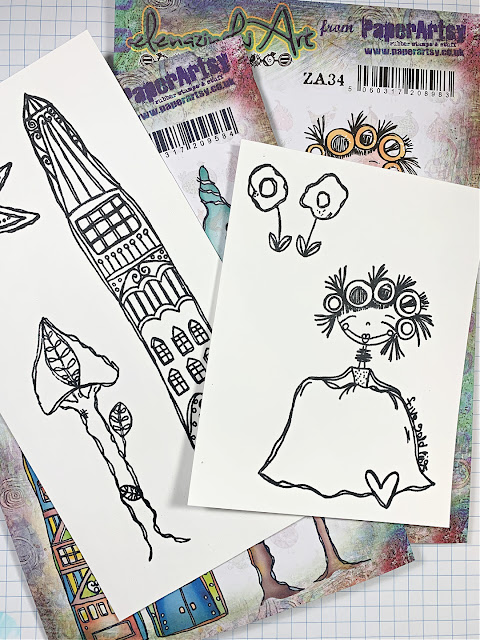
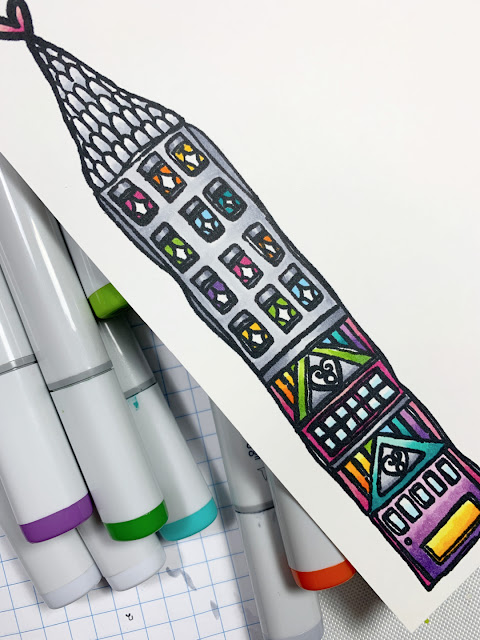
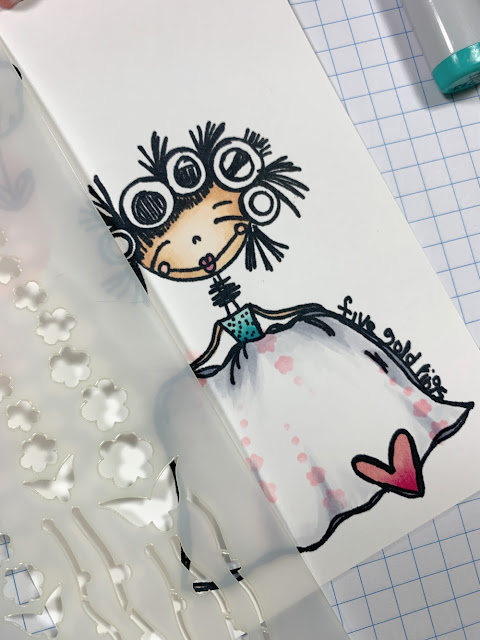
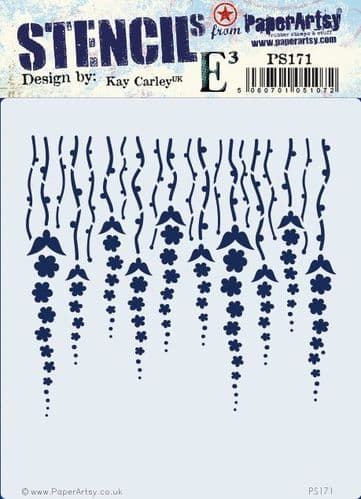
I wanted to share a little tip when it comes to colouring larger spaces. For example, the dress has quite a bit of open space which could take awhile to colour, not to mention use a lot of ink! In this case, I used the PS171 (PaperArtsy Stencil by Kay Carley) to add some detail and pattern!

Now, let's have a look at the interactive element!! I snipped the top off of the newly coloured house and on the back of the remaining portion, I added tiny strips of foam adhesive along the very edges and one piece at the bottom. This does not have to look pretty!!!
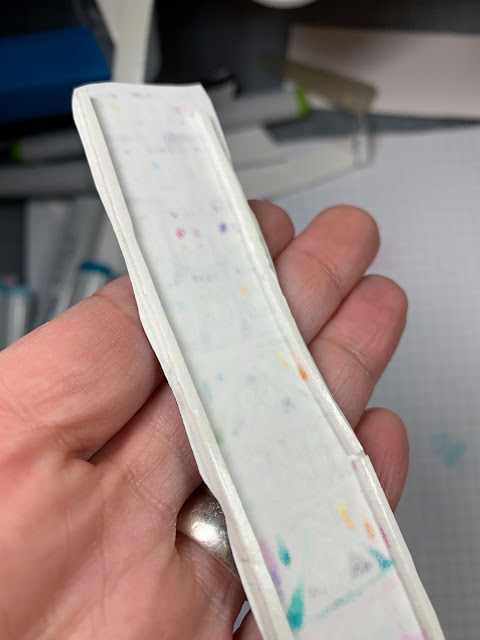

The plan here is to create a pull element that contains a quote. I trimmed a piece of cardstock into a 1/2" strip. This fits nicely into the channel created with the foam tape. I added some Blush Fresco Paint to the strip and set it aside to dry while I looked for a quote to print off on my computer. Once dry, I added the roof of the house onto the strip.


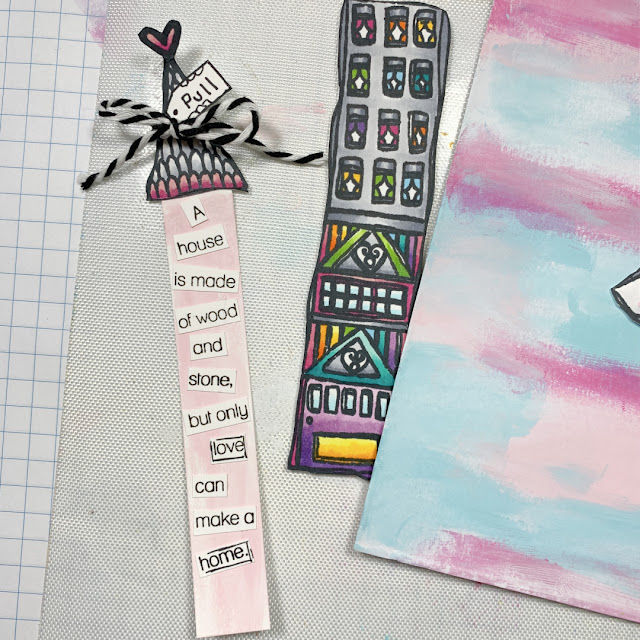
I found a quote, printed it out in a tiny font, chopped it into pieces and adhered them onto my pull out element. To remind myself or the recipient that this is an interactive piece, I drew a little tag shape with the word "pull" on it and attached it to the roof along with a tiny, bakers twine bow.
Now that the majority of the work, and by work I mean play, has been done, it's time to put everything together!

In the end, I did use the taller house image. I snipped it into a couple of pieces to create to smaller houses which made a little village! Before adhering all my images and interactive element, I used a black paint marker to add a border. This included straight lines as well as some scallop shapes. I highlighted these "bumps" with Mermaid and Snowflake Fresco Finish Paints.
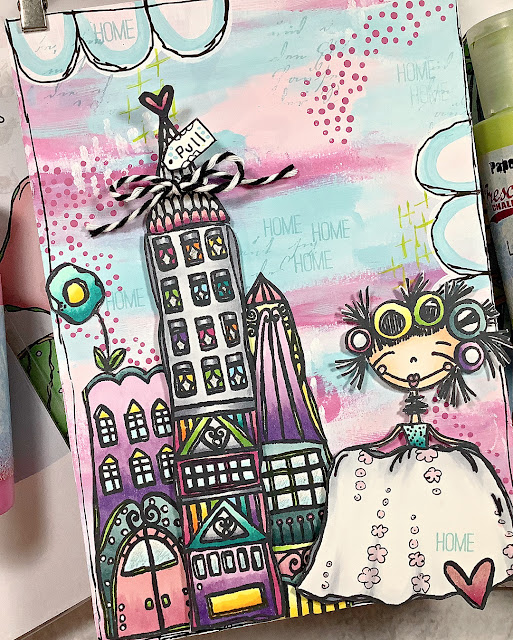
To adhere everything to the panel, I used a combination of craft glue and foam adhesive. I LOVE dimension and the fact that this will be hung on my wall, I can add as much as I like!
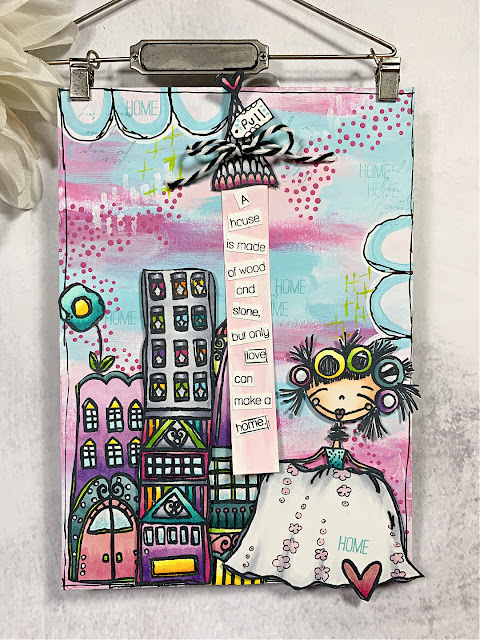

I did add a small craft hanger to this piece but it could also be easily placed in a photo frame! This was such a fun project. It really has every aspect I love about crafting....paint, colouring, fussy cutting, scene creation and of course, that fun interactive element!!
Thank you so much for spending some time with me today!! I hope you were a little inspired to create something today!
Laurie

Instagram: crazycardlady