
2021 Topic 9: Baubles & Bling

With
vivacious colours and humorous sentiments, Tracey has embraced the
whole bling theme and run wild with it. The sausage dogs are busy
partying hard and with the addition of pom-poms this is a fabulously
vibrant Christmas collection.
~ Keren.
~ Keren.
Hi
everyone, it's Tracey Springer with you today. I have been having so
much fun playing with Elena Zinski’s new stamps (ZA 65, 66, 67). Sausage
dogs! They are so incredibly cute! Who doesn’t love a sausage dog? I
let my crazy style out for a run! Christmas in July … why not?


I
started by thinking about what colours I wanted to use, and pinks and
greens really stood out to me. (Pink is not your traditional Xmas colour
but I love it!). I then brayered some backgrounds with my gel press (I
usually do 15-20 at a time) and I also did some solid 12x12 pages using
Fresco Finish ‘Cerise', ‘Eggshell’ and my favourite ‘Sargasso’. I loved
the distressed look that brayering straight onto the paper achieves.


I
then stamped out a lot of the images and started colouring (I love my
Copic Sketch pens for blending). I formulate my ideas as I’m colouring;
scenes start coming together in my head and cheeky sayings seemed to fix
themselves to certain dogs.

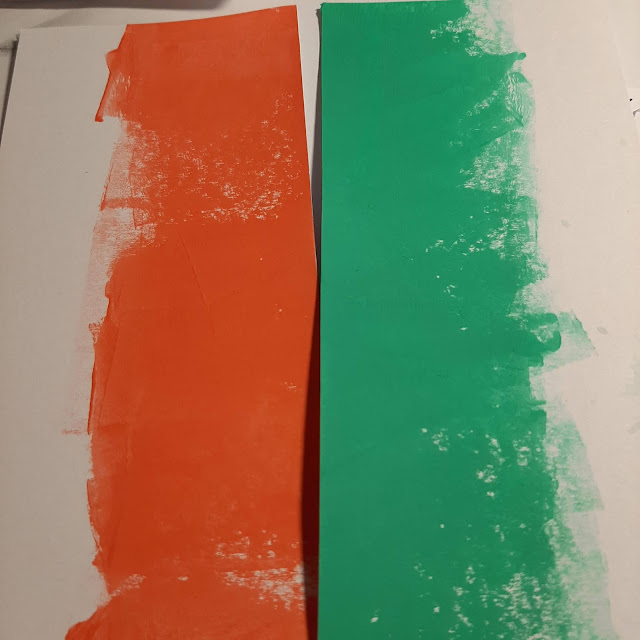
I cut some card size backgrounds and stamped the little song (I can still hear Elena singing it LOL!) then decided I needed some more solid colour panels to mix and match, so I brayered ‘Sargasso’ and ‘Coral’ onto the edges of some white strips.
Then
I play around for days sometimes, trying various coloured images on
different backgrounds until I’m happy and it matches the picture in my
mind.


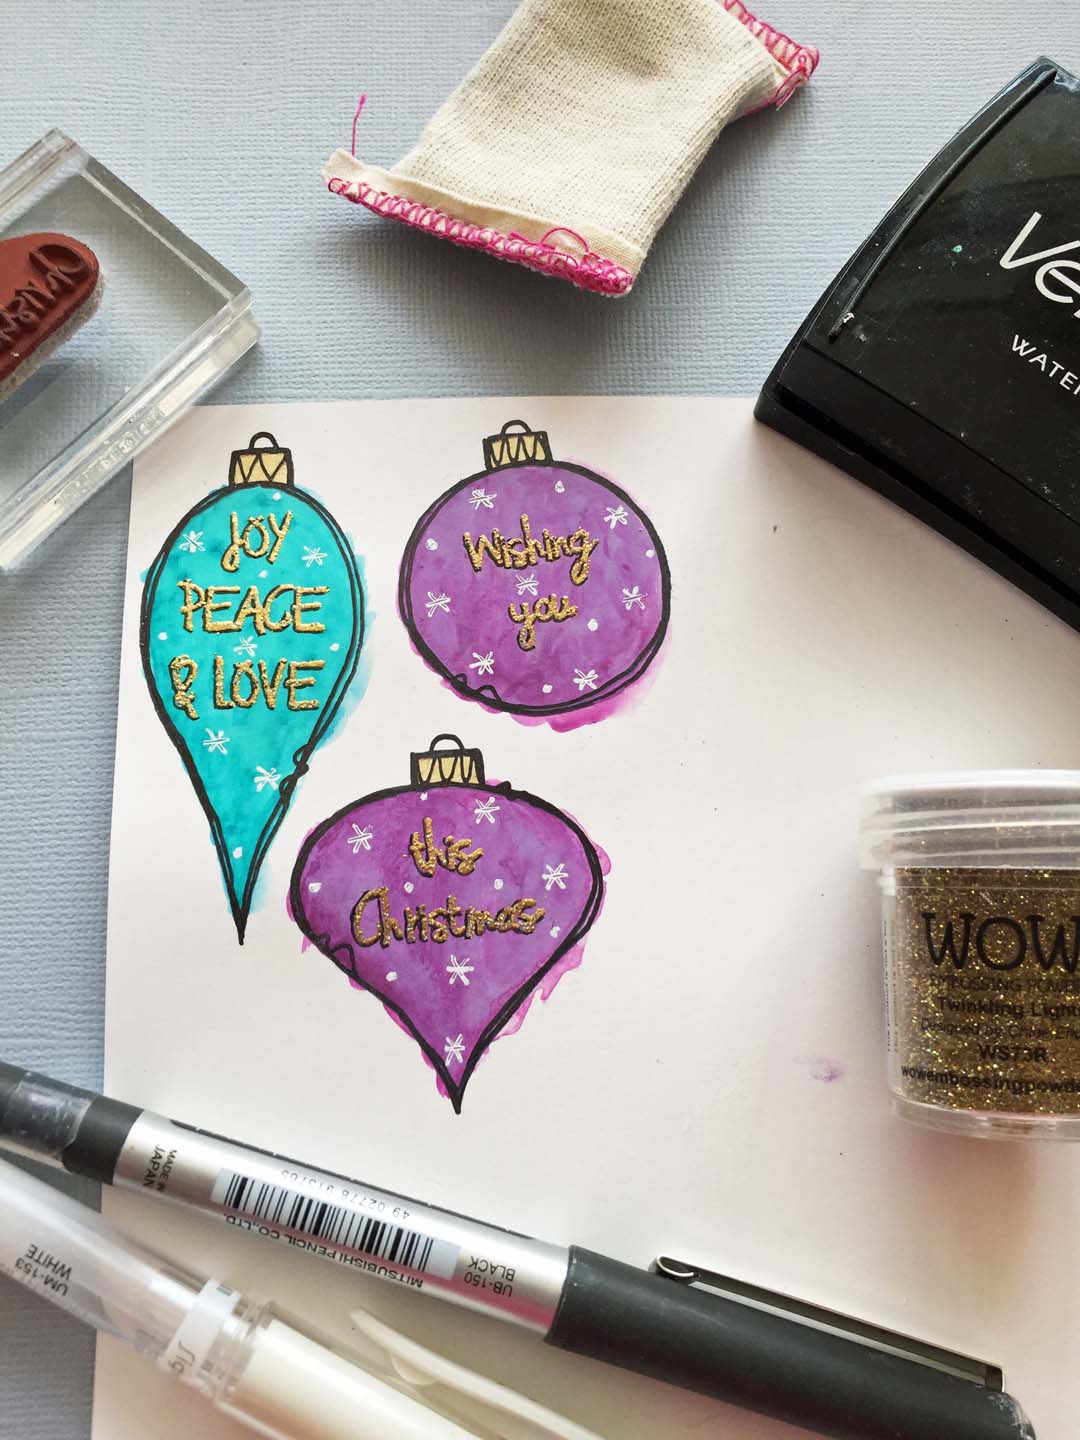
I
love layering and 3D foam taping for various heights and depths (it’s
very hard to photograph but just play around with layering). I always seem to finish my pieces with black inked pen lines and a heavy layer of Gesso to frame.

I
also added a lot of ‘bling’ in the form of glittery sparkles, diamantes
and silver metallic twine but that really didn’t want to show up in the
pics!
I
then decided to finish my project off with a cute little gift bag/box
to hold the cards – using up a sheet of 12x12 which I had earlier
brayered in ‘Cerise’ paint. No measurements or instructions, I just
folded and glued until it looked right! Glittery handles, funky pink
pom-pom trim and a cute little tag finished it off.


I really hope you enjoy playing with these delightful sausages as much as I have, and Yay for a head start on Xmas cards!


Take care,
Tracey
Instagram: @tracey_springer


.png)

