
2021 Topic 8: Nature's Treasure

Sara
runs you through and easy way to make a small booklet from just one
sheet of card, which is a fun project for any abstract background paper
you might make. Of course she has used some of her lovely stamps and
stencils along the way too!
~ Leandra
~ Leandra
Hi everyone, it's Sara Naumann with
you today, and I'm here to share a super-simple folded booklet that's
perfect for spotlighting quotes, images and all the little treasures we
papercrafters love. I'm really inspired by the Nature's Treasure theme,
and think this is an ideal surface for exploration, so I got out my leaf
stamps to have a play!
Some
of you may have made one of these little books at some point. I've
spotted lots of different variations online lately, and I taught it to
my Grade 5 Art Club this spring. It's a really versatile project and can
be personalised in so many ways...the kids covered their books with
stickers and drawings and it's safe to say the concept can be adapted to
a Spiderman theme as easily as it can to a collage of leafy images.

This little book begins with a sheet of A4 paper. I'm using Smoothy Regular, which is sturdy enough to accept the layers of wet media I'll use but—crucially—will fold nicely too.


I've
started out with a favourite technique for me—brayer-painting. This is
an easy way to get some colour down and start building your layers. You can think of the white surface as your first layer if you like, and avoid covering it completely.
I'm brayering with Sherbet and Lemon Meringue; when those layers were dry, I stippled various portions of PS123 with Weathered Copper. I also added some Grunge Paste stencilling with the circles on the PS100 stencil.


You
only need to focus on one side of the paper since the other side won't
show when the book is folded. You might want to just brayer-paint it
with one colour so it's not totally white. But don't worry about
stencilling or stamping it.
I love how layered stencilling creates depth on a surface—especially when you combine a bolder colour like Weathered Copper with a layer of untinted Grunge Paste. And combining geometric shapes like the wonky harlequins from PS092 with the leaves from PS123 is a good way to create balance.


A bit of splattering with watery Scottish Salmon....


Before stamping on my masterboard, I find it's helpful to first make a template of the folded booklet. (I'll share the folding steps with you below.)
First, I folded a scrap piece of copier paper and labelled the various pages, then I unfolded it so I could use it as a guide—it's a good reminder that the top half of the sheet will be right-side up, but the bottom portion is upside-down! (BC is "back cover" and FC is "front cover".) Note the cut in the centre, separating FC and Page 1 from 4 and 5.

I've
stamped my nature-themed images onto the masterboard with brown-gray
ink, using postmarks, leaves and number stamps from both Eclectica ESN44 and Eclectica ESN46.


Okay,
so let's look at the folding process. It's really easy. I do recommend
you grab a bone folder and use it throughout the process to help get
those crisp edges, which make the folding easier and your finished
booklet will be flatter and tidier.
First,
fold the sheet in half the long way. (This is the "hot dog way" if
you're explaining to fifth-graders and is probably familiar to anyone
who grew up in America.)

Then
unfold the sheet, and fold it in half the short way— or, the "hamburger
way". Just a reminder that I've only stamped and stencilled onto one
side of my paper... on the other side, I just brayer-painted some Sherbet.

Unfold the paper, and then fold in each short side to meet the crease in the middle.

Then
unfold. You'll have 8 sections. These are your pages, with a mountain
fold in the centre of the paper and valley folds on either side. Here's
the stamped and stencilled side...

...and here's the reverse side.
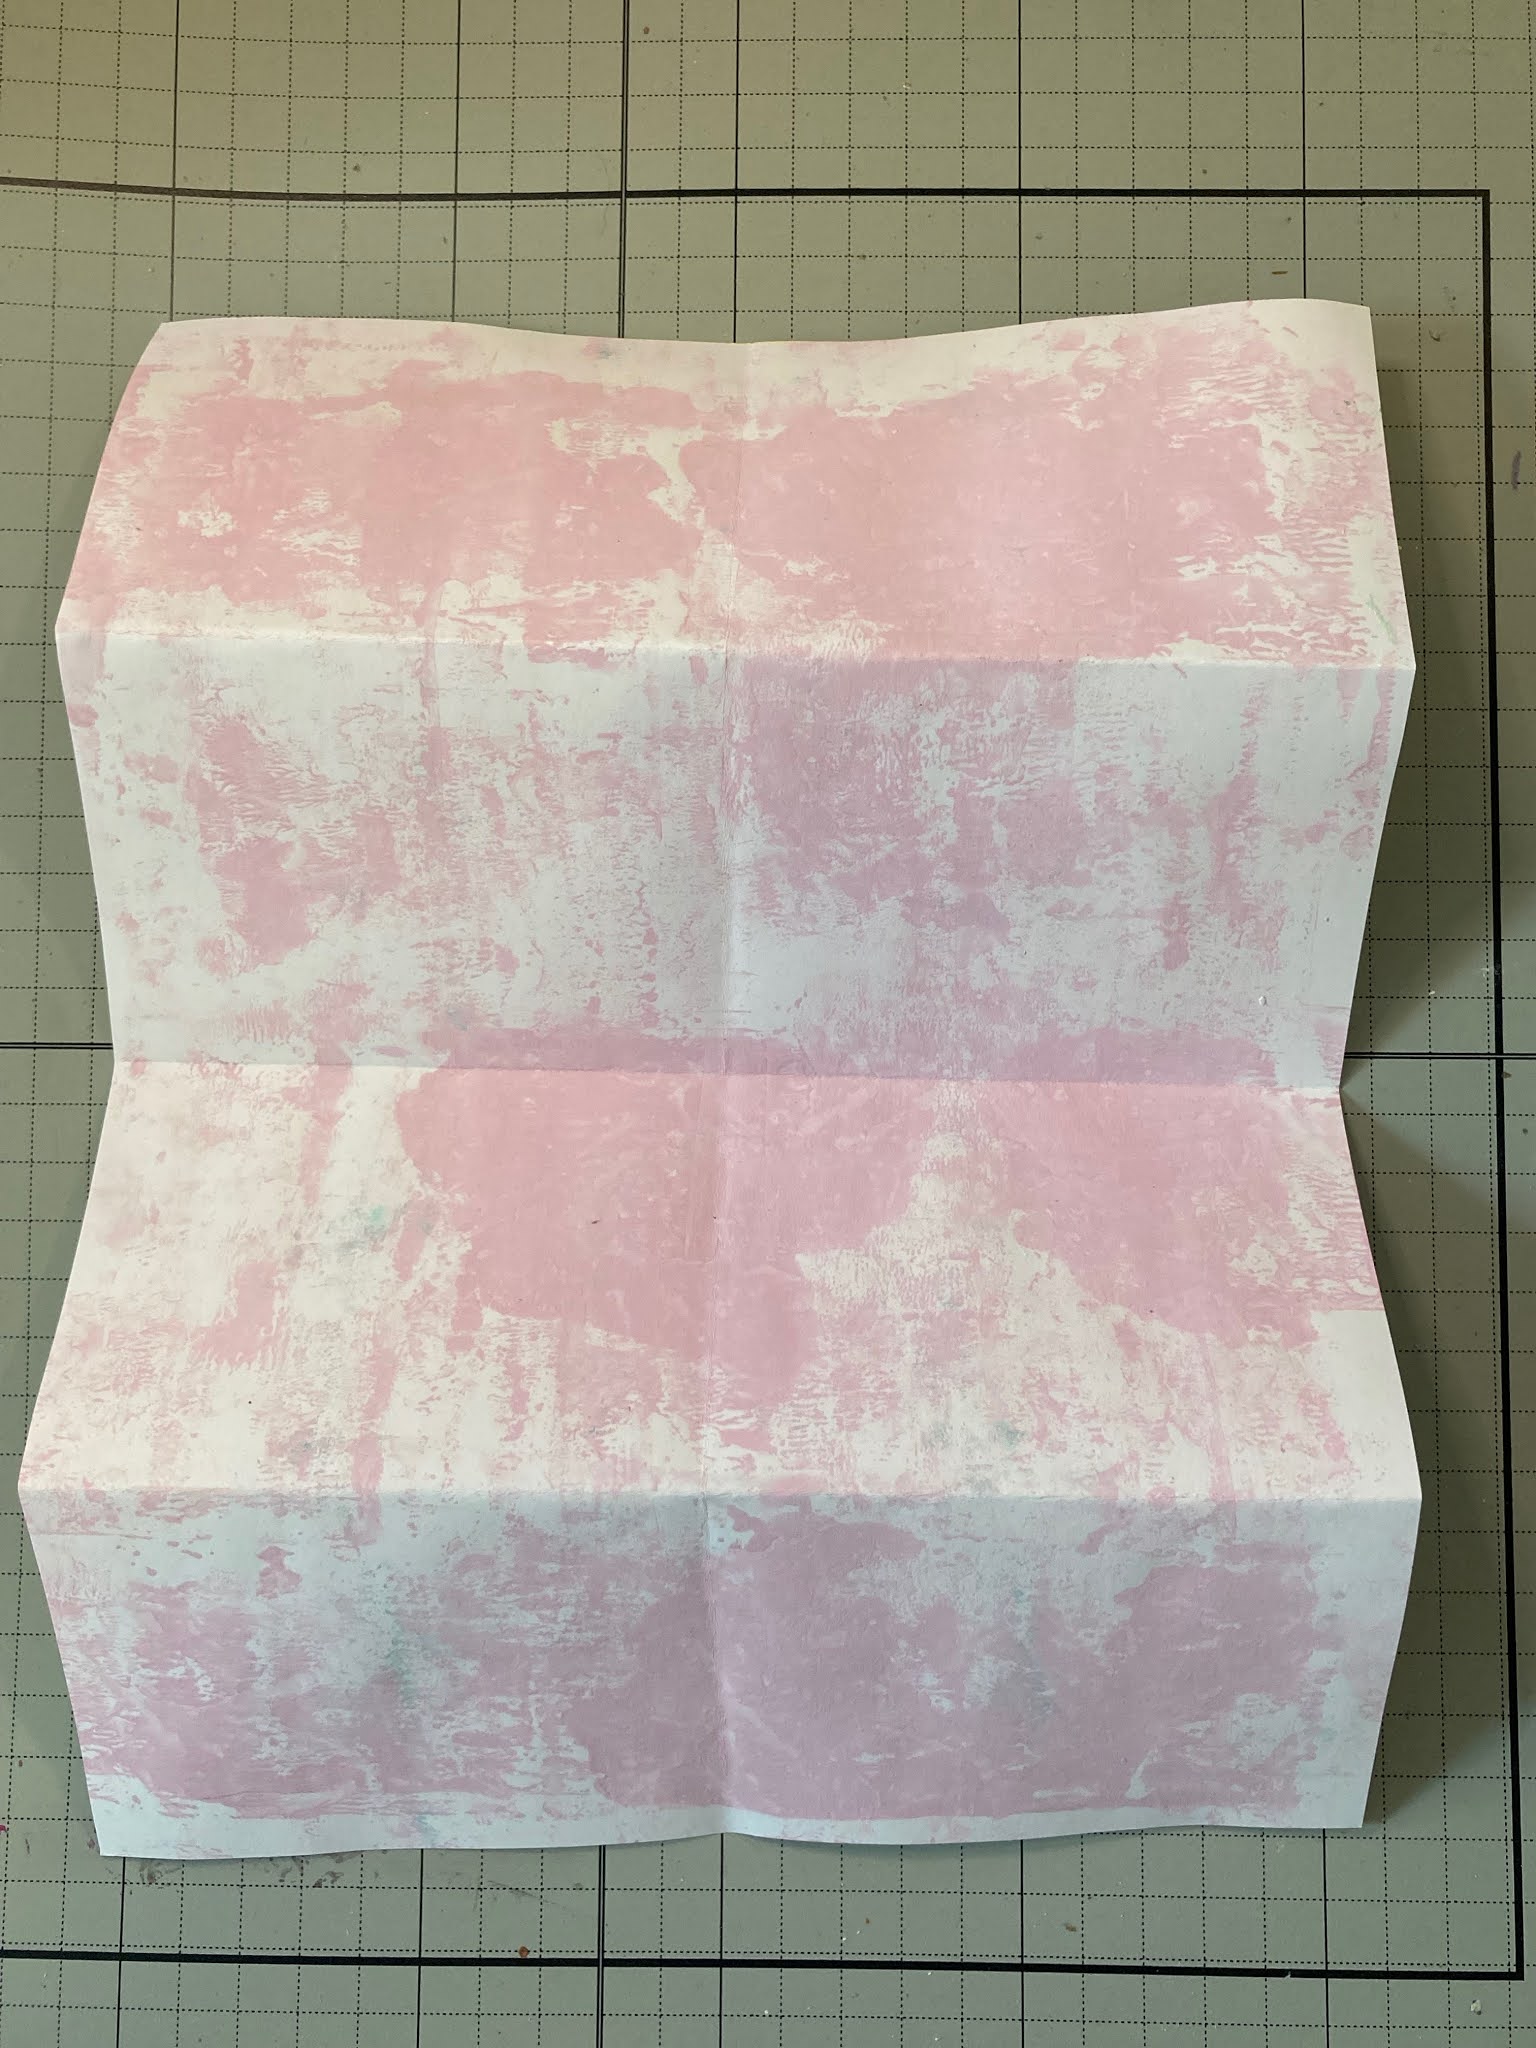
Flip it so you're working with the stamped/stencilled side facing you, and grab your scissors.

Fold
the piece in half again along that "hamburger" crease. Use scissors to
cut through the two layers from the folded edge just to the crease line.
When you open it, it will look like this:

Holding your piece in the position you see above, gently push the two short sides in toward the centre to form a plus sign.

And then you can flatten the piece and you will have a little book! Here's the cover—

Here it is open—

Then, you can decorate the cover and pages!
I
added some gold foiling around the edges for a vintage-y distressed
look. I just ran a glue stick along the edge, placed the foil sheet on
top and pressed it down firmly. Leave it in place for a minute or so,
then remove the foil.

You
can also use an awl or paper piercer to make holes in the centre fold
of the book, and thread ribbon or twine through to tie along the spine
of the booklet.

I cut out some additional images from the two stamp sets and glued them onto various pages... of course you could also add your own handwritten messages, notes and ephemera as well.
(I love this quote and think it's perfect for a nature-themed book!)

Touches of gold foiling on the stamped images gives a bit of shine to the pages.


And don't forget: The stamped leaves can be cut out from the collage images and re-collaged elsewhere too—

Here's another look at the book cover—

The perfect size for a keepsake or gift!

I
love these little books for their sheer creative potential—whether you
decide to fill yours with notes and quotes and sentiments, or add small
photos or ephemera, they're just the right size as a keepsake or gift. You'll
also notice that the pages naturally form pockets, so you can tuck in
all kinds of little treasures—nature-themed, or otherwise.
And
if you, like me, will be spending some time with kids this summer...
well, I can guarantee it's an activity that they'll really enjoy!
Thanks for joining me today!


