Hi everyone, nice to be back with you again.
Victoria here with you today.
This year on the blog, we have free rein to do a deep dive into a PaperArtsy product range of our choosing. For this post I have been exploring Sara Naumann products, many of which provide a mix of text, vintage ephemera and nature themed images. Sara’s designs call to my creative being and my love of paper projects.

Today I'm looking forward to sharing with you a project, turning envelopes into pocket tags, which hold a range of ephemera. Playing with lots of different elements in a project is a lot of fun and makes use of so many of the stamps in a set.
There’s an endless range of options with this project, from how you decorate the envelope pockets, to what ephemera you include. I kept things fun and playful, with the gel plate and simple stamping.


I decided to use two of Sara’s stamp sets, ESN21 and ESN34. The insects and birds work nicely together and the mix of stamps and text gave me lots of options for creating the ephemera.
I love a soft and dreamy colour palette, so I selected four PaperArtsy Fresco Finish Acrylics in Chalk (FF83), Haze (FF217), Powder Pink (FF220), Stardust (FF222). And I picked out stencil PS449 for some subtle background detailing, as it has some big open space in the design.


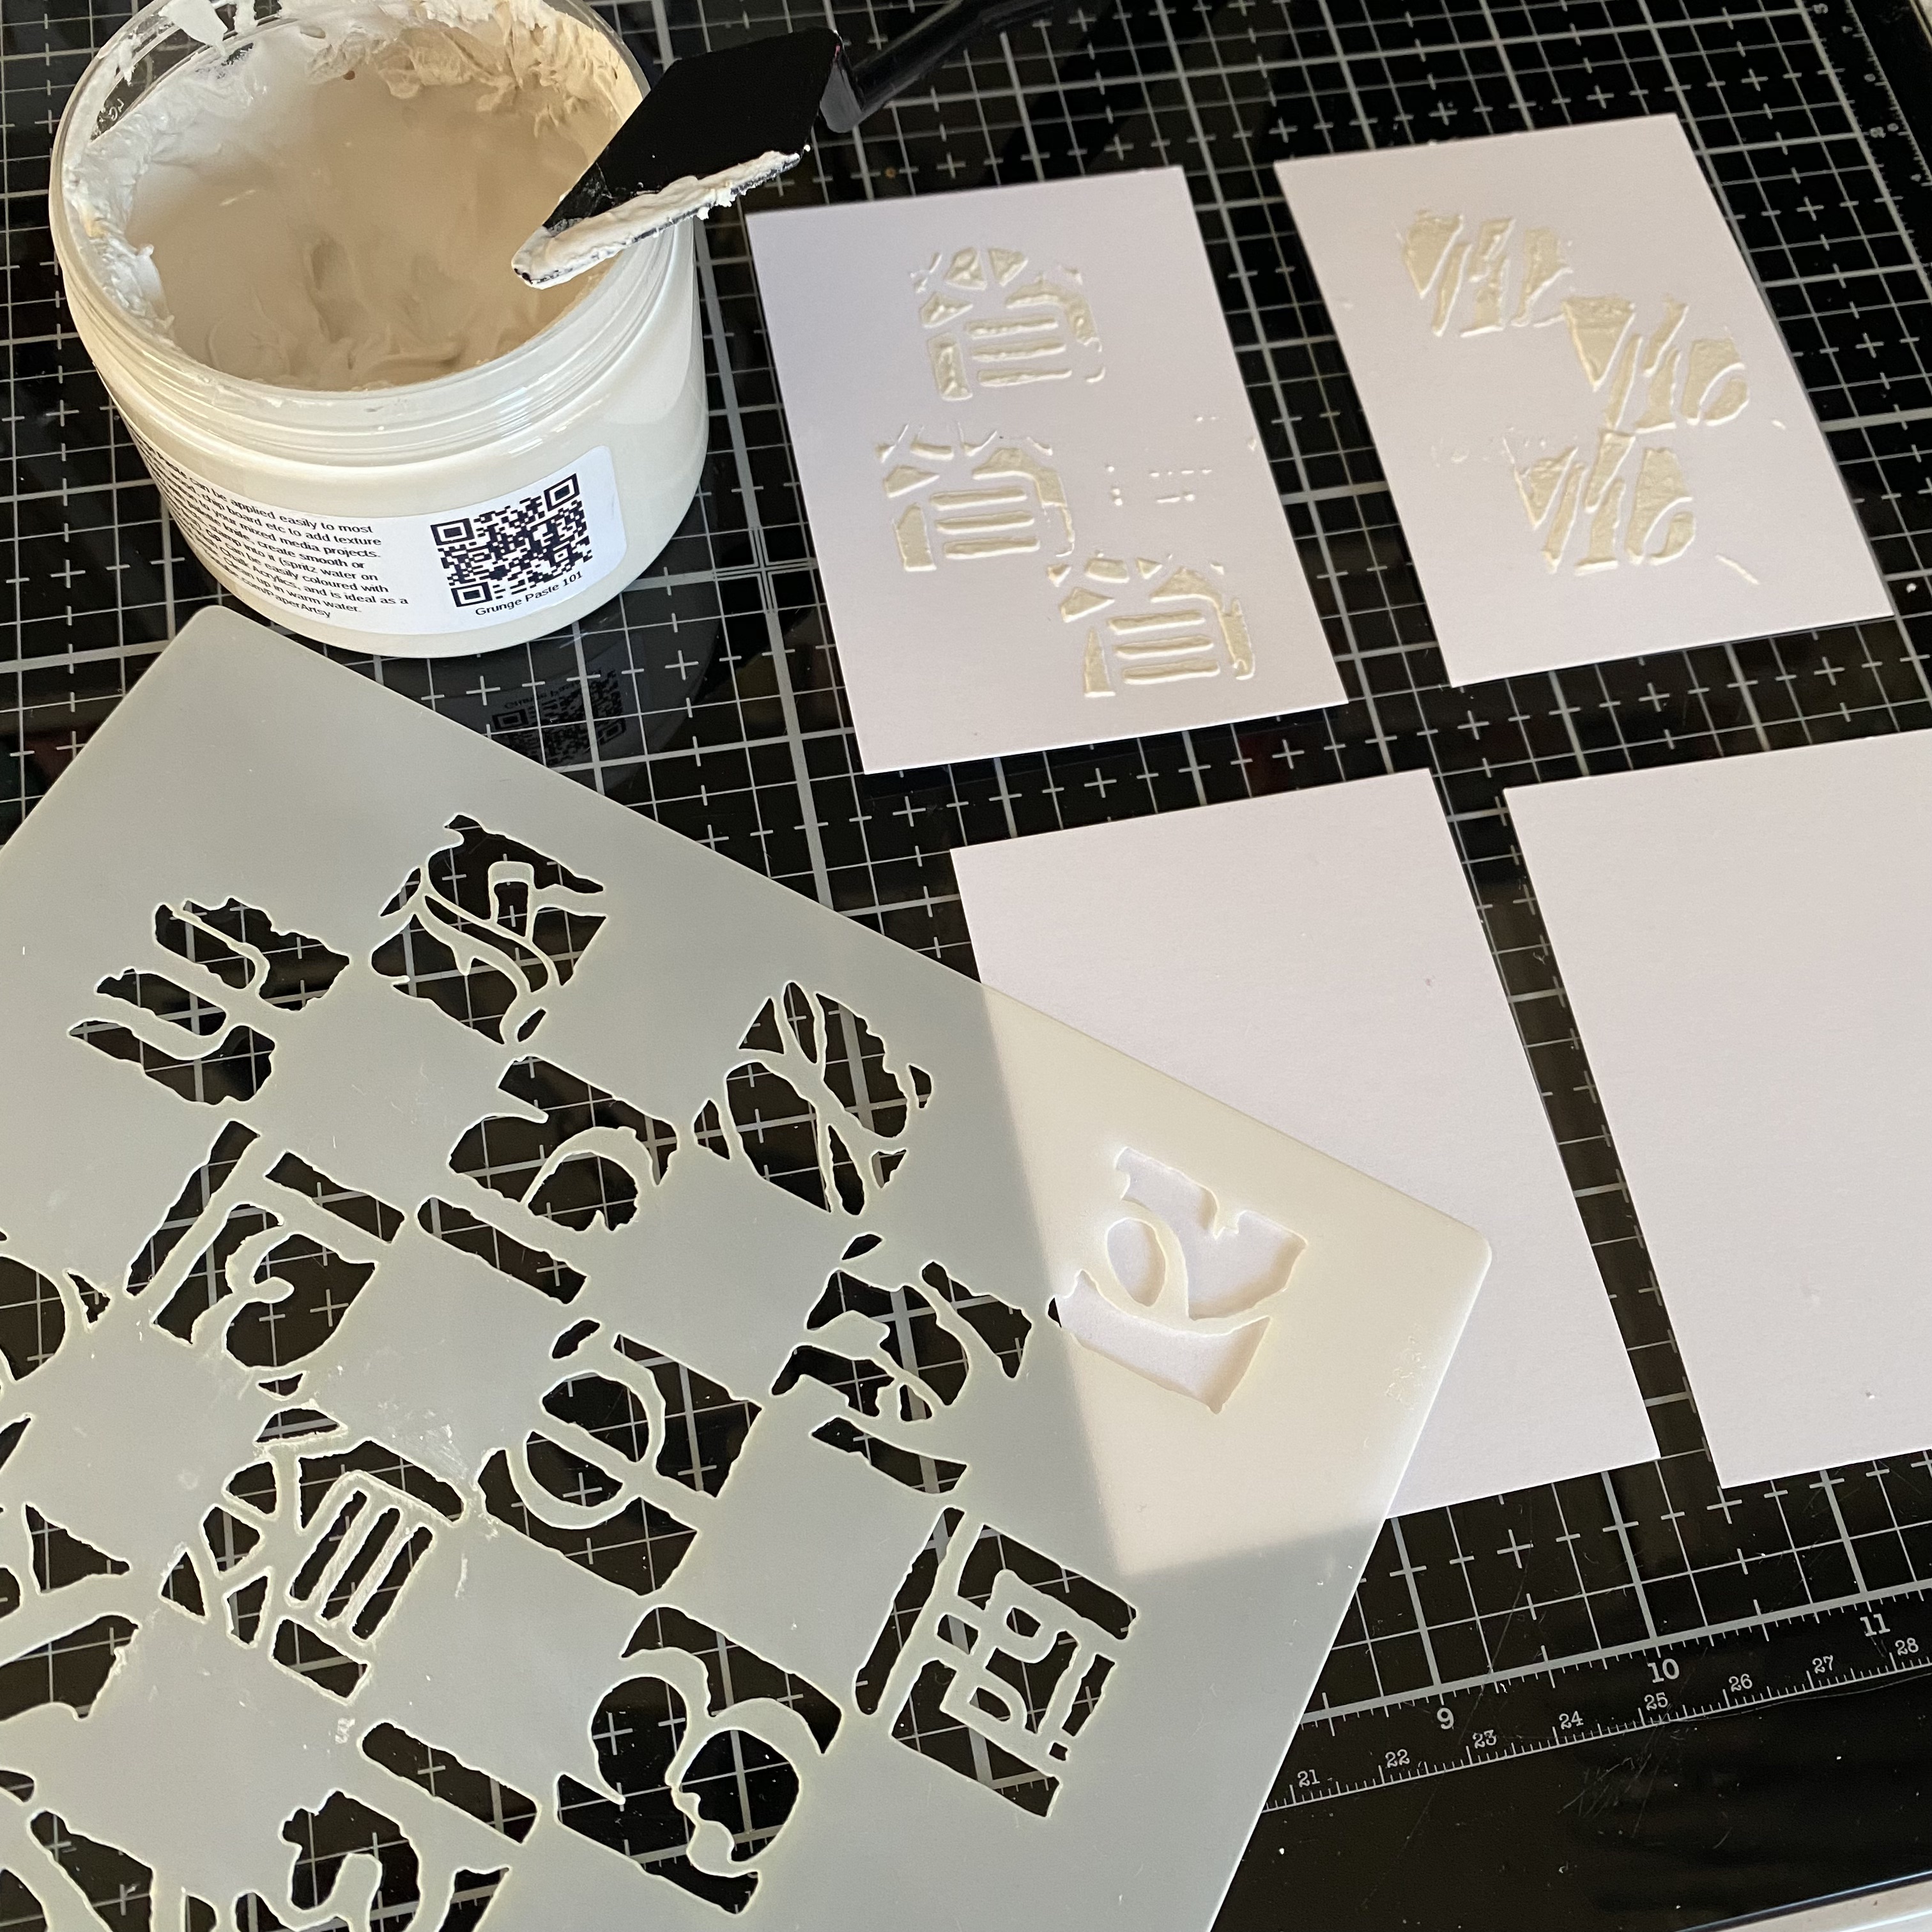
To start, I decided to add some background colour and texture to the envelopes using the gel plate. I added a layer of Stardust Fresco Finish Acrylic to the gel plate and put the stencil on top. I then pulled a print on a piece of Smoothy White Card (SCA4).

Next I added a layer of Chalk Fresco Finish Acrylic and pulled the print on an envelope.

I repeated this with another two envelopes, using a different combination of coloured Fresco Finish Acrylic (Haze then Powder Pink) and Chalk Fresco Finish Acrylic.

To finish the enveloped and create the tag appearance, I opened out the top of each one and punched a small hole, before adding a reinforcer for extra strength.


The next step was creating the ephemera to go into the envelope pocket tags. Using the card prints from the gel plate, I die cut several tags and labels in different shapes and sizes. I chose sizes which would extend out of the pocket and add extra visual interest in the finished piece.

I then used the ephemera stamps for the sets to create some labels, simply stamping the images in Archival Ink.

Next I added some of the text stamps to the tags. The quotes added larger visual details, but I also wanted some smaller background text, so I picked out stamp Mini 61 (MN61) from my stash.

I then added the bird images from ESN34 to the rounded tags and the leaves from the same set to the rectangular tags.

This is the ephemera stash complete.

Now I wanted to add some final decorative details to the envelope pocket tags. I decided to add a main focal point to the bottom of each one, stamping the images first in Archival Ink. I then used Distress Watercolor Pencils to colour the images on the stamps and print again on white card. This technique creates stamping with a watercolour effect. Once dry I fussy cut these and glued them over the top of that part of the stamped image.

I then selected some blue and green fibres and threaded these into the holes at the top of each envelope tag, and added a selection of the ephemera to the pocket.


For one final little detail I added some silver foiling to the outside edges of the envelopes.

I love how all these tiny little details transform a simple envelope into something different.


The finished envelope pocket tags are a great showcase for Sara’s designs. They invite you to look more carefully to discover new details and whilst each one is similar, they are all unique. Here are some close ups of each envelope pocket tag.


I hope you are inspired to have a go at creating your own envelope pocket tags. I’d love to see what you make, so find and tag me on socials (links below).
Until next time, wishing you a happy, creative week.
Victoria

Instagram: www.instagram.com/victoriawildingcreates
Facebook: www.facebook.com/victoriawildingcreates
Pinterest: www.pinterest.com/victoriawildingcreates