Showing posts with label ETS28. Show all posts

Saturday, 23 November 2019

2019 #18 Shaving Foam: Some Experimenting with ETS {by Lucy Edmondson}

2019 Topic 18: Shaving Foam


As we bring our shaving foam experiments to a close, Lucy works with dark and bright reinkers in shaving foam to create this canvas using Tracy's stamps and stencils ~ Leandra

Hi everyone, it's Lucy from Lucy's True Colours with you today, and I'd like to share with you a canvas board made with Tracy Scott's stamps and stencisl and some techniques with shaving foam.

When I first started papercrafting back in 2003, but before I started stamping, I dabbled with shaving foam as many of us did, but was not very happy with the effects. I had some marbling inks which were only available in primary colours and so I found the end results not very subtle. Now we have such a huge range of options available to us that we can float and marble to give so many different looks. in 2014 (and I couldn't believe it was so long ago!) I did some experiments here on the blog with Fresco Finish Paints and really enjoyed using shaving foam again.

So today I knew I wanted to do something different and to do some further experimenting, and had immediately decided I wanted to use Distress Oxide reinkers. I wanted to see if I could dip and swipe with a number of different materials using the foam and Oxide combo. I had mixed results. I knew that because Oxides are chalky they show up on black so I thought I would introduce black backgrounds into my project but I don't feel the nuances of the different colours show up as clearly as they do on white. I quite like the rather dreamy quality it gives though. I felt other aspects of the experiments were more successful.


I started off in the traditional way with my shaving foam and drops of Distress Oxide reinkers in Twisted Citron, Seedless Preserves
, Dusty Concorde, Picked Raspberry, Broken China, Abandoned Coral, and Shaded Lilac. I like to use a baking tin covered in foil to make clean up easy. You can then lift it out of the way to clear your work surface so you have space to do your scraping.


I made a feathered pattern with a wooden skewer, making sure to break up any dots of colour.


For my substrate, I painted a piece of canvas board with Fresco Finish Little Black Dress.


I then dipped it in the shaving foam mixture and scraped across once with my ruler. If you're not happy with it, you can repaint your canvas with Little Black Dress.


I did a piece of black cardstock at the same time, to make a matching greetings card. Well, really it was just part of the experiment! The markings seem much more distinct. I don't know why.


I then gold embossed the stem from the large flower from Tracy Scott Eclectica ETS29 onto the canvas.


I dipped pieces of pink tissue paper into the shaving foam mixture. The colours are glorious! You need to take a little care when pulling the ruler across as the shaving foam is a little soggy and the tissue paper is delicate but it's not too difficult to do so.


I then used my pieces of tissue paper to gold emboss the small and large flowers from Tracy Scott Eclectica ETS17 concentrating on the areas where there is most colour, and cut them out and layered them together.


I scooped up some of the surface shaving foam with a credit card (yes, it's buried under there!) and scraped it through Tracy Scott's stencil PS111 onto pink tissue paper and once the flower circles were dry I cut them out. 


I just love this versatile stencil. I cut up pieces of these circles and applied them around the edges of the canvas in a random fashion using gel medium. I love the translucent, veiny look.


I did the same thing onto a piece of canvas sheet from a pad, cut around it, and used my scissors to distress the edges so there were lots of cotton strands. This was one of the bits of the experiment I liked! I used this as a base for my layered tissue paper flowers and positioned it above the gold stem.


I used some of the remaining inky foam on the credit card to scrape across some canvas paper and once it was dry, I gold embossed the word 'Bloom' from Tracy Scott Eclectica ETS29 and roughed up the edges. I positioned this at the base of the flower stem.


To finish off my canvas I added some white text from Tracy Scott Eclectica ETS28 using Fresco Finish Snowflake, some white paint splatters, and some white lace at the bottom which I pleated. 


I took a silver bulldog clip and painted it with Fresco Finish Little Black Dress which adhered beautifully to the metal. Whilst the paint was a little wet, I added some random flecks of gold embossing powder for some rough texture.


I hope you have enjoyed seeing my creative process, what worked and what maybe didn't work so well, and that it has given you some new possibilities to try. I made such a big fat mess along the way I wasn't sure I would manage to get a successful project made at all! You could say it was a close shave!

Blog: Lucy's True Colours
Facebook: Lucy Edmondson
Twitter:@CraftyLuce

Friday, 7 June 2019

NEW: TRACY SCOTT {by Clare Messenger}

June 2019 New Products
Eclectica³ {Tracy Scott}


Clare is wonderful at packing some 'pow-colour' into her creations, and these delightful new stamps by Tracy Scott look stunning with their painted layers and added coloured pencil detailling. ~Leandra


Hi everyone, it's Clare with you today.  I always get so excited when new PaperArtsy stamps are being released!  Even more so when I hear that Tracy Scott has been back at the drawing board to create some more glorious images for us to create with.


Tracy has been dropping little clues for us to follow along the way and when it was confirmed that she had indeed gone on to convert her black line drawings into these stunning new botanical stamps I was absolutely thrilled. There are sentiments a plenty which will offer you plenty of uses for many occasions.  Completing the collection are three stunning floral stencils which, in my opinion, could easily be used in stand alone projects.

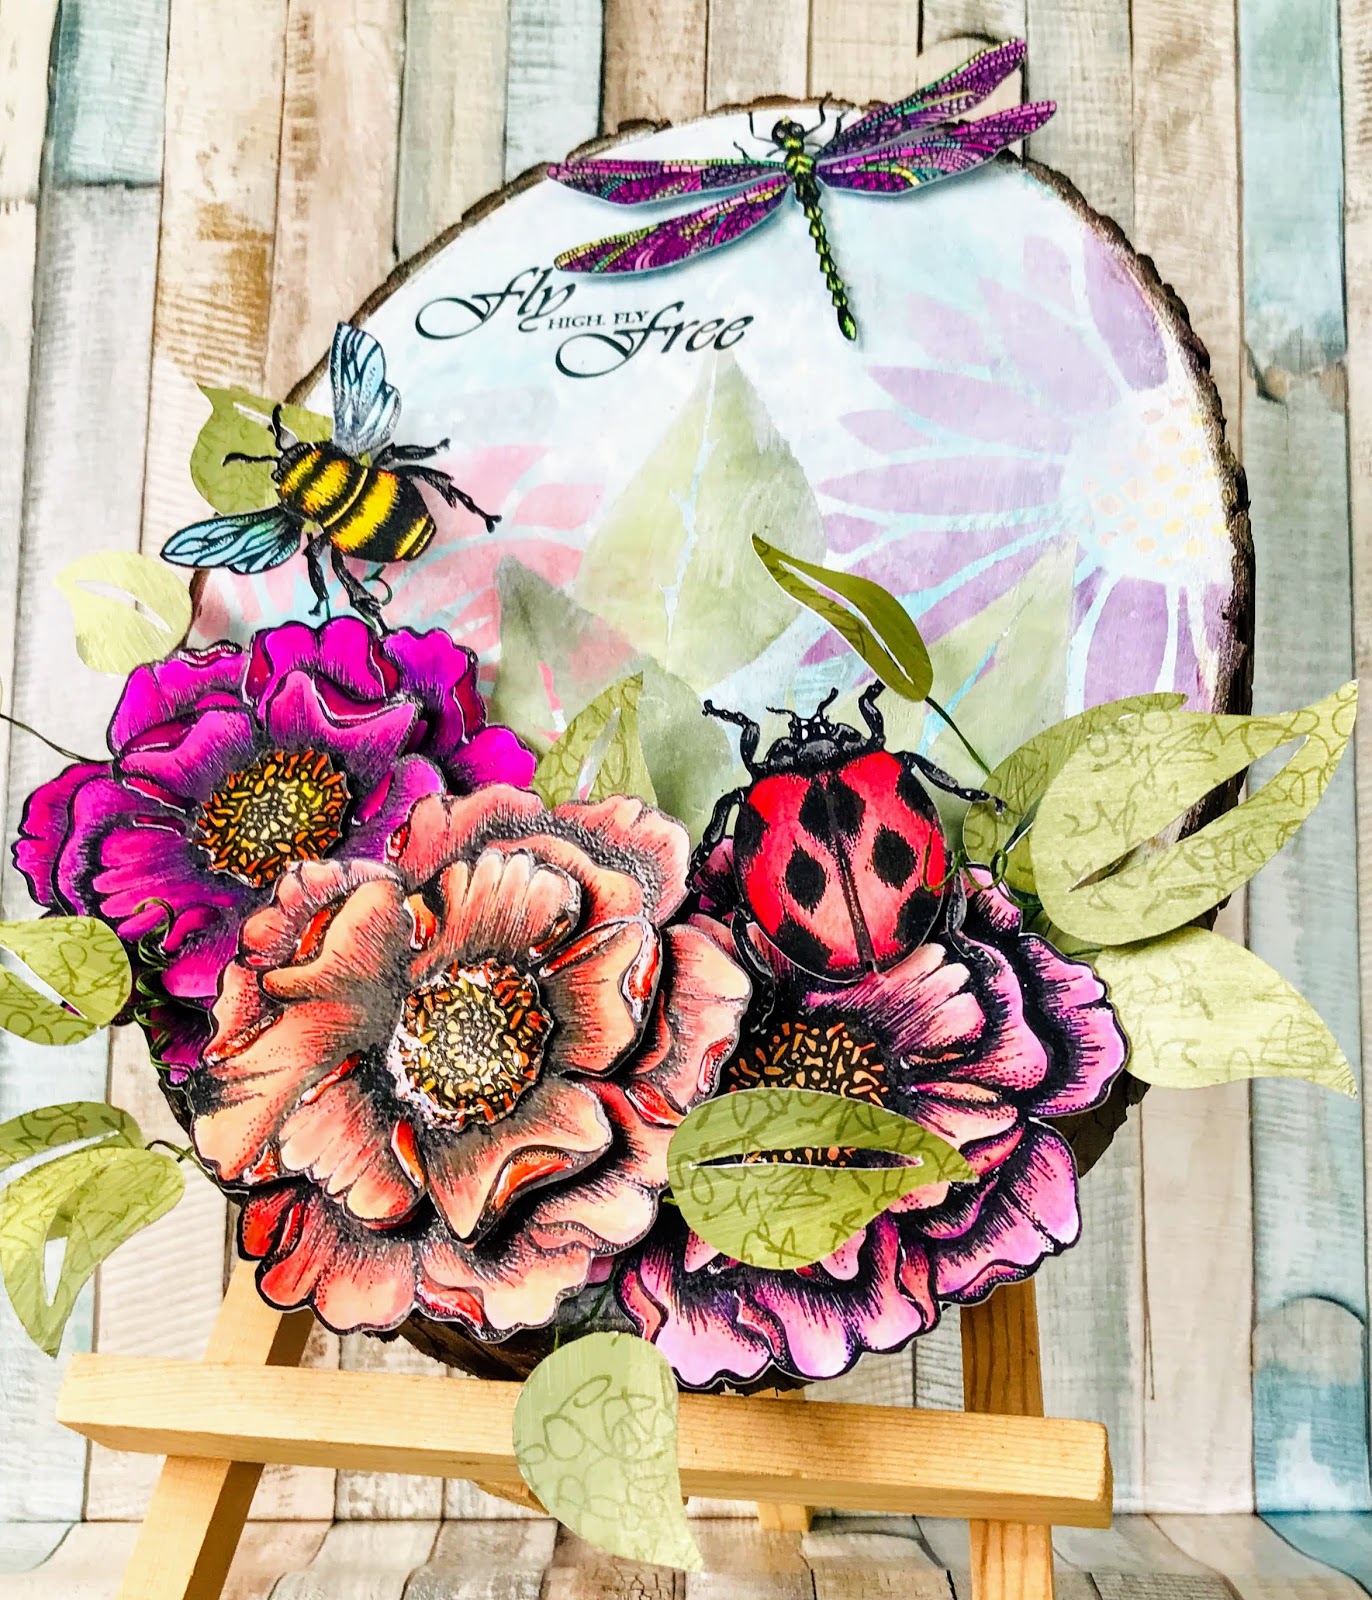
So I decided to throw a little bit of everything into the mix and come up with a mixed media project.  I was a little upset with myself for not incorporating those stunning butterflies but those flowers (swoon)  were an absolute dream to paint and colour, so much that I ended up with three flowers instead of the two I'd originally planned.  I also went on to create a second layer for a couple of the the flowers.  Using PaperArtsy smoothy card I stamped and embossed the blooms & creatures.  Colour wise I painted  PaperArtsy translucent Frescos (Coral & Cerise)  as my base colour and added shading using coloured pencils.


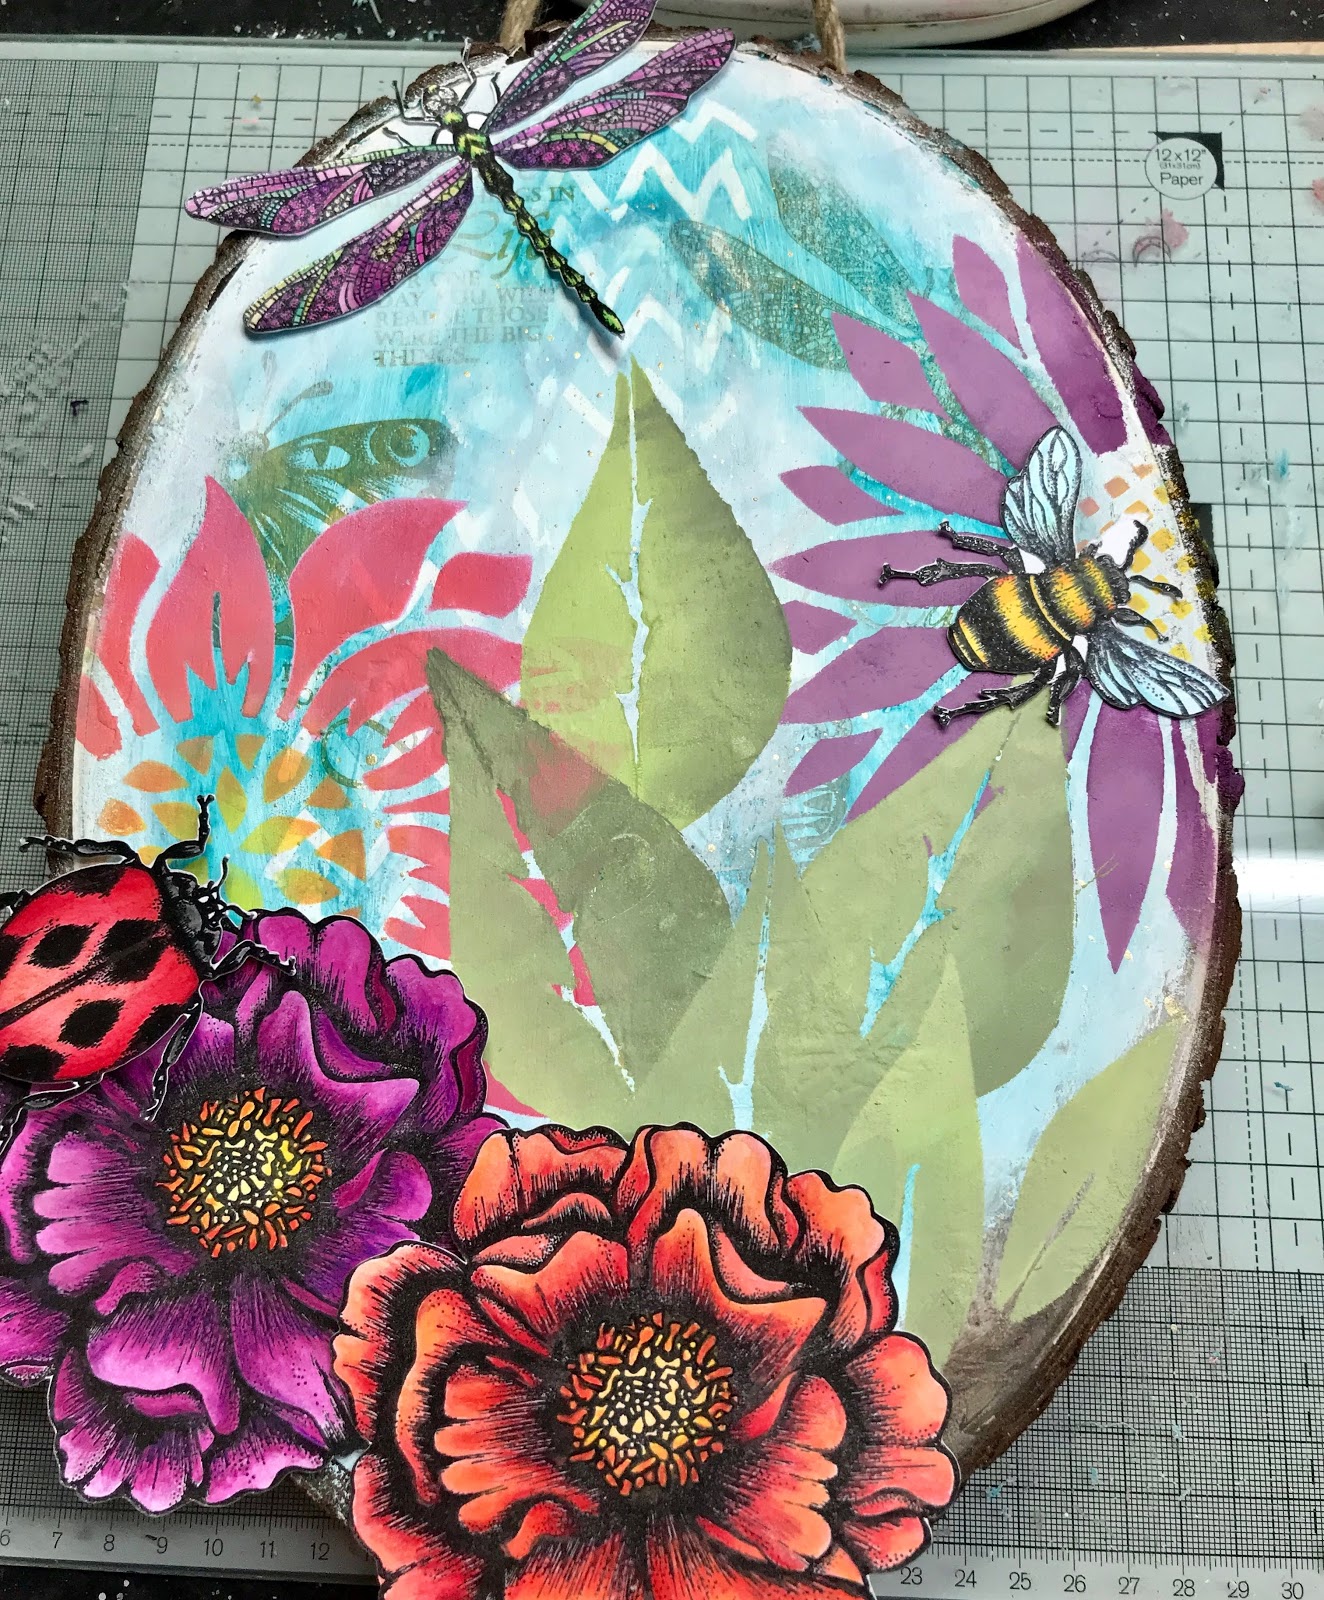
I started out by applying texture paste to my substrate and using some of the sentiments & creatures to keep in the background.  I decided to take some of the texture away and sanded back to leave a smoother appearance.


I went over the stamping with some Beach Hut translucent paint and edged with Snowflake.  I continued to stencil over the top of the stamped and painted background.  It was at this point I started to have a bit of a wobble! I was just offering the images to see if I had enough to go on when I snapped this picture and it occurred to me that both foreground and background were conflicting with their bold bright colours!  Time to step away from the project.


So after a bit of deliberation and conference with PA HQ I decided to go with isolating my background using PaperArtsy Matte Glaze and applying a watery wash of snowflake to tone down the background.  I repeated this action a couple of times until I achieved the desired effect.


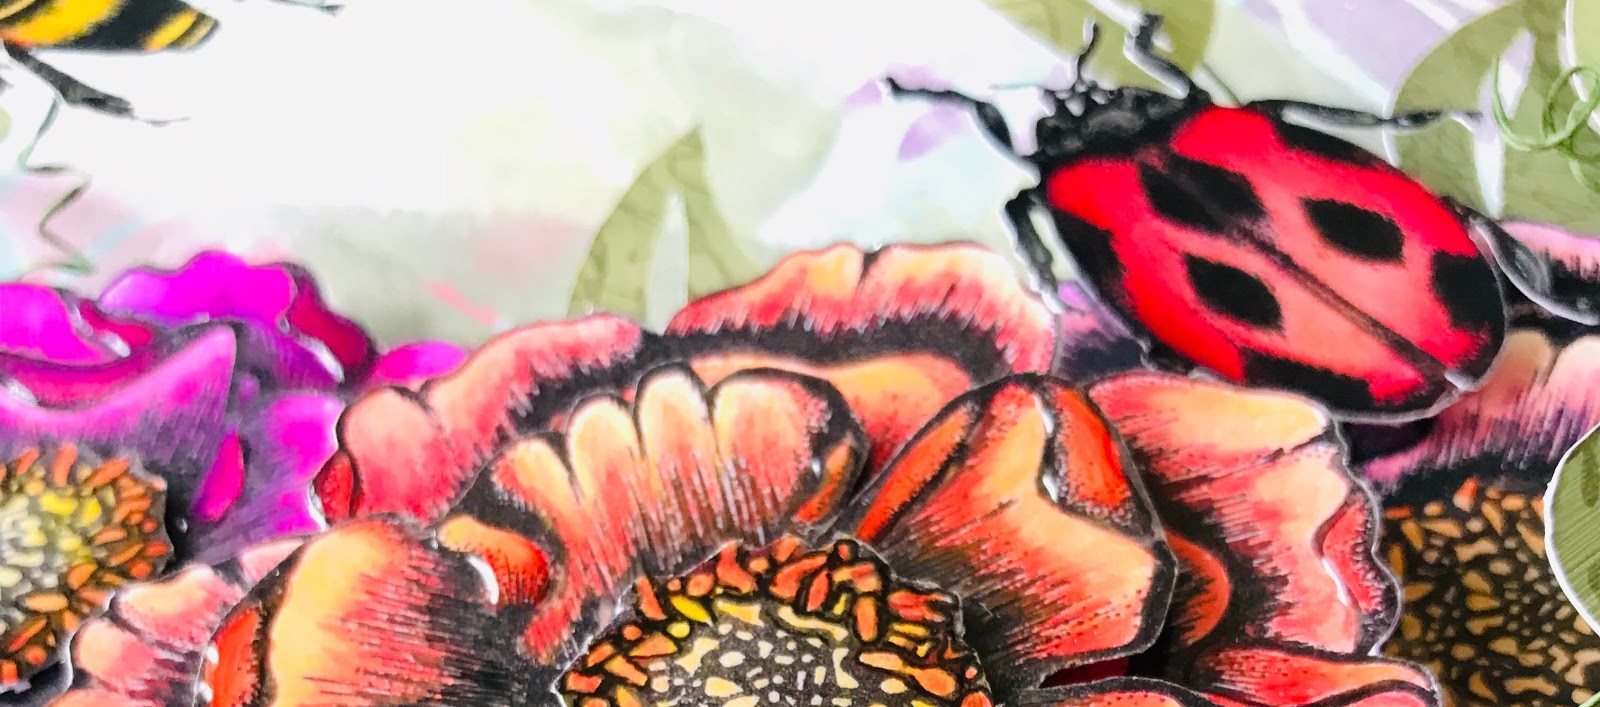
I knew that I just had to have the creatures as a 3D element and the way I made this happen was by curling some green wire around a paintbrush to create a spring and attaching my Busy Bee using silicone gel.


I used glossy accents where the petals curled over to add yet another dimension to the blooms.  Piece by piece I layered my project at varying heights using silicone glue.


More smoothy card & Fresco paints! This time I blended Guacamole & Toad Hall onto card.  Once dry I stamped with one of Tracy's earlier stamps, to create texture and cut out some foliage.  I attached the leaves to some green wire and inserted them around the blooms.  I wasn't too worried about the position of the leaves at this point!  I let everything dry before moving the leaves and wires into the desired position.

These new stamps are truly delightful and I'm  sure you will agree that they will lend themselves to many occasions.  These beautiful works of art are sure to grace many cards, art journals and mixed media projects and will carry us through to creating that spring feeling all year through.

Thank you so much  for joining me today, Wishing you all a creative week.

Clare Messenger

Blog:  http://craftyclarey.blogspot.com/
Facebook:/https://www.facebook.com/ClareMCraftyMoments/
Instgram:https://www.instagram.com/clarecraftsalot/
Pinterest:https://www.pinterest.co.uk/claremessenger/

Thursday, 6 June 2019

NEW PaperArtsy Products: June 2019 {Eclectica: Tracy Scott}

 Eclectica³ Collection {Tracy Scott}
June 2019 New Product Announcement


I know many of you spotted Tracy and her holiday doodling some time ago via her Insta account. I think you probably got a sense that she was going to switch it up a bit with extremely detailed drawings for this release, and here is part one of that release. More to come late summer, but for now, enjoy these babies!~ Leandra

Hi everyone, Tracy here

I'm super excited to share with you my newest release for PaperArtsy. Three stamps and coordinating stencils.

I've always loved using detailed stamps in my art journal and on my projects, but knowing that my own drawing ability was limited in the past, I have used many different branded stamps to represent this style!


Well I've been practicing my drawing (a lot!!!) and have spent many an hour trying different techniques in pen and ink until I came up with some drawings that I was particularly proud of... so I really did think it was time to have some detailed stamps of my own!!

I've always wanted a large butterfly (you may have noticed that I use butterflies a lot!!!) so it was obvious that was going to be my first detailed drawing.  Having completed that and become totally addicted to pen and ink other critters soon followed.... and of course what would be a stamp release from me without at least one flower...

Of course I will be using these in my art journal and on my mixed media projects but I see them equally at home on a greeting card, scrapbook page or as focal images on a mini album.

Today and Tomorrow you will see ideas with these stamps from myself and another of the Team PA Bloggers. You can also see plenty of activity on PaperArtsy's Instagram, Facebook, Twitter, Pinterest. (links at the foot of this post) So no matter what your preferred social media platform, we will be sharing with you!

These stamps have been shipping to PaperArtsy stockists for the past 2 weeks ready for tonight's announcement, so (yay) you can buy them now!! See the list and links at the foot of this post, or join the 'PaperArtsy People' Facebook group and holler for a stockist to share a link to their shop with you!

  New Stamps
Price: RRP £18.74 +VAT
Size:5" x 6" (13 x16.5cm)
All stamps are individually trimmed onto cling foam, presented in a clear hanging bag
with a laminated storage/index sheet.

  
Eclectica³ Tracy Scott Set 26 (ETS26)


Well what can I say about this beauty?.... I am just in love with this stunning butterfly and at just under 5 inches wide, the large one really is a statement stamp for any project.


One thing I like to do is to add a black and white stamped image to a bright vibrant project and this stamp is going to work perfectly for this purpose.
 

I have also used it coloured on a 6x4 inch index card, and honestly...what else could you possibly need? And of course because you can never have enough butterflies there's a smaller one included in this set too!!!

 
Eclectica³ Tracy Scott Set 27 (ETS27) 


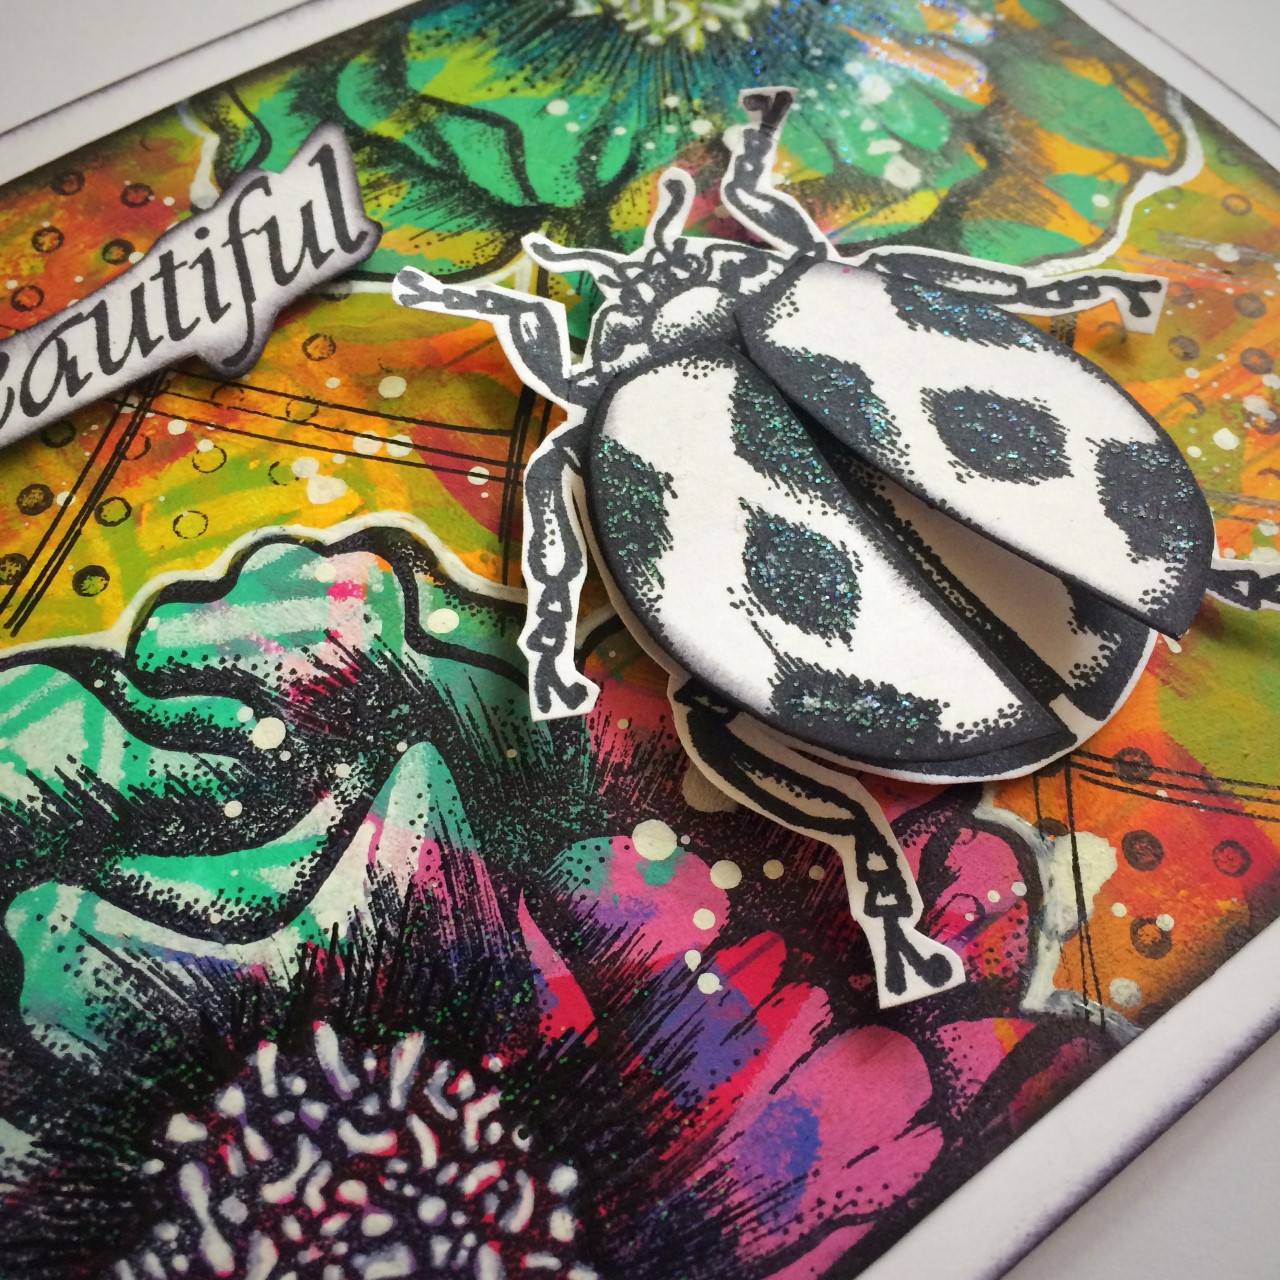
So once I started I just couldn't stop... Dragonfly, Bumble Bee and Ladybird were next on the list of must haves and I am thrilled with the way these have turned out.


They have all been designed so that layering and 3D looks are achievable as well as stamping directly onto a page, card or project, and of course they co-ordinate perfectly with all of my previous floral stamps as well to add a little detail.


I really enjoyed playing with these stamps; layering and building up, and while I have kept my images black and white they will look equally stunning coloured using your favourite mediums....my next make is going to involve clear embossed wings... how cool with that be?

Eclectica³ Tracy Scott Set 28 (ETS28)

Well it wouldn't be a stamp release without a flower would it?.... and the large botanical in this stamp set is a real beauty. Again, because I like to use large stamped images in my projects I just knew this stunning bloom had to be included in the release.


At just over 4 inches in diameter this is sure to make an impact on any project, I have stamped multiple times in the image above, cutting and layering to give a fabulous 3D effect.


The  image above the bloom has been used to add detail to the background... doesn't it look amazing?


And just because... I added another smaller butterfly to this stamp set too, you can never have enough flowers and butterflies can you?


New Stencils
Regular Size: 6.5" x 7" (16 x 18cm) Price: RRP £4.60 + VAT
  
PaperArtsy Stencil 141 (PS141)

Like my stamp designs, I like big and bold stencils that really make an impact. I also like to try to use my stencils in multiple ways so that you can get the most out of each design.

Here you can see I have used the same stencil but in two different ways on the same journal page. In the first image I have used the stencil as a template to draw the flower and then used coloured pencils and pens to colour the image... doesn't look like a stencil at all now does it?


And on the second image, I have used it as a regular stencil, sponging with yellow paint, then going over the whole thing with black and white gel pens to give a scribbled flower effect.


I just love how different both flowers look using the same stencil, I think I need to explore this more to see how many variations I can come up with.

PaperArtsy Stencil 142 (PS142)


So with this one there were so many options I wasn't sure where to start...so I tried them all on one card!


I wanted to be able to create a background using one stencil and as this one has various shapes it seemed the perfect one to try this with. I stencilled in the traditional way, overlapping to create layers.

 
I used my stencil as a template to draw with paint pens, I drew around stencilled areas with paint and gel pens and even used my stencil as a template for cutting out.


I think this background looks pretty cool and I cant wait to experiment some more to find other ways to use the stencil.

PaperArtsy Stencil 143 (PS143)


When I design my stencils, the majority of them I cut by hand with a craft knife (I am not an expert by any stretch of the imagination!!... but it does mean that I know they will be perfect as cutting templates) So for this one I decided to do just that.


I love to add cut pages in my journal and this stencil was perfect for that purpose. I drew around the design onto my painted black journal page and set to work with my craft knife, each cut revealing the coloured journal page behind. Going around all of the cuts with white gel pen really does accentuate the design.  This is most definitely one of my favourite things to do with my stencils.


Project One: 12x12 Layout


I love to combine my new stamp releases with older stamp designs and on this 12x12 layout the new detailed stamps sit perfectly with older floral stamps going from ETS03 right up to ETS25 and everywhere in between.


I love how the new bugs and butterflies sit as the perfect contrast on top of the bright blooms. They really do look great together and compliment each other perfectly.


You get a bit more perspetiove on the size now in the shot above, a riot of colour!

Now even more photos......

I thought I'd leave you with a few more photos from all the samples shared already.


Thank you so much for stopping by today, I hope you will enjoy these new stamps and stencils as much as i have, don't forget to pop back tomorrow to see another idea from Clare Messenger and how she has used the new goodies.

You can find me on the following social media... I'd love to see you there...


PaperArtsy Stockist List
(Tracy's new designs are available to purchase now from our approved stockists linked below)

We ONLY manufacture RED RUBBER STAMPS (not clear, polymer or silicone). We manufacture ALL our rubber stamps and stencils on site in Essex, UK. We DO NOT outsource our manufacturing.

We EXCLUSIVELY supply the following stockists in this list below. If you purchase from an approved PaperArtsy retailer, you know you are buying authentic, PaperArtsy made products. 

If you see PaperArtsy stamps or stencils listed for sale on websites such as Amazon, Ebay, Aliexpress or Wish, then they are highly likely to be counterfeit products manufactured illegally without our permission in direct breach of our Copyright and Intellectual Property  protections. To purchase counterfeit products from such sites is not only illegal, but it directly undermines our brand, our retailers and our product designers. We are regularly checking these sites and reporting any counterfeit listings for immediate removal.

Australia
Art and Soul Studio, Burrum Heads, Queensland www.artandsoulstudio.com.au
Arts and Craft Supply, Frenchs Forest, NSW https://artsandcraftsupply.shop  
Auzz Trinkets and Crafts, Calamvale, Queensland https://atcraft.com.au/
Bella Paperie, Brendale, Queensland, www.bellapaperie.net.au
Bev's Cross Crafts, Spreyton, Tasmania https://www.bevscrosscrafts.com.au/
Crafters Cupboard, Berwick, Victoria www.crafterscupboard.com.au
Scrap Matrix, Port Elliot, South Australia http://scrapmatrix.com/
Scrapbook Superstore & More South Penrith, NSW https://www.scrapbooksuperstore.com.au/
The Thread Studio, 6 Smith Street, Perth http://www.thethreadstudio.com/
The Scrapbook Store, North Perth,WA http://thescrapbookstore.com.au/
Time To Create, Modanville, NSW www.timetocreate.com.au

Austria
CP Marketingservices Gmbh, Wilhering, Upper Austria,office@cpmarketing.at

Belgium
Cart N Scrap Art, Antwerp, cartnscrap@gmail.com
Cotrain, Kontich, www.cotrain.be
Expression Hobby, Marcinelle www.expressionhobby.be

Canada
Emerald Creek, Clagary, Alberta, https://emeraldcreek.ca/ 
Scrapbook Centrale, Dollard Des Ormeaux, Quebec www.scrapbookcentrale.ca
Treasured Memories, Duncan,BC www.treasuredmemoriesscrapbooking.ca
Simply Scrapbooking, Prince George, BC https://www.facebook.com/simplyscrapbooking/
Scrap Addicts, Edmonton, Alberta https://www.scrapaddicts.ca/
Scrap and Bean, Edmonton, Alberta http://scrapandbean.com/
The Paper & ink Boutique, Calgary, Alberta https://www.paperandinkboutique.com/

Czech Republic
Hurapapir, Brno https://www.hurapapir.cz/

Denmark
Hobbyboden Scrapworld Samso www.hobbyboden.dk
Papir Ulven, Lejre www.papirulven.dk
Three Scoops Design, Frederiksberg, www.threescoops.dk

Finland
Käsitellen, Lempäälä, https://www.kasitellen.fi/
Piia Takalo, Kittila, www.piiapaper.com/fi

France
Eirl Bancon Cartoscrap, Midi Pyrenees, https://www.cartoscrap.com/blog/
Horizon Creatif, Ste Jalle h.creatif@gmail.com
Katzelkraft, Ingwiller http://www.katzelkraft.fr/en/
Kerglaz, Basse Goulaine, https://www.kerglaz.com/  
Kerudoc Creation, St Yvi www.kerudoccreation.com
Quartier Serre Teston, Ste Jalle, hcreatif@gmail.com
Scrap by Nini,  Uzerche, Limousin https://scrapbynini.fr/ 
Scrapo'naturel, Tourville La Riviere, www.scraponaturel.fr/livraison 
Toutencolle, Dun sur Avon www.toutencolle.fr

Germany
Paperbasics, Hessen, www.paperbasics.de
Stempelbar, Berlin, www.stempelbar.de
Stempeloase Munich, Munich www.stempeloase.de
Stempelfee Shop, Hilden www.stempelfee-shop.de
Stempellaedle, Stuttgart, www.stempellaedle.de/shop

Greece
Scraps N Pieces, Kallithea www.scrapsnpieces.gr

Italy
Immagine SAS di Rapaccini, Rome, www.immaginelab.com
Il Negozio Della Mamma Di Cle, Torino, clelia27@liberio.it
Marte Savona, Savona, www.martesavona.it
L'artistica Glo, Cinisello B (Mi), www.artisticaglo.it 
Piccole Passioni, Siena, www.piccolepassioni.it
Scrap it Easy, Rome, https://www.scrapiteasy.com/it/

Japan
Tiny Dots, Funabashi-shi, Chiba www.facebook.com/TinyDots

Netherlands
Creafine, Papendrecht www.creafine.nl
Creatotaal, Barendrecht, www.creatotaal.nl
De Hobbystudio, Genemuiden, www.dehobbystudio.com
De Scrapheap, Sprang-Capelle, https://www.descrapheap.nl/ 
Doe@ding,Spijkenisse https://doeading.nl/
Hobbidee Breda, Noord-Brabant, www.hobbidee-breda.nl
Hobbycompleet de Duif, Leeuwarden www.hobbycompleet.nl
Kimya Verpakleingen, Arkel, https://kimya.nl/
Noor! Design B.V. Waspik, https://www.noorenzo.com/
Scrap & Co, Klarenbeek www.scrap-co.nl
Scrapbookdepot, Uitgeest, www.scrapbookdepot.nl
Stampingcorner, Capelle Aan Den Ijssel www.stampingcorner.nl
The Stamping Cottage, Schaijk www.thestampingcottage.nl

New Zealand
Art of Craft, Papamoa, Bay of Plenty, www.artofcraft.co.nz

Norway
Hobbygarasjen, Kopervik, www.Hobbygarasjen.no
Hobbykunst, Rasta, www.hobbykunst-norge.no
Scrapbookengros AS, Kleppe www.hobbylageret.no

Spain
Arts & Crafts, Barcelona, pebdesign@hotmail.es
Cien por Cien Manualidades, S.L., Bizkaia, Catalunya,  www.100x100manualidades.es
Endulze & Crista S.L, Navarra, endulze@gmail.com
Ideas 10 Manualidades Y Scrapbook, Bilbao https://ideas10manualidades.com/
Marakiscrap, Tarragona, www.marakiscrap.com
MundoMint, Sabadell, Barcelona, www.mundomint.es
Scrap & Papers Experiences, Barcelona, Info@casonadequintana.com
Scraphouse S.L. Barcelona www.scraphouseshop.es
The Paradise Corner, Barcelona, www.facebook.com/theparadisecorner 
Endulze & Crista S.L., Pamplona, Navarra, www.endulze.com 

South Africa
Kcraft Imports Ltd, Centurion, www.kcraft.co.za
Stencil Art, Gauteng, www.stencil-art.co.za 

Sweden
Butik Elva, Staffanstorp, https://www.butikelva.se/
HC Design, Svedala, www.hcdesign.nu

Switzerland
KRL and Co, Payerne, http://www.krlandco.com/en/

Taiwan
Mandy's Cards, Taipei www.facebook.com/mandy.card

United Kingdom
A Trip Down Memory Lane, Ipswich, Suffolk, http://www.atripdownmemorylane.co.uk
Abermaw Quilting & Crafting, Gwynedd, Wales ph 07818556758
Aldridge Crafts, Attleborough, Norfolk www.aldridgecrafts.co.uk
Amelia's Creative Crafts, Studley, Warwickshire  www.ameliascreativecrafts.co.uk
Art from the Heart, Harrogate, Yorkshire www.afth.co.uk
Bellacrafts, Eastleigh, hampshire www.bellacrafts.co.uk
Blade Rubber Stamps, London www.bladerubberstamps.co.uk
Charlottes Crafty Corner, Suffolk, http://www.craftycorner.suffolkcraftshop.co.uk/
Clacton Art Craft Model Centre, Clacton on Sea,  Essex, http://www.clactoncrafts.co.uk/
Countryview Crafts, Potton, Bedfordshire www.countryviewcrafts.co.uk
Craft World Scotland, Glasgow www.craftworldonline.co.uk
Craft Your Art Out, Ballynahinch, County Down, craftyourartout@outlook.com
Crafty Bunch, Telford, Shropshire, http://craftybunch.co.uk/
Crafty Snippets, Billingshurst West Sussex www.craftysnippets.co.uk
Crafts & Candlelight, Ipswich, Suffolk www.craftsandcandlelight.co.uk
Crafts @themalthouse, Herstmonceux,  East Sussex, http://www.coldfusionglass.co.uk/
Craftrange, Burnley, Lancs, https://www.craftrange.com/
Handmade at Helen's, Dumfries, Scotland, https://www.handmadeathelens.co.uk/
I Love Mixed Media, Cromhall, Gloucestershire, https://www.ilovemixedmedia.co.uk/
Imagine, Design, Create, Seaton, Exeter http://imaginedesigncreate.co.uk/shoponline/
Keep on Crafting, Bury St Edmunds, Suffolk www.keeponcrafting.co.uk
Kraft Crazy, Amesbury, Wiltshire https://www.facebook.com/KraftCrazy/
Lisa B Designs, Maidstone, Kent, http://www.lisabdesigns.co.uk/
Lets Create, Lincoln, Lincolnshire, http://www.letscreateartandcrafts.co.uk/
Loobie Crafts, Leighton Buzzard, Bedfordshire, www.loobicrafts.co.uk
Papermaze, Ipswich, Suffolk www.papermaze.co.uk
Paperstory, Norfolk www.paperstory.bigcartel.com
Poppycraft, Wallingford,  https://poppycraft.co.uk/
Rowan Tree Crafts, Carnforth, Lancashire www.rowantreecrafts.co.uk
Fave Rave, Stourbridge, West Midlands www.shabbychicstencils.co.uk
Scrapbook Magic, Mullion Helston, Cornwall, www.scrapbookmagic.co.uk
Shed Load of Crafts, Enfield, Middlesex, www.shedloadofcrafts.com
Simply Crafts, Cardiff, www.simplycraft.com
Snazzy's, Swindon, Wiltshire. https://www.facebook.com/snazzystampingandscrapbooking/
Stampers Grove, Springbank, Lilliesleaf, Melrose,Scotland www.stampersgrove.co.uk
Stamps & Memories, Hungerford, Berkshire 
www.stampsandmemories.co.uk
Swanstitch, Deal, Kent www.facebook.com/swanstitch
That's Crafty, Romford, essex www.thatscrafty.co.uk
The Artistic Stamper Craft Store, Faversham, Kent www.theartisticstamper.com
The Craft Box, Barnsley, South Yorkshire www.thecraftbox.biz
The Craft Den, Wisbech, Cambridgeshire www.thecraftden.co.uk
The Craft Room, Newcastle-Under-Lyme, Staffs https://www.garnersgardencentre.co.uk/crafts/
The Craft Studio, St Austell, Cornwall https://www.facebook.com/thecraftstudio/
The Forget me not Kraft Kabin www.facebook.com/TheForgetMeNotKraftKabin
The Stamp Pad, Saddleworth, stamp-pad.blogspot.com
Whichcraft, Wallasey, Merseyside

USA
Artistic Artifacts, Alexandria, VA https://www.artisticartifacts.com/
Artistic Studio Creations, Fayetteville, Georgia www.facebook.com/ASCbyCrystal
Artistree Workshops, Fulton, New York, www.facebook.com/artistreeworkshops
Big Mouth Scrappers, Forney, Texas, https://www.bigmouthscrapperstx.com/ 
Clay with Me, Colorado www.facebook.com/Claywithmestudio
Creative Designs by Debbie Castle Rock, Colorado debbie.knight@centurylink.net
Creative Inkling, Hatnboro, PA https://www.creativeinkling.com/
Creek Bank Creations, Indiana www.creekbankcreations.com
Ephemera Paducah, Paducah, Kentucky www.ephemerapaducah.com
Everything Scrapbook & Stamps, Lake Worth, Florida www.everythingscrapbook.com
Frantic Stamper, Oregon www.franticstamper.com
Free Heart LLC, Denver, Colarado, http://www.freeheartllc.com/
Golden Hills PaperCrafts, Fairfax Station, Virginia, https://www.goldenshillpapercrafts.com/
Guadalupe's Fun Rubber Stamps, Santa Fe, New Mexico www.santafe.com
Joggles, West Warwick, Rhode Island, www.joggles.com 
My Rusty Crown, Escondido, California, https://myrustycrown.com/
PaperCraft Clubhouse, Westbrook, Connecticut, http://papercraftclubhouse.com/
Papere Parachute Art Design Co., Beaverton, Oregon www.paperparachute.com
Runaway, Art & Craft Studio, NE Salem, Oregon http://www.runawayart.com/
Sherries's Stuff, Warrenton, Virginia, https://www.facebook.com/sherriesstuff.va/
Simon Says Stamp, Columbus, Ohio www. simonsaysstamp.com
Stamplistic, Cleveland, Ohio www.stamplistic.com
The Artistic Palette Studio, Eugene, OR, http://www.artistspalette.com/studio/
The Crafty Scrapper, Waxahachie, TX http://www.thecraftyscrapper.com/
The Doodlebug Inc, Jasper, IN, https://www.thedoodlebuginc.com/
The Ink Pad, New York, www.theinkpadnyc.com
The Queen's Ink Savage, Maryland www.queensink.com
Topflight Stamps, Irmo, South Carolina https://topflightstamps.com/
Seth Apter, New York www.sethapter.com
Stamp Fever, Orange, California www.stpstamp.com
Whim so Doodle, Saint Petersburg, Florida, http://whimsodoodle.com/ 
Vintage in KC, Shawnee, Kansas, http://vintageinkc.com/

Our brand is only available from established stockists who are VAT/ GST/ sales tax registered and for whom product education is a core principle. We would rather supply a few hand selected stockists, than the greater masses. If you would like to apply to be a stockist, you can find our more about our supply criteria here

PaperArtsy Links
Facebook Group (NEW) PaperArtsy People
Facebook Page PaperArtsy