Showing posts with label EM137. Show all posts

Monday, 1 June 2026

3 Things - Write Your Story {by Liesbeth Fidder-de Vos}


Hi everyone, it's Liesbeth with you today for a 'With 3 Things' challenge post.

This feature on the PaperArtsy Blog is where 3 identical items are sent to 3 members of the PaperArtsy Blogging team.

We have no clue what PaperArtsy HQ is going to send, the whole idea of this challenge is to do something crafty in our personal style with these 3 items.

We can incorporate other PA products into the mix if we feel it is necessary.

So let's take a look at what I received from PA HQ ...


This time three of us received some wonderful PaperArtsy-Seth Apter products: the three mini stamps Seth Apter Mini 017 (was EM49), Seth Apter Mini 065 (was EM137) and Seth Apter Mini 069 (was EM141), Seth's printed tissue paper PT06 and Infusions - The Sage


Products with a beautiful bold, edgy look — I immediately imagined a large art journal spread. All three items would be perfect for that!

Lets take a closer look at what I made ....


Using the three stamps and Tsukineko Versafine Clair - Golden Meadow and Avocado I started my first layer into an A4 journal


Later on I used the stripy stamp (Seth Apter Mini 065) to create some structure. Using a palette knife, I spread some PaperArtsy Fresco Paint - Chalk here and there and pressed the stamp into it. I then stamped the picked-up paint onto another area. I repeated this several times across the entire page


At the end, I also filled some empty spaces with the stamps and Versafine Clair inks

Lets take a closer look at what I did ....


From a sheet of tissue paper, I tore various pieces, motifs, and text, and I cut out all kinds of circles. At this stage, I never know exactly what I will or won’t end up using


My second layer, after stamping, was glueing down small torn pieces of tissue paper. I always love to use PaperArtsy Fresco Finish Matte Glaze for it, works perfect!


For the top layer, I used many of the circles, the text, and even the beautiful “branding marks” from PaperArtsy that are printed in the lower corners of the tissue paper. I painted the back of the pieces that needed to remain clearly visible. That way, they really stand out

Lets take a closer look at what I did ....


Anyone who thinks PaperArtsy  Infusions – The Sage only produces green straight from the pot is in for a pleasant surprise — just look at that explosion of colour…there's brown, green, blue, yellow, rust..greens.. such a joy every single time! I sprinkled some of the powder here and there and then sprayed it with water


The entire spread before adding the circles, text and ,PaperArtsy corners`. Here you see how the paint works as a resist. I love this old, weathered look


To my surprise, unplanned, I created a sky, clouds, and bushes :-)


A big picture of a big journal spread


A detail of the finished piece


Some finishing touches I did: Using a white gel pen I made some accents, like the white of the eyes and the lines on the letters. I also made shadows at one the bottom right sides of the circles and splattered some watered down paint (PaperArtsy Fresco Paint - Gold) with a fan brush


I also used the white gel pen in and around the circles here and there, and smudged it out with my finger


This was so much fun to create, and now I am so curious what the other two girls are going to make with exactly these three same products.
I loved doing this and I hope we will inspire you, have fun!

Liesbeth XX


Instagram: Liesbeth_Fidder
 

Wednesday, 1 October 2025

Art "Zine" Booklet with NEW Seth Apter minis {by Ann Barnes}

Hi everyone, it is Ann (@aksbarchitect) here with you today and I am so excited to share this art booklet I created with the newest Seth Apter Minis for PaperArtsy.

I was thrilled to learn that I would be creating something with the newly released mini stamps from Seth Apter for so many reasons; the main one being that I am a huge fan of Seth's art and style, which is always evident in his stamp designs. When I received the set of eight mini stamps, I was not disappointed! They are perfect for incorporating into backgrounds as well as becoming focal images in your artwork.

Today I'm looking forward to sharing with you what I created when I allowed myself to simply play and experiment with these stamps.


I have so many ideas for creating with these stamps, and wanted to create a sort of art reference book for how they each initially inspired me. Something that I could refer back to as well as expand upon.

I created the entire booklet as one large (albeit divided) page, and it was so cool to see how all of these stamps worked together. When the page was folded into the booklet form, seeing each stamp image highlighted on its own was the crowning glory.


The main supplies required for this project are a sheet of heavyweight drawing paper, as well as all eight of the new PaperArtsy Seth Apter Mini Stamps (EM137, EM138, EM139, EM140, EM141, EM142, EM143, EM144). I thought it would be fun to also use a few of the newest PaperArtsy Fresco Finish Chalk Acrylics by Seth Apter: Admiral (FF233), Kiln (FF234), and Castleton (FF231), as well as one of my all time favorites, Heavy Cream). You can find the newest products at a PaperArtsy Stockist.

Once you begin to play with the stamps and envision different ways to embellish them, you can grab your favorite go-to supplies. I used some coordinating embroidery thread, some jute and also some weathered gold mixed media embossing powder inspired by Seth Apter for WOW!


To make the zine booklet you only need one piece of paper. The overall size will depend on how large or small you want each of the individual pages to be once it is folded as well as the number of pages. For this booklet I wanted to create ATC sized (2.5" x 4.25") pages. I found some tutorials online for creating a 14 page zine and adapted to accommodate for size. A 10"x17" piece of paper worked perfectly.


I begin by folding and tearing the paper to become the zine; however, I do not create the actual booklet until I have all of my pages completed. This allows the sheet to remain fairly flat for ease of stitching and embellishing.


I add my first layers of color with a brayer along each of the fold lines. Working with one color at a time I add thin layers of color randomly across the page to build a background. I also use a sea sponge to add dabs of opaque color. You can add as much or as little paint as you like, and if there are areas that you are not happy with, you can always add a layer of heavy cream to soften what you have, then build up once again.


The beauty of using the PaperArtsy Fresco Finish chalk acrylics is that they are fast drying, meaning creating layered backgrounds does not mean you spend all day waiting for the paint to dry. 
I love the look of the background I have created, and can't wait to begin working with the stamps on it.


Before working on each individual "page" it is a good idea to fold the zine back into booklet form and mark the covers and each page in the bottom corner. Once they have all been marked, flatten the page back out. You will notice that each row of pages falls in the opposite direction. This means that as you design your pages, especially if you are adding any words or directional images you want to pay attention to where the top and bottom of that page is located to ensure everything is positioned properly.


At first glance, many of the new mini stamp images had me envisioning textiles, stitching, and even mesh. This vision was the basis for my cover. I mask off areas of mini stamp EM137 and then stamp onto a scrap piece of specialty paper. Once the ink is dry, I use a dark green embroidery floss to mimic the stamp marks. Before adding this stitched piece to the cover, I dip the stamp into Fresco Finish Chalk Acrylic Castleton (FF231) and add partial stamping randomly onto the background.


When the stitched piece is added in place, the imagery from the partial stamping and the stitched piece play off one another, drawing your eye around the page.


The next pages focus on mini stamp EM138, which gives the appearance of linen cloth. I love the subtle diagonal pattern that evolves when you repeat the stamp pattern. For these pages, I brayer Fresco Finish Chalk Acrylic Castleton (FF231) onto the rubber stamp and stamp onto the background, repeating the process, eyeballing where the repeating pattern should occur. The pattern and texture it creates reminds me of a piece of linen fabric I have.


I cut a diamond shape out of the cloth and add it in place of one of the stamped diamonds. A piece of deep red floss accentuates the diagonal lines created by the repeat stamping.


Throughout the pages I have used mini stamp EM144. On some pages I have heat embossed it directly on the background, on other pages I have stamped it separately and cut out a rectangular section then collaged it onto the page. I think this stamp would also make a great edge detail when stamped partially down the side of a page, or even as a color swatching chart.
 I can see myself using this stamp often.


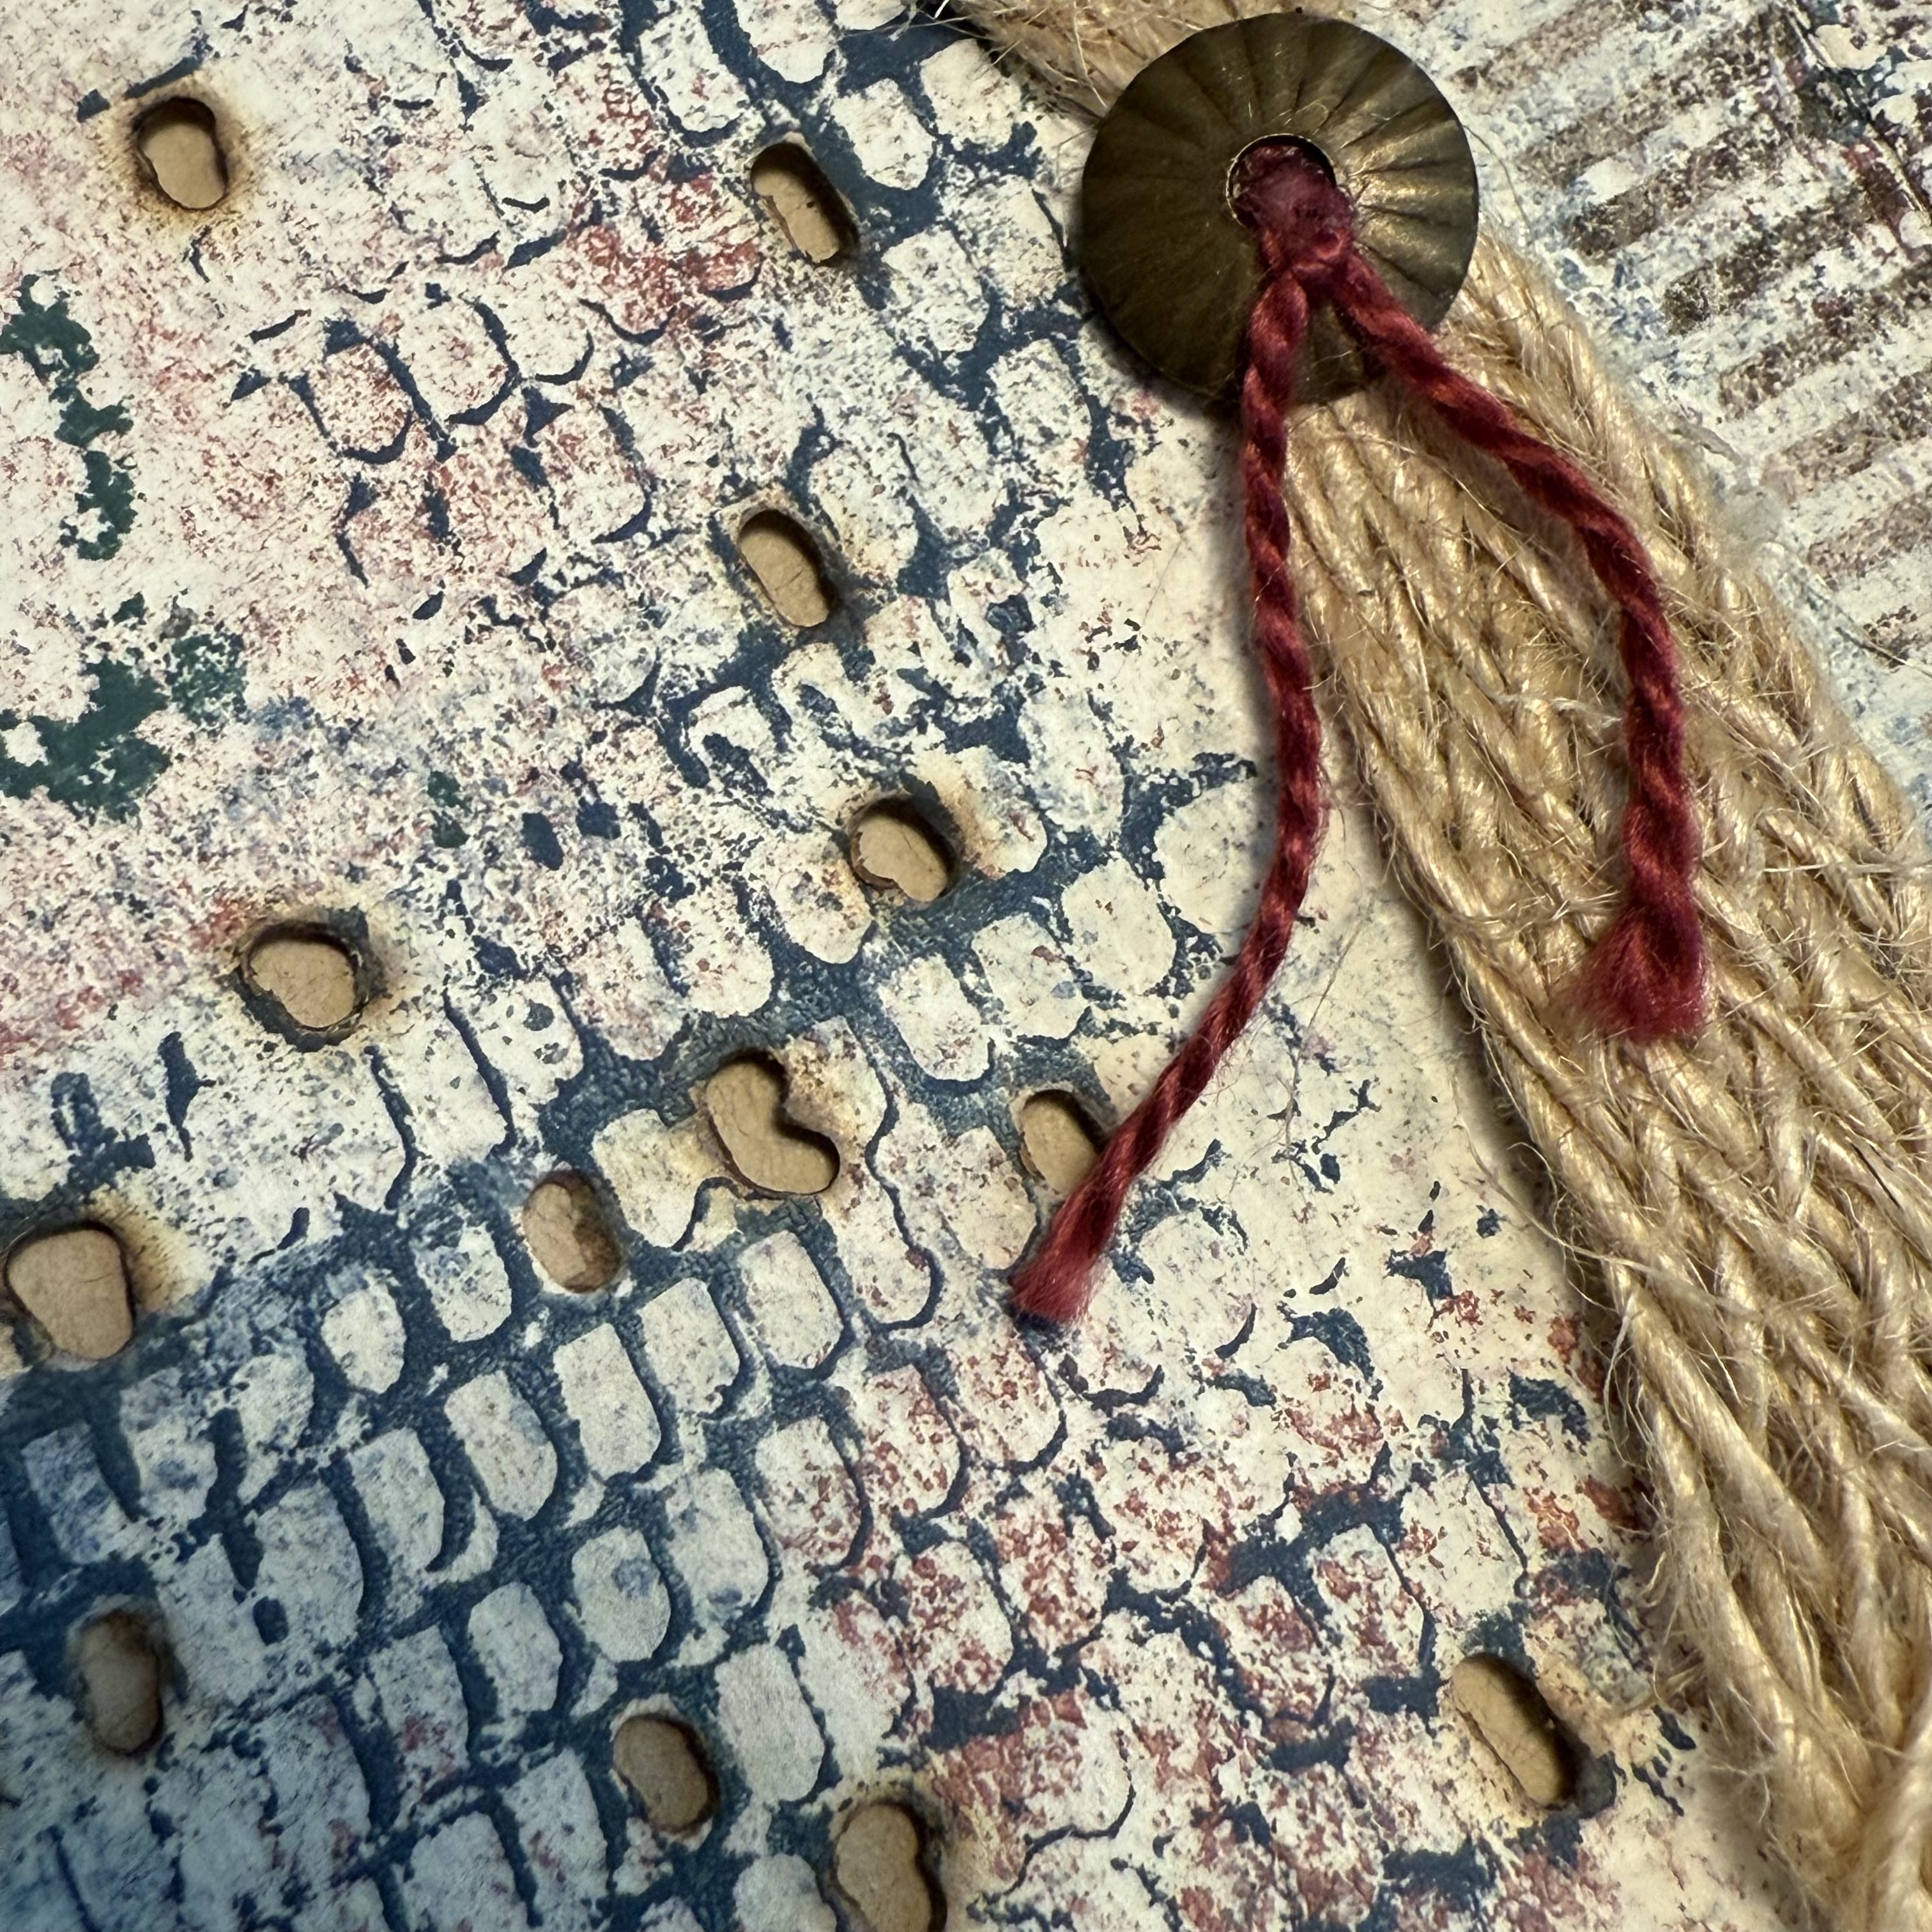
The next set of pages focus on mini stamp EM139, and all I can say is that this image sets my imagination into overdrive, I love it! Using Fresco Finish Chalk Acrylic in Admiral (FF233) I randomly stamp across both pages and allow it to dry. Then I use my wood burning tool to burn some holes keeping within the pattern.


I keep the number of burnt holes to a minimum, but I can foresee a time where I attempt to create this entire mesh pattern. To allow the holes to be more noticeable when the booklet is folded, I painted the back side of the pages they would be up against. There are also sections of the stamped pattern that were heat embossed onto a different paper then torn into strips and collaged onto the page.


Mini stamp EM140 looks to me like the perfect structure for weaving. I heat emboss the entire stamp image onto the background and then use an Exacto knife to cut out openings in the two larger middle sections. This allows me to weave embroidery floss, jute, linen thread and a piece of selvedge through the slots.


It is so cool to see my vision for this stamp become a reality. Probably my only regret is not adding color to the pages that it backs up to so that the openings where there was no weaving would be more noticeable. On the facing page, I stamp little bits of the image randomly to add some interest to the background. I also collage one of the embossed rectangles from EM144.


On the next two pages, the focus is on mini stamp EM141. This image with its numbers and fine lines is what I consider classic Seth Apter imagery. I think this stamp would be fun using each of the numerals separately (with masking), or even highlighting a specific number by circling it once stamped... the possibilities for this stamp really are endless. On these pages, I first stamp the image onto the background with Ranger Archival ink in Faded Jeans. I also stamp the image on a piece of tracing paper using the same ink. I flip the tracing paper over and collage it onto the left page, creating the mirror image. Using a fine detail brush, I cover the number four on both pages with embossing ink and then heat emboss. I also trace some of the horizontal lines and emboss those as well. Adding details and marks to make stamped images more of your own is definitely something I try to do often and encourage you to also, it makes the art and images more personal and unique.


At the page fold, I have used mini stamp EM144 to create a vertical line of boxes. Inking up two rows of the stamp and turning it ninety degrees, I stamp and emboss, then add the third row by only inking the first two boxes and stamping then embossing. I stitch red X's into three of the rectangles and cut pieces of my linen cloth to fit into the remaining ones.


Each time I look at mini stamp EM142 I see it as a three dimensional piece, so I thought it would be fun to try to make it into one. This is not as difficult as you would think. Stamp the image with embossing ink and add a heavy coating of embossing powder to it. After heating it and allowing it to cool, use an Exacto knife to carefully cut out around the edges. Next, turn the cut piece over, add embossing ink, coat that side in powder and heat set it. Voila!


The piece is held in place on the page with a few stitches. I can imagine myself using this stamp and technique to make a buckle for a strap to keep an art journal closed, or maybe even in some sort of jewellery piece.


On the opposing page, I ink up only the central section of the stamp and create bold lines These are embellished with marks and French knots. I also add a few more pieces of the collage paper from EM139.


The final pages of the booklet are all about mini stamp EM143. The focal point is a piece of linen that has the image stamped in its entirety. This piece is attached to the background and then I use different threads to stitch the pattern. At the top right and bottom left corners of the pages I mask the opposing directional section and stamp an "L" shaped portion of the image using Fresco Finish Chalk Acrylic Kiln (FF234).


While both corners are stamped using the same paint, one is much bolder than the other. This creates a very different look even though it is the exact same stamped image. 
With all of the pages complete, it is time to fold this Zine into a booklet and glue the pages together as needed.


I am thrilled with how the booklet turned out. This will be a wonderful reference for inspiration and ideas when I use these mini stamps in my art. Here are a few additional detail pictures:


Using your art supplies to make a Zine is an easy way to have some fun and experiment with different techniques. Since it is simply made with a single sheet of paper, there is not a lot of pressure or expectations for a masterpiece. I have always found that some of my favorite work has been the result of enjoying the process and letting my creativity express itself.

I hope that maybe this has inspired you to get out some of your favorite PaperArtsy stamps and play, perhaps even grab a few of Seth's new mini stamps, they are all pretty amazing! You can find all the details for this release of Seth's mini stamps on the PaperArtsy blog here. The new stamps are available worldwide at a PaperArtsy stockist near you.