
2019 Topic 5: Maps & Plans

Alison has produced some masterboard masterpieces with maps and even used an old A-Z. She's thought out of the box to create flowers with geometric design stamps and used buttons to create a real wow for her trio of cards.
Hi everyone, it's Alison Hall (Craftytrog) with you today, and I'd like to share with you some abstract style cards with a floral theme, that I made with Ellen Vargo Eclectica stamps.
I used some map paper for collage, and made a stamped and painted master board, both of which are favourite techniques of mine. Then I was going to use Ellen's floral designs, but looking afresh at her stamps, I decided that using her bold geometric designs to create flowers would be a fun idea.

I began my master board by collaging torn index pages from an old London A-Z onto Regular A4 White Smoothy Card. I adore the texture created from the ripped binding edges!

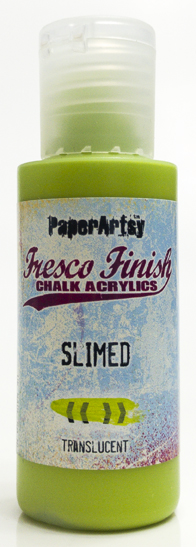
I lightly added some colour using the fabulous new PaperArtsy Brayer, and PaperArtsy Fresco Finish Acrylic in Slimed and Seaglass. I wanted to highlight the texture, and I didn't want to cover up the index pages totally.




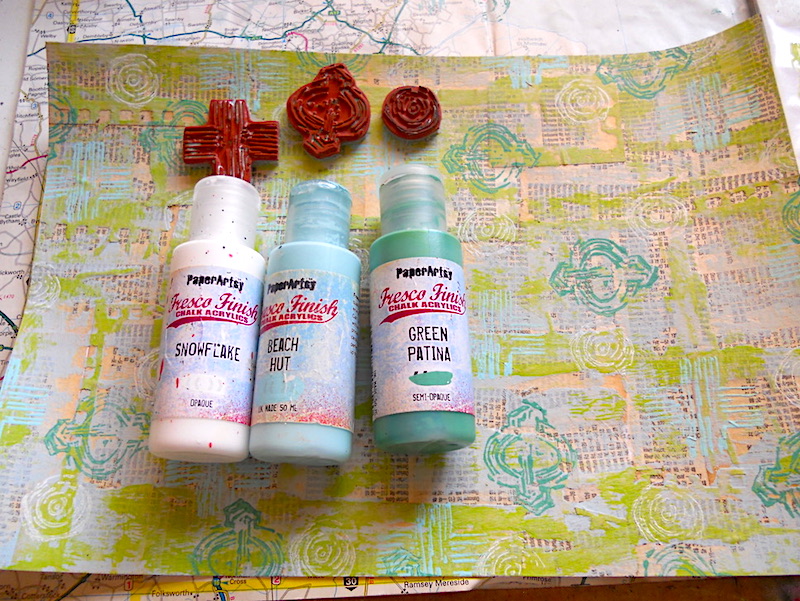
Next I used PaperArtsy Eclectica Stamp Set EEV08 with Snowflake, Beach Hut and Green Patina Fresco Finish Acrylic, to add a background design, and that was my master board finished. I'm really loving this fresh Spring colour palette with the vintage paper!

Time to create the focal elements for my cards. I stamped the arch, triangle and diamond designs from EEV01 with a Versafine Onyx Black Ink Pad on a map page from my old A-Z. As the paper is slightly glossy, I used a heat gun to dry the ink.


These stamp designs are super easy to cut out, which I appreciate as my fingers struggle with 'fiddly' these days. Too much crocheting! Hahaha! I later stamped the smaller triangles from EEV03 (not shown here).

Having cut up my master board, and cut out the stamped shapes, here's the first card I created.

I cut strips of map page for the flower stems, adding black gel pen doodles. The quote from EEV10 was stamped onto an index page from my London A-Z, the words individually cut out, then glued on and outlined with a fine black gel pen.

I created a border by stamping the little rectangle from EEV08 with Green Patina Fresco Finish Acrylic around the edges, and for added interest and colour contrast, I glued red buttons to the tops of the flowers.
For my next card, I used the stamped triangles and smaller diamonds to create a floral style design, with a black border this time.

I didn't want to waste the off-cut strip of master board, so I created a more clean and simple design with the stamped diamonds from EEV01, adding buttons, doodled dashes with a black gel pen and another quote from EEV10.

Here's a closer look at one of my cards. I love how the street names show through on the background, and can you spot my mistake? I smudged the ink dashes when I glued on the diamond leaves! Whoopsie!

I hope you've enjoyed my tutorial here, and that you have a go at the techniques I've used. I had fun using Ellen's stamps in a different way. Maps and A-Z's make such wonderful collage material, and I think you'll agree that they're a great stamping surface. I look forward to seeing how you all use maps in your artwork. Have Fun!


