Hi everyone,
Jennie (Live The Dream) here with you today.
I have used envelopes as templates for mini books for many years so our current topic Mail Art gave me the chance to be creative with both envelopes and Alison's beautiful stamps. I had planned to use stamps and paints directly onto the envelopes but sadly that didn't work very well as I couldn't use the amount of water I needed to get a lovely watercolour look. There were a few soggy envelopes in my early process!

However, I hope that my ideas for combining papers and envelopes along with painted tags, mini envelopes and journal cards will give you some ideas.
By using large oblong window envelopes I was able to create a mini book of a decent size. I really enjoyed using the glassine windows both inside as peek through windows, but on the front as well making a window frame to house a tag.
For our Texture theme (which is running through all our projects this quarter) I have used machine stitching, lace and ribbon and also nooks and crannies to house tags and journal cards throughout the envelope book.

I had decided to use quite bright Fresco colours: PaperArtsy Fresco Finish Chalk Acrylics Magic Moss FF130 and Lavender FF104. I wanted to get a good watercolour look in my painting so starting with a brighter colour can help in terms of adding more water than you might be able to do with a lighter colour.


I was however painting on white...not my favourite colour as I always seem to have dirty hands! I had chosen white as my intention had been to paint directly onto the envelopes and so everything else would need to be white to compliment this. But I also liked the way the stamping and painting was very crisp on the white background.

Whilst my project concentrates on the wonderful Blackberries Edition in Alison Bomber Stamp Set EAB24 I have used a couple of stamps from Alison Bomber Stamp Set EAB26 which although are from the Rosehips Edition are complementary.


I also had an idea to include PaperArtsy Infusions Violet Storm CS11 but was unsure how dark it might be against the bright Frescos. In the event it was only used for a few splatters here and there, but...still an important addition to the overall project.


I started by creating the envelope pockets. This collage explains how the individual elements came together. The sealed envelope was cut open on three sides. The top was then folded down 1¾" and the left hand side cut away and the outside of the envelopes covered with paper. I used a "window" from another envelope as a template, cutting around the paper before glueing it down.

When working with such a thin substrate I normally take any opportunity to strengthen elements which are going to be handled. I used a selection of stamps to add strength to the envelope flaps, using lightly stamped layers and a quote in darker ink.

Once the corners were rounded the pockets were looking more envelope like again!

The pocket envelopes were then ready to be joined and all that was needed was a simple spine glued into the inside of the pockets. The sewing machine was then used to sew each pocket together.

I now had my base book complete ready for decorating. Stitching the envelopes together gave a nice bit of texture but also a sturdiness that you can't quite achieve with glue or adhesive tape. Whilst it is my personal preference to use stitching in this way, any good quality adhesive tape will certainly hold everything together.

It had taken some time to get the core part of my project together but now I could enjoy some creative time stamping and painting the individual elements for decorating.
I needed two large tags to sit inside the envelopes and to show through the windows, but other tags or journaling cards could be smaller. I used Archival ink to stamp the images and Distress Ink to stamp the background. I decided to do a little experiment to see whether it was better to add the background before painting or after.


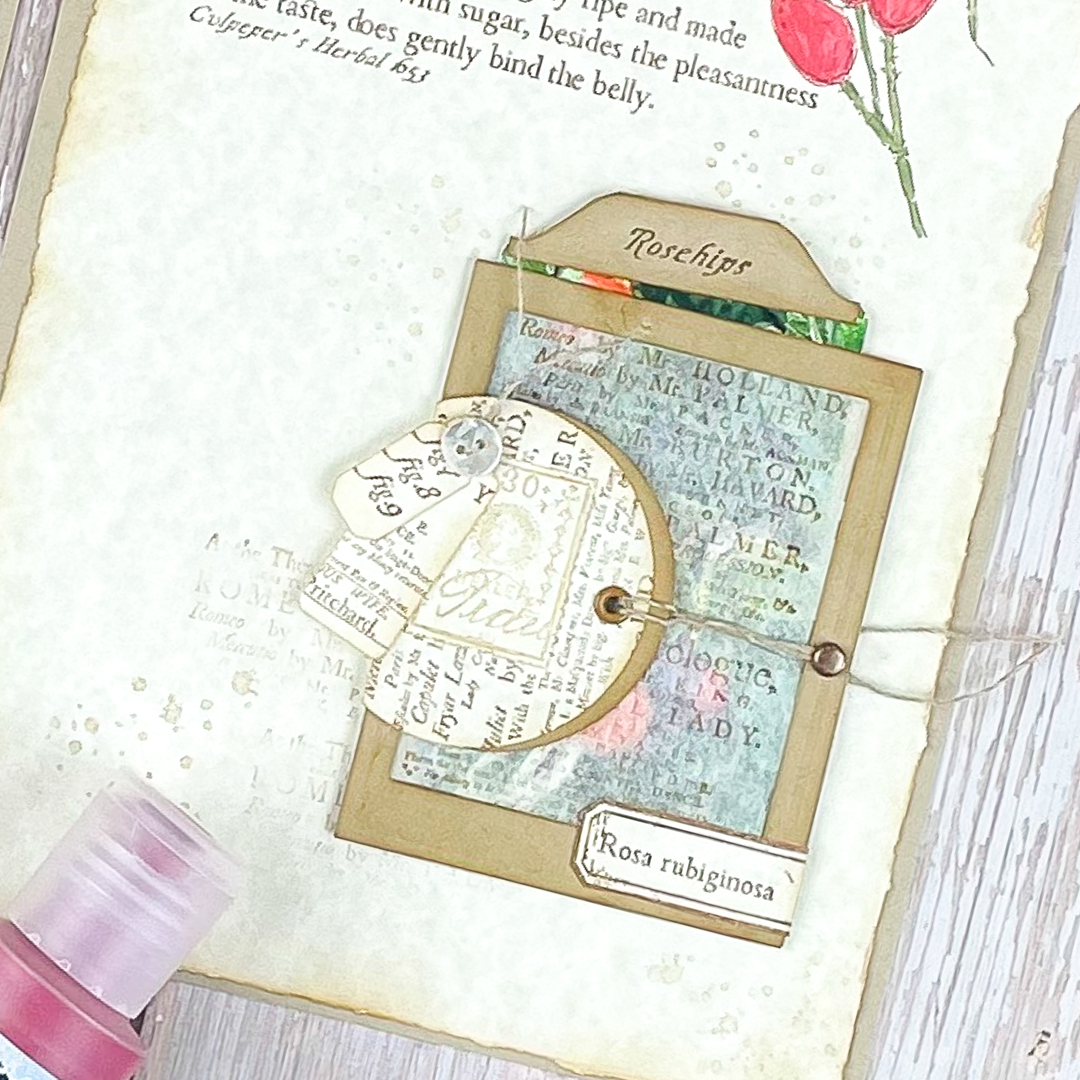
I quite often use the windows from used envelopes as little pockets in my journals. It is easy to cut around them to make a border (1/2" is a nice size). They can then be stamped by using a post it note to protect the glassine.


Additional strength is added by layering the window pocket onto a piece of cardstock. I like the way the stamping of the pocket and the tag are so complimentary - Alison's stamps always work so well together.


As our topic is Mail Art I thought it would be fun to make a couple of little envelopes as Alison's stamps are small enough to be used in so many different ways.

They can either be clipped onto the side of the pockets...

...or stuck into a little pocket. This is the back of the book which has a little gusset pocket housing a tag, little envelope and smaller tag.


Whilst the pockets were filling up nicely with tags, journal cards and envelopes I felt the top flaps of each pocket needed a little something. I added lace to the front flap but this little piece of dyed ribbon caught my eye in the ribbon jar. The colour matched perfectly! Rather than use the ribbon on the spine which is my usual "go to" I decided to lace the ribbon across the flap. This also provided a nice spot for some hanging metal embellishments.

My little bottle of Violet Storm Infusions was still sitting on the desk unused. I had tried it on some of the painted elements but it was really a little too dark. However, it came into its own as a final splattering over the tags and envelopes. The perfect final touch!


This is certainly not the project I started out to create! My envelopes were cut landscape with folds and pockets and then stamped and painted...and it was at the painting stage that I realised this was really not going to work with my envelopes becoming paper-mache in places!
By this time I had created a number of the tags and little envelopes so thinking cap on to come up with another design which they would fit! I actually prefer this latter design to my original so thankfully some mistakes are for the good!
Alison's stamps are always a delight to work with and are great combined as a main focus with background elements in a lighter ink. Not everything fits where you want it to, but I quite like the wrap around text on the little envelope. Even if you decide not to make the envelope book, I hope the way I have created the tags and pockets will give you some ideas for journals, along with the little frame pocket on the front page cut from a used envelope.
As always thank you for joining me!
Best wishes
Jennie x


Blog: Live The Dream
Facebook: Jennie Atkinson
Instagram: @atkinsonjennie
Pinterest: @jennieatk