Showing posts with label E2. Show all posts

Tuesday, 5 July 2022

2022 Topic 10 : Up my Street {by Asia Marquet} with Zinis (Zinski Minis) stamps


Hi everyone, it's Asia with you today, and I'm here to share with you an accordion art journal page- Up My Street.


This is the very first time I made an accordion page, but when I thought about creating a project about my street, somehow I just wanted it to be presented in this form. Something you can fold and open, hiding one part and seeing the other. Then opening it completely to see the whole layout. It's like a real street in a sense- you don't always see it as a whole, just some parts of it, some houses which could be visible and some others which are hiding behind the turn or behind the trees and fences. The idea of presenting the street we are living on is also so appealing and at the end of this post I am going to explain you what I see when I look at my finished project. 


We recently moved into a house in a really nice village and I think we are all happy here. That's why I choose for this project bright colours to work with. Most importantly, I really wanted to use stamps by Elena Zinsky with tiny, cute houses. Her designs are so happy and quirky and it's a real pleasure to work with them. Also, when I saw them, I was sure they would be a perfect fit for my project. I used quite a lot of Fresco Finish Chalk Acrylics for this project, but you don't need as many as I used. A few bright colours will do just fine! 


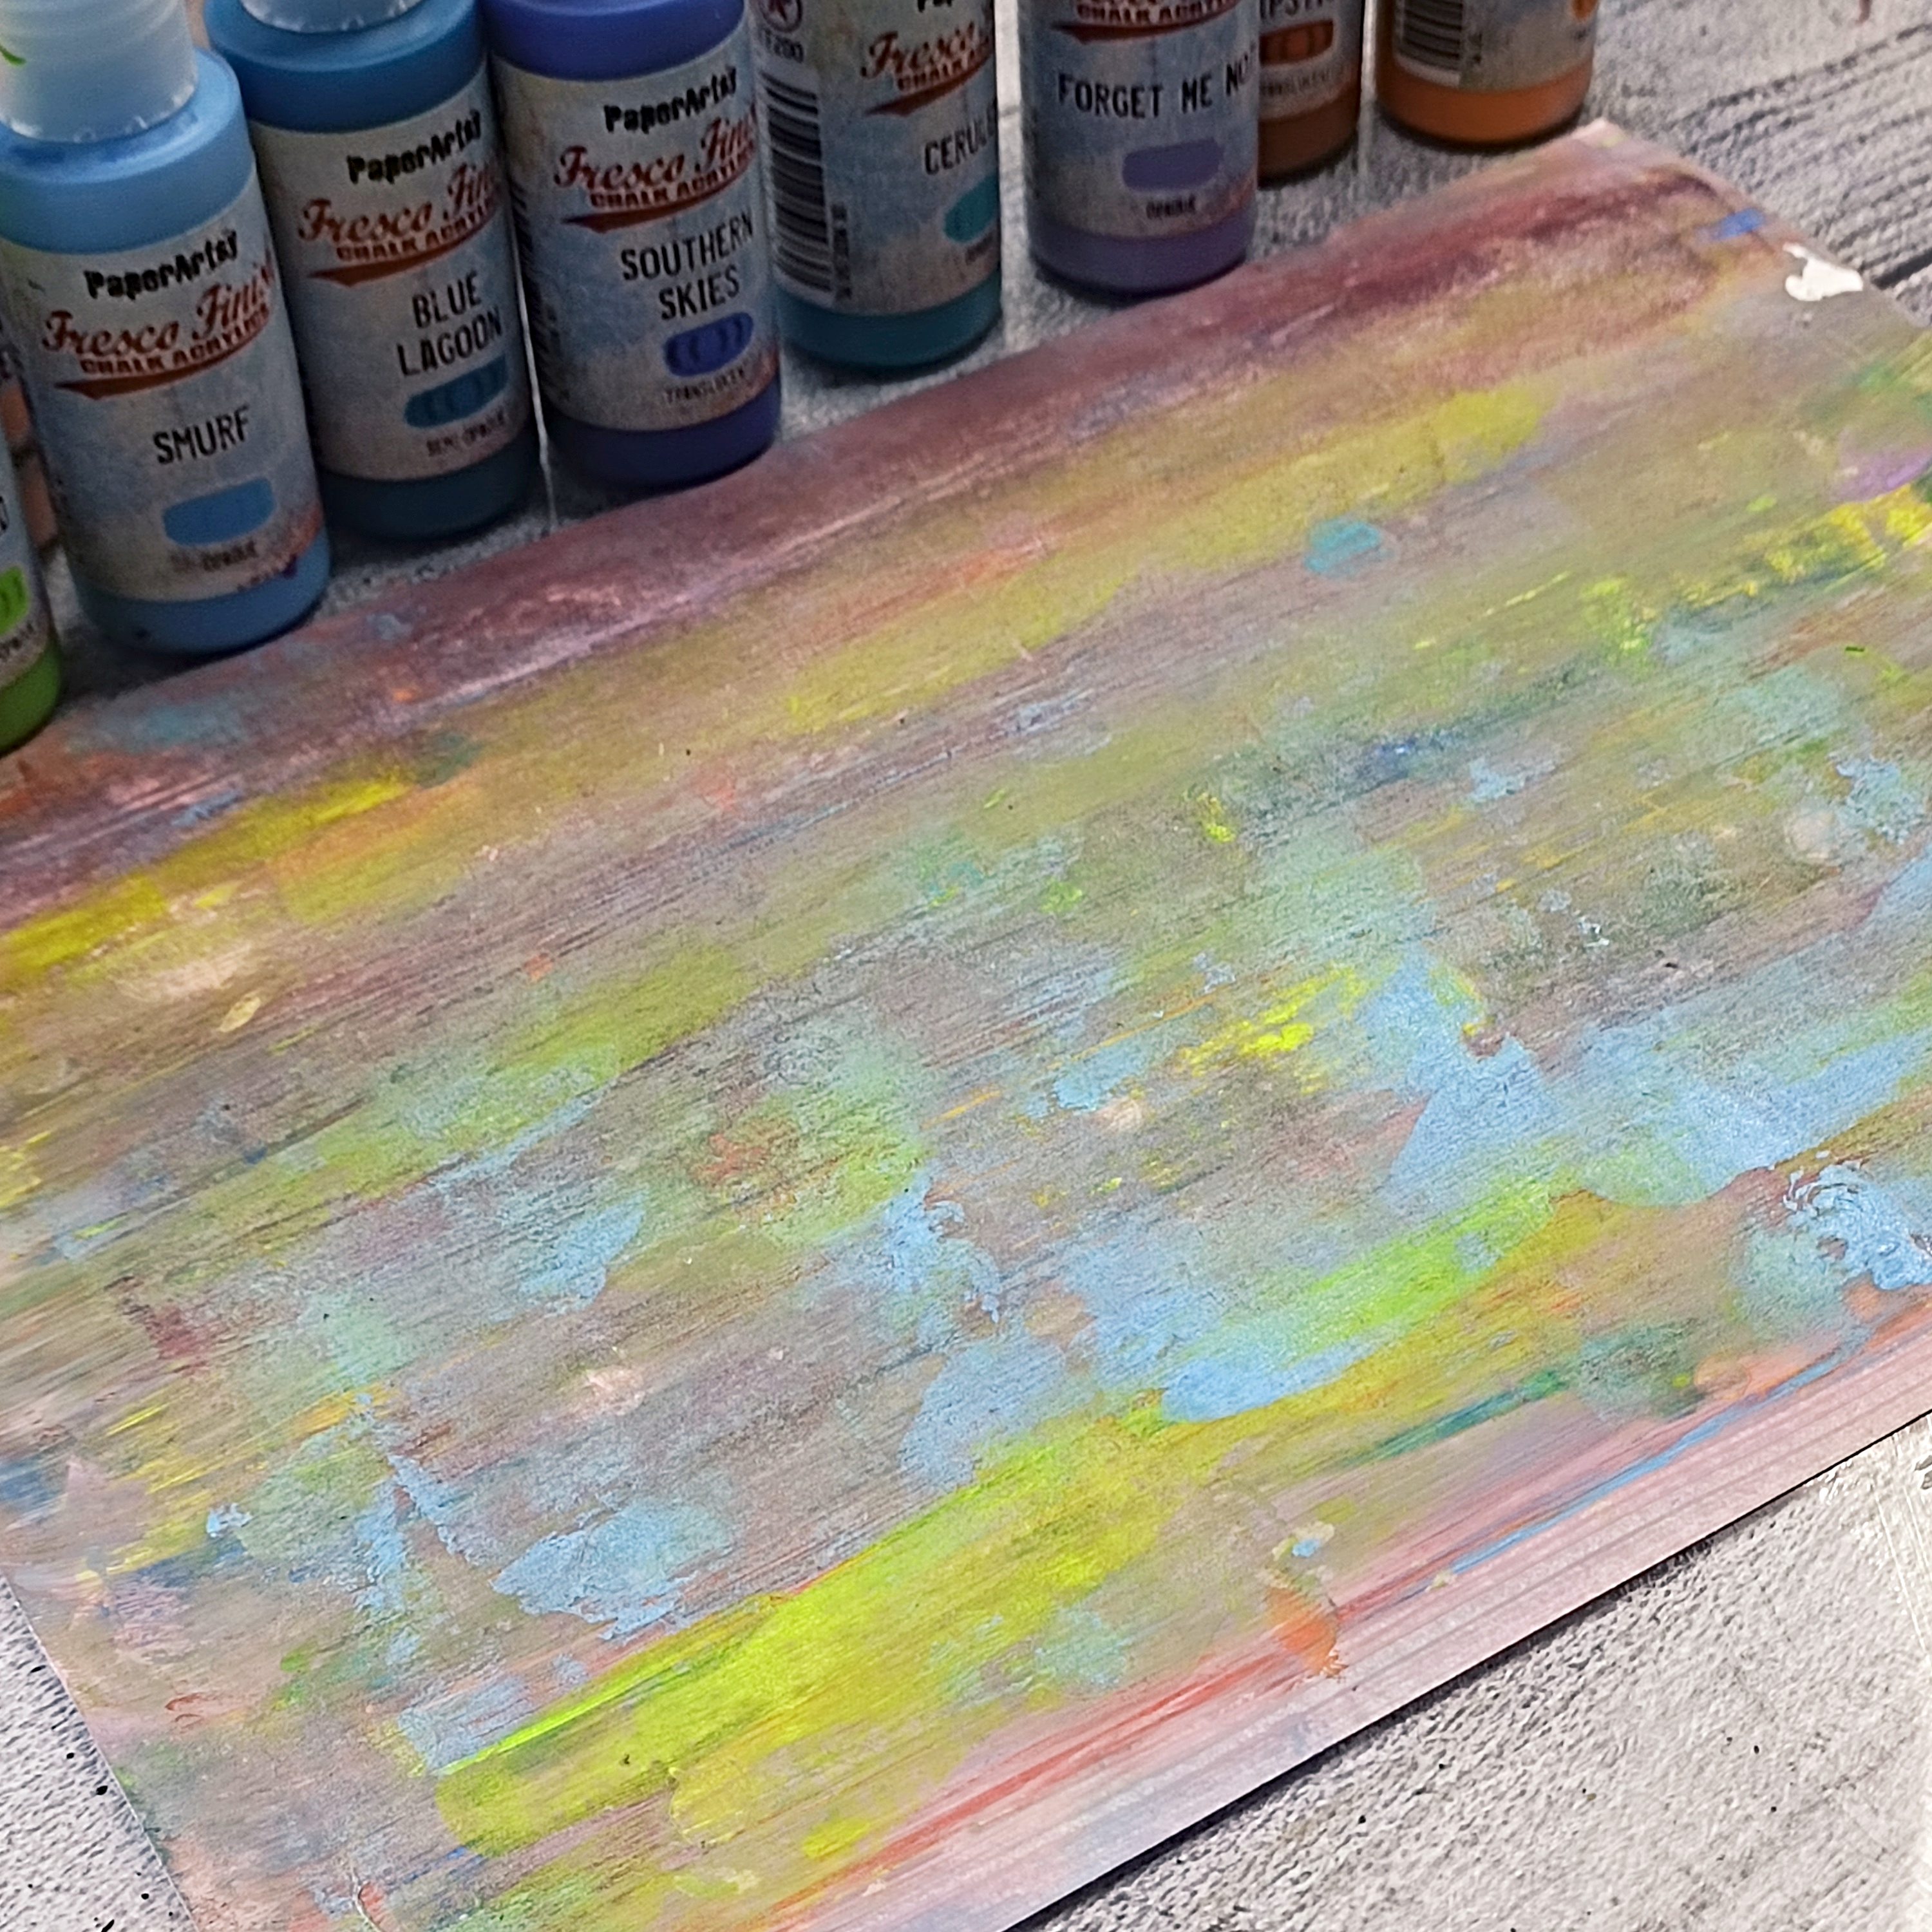
First step was to colourise a blank page with Fresco Finish Chalk Acrylics. As I mentioned before, I used quite a lot of them- simply because I had them. But I am wondering if colours wouldn't be much brighter if I used less?  So please don't feel discouraged by the amount of paints I used. 

I applied the paints all over the page in small quantites and then I ran over them with my brayer, making the colours mix together. It's such a simple technique and the brayer gives lovely textures. All of that could be done, of course, with a gelli plate, but I simply felt like doing it this way and I loved the results! And if at any point you feel like there is some colour missing, you can always add it, which I've done with yellow and red at the very end of colourising the page. 


After drying my page looked like this.


Now for the fun part- stamping! I decided to use a stamping platform, but really it was not necessary as the stamps were printing beautifully, especially with VersaFine Onyx Black Ink. I stamped each of them  few times onto the page to be able to have a bigger choice later on. I used 3 small sets of stamps: ZN51 and ZN52.


I applied some more paint on two other pieces of mixed media paper. On the first one I used: Red Lipstick, Banana, Firebird and Slimed, Cerulean, Weathered Copper. 
On the yellow/ orange part of the paper I stamped the Sun, on the orange/ red part- mail box and finally on the bluish/green- the trees. All the stamps came from two mini sets: ZN55 and ZN52.


The second piece of paper was covered with blue and purple acrylics: Southern Skies, Smurf, Berry Nice and Blue Lagoon. On this piece of paper I stamped some small elements from Elena Zinky stamp ZA01. These will be tiny additions to my project.


Some time later, after careful cutting, I had a bunch of houses to play with. Some of them lost their rooftops, some of them part of the house, others were left untouched by my scissors. This way I knew I could play with them and arrange them in a different, even more quirky way.


The second part of my project was to create an accordion book. I needed to create a book big (or small) enough to fit best the stamps I was going to use. Fortunately all I needed was to cut in half an A4 sized mixed media paper and fold it with a scoring board into three parts. But I didn't want to have just a plain white background behind the stamps, so I took back my brayer and applied with it Fresco Finish Little Black Dress acrylic. What I got was this super grungy and distressed look:
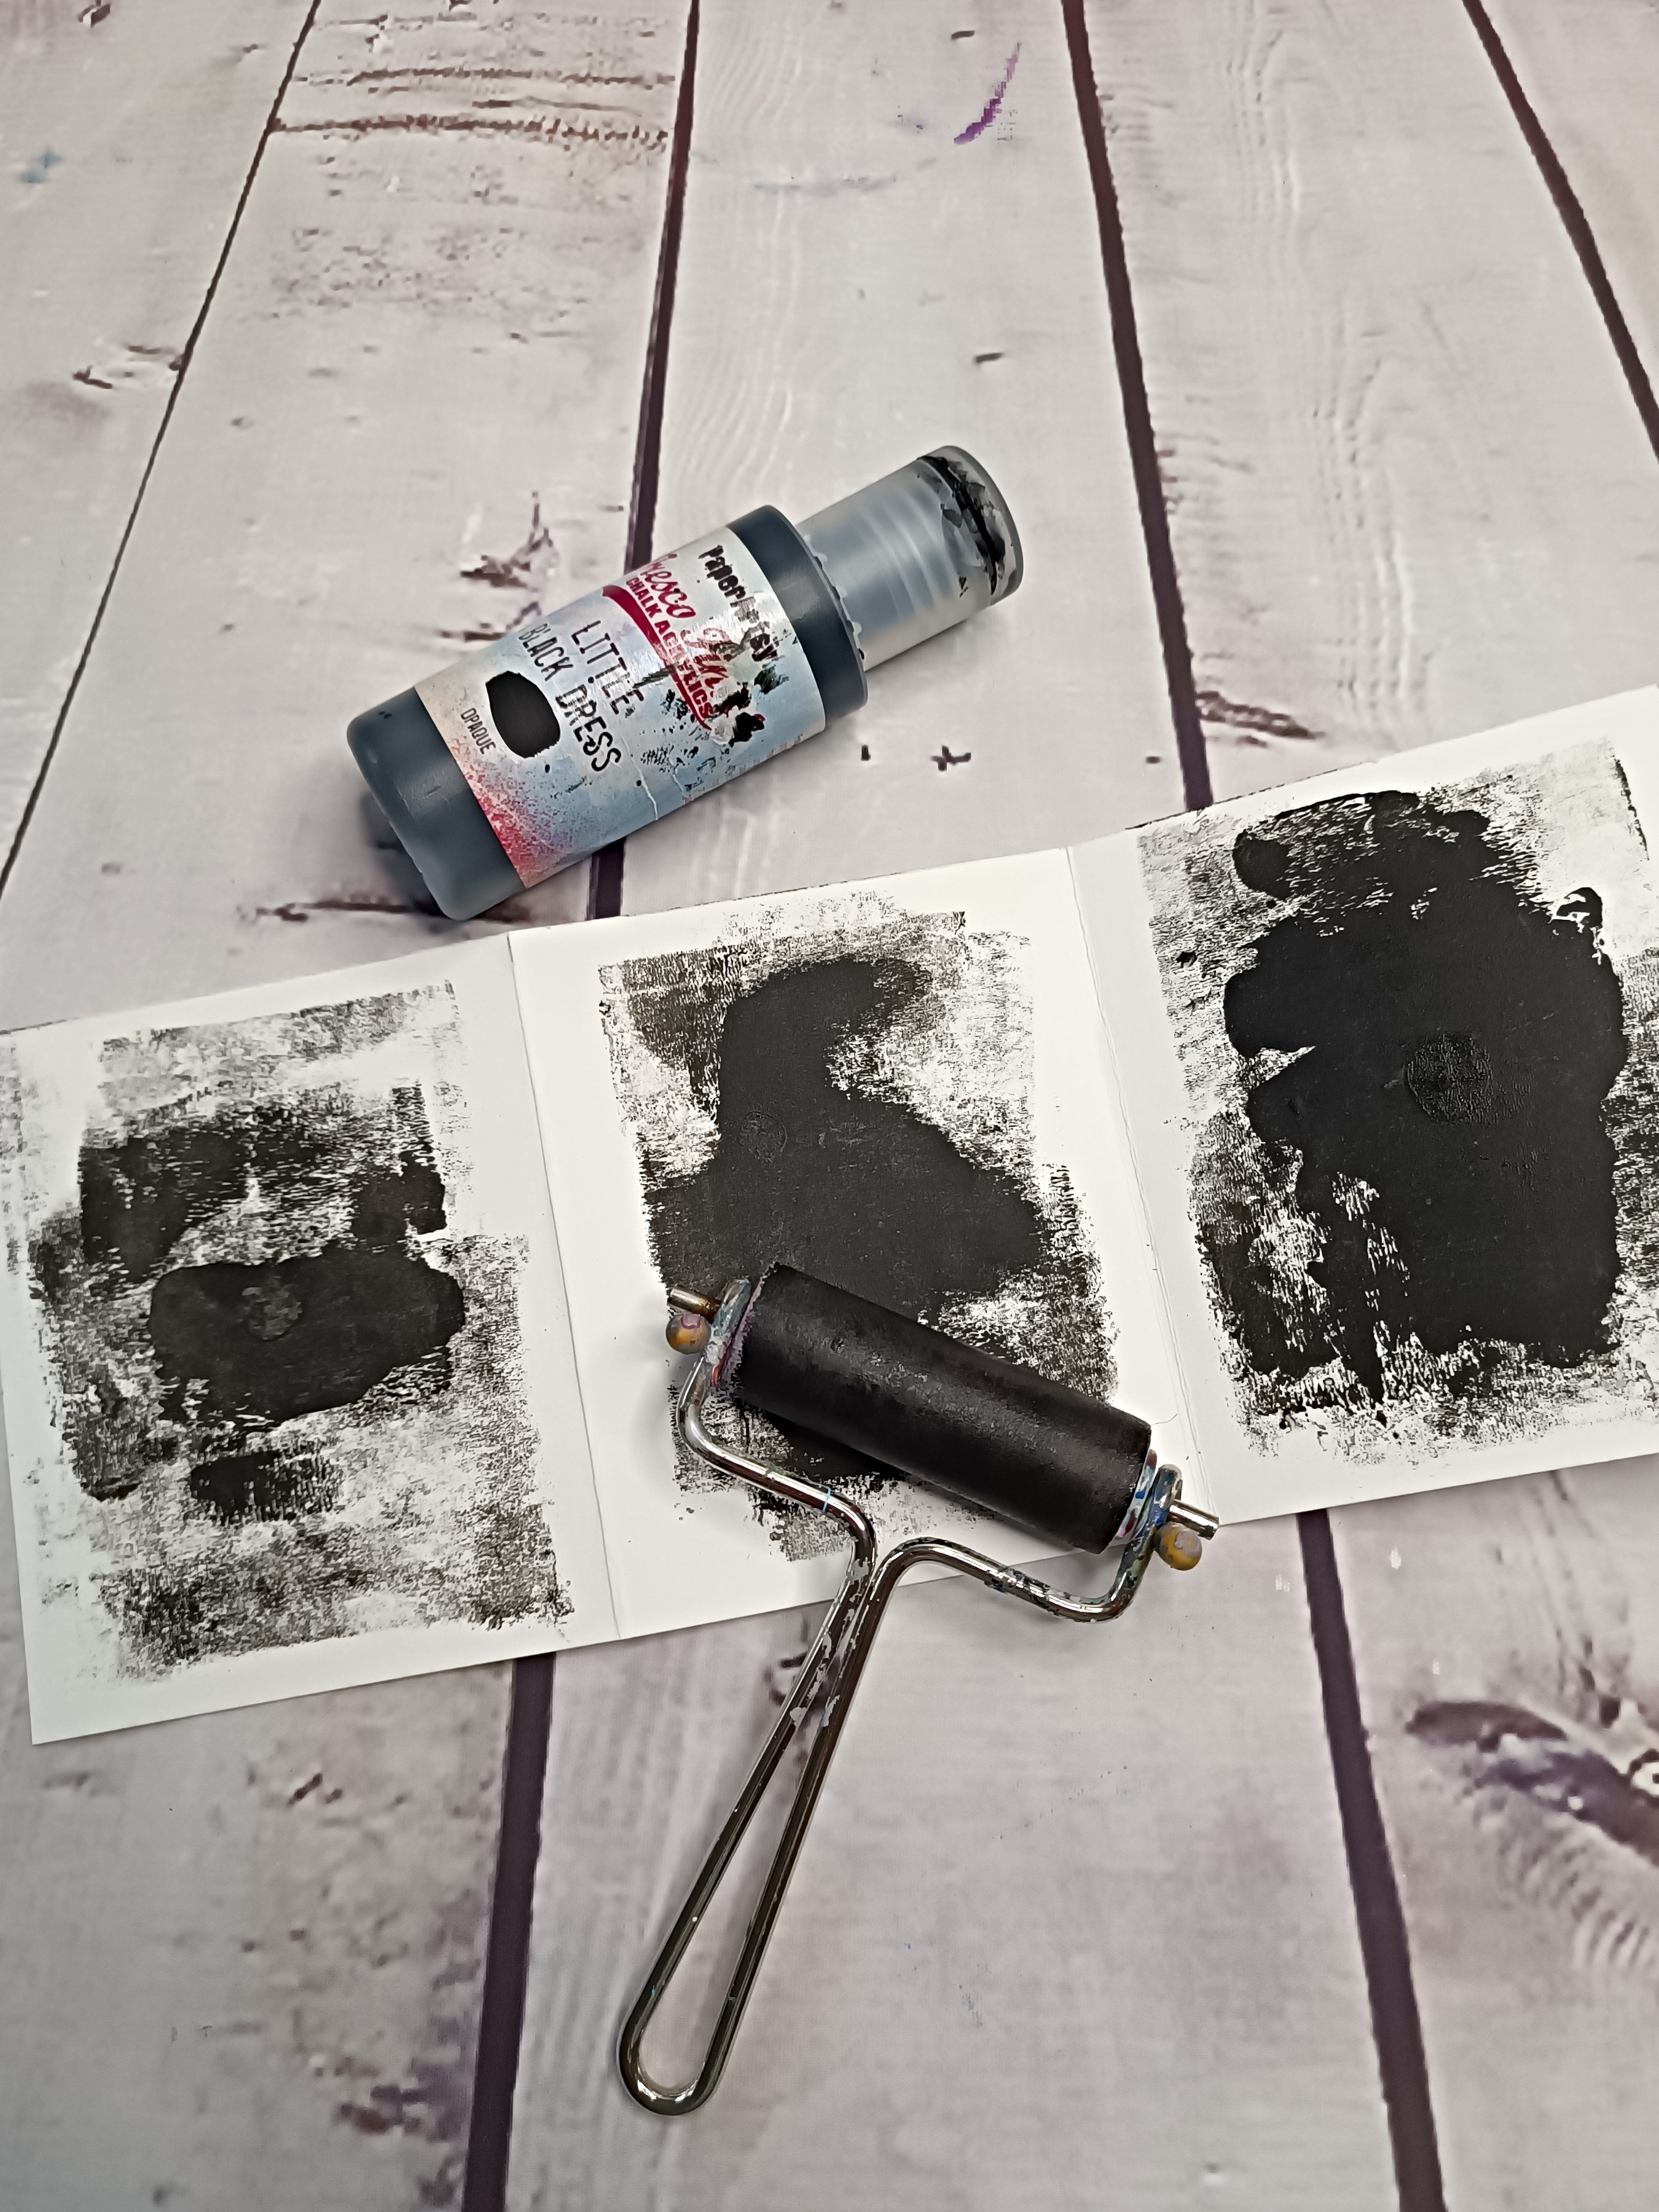

Too dark? Yes, I was thinking the same. After all I didn't want to create a depressing page, but a happy one! Here is the solution- some background stamping with small stamps from PaperArtsy ( EM42, MN108, MN28) and Brillance- Moonlight White ink.


As I mentioned before, some of the houses were cut to smaller pieces. The thing is, with quirky stamps, you can do so much more than just simple stamping. Once cut, you can mix and match the parts of the stamps before adhering them onto the paper. My background was done, so now it was just a matter of putting my street together. But the details are equally important and that's why I needed to work more on them. I added some white elements with a UniBall pen to the trees, doorknobs, windows, etc. Bigger windows were adorned with Golden Leaf Adhesive flakes to give the impression that the lights are on. For more dimensional look I used Glossy Accents- again on trees, window and doors. Other extras were the small elements which I earlier stamped on the blue/ purple paper. I attached the heart to the chimney with a piece of wire, funky ball beside the trees- all those small things which make the project more interesting.

To attach my elements to the page I used Tacky Glue and foam adhesive. Some elements needed to be more in the background while others- more in the front. Putting it all together was real fun!


The last step was to add some sentiments- somehow I feel like the page is not finished without a statement. I was thinking to go for a standard 'Home Sweet Home' sentence, but finally I used a part of Eclectica stamp- E2, which was stamped on a piece of white cardstock and then cut out. I thought the words Strange Reality suited the accordion page really well.

Here is the finished project and as I promised- my interpretation of Up My Street theme. I see my neighbourhood as a lovely, bright. place, with children running around, colourful gardens, domestic animals and neighbours talking together from behind the fences.  Everybody has their  particularities and way of living and we are often asking ourselves if their lives are not better than ours. If the grass is really greener on the other side of the street? After all, quite often we see only what others want us to see. There are secrets behind the fences and that is what I wanted to portray with the darker background.





As always, when I have to prepare project for a specific topic, I doubt myself. Somehow it seems easier to just sit down at my desk and create, without thinking twice about the project I am about to do . However I am usually happy I took on the challenge and I managed to do something I was not sure I could do. This project is no exception- I truly loved working on it, I loved the idea I was trying to portray and for the first time I've created a really cute accordion art journal. The back of it is still empty but  surely I will create something else on it. Once I got the accordion fever, I am not gonna stop that easily! I think though I will stay with the Up My Street theme. The idea of building an accordion- based scenery with the houses speaks to me a lot. I do hope you'll find this idea appealing as well and I am sure with these gorgeous, quirky stamps you can create your own, strange or not, reality. 

Lots of hugs!

Asia


Facebook: https://www.facebook.com/profile.php?...
Instagram: https://www.instagram.com/lemoncreation/
Pinterest: https://www.pinterest.fr/LemonCreationAsiaMarquet

Friday, 6 September 2019

2019 #14 Inchies & Twinchies: Bag Charm with Ink & the Dog {by Lotte Kristensen}

2019 Topic 14: Inchies & Twinchies


This topic is throwing up some wonderful ideas in miniature; Lotte has created a cool piece of bag jewellery plus she's got a great tip for adding coloured layers in a subtle fashion that adds, not detracts from the layer below.

Hi everyone, it's Lotte here - feeling quite nostalgic, as Inchies & Twinchies were enormously popular some years ago, and I hadn't made any in ages, so this was a nice chance to get to play with them again!  This was also a reminder that you should *never* get rid of any of your old stash, because like most things, it will come back into fashion at some point :)  Hoarder, me??! 

The original Ink & the Dog stamps were designed at a time when small was king - ATCs and the like, so I thought they would be just perfect for my 'inchie' project here.  Apart from the fact that those I&Ds are some of my most fave stamps, anyway ;)


Although I'm not particularly girly (really, not at all!!), I do like a little bag charm now and again, especially if it's one I've made myself, and I figured the inchies would work really well for this:


So I got out some MDF squares and oh look, gave them a couple of coats of white gesso (*anything* that stands still long enough around here gets coated in gesso :D) -


Once that was dry, I dry brushed with some Garden Patina Archival Ink Pad and shaded with Paradise Teal - I just looooooove those colours!


Next, I used various stamps from the Ink & the Dog rubber stamp plates One Penny #2, Eclectic #2 and Dolls #3 and stamped these with Paradise Teal (front AND back):


Once that was dry, I stamped different images over the original ones in Paradise Teal, this time using Watering Can Archival Ink Pad:


After that, I decided the tiles needed a bit more of something, so I got some Seth Apter Baked Velvet embossing powder in Aegean Sea, and embossed that with a clear ink pad, again using a variety of the stamps - don't use the same stamp on top of itself, using different ones give you these lush, lush layers:


Then it was time to make some small holes to attach to the fob - I used an ordinary hand punch tool, or you could Dremel the holes, before attaching thin jewellery wire and beads, making each 'arm' about 10 cm long.


Once you've finished all the arms, attach onto the fob,


- and it's ready to be attached to your bag and be the envy of all of your friends! :D

I'd made so many tiles that I have enough to use for future projects - I thought they would make fun earrings and bracelets, and of course as always, you can totally personalise the themes and colours.  I'd love to see what you come up with, so please do share your makes on the PaperArtsy Facebook group page!

Until next time

Lotte xx

Instagram: Alice Overground