Hi everyone, Etsuko My favorite things here with you today.
I've been great exciting to use Seth Apter tissue paper this Topic 4 my junk Journal.
Before I started using this Seth's tissue paper, I wondered how it would affect my work because the design was larger than other papers, but when I picked it up and used it, I found it very appealing and it made an impact on the subject matter, and I became engrossed in working with it. Before I knew it, I was being drawn to the tissue paper and creating today's piece.

I'm not a big fan of diary or emotional expression journals but I love junk journals, so I decided to make one today, and I enjoy being able to incorporate Hidden, our quarter theme into it.

So yes, today's main guest is the Seth's tissue paper ( PT06 ). By the time I finished using this everywhere, I had used up almost one and a half sheets. I used coffee-dyed watercolour paper for the journal base papers, also used Seth Apter stamps are Seth Apter set 33 and 38 ( ESA33 and ESA38 ), PaperArtsy Fresco Finish Chalk Acrylic - Blue Oyster, Niagara Falls, Heavy Cream and Snowflake using brayer on the background, and coloured the points Mattint - Dragonfly, Glow, Squeezed and Seth's new colours Kiwi Gold, Tomato and Beach Hut.

PaperArtsy-Printed Tissue - Seth Apter ( PT06 )

When you first see Seth's tissue, you may think they have a different taste, but it doesn't take long to become addicted once you unfold them, tear off your favorite part and apply it to the background Um! you were already hooked! beg your pardon. Let's get on with it.

For the journal I used the collection of leftover watercolour paper of different sizes, so I couldn't make a book but rather a card format. The paper was dyed with coffee to give it a vintage look, and I prepared eight sheets each 4 inches square including the pockets. At this time I hadn't yet decided how to connect them. The first eight sheets were each coloured with Niagara Falls, Blue Oyster, Heavy Cream and Snowflake using PaperArtsy Brayer.

Before I painted the background colour, I was going to create a finish with a lot of romantic, pale and beautiful shades, but I wanted to concentrate on the props, I was going to put in the junk journal and have fun with them, so I chose tonal colours and the primary colour for the point.

The idea was to bring the ESA38 image dragonfly to page one of the quarterly theme Hidden. The transparent wings were coloured with Mattint Dragonfly, Glow and Squeezed then I finished with Ranger Glossy Accents on top.

I placed this dragonfly on page one and let it show through the acetate on the front cover. For the page background I sprayed PaperArtsy Infusion Just Walnut with water and used Seth mini stamp EM97 for the points and added Kiwi Gold, Tomato and Beach Hut for the colours.

I wanted to use a vellum or a acetate for the front cover window material and embossing powder for the print to hide the dragonfly visible underneath. Ranger Embossing powder White on vellum prints beautifully but lacks a bit of transparency. Acetate shrinks when heated, so I printed Snowflake on it, which isn't bad. But I tried embossing powder on acetate with a carful heat tool and it waved a little, but this was the one I went with.


This is the back of an Amazon envelope made of fine cardboard and I like it. The time I cut it into thin stripe sheets for the window frame of the front cover, layered several thin stripe sheets and coloured them.


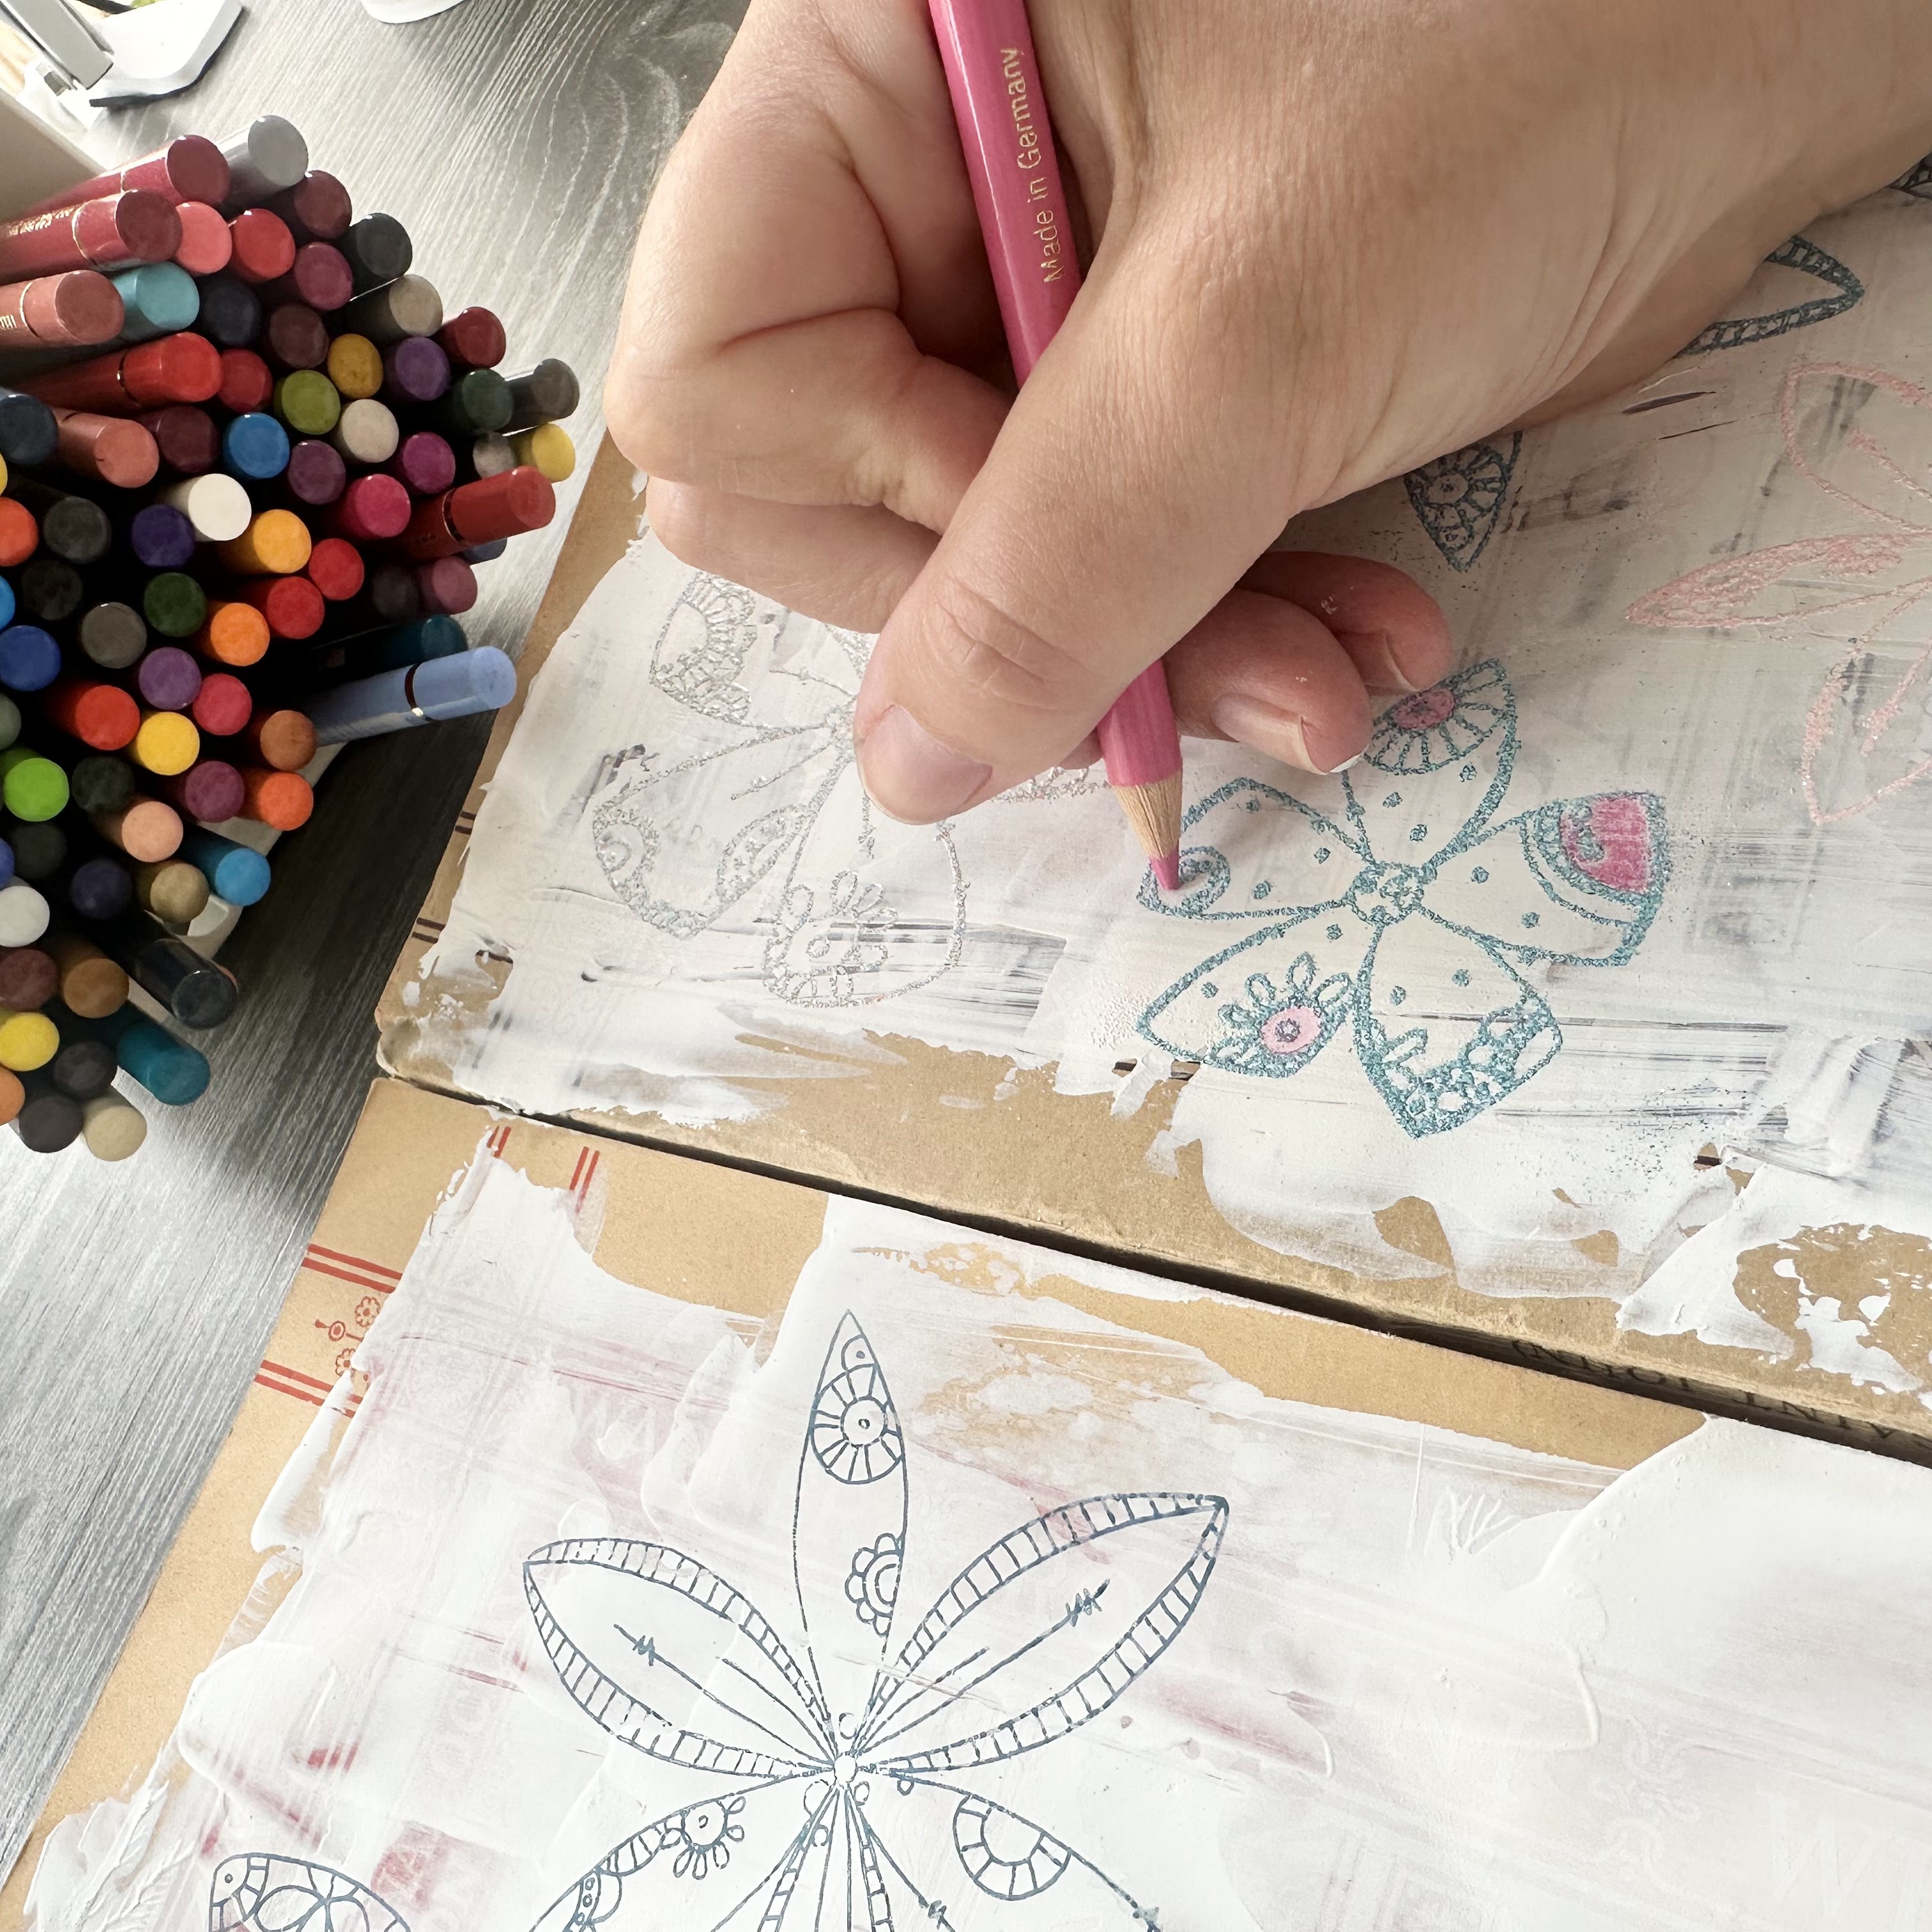
Seth tissue paper ( PT06 ) was pasted onto the background of each page using Mod Podge as design point. After cutting it apart using PaperArtsy Sanding blocks as shown below, a stencil was used to create the background using Grunge Paste and same Archival ink pads through the stencil.


As shown in the photo, after applying tissue, I used the brayer to apply Heavy Cream to slightly hide the base. I used the same technique on the tags and painted Infusion Just Walnut using Brayer.

The paper was made using the same colours as the background. I then decided that the way to join the cards in the journal was to fold the paper like an accordion and stick the cards between the folds, and as the cards were still unstable on their own, I applied a simple coptic stitch bookbinding so that the red thread could be seen.


I will now show you my Junk Journal details. Let's start the cover, can you see a few dragonfly hidden from window? Also the dangling embellishment on the spine are made using paper and tissue paper and all colouring is Mattints and red colour is Tomato.

The previously mentioned page 1 has the side pocket and the tag.


Using die cut tag and slide holder were made and placed in vellum pockets.


Crunchy paper and tissue are pasted onto the bi-fold index holder and the photo is distressed with Sanding blocks, and pasted that it is visible when opened.


For the background Grunge Paste was used with Sara Naumann stencil PS363 then over which the leftover printed fabric was collaged, and tissue P was used as the focal point.

This page was made in the same way and the stencil was Hot Picks PS421, and with the paper embellishment in the centre.

I composed most of this page using tissue.

Tag removed the tags and viewed, the pocket was I made in vellum and machine stitched in the same way around most of the background pages. I added some laces to each page as the connecting paper was looking a bit rough.

I cut the hole in the middle of the linen to let the word ART from ESA33 peek through and made the side pocket to put the tag in.

Both sides of the tag and the paper embellishments were designed from the tissue, and ESA33 stamped the word PERFECTLY... was blurred away because the underlying paint was too thick.

I finished the last two pages with the collage.


And the back cover.


As I mentioned at the beginning, I used Seth tissue paper ( PT06 ) on most of the pages to finish this project, and I was very happy to be able to use the tissue to get a quick overview and to use Mattints on top of the images to clearly show the black areas. While it is still lingering, I think it would be interesting to use this tissue or another PaperArtsy tissues and Mattint for other works, for example clay, If you all feel the same way, please try making them.
Thank you so much for visiting here.
Etsuko xxx