Showing posts with label 2015 Topic 4. Show all posts

Saturday, 7 March 2015

2015 #4 It's a Mash Up Shadow Box {by Clare Lloyd PA Signature Designer}

2015 Theme 4: Miniature Art

Hi everyone Clare here, joining you this evening with a mini shadow box project which is ATC sized.


I started by stamping a frame from EEG03 ...


twice onto Heavy Weight Smoothy Card. One frame was cut out and the other I stamped with elements from EEG02...


and ECL04 ...

using either Black Archival Ink or Fibralo Water Soluble Pens.


Then the cut out frame was triple embossed using Versamark Ink and Ultra Thick Embossing Enamel and while the third layer was still molten I stamped back into it with the frame image to create some texture/dimension.


Next I splashed a quick coat of Buff Fresco Paint onto Heavy Weight Smoothy card, once dried I stamped my couple image from ECL05 ...


and coloured it in with Fibralo Water Soluble Pens


Finally it was time to assemble everything together and create a few embellishments. I just cut around the outside edge of my stamped frame to make a background panel. The UTEE frame and the couple image were layered up using Double Sided Foam Pads. The heart was stamped from ECL05 and the circles from ECL04, coloured/stamped as described above and then I curled up some black wire to suspend them on. As a finishing touch I stamped the little tab from EEG03 and added words from EEG02


It was ace using Emma Godfrey's new stamps as they have that modern vibe I love and they work really well with my girl faces too. Just  a super simple way of creating a shadow box mini art project with minimal construction. Do hope you will give it a go, why not add a photo or turn it into a fridge magnet.

Find more from me on my blog clarelloyd.blogspot and see what is on my craft/art table right now on Instagram HERE

Awesome mash-up Clare. I love how smoothly your stamps work with Emma's. The UTEE frame is a great effect, really love that texture on it too! Can't believe how many details you can fit into a mini piece of art, very striking! ~ Leandra

We would love you to join in with challenge #4: Miniature Art. If you are inspired by any of our guests who blog with us over the fortnight, then please join in and link up your creativity HERE

All links go in the draw to win a voucher to spend on products of your choice from the PaperArtsy online store. The Fresco Paints link will close tomorrow night 17:00 (London Time) that's Sunday, March 8th, winner will be announced 2 hours later at 19:00.

Wednesday, 4 March 2015

2015 #4 Under the Microscope {by Penny Nuttall}

2015 Theme 4: Miniature Art

Hi everyone Penny here, joining you this evening with a microscopic look into the world of miniature art. I first started to experiment with Darcy's wonderful new stamps when I was happily asked to take part in her new product launch, and was inspired by the theme of "Cabinets of Curiosities". 


I discovered that it is very simple to stamp using Jet Black Archival Ink onto glass microscope slides (clean the slide careful with a soft cloth to remove dirt and greasy fingerprints!). Leave the ink to dry, or if you are impatient like me, use a heat gun.


Choose a selection of sizes of slides and images. I used Eclectica EDY12 and EDY13,


...but all the images in this collection are brilliant for this.

The next step is also inspired by something popular with the Victorians...painting in reverse!

This backward technique requires a bit of forward thinking :) You now paint over your stamped image using Fresco Finish Acrylic Paints and a small brush, letting each layer dry, in the order you want the colours to be seen when you finally turn the slide over.


When turned over all the stamped details are revealed. Detail the edge of the glass with a metallic gold pen.


Now to make the display.


For each slide, paint a cotton reel with Fresco Brown Shed, stamp the word labels on copy paper.

Glue short lengths of matchstick on the top of the reel leaving a gap of TWO glass slides thickness.

Back the painted slide with a matching plain one (to protect you art work!) and clip together at the top with a mini bulldog clip, then add this to the stand, with a bit of clear glue in the groove.

Why not remind yourself how you can make more microscope art on Darcy's launch blog.

I hope you enjoy making your own mini curiosities.

Bye for now,    Penny.     cuttingmycoat.blogspot.com

I loved the samples you made for Darcy, but these are very cool too!! Yes Darcy's stamps do look a bit like microbial organisms, you have latched onto a funky mini display! Thankyou for sharing this great idea with us!! ~Leandra

We would love you to join in with challenge #4: Miniature Art. 

Perhaps one of our guests has triggered an idea you might like to try, or perhaps you have other mini pieces of art you want to explore, whatever you decide, we'd love to have you join in our fortnighly challenge on this topic and link up your creativity HERE

All links go in the draw to win a £50 voucher (includes freight cost) to spend on products of your choice from the PaperArtsy online store. The Fresco Paints link will close 17:00 (London Time) Sunday, March 8th, winner will be announced 2 hours later at 19:00.

Saturday, 28 February 2015

2015 #4 You're the Bees Knees! {by Emma Godfrey PA Signature Designer}

2015 Theme 4: Miniature Art

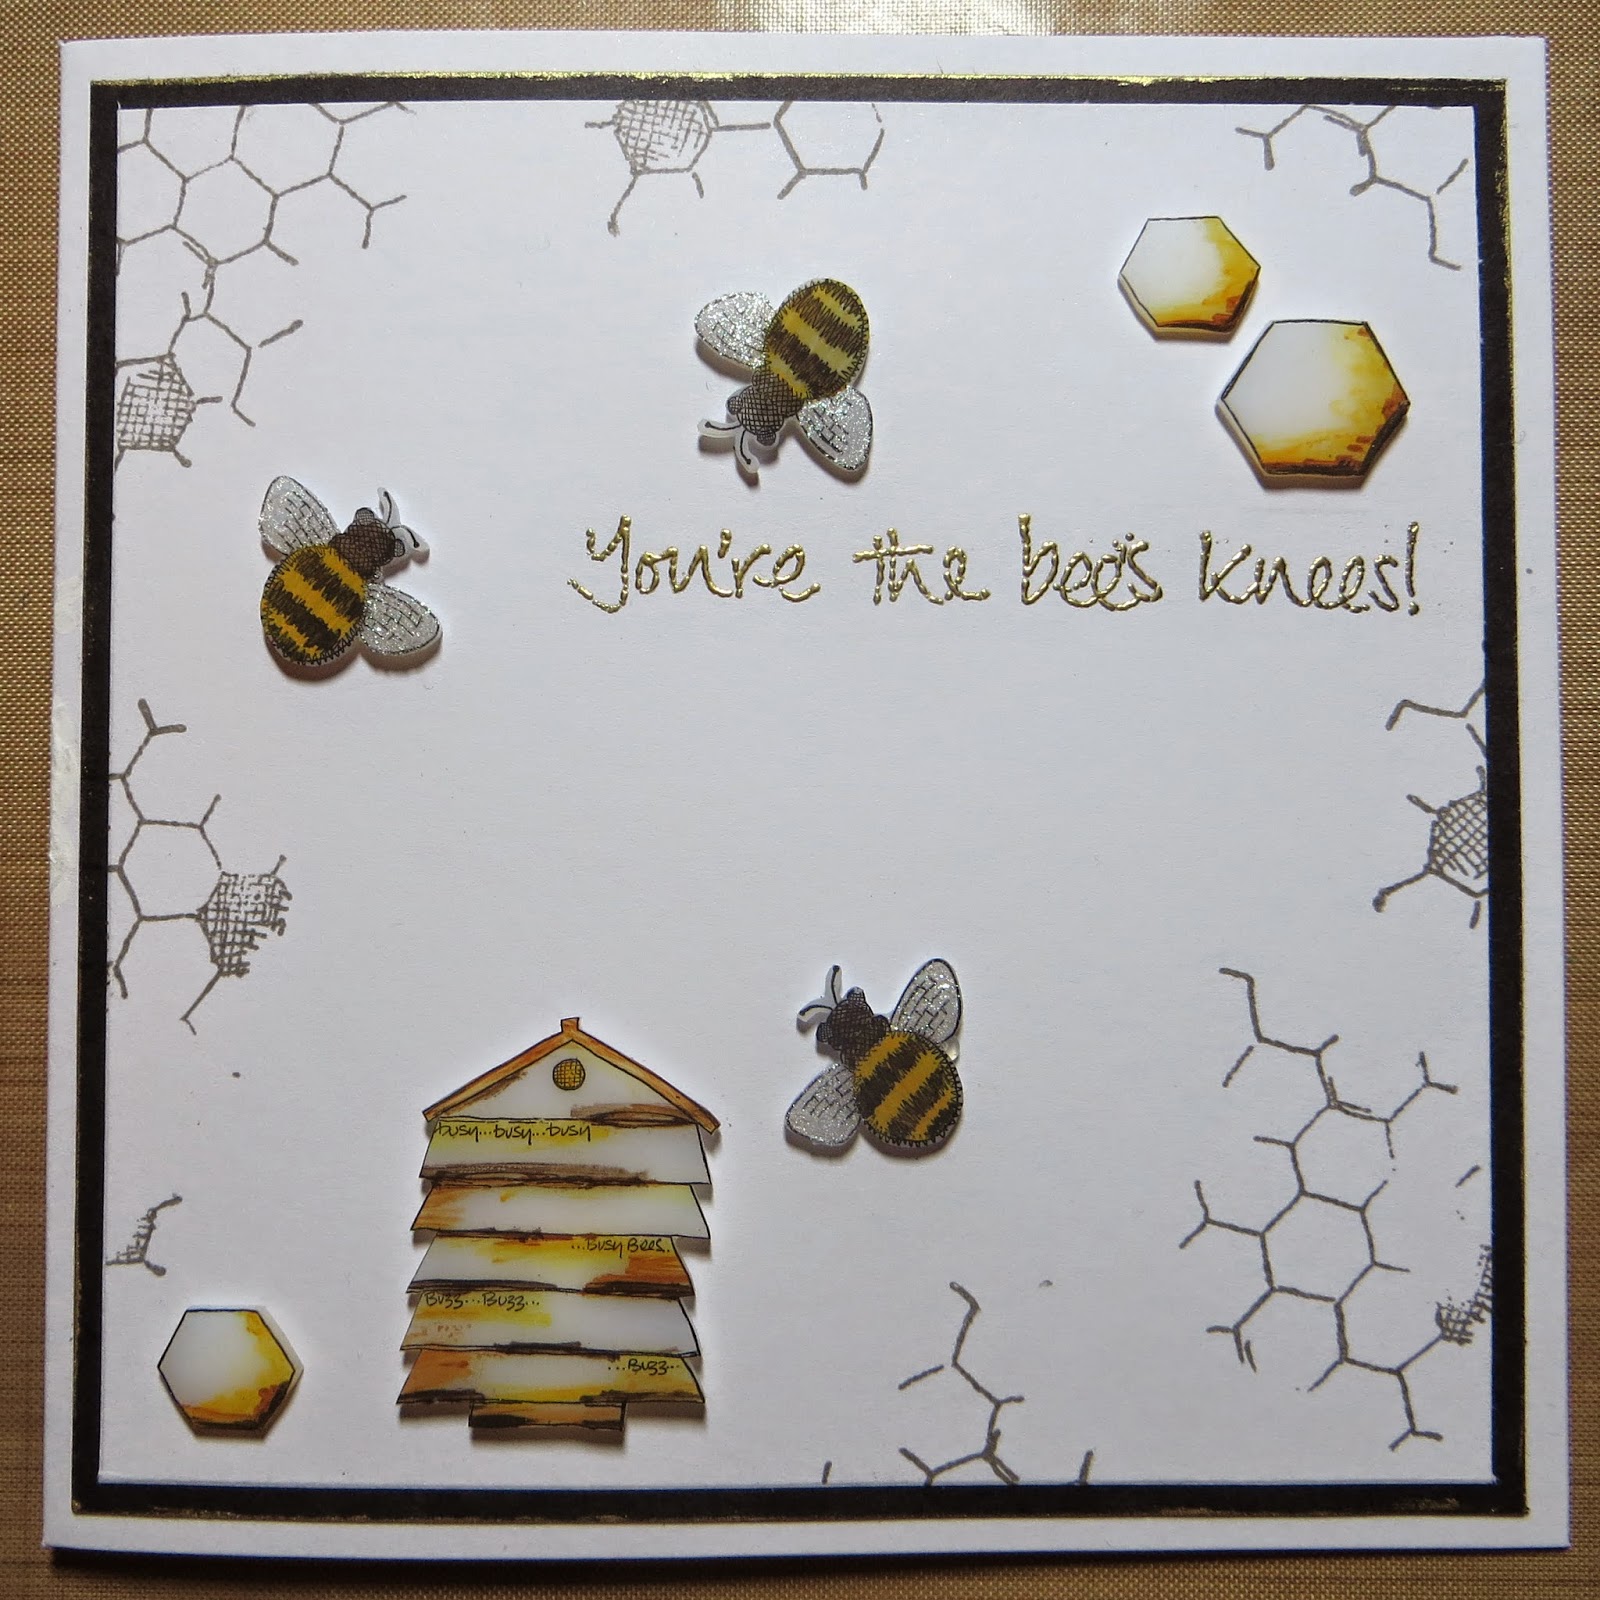
Hi everyone Emma here, joining you this evening with a post about shrink plastic. As soon as I heard the theme was miniature art, that is what I thought of. I love using shrink plastic, as it can give your stamps a new lease of life by changing the size of the finished image.    I also like the way that when you shrink the plastic, the colours become so much more vibrant, and the pieces add lots of dimension to a card. My finished piece is a small card using the JOFY30 stamp set.

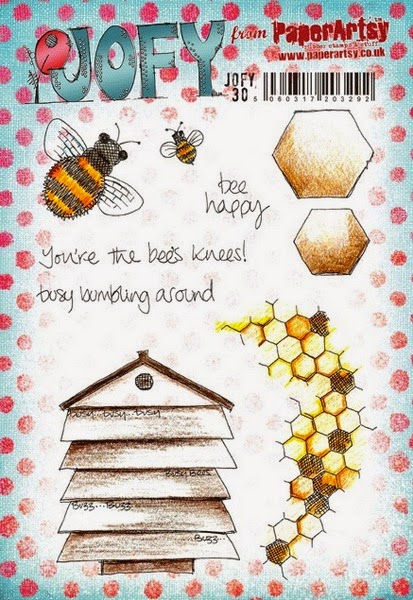
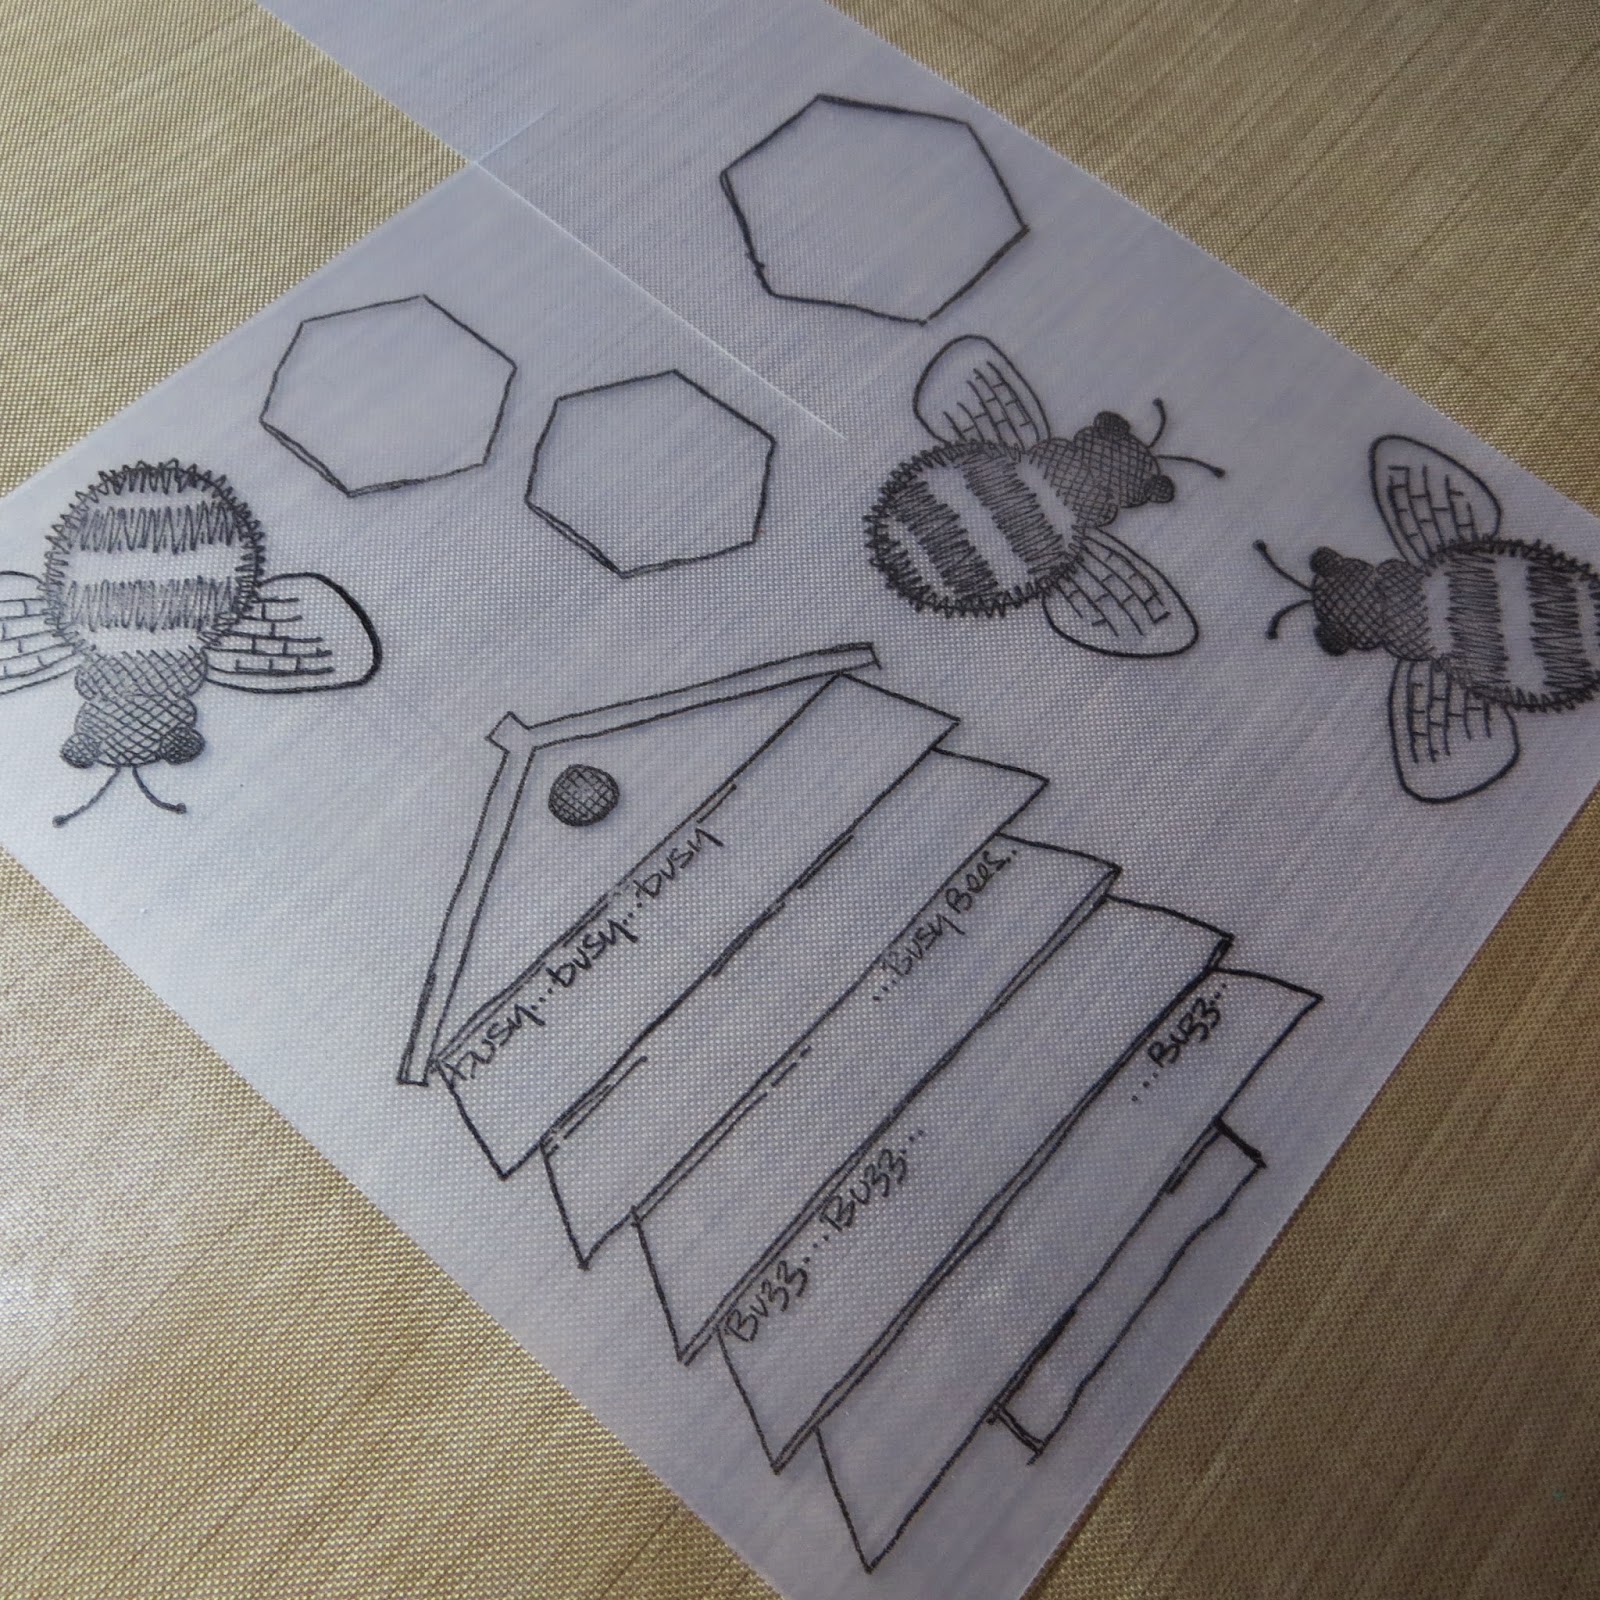
Step One: I stamped my images from the new JOFY30 stamp set (available from your local PaperArtsy stockist) onto translucent shrink plastic using black Stazon ink.  


JOFY030


Step Two: I then painted them with Fresco Finish paints Pumpkin Soup, Toffee, French Roast and Metallic Glaze.   I kept the paints watery, but not too wet, as I knew the colours would be darker when the pieces were shrunk.  


Step Three: I cut out all the shapes, and then used a heat gun to shrink them.   Note: don't panic as they will curl up whilst being heated, but they will flatten out.  When they've shrunk as much as they will, press down on top of them with an acrylic block.


Step Four: My first plan was to use a card that was 5.5" square. I cut card mats in black and white card, and embossed the greeting in gold on the front. I also stamped the honeycomb stamp around the edge using Versafine Smokey Gray ink, and edged the black card mat with Brass Treasure Gold. I then stuck the shrink plastic pieces on with Glossy Accents.  Once it was finished I decided that it wasn't "miniature" enough...


Step Five: ... so I peeled all the shrink plastic pieces off of the big card, and decided to use a much smaller card (9cm x 9cm). I had to plan where I was going to place the pieces and the greeting, as there wasn't nearly as much room this time.   I repeated everything that I had done for the large card, just a condensed version.


I love how dinky this card is ... and also how the Metallic Glaze on the wings sparkles so much.


So do you prefer the larger card, or the smaller one? I think the shrink plastic images work rather nicely on both, but the smaller card is definitely my favourite. I've never used paint on shrink plastic before, and I was really pleased with the result. I'm thinking that it could be fun to make a small co-ordinating present to go with the card ... maybe a pair of bee earrings? Just remember to punch a hole big enough before you shrink (as that will shrink too!).
See you again soon!   Emma
twitter: @emmaimaginethat
blog: www.imaginethatpapercraft.blogspot.co.uk

Thanks Emma, this is a fabby little card. I definitely prefer the smaller version, so dinky. Shrink plastic does scare people because of its unpredictable curling but you have flattened yours beautifully. I love the Metallic Glaze on the wings, perfect finishing touch. ~Darcy

We would love you to join in with challenge #4: Miniature Art. If you are inspired by any of our guests who blog with us over the fortnight, then please join in and link up your creativity HERE

All links go in the draw to win a voucher to spend on products of your choice from the PaperArtsy online store. The Fresco Paints link will close 17:00 (London Time) Sunday, March 8th, winner will be announced 2 hours later at 19:00.

Friday, 27 February 2015

2015 #4 Mini Book {by Liesbeth Fidder}

  2015 Theme Four: Minature Art

 Hi, it's Liesbeth here ! Two weeks of PaperArtsy Miniature Art , I love it ! I just love to work very small, make tiny books, inchie things etc.
The cover of this mini book is made of two metal embellishment leaves, about 5 cm long. This is how I made it:


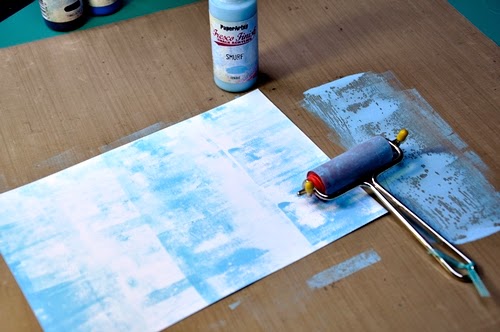
I cut a piece of Smoothy-white stamping card in half and started brayering thin layers of paint using Fresco paints. I started with Smurf

I repeated the same, layer over layer, with Hey Pesto, Zesty Zing, Glass blue, Hyde Park and Blueberry. I always love how the opaques and the translucents work together: beautiful.

I used the same colours of paint onto the other piece of paper, this time direct to paper, and I sprayed some water onto the surface while brayering.

 Two completely different backgrounds, matching great together.

I drew the pages' at the backside of both painted papers with a pencil, using the book cover,a metal leaf, as a pattern.

I stamped every page with StazOn ink Jet Black, bits and pieces of the wonderful new Lynne Perrella stamp sets LPC032, LPC033 and LPC034.

LPC032
LPC033
LPC034
I created some blue accents here and there on the stamped images with some watered down Fresco paint Glass Blue...

... and did the same with Zesty Zing

 I glued the backs of the pages together and sponged the edges with black ink. The pages are ready !


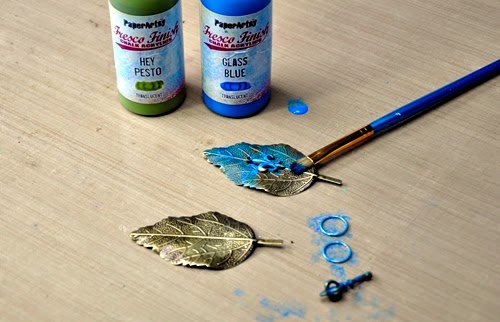
I added a very tiny ,Fleur de Lis' onto one of the leaves. To create the cover, I painted the two metal leaves (both sides), two jump rings and a small metal key with Fresco paints Blue glass and Hey Pesto, and let dry well.

I punched two holes into the leaves and into the pages and attached the jump rings.

To finish, I added the small key with a piece of ribbon and created a shiny look with a thin layer of Treasure Gold Spanish Topaz.


I hope you like my tiny book , in Miniature Art ! Give it a try yourself and have fun !
See you next time.

Liesbeth

Oh Liesbeth this is just stunning, so perfect in every way. I adore tiny trinkets like this, and your finishing touches make this very special. Just look how tiny this is next to the tools.. So inspiring that even though you are working so small the attention to detail is still there, probably even more so than usual. Great to see painting techniques used on larger pieces can still be used on smaller projects. Thankyou ~ Darcy

We would love you to join in with challenge #4: Miniature Art. If you are inspired by any of our guests who blog with us over the fortnight, then please join in and link up your creativity HERE

All links go in the draw to win a voucher to spend on products of your choice from the PaperArtsy online store. The Fresco Paints link will close 17:00 (London Time) Sunday, March 8th, winner will be announced 2 hours later at 19:00.

Wednesday, 25 February 2015

2015 #4 Miniature Wearable Book! {by Keren Baker}

2015 Topic 4: Miniature Art

Hi everyone Keren here, joining you this evening with a post about creating miniature wearable art. I love creating detail on projects decided to make a useful piece of art that you can both wear plus use to jot down last minutes notes or a phone number! I wanted to re-purpose some bamboo tiles I'd held onto for years!


To create this- I gathered together some Nougat Fresco paint and the Lynne Perrella sets LPCO32 & LPCO34. The smaller images are perfect for this project.

I painted a couple of layers of Nougat which is a brilliant skin tone colour and if you paint it as the base layer, it's easy to add the colour on top. In order to create the mini book, you need the flatter side as the inside to stick your pages too, so the outside needs to be the slightly curved side. Stamping onto a curved surface is more challenging. I put the stamp to the tile & by using the Flexi Blocks you have much better control.

Now it's just a case of painting all the details on the face- you need a tiny brush & used a variety of opaque and translucent colours so I can add layers of paint on top of each other. Here's the colours I used;

Gorgeous aren't they?! I've used some of the brand new colours which are simply beautiful. Once painted leave to dry well as you're going to need to manipulate the tile a little when sticking the pages into it.. and trust me, you aren't going to want it to smudge ;-)

Next. onto the mini-book bit- apart from simple copier paper and thread, these are the extra supplies I used.

Now you need to cut a piece of cardstock that is the same size as the tile and also some folded pieces of paper the same size too.

Add six little dots in the centre of the folded pieces, prick each one through, stack all the folded pieces and then backstitch through all the pages. Stamp and decorate some of the pages.

Then add a folded piece of cardstock a little smaller than the pages and use this to glue to the bamboo tile and the back piece of cardstock.

And that's it! Leave to dry under a slight weight. Thread the wire through, twist, add beads and a jump ring. Thread some sort of ties or necklace to complete it.

I'd love to see what you create. If you can't find bamboo tiles - ordinary dominoes would do perfectly. You might find it easier to sand each domino down first before adding the paint. 

To attach a jump ring, you can find flat back connectors at jewellery finding suppliers.

If you wanted to make it more long-lasting, simply add one of PaperArtsy's glazes onto the front and back. It doesn't need to be a necklace- you could create a gift of several mini notebooks in a small box or even fashion a fabric bag to add the notebook into when it's in your bag. Do have fun making miniature art- it's wonderfully absorbing and takes such little time. Plus, you never have worry about what to fill that leftover bit of space on your project- because there's so little space to fill ;-)

xx

Keren Baker
Twitter: @craftstampink

Ohhh how cute Keren. I have a domino necklace, but not a bamboo one with a book in it!!! The bamboo tiles are lighter too, and the drilled hole is handy too, I remember getting Mr PA to drill my dominoes for me so i could wear them, does require a bit of clamping.

We would love you to join in with challenge #4: Miniature Art. If you are inspired by any of our guests who blog with us over the fortnight, then please join in and link up your creativity HERE

All links go in the draw to win a voucher to spend on products of your choice from the PaperArtsy online store. The Mini Art link will close 17:00 (London Time) Sunday, March 8th, winner will be announced 2 hours later at 19:00.