2021 Topic 9: Baubles & Bling
It
might not be cool Christmas weather and Helen has brought 'heat' to the
topic with warm fiery colours. She's definitely added the 'bling' but
it still retains a beautifully restrained artsy style. I love how she's
used the Relief Foil Paste on so many different elements and look out
for the diamante leaves!
~ Keren.
~ Keren.
Hi everyone, it's Helen with
you today, and I'm here to share with you my Baubles and Bling project -
yes, Christmas in June (that's when I made it!) I've not used my usual
Christmas colours but bright orange and red, which are quite hot and
summery, and teamed them up with icy white and silver. And boy, have I
added bling! I figured if it was going to be sparkly I might as well go
all out. I've used a lot of Grunge Paste stencilling, some of it foiled,
some of it stamped over, some of it outlined and all of it creating
great texture.
I started with an 8x8 canvas board and the Grunge Paste.
I'm actually using the reverse of the board and both text and image stencils.
Both
stencils are by Sara Naumann - I like her designs. I don't know what it
is, they just appeal to me, maybe because they contain different shapes
and elements so you can use them whole or just in sections.
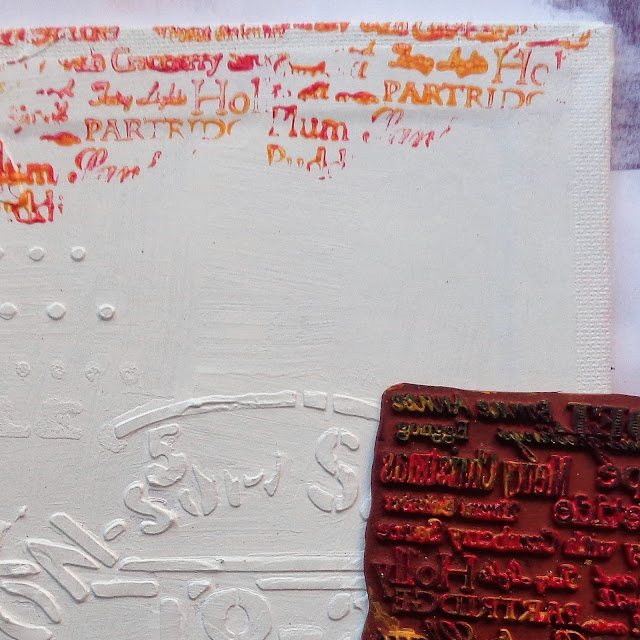
I don't bother with a block for this, just dip in the paint and go for it.
The stamps used here are Ink and the Dog. Love how the paint colours work so well together.
The baubles
were stamped in coordinating inks and then painted with the same
colours, using a stamping platform. Leave the stamps on there. To
add some shimmer and shine I thought I'd overstamp with foiling gel. I
used Rich Hobby 3D Relief Foil Paste. You could also use a sticky
embossing powder.
Dab on lightly, let dry slightly...
I was really pleased with the detail it picked up.
I love the way these baubles have got dimension - you can see the curve.
You can add foiling to the Grunge Paste in the same way. Reapply the stencil and sponge on the foiling medium.

Don't expect perfect coverage - you're going for a textured effect.
Add definition with a Posca pen.
I wasn't sure if I liked that after I'd done it, so smudged it out a little.
I made a larger bauble using the same techniques.
And went to town blinging it up!
Bling the three smaller ones and wire them up.
You can really pick out the foiling here.
I decided to make the big bauble because it fits well into the circular stencilling...
..and you can get more bling on!
Finishing touches.

I
have to admit when I thought of baubles and bling in June, my heart
sank just a teeny bit. However it proved to be a really fun project, in
part I suspect, because of all the bling and also because I used colours
that were different for me.
I
also discovered that you can stamp and stencil with the foiling gel and
get a good image, a technique I'm definitely going to use again. It
also works really well with embellishments - see the foiled metal name
plate.
Believe
it or not, the silk ties on the side go back to a project I made last
year - the typography art doll with the torn silk skirt. Knew the scraps
would come in useful!
Hope this has inspired you to get out your Ink and the Dog stamps (some wonderful images there) and your bling!
Blog: A Splash of Colour


4 comments:
A wonderful project for the topic , Helen . Tfs your process - some cool ideas and techniques . x
Nice use of the foiling technique on those large ornaments. That product is in my fugture, Helen! Thanks.
A gorgeous project Helen!
Amazing project Helen. I love how you've used the older stamps.
Post a Comment