Sunday, 24 June 2018

2018 #11 Enshrined: Hidden Treasure with EKC {by Christine Dark}

2018 Topic 11: Enshrined - Hidden Treasure


It's always a pelasure to open up something and get an unexpected surprise! This is exactly that! Lots of tiny details to explore. ~ Leandra

Hi everyone, it's Chris Dark here with you today, and I'd like to share with you my enshrined project. When I saw the topic and also a sneak peak of Kay's gorgeous new stamps I immediately thought of a built up die cut aperture with the little dragonfly inside but hidden somehow. I like the idea of something to open with viewing treasure inside. 


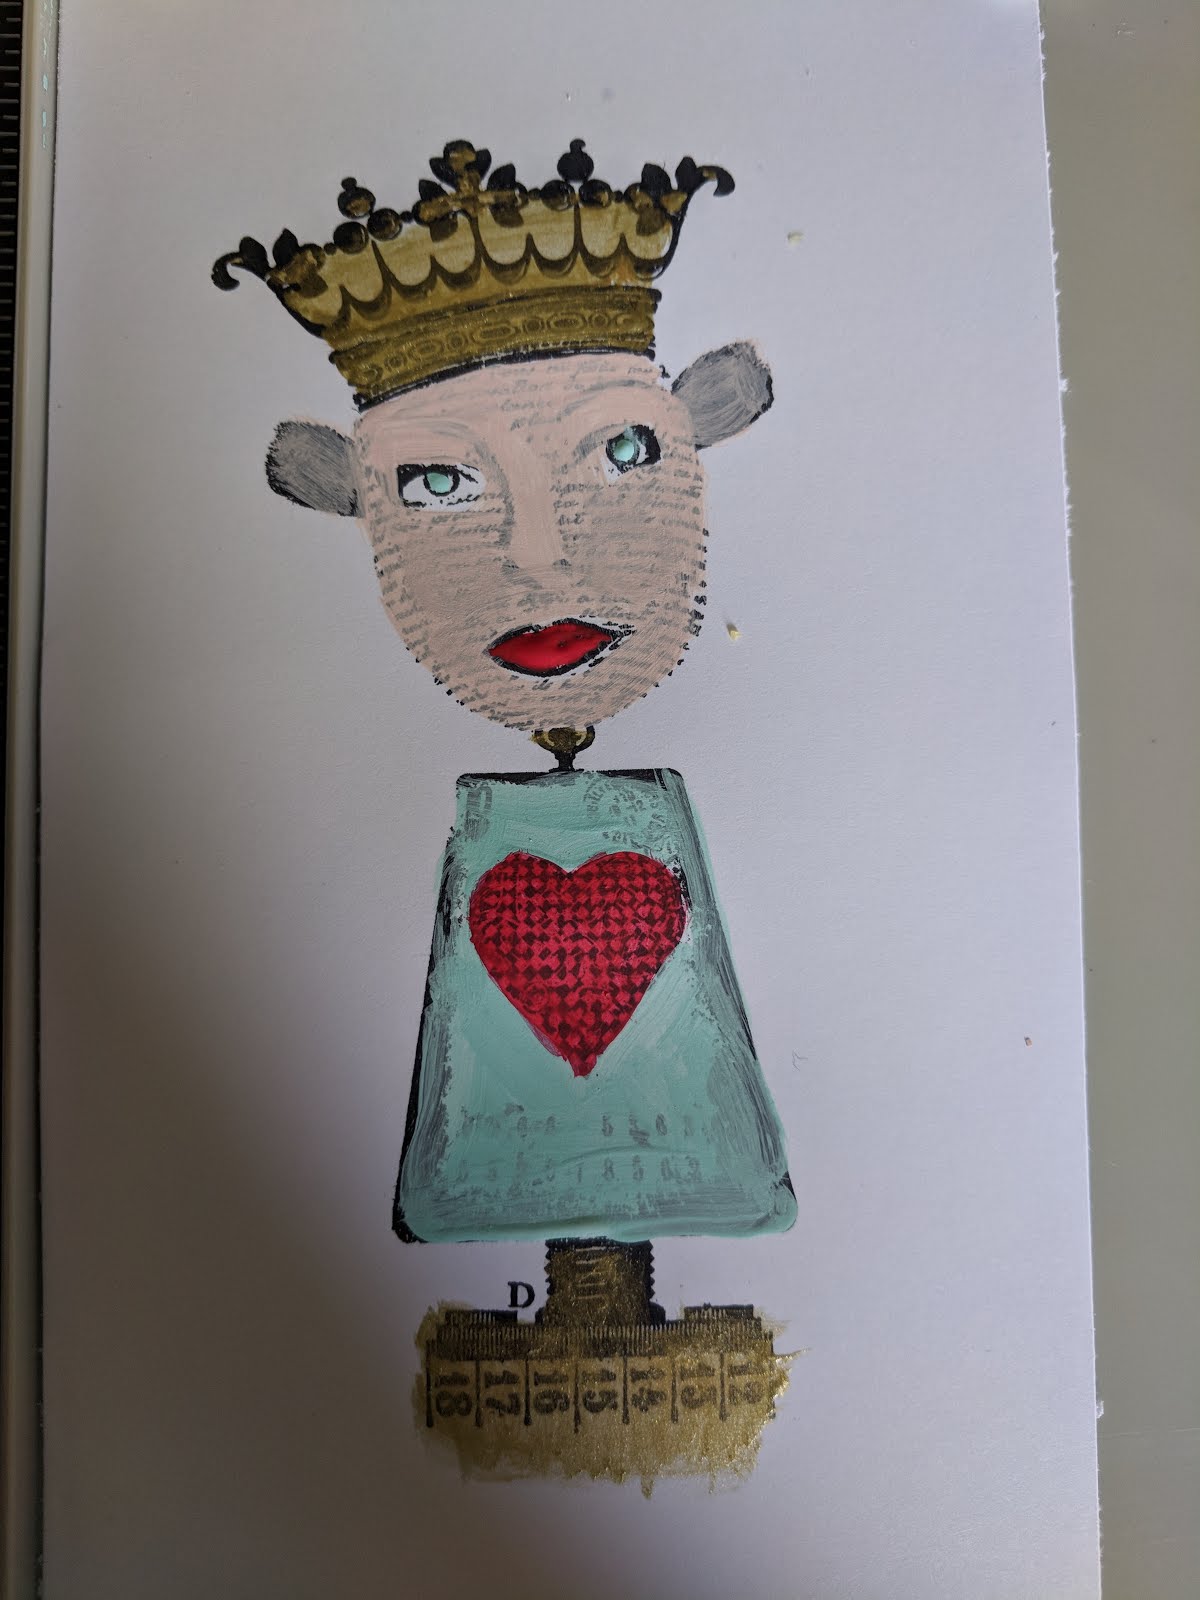
My starting point was master board using a pretty colour combination of Fresco Finish Chalk Acrylics in Prawn, Butternut Squash, Sherbet, Caribbean Sea, Snowflake, Granny Smith and Infusions in Are you Cerise, BlackcurrantGolden Sands, A bit Jaded, with Kay's beautiful new stamp set EKC18 and her new stencil PS096.(both new products available from stockists now - list here)


Eclectica³ Kay Carley 018 (PS018)

PaperArtsy Stencil {EKC} 096 (PS096)

I do enjoy seeing what I get when playing with these products together in multiple layers, it's very satisfying. I stamped with dye inks over the masterboard, adding brayered white paint before the focal stamping which helped to bring everything together and make the white stamping stand out. I often do this if I feel things are becoming lost in the background colour but I go very lightly and not everywhere so that I don't obliterate everything.


The focal images are stamped in white adding details to some of the stamping with dots of paint and fill in colour in some of the flower heads.  I was pleased that I managed to line up the stamping over and under the doorway I created to hide the treasure within.


The die cut heart is cut from a piece of the masterboard plus two layers of thick corrugated card, the cut out from the masterboard decorates the inside of the door.


A lovely design detail of this stamp set is the sentiment which is widely spaced so that you can easily cut it apart, thanks for that Kay, it's a great idea!

In finishing off the I roughed the edges with a craft knife and added gilding wax but in hindsight I think a plain base layer might have been a nice addition but overall I love how the grasses and other focal stamping are lined up above and below, inside and outside the doorway making the doorway merge in.  

If you haven't joined in with the enshrined challenge I hope you'll give it a go, there are so many ways it can be interpreted and so many styles of PaperArtsy stamps that will suit it! Thanks for joining me tonight and I hope you have a creative week!

Blog: www.sketchingstamper.blogspot.co.uk
Facebook: https://www.facebook.com/christine.dark.7
Instagram: @chrisd999
Pinterest: https://uk.pinterest.com/cdark4163/


To join our challenge and win a NEW Zinski apron:
Simply make something arty relevant to the topic, and link your creation from any social URL (eg. Instagram, Pinterest, Blog Post etc) sharing your original make to this challenge page.

The current topic link Topic 11: Enshrined will close 17:00 (London Time) Sunday, July 1st 2018, and the winner will be announced 2 hours later at 19:00.


All links go in the draw to win a PaperArtsy creative apron. Please make sure we can contact you as a prize winner - it helps if you share your contact info from the platform you opt to use.

Good Luck! If you have any questions, don't hesitate to ask!

Saturday, 23 June 2018

2018 #11 Enshrined: Altoid Tin Shrine with EEA {by Claire Snowdon}

2018 Topic 11: Enshrined


Oh boy, Claire has reminded me of another thing we used to do a lot back in the day - alter altoid tins! Great idea for an enshrined project too!!! ~ Leandra

Hi everyone, it's Claire Snowdon with you this evening, and I'd like to share with you an altered 'altoid' type tin.  I got this little tin from eBay for a very reasonable price - I liked the little window in it :)


Originally I'd planned to alter my tin in a grungy/rusty type style however when I went to my box of Fresco Finish paints the lovely Dusty Teal just jumped out at me!  I started by giving my tin a base coat of Fresco Finish Chalk paint.  Then painted the tin lid in Fresco Finish Bubblegum and the base in the Dusty Teal. 


The internal image is from the EEA04 stamp set.

 Eclectica³ Everything Art Set 04 (EEA04)


I love the collage style stamps the Everything Art guys have created across their stamp designs and this one was the perfect size for my tin.  I stamped the image in Onyx Black Versafine and then coloured it using Prima watercolour pencils.


I drew around the base of the tin on the image and cut it to size.  I popped it in and raised it up a bit using foam pads.  I added the piece of bandage to the bottom of the image to nestle her inside the tin.  Then to add a bit of something extra I added the piece of flowery ribbon around the outside.


I used the fab little script stamp from the same set to stamp onto the tin lid in Archival Watering Can ink.  Then stamped and cut out the words from the same collaged image inside the tin, edged it with black and added to the front of the tin as well.

As a finishing touch I added White Fire Treasure Gold all over my tin edges to give it a bit of bling.


This was a fun little item to alter and I hope you can find time to join in with the challenge and see what projects you can create!


Thanks for visiting the blog today,
Claire x

Blog
Twitter
Instagram
Pinterest

To join our challenge and win a NEW Zinski apron:
Simply make something arty relevant to the topic, and link your creation from any social URL (eg. Instagram, Pinterest, Blog Post etc) sharing your original make to this challenge page.

The current topic link Topic 11: Enshrined will close 17:00 (London Time) Sunday, July 1st 2018, and the winner will be announced 2 hours later at 19:00.


All links go in the draw to win a PaperArtsy creative apron. Please make sure we can contact you as a prize winner - it helps if you share your contact info from the platform you opt to use.

Good Luck! If you have any questions, don't hesitate to ask!

Friday, 22 June 2018

2018 #11 Enshrined: Captured Fairy with EEB { by Carol Fox}

2018 Topic 11: Enshrined


PaperArtsy HQ intro to the post / and the blogger... 

Hi everyone, it's Carol here from Welcome 2 My World with you today, and I'd like to share with you a sardine shrine. I adore the shape and size of sardine tins and to me they just scream to be altered.

I have altered mine to a fairy theme, well a bit fairyish !! this poor little thing has been caught in perpetual winter.The season clock is stuck on winter with her hopefully looking at it to see if it will ever move onto spring. All it needs is one more turn of the key and that clock will ping onto spring. But that is never going to happen. I hope you enjoy reading how I created my project.


I used a real mixture of products on this, from Fresco Paints, Grunge Paste and Infusions along with Elizabeth Borer's great stamps.


Before I did anything else I gave my tin a coat of Snowflake Fresco Finish paint, while this dried I dug around and found a few bits and pieces I thought might be useful to use.


I decided I wanted to layer tissue paper over my tin, so I brayered Fresco chalk paint in shades of Blue Lagoon, Double Denim and Magic Moss (all from FFSA3) onto my craft mat, gave it a good spritz with water to really wet and mix it and then picked up the colour with a piece of tissue (I used the piece that my Stamps had come wrapped in - PaperArtsy often ships products wrapped in tissue).


Once it was dry I tore a strip long enough to wrap my tin and stamped one of the Decorations from Stamp Set EEB01 onto it.

 Eclectica Elizabeth Borer Set 01 (EEB01)

I used Jet Black archival ink and holding the stamp in my hand and rotating it to get a really random look.


Using Multi medium as glue I tore the tissue up and covered the tin in it.


I had painted my wings and crown with the same paints I used on my tissue but I now decided to add grunge paste to my crown so I used stencil PS052 as it fitted onto the crown really well.
PaperArtsy Stencil 052 (PS052)

Next I applied the PaperArtsy Grunge Paste with a pallet knife. I repainted it when it was dry, adding some Gold and Little Black Dress Fresco Paint to my crown and my wings to distress them a little.
 

I made a little four seasons clock from an old watch face, some typed words and a metal spinner. Popped this in the corner with some white glass beads and then added my stamped image layering it up a little higher with some sticky fixers.


My roses were cheap little ones that you buy in bunches and I coloured them by adding a little bit of Infusions to water and then dipping them in. I had never done this with Infusions before, but I was pleased how they turned out. I found the colours Rusty Car, A bit Jaded and Sleight Blue worked well for my project. I coloured a few fabric petals in the same way.


I layered some Stamped and coloured ivy leaves (from the same Stamp set by Elizabeth Borer) around the outside of the tin as the edge looked a bit empty and I then added a couple more roses so they came down over the edge a little bit. This does nearly cover the little crowns I put on the bottom as feet, but never mind.


I have not made a project like this for a while as I now mainly Journal or do flatter things so it was lovely to do a 3D item again.  You can tell a story with your projects and really have fun with them. I did realise after I stuck them on, that crowns on a sardine tin as feet are not a good idea as the bottom is a bit to rounded and it does tip slightly and the weight of the key on one side is not helping, but it will stand which is the main thing, but you may have noticed I photographed it laying down just in case if fell over mid shot.
I really look forward to seeing your entries for the challenge as I found this a really fun topic and I hope you do too.

Carol

You can find me at the following places.

Facebook: Ginger's Altered Bits
Instagram: Carol Fox
Pinterest: Carol Fox


To join our challenge and win a NEW Zinski apron:
Simply make something arty relevant to the topic, and link your creation from any social URL (eg. Instagram, Pinterest, Blog Post etc) sharing your original make to this challenge page.

The current topic link Topic 11: Enshrined will close 17:00 (London Time) Sunday, July 1st 2018, and the winner will be announced 2 hours later at 19:00.


All links go in the draw to win a PaperArtsy creative apron. Please make sure we can contact you as a prize winner - it helps if you share your contact info from the platform you opt to use.

Good Luck! If you have any questions, don't hesitate to ask!

Wednesday, 20 June 2018

2018 #11 Enshrined: Expert Advice with HP {by Miriam Grazier}

2018 Topic 11: Enshrined


There's something that is super magical about creating 3D projects! Miriam has pulled out a popular Hot Pick to create this shrine! and of course, she's used her favourite teal paints too! ~ Leandra


Hi everyone, it's Miriam with you today, and I'd like to share with you a small MDF shrine that I have altered from That Craft Place.

I planned to use three different sets of Hot Picks stamps for this project but found that Hot Pick 1604 had all of the stamps that I needed.  I just love this set.  The main image made the shrine look like a mini stage and a great setting for the art doll.

Hot Pick Set 1604EZ (HP1604EZ)

I found that using only a few colours made the stamped images stand out more.  I was also able to use my Tim Holtz Stamping Platform to re-stamp the image once i had painted it.


I really enjoyed creating this project, the colours were 'light' and reminded me of light summer evenings.


What was really great was that the front of the shrine was over-painted 4 times because I was not entirely happy with the finish.  This shows just how well the Fresco paints cover and they worked with the MDF shrine beautifully.


I chose the wonderful number background from Hot Picks 1604 to stamp the back of the shrine using Captain Peacock Fresco Finish Chalk Paint.  I loved how distressed and imperfect this looked.  


The bingo pieces were painted with Granny Smith and then rubbed with Treasure Silver.


I really love how I can use the Stamping Platform to stamp over a painted image - this still amazes me. Stamp, paint, re-stamp and everything looks perfect!


I really loved how this project came together using a handful of paints and only one stamp set.  I really hope that I have inspired you to have a go at creating an enshrined project yourself.  There are so many possibilities and as I was creating this I thought of so many additions that I could make - such as using crackle on the outside of the shrine and using coloured Grunge Paste on parts to give more texture.

Thank you for joining me this evening.  I hope you enjoy the inspiration from the PaperArtsy team this fortnight  and I really hope that you join in and share your projects with us.

Blog: Miriam's Creative Dreams 


To join our challenge and win a NEW Zinski apron:
Simply make something arty relevant to the topic, and link your creation from any social URL (eg. Instagram, Pinterest, Blog Post etc) sharing your original make to this challenge page.

The current topic link Topic 11: Enshrined will close 17:00 (London Time) Sunday, July 1st 2018, and the winner will be announced 2 hours later at 19:00.


All links go in the draw to win a PaperArtsy creative apron. Please make sure we can contact you as a prize winner - it helps if you share your contact info from the platform you opt to use.

Good Luck! If you have any questions, don't hesitate to ask!

Monday, 18 June 2018

2018 #11 Enshrined: Welcome to my Home with EDY {by Helen Chilton}

2018 Topic 11: Enshrined


Another extraordinary post from Helen Chilton to kick off this blog topic! I love what she has done with Darcy's newest stamps, a veritable fairground of excitement! ~ Leandra

Hi everyone, it's Helen with you today, and I'd like to share with you my project on the theme 'Enshrined". When I first saw this theme I thought of Russian icon type things but that didn't really fit with my stamps.

These wonderful figures by Darcy just begged to be cut out and sat with bent legs to create dimension.These characters are also fun and quirky so I decided to make my shrine equally so. In contrast to my last very muted post colourwise (Vintage Neutrals), this time I went all out with vivid, in your face colour which should brighten up any day.


I'm using some of Darcy's recent stamps and a Kim Dellow stencil...

 Eclectica³ Darcy Set 21 (EDY21)

PaperArtsy Stencil {EKD} 040 (PS040)


I'm making my shrine from a large plastic ribbon spool.


I thought I'd put houses round the edge so stamped a long strip to fit - note they're all at different heights to add interest.


Colouring was easy - I went as bright as possible! I've used Distress oxide ink re-inkers as they're very quick to use. It's also much quicker to watercolour all the images at once - I tend to do all the yellow bits, all the green bits etc., working from light to dark so you don't have to change the water too often.


This white Posca pen is great for stencilling. I liked Kim's design as the circles and stripes fit well.


Not being that great at cutting circles I just got out the emery board to rub down the edges.


Then it's really a case of putting it all together. The houses at the back tuck into the strip and are fixed that way.


I added wire to make it a bit more enclosed and 'shrine-like' (maybe I'm thinking of 'entombed', not sure?) and then added twiddly bits.


I reinforced the back of each figure with a cocktail stick.


Love the way he really sits on the edge.


I've added a strip round the tiny cotton reel as well.

This has to be one of my favourite type of projects to make - I love working out how to design and construct something and these stamps were really inspiring. I was working on quite a tight time frame for this so needed something that was quick to make yet effective.

Upcycling a ribbon spool meant that the characters were literally put on a pedestal - have a look round at what you've got to see what you could use to make your shrine. I looked at a glass bottle, boxes, tins, the back of a canvas....

I hope this has inspired you to have a go!  
Helen

Blog: A Splash of Colour


To join our challenge and win a NEW Zinski apron:
Simply make something arty relevant to the topic, and link your creation from any social URL (eg. Instagram, Pinterest, Blog Post etc) sharing your original make to this challenge page.

The current topic link Topic 11: Enshrined will close 17:00 (London Time) Sunday, July 1st 2018, and the winner will be announced 2 hours later at 19:00.


All links go in the draw to win a PaperArtsy creative apron. Please make sure we can contact you as a prize winner - it helps if you share your contact info from the platform you opt to use. We have NEW APRONS ARRIVING ANY DAY - we're super excited!

Good Luck! If you have any questions, don't hesitate to ask!