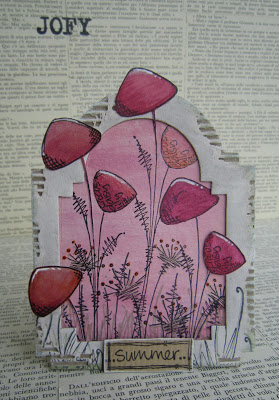
So, not that we're intent on spoiling you or anything, but today's 'Spesh Sleb' is Lin Brown.
I have had the pleasure of demoing alongside her at Stevenage, Version Scrap and most recently Ally pally, and she has made loads of this style of creation below at all those events.
She has been making amazing background with paints and grunge paste, and then layering onto these her stamps printed onto black card stock. As always with Lin, the attention to the detail in the finishing touches is always spot on; be it a button, metal charm or a splash of ribbon and a dab of treasure gold. Once you see the process, you soon realise it's totally achievable, so we do hope you will jump in and have a go too!
So, without further ado, here's Lin:
"At the moment, I feel like I am living a double life. There is my college life where my days are filled with fabric, procion dyes and sewing machines and then there's my inky painty life which at the moment is all about flowers, texture and paint.....I personally feel that you can never have too many flowers in your life so I would like to share a project with you today that is typical of my current style".
I cut a piece of corrugated cardboard from an old box (approx 16 x21cm), glued a couple of pieces of book pages in two of the corners and the tore away a few pieces of the top layer of paper from the cardboard.
My work of late is all about layers and depth of colour so I chose two neutral colour, opaque Fresco Paints to colour the cardboard as I wanted the colour of future layers to be true to their colour. These are Stone and Elephant which are two of the brand new colours.

Before painting my base layer, I wanted to add some texture with Grunge Paste which is a super fine, fast drying paste. I chose a stencil that is in keeping with my botanical theme and when the piece is finished, this layer will appear to be a middle layer so it's kind of important to choose wisely. I only wanted to use one of the flowers on this stencil as they are quite close together.
I used some masking tape to ensure I only got paste through the desired flower. The stem was not quite long enough to reach the bottom of the card so after removing the stencil and drying the paste with my heat gun, I was able to re-position the stencil to extend the stem. It was at this point that I realised that my single flower was looking jolly lonely, so I went ahead and added a baby flower as well.
I used some masking tape to ensure I only got paste through the desired flower. The stem was not quite long enough to reach the bottom of the card so after removing the stencil and drying the paste with my heat gun, I was able to re-position the stencil to extend the stem. It was at this point that I realised that my single flower was looking jolly lonely, so I went ahead and added a baby flower as well.

Using a wide paint brush, I covered the board with Stone paint, taking care to work the paint into all the little textured areas but also using a baby wipe to wipe back the paint over the book pages so that you can still see the text. When I was happy with the coverage, I blended in some of the Elephant paint then dried it thoroughly.

Next up, Snowflake. I love using this white paint as a resist layer, it never lets me down, it always show beautifully through whatever layers of translucent paint, I put over the top. As you can see, I chose two stencils for this. The Bingo and Chicken Wire stencils are long term favourites of mine. I like them because they are very fine stencils, after all, this layer is supposed to be a background and I don't want it to be too busy otherwise it will be fighting with the foreground for attention. Make sure your grey layer is dry, then add the snowflake. As its opaque, it effortlessly blocks out the grey layer below.

The next layer is Hey Pesto.....I do love a bit of green!!!! I painted two areas with this gorgeous translucent paint (applied with vertical brush strokes). Then I immediately used a clean baby wipe to drag the colour to the opposite end of the board, fading it out to nothing, and dried it thoroughly.
You might have noticed a bit of a pattern emerging here....it is really important to dry between all the layers. If you don't dry, you will not have amazing layers of colour, you will have a muddy mess!!

Now repeat the last step again, but with Inky Pool.....don't forget to dry!!

It was at this point that I started to think that it would be nice to keep the edges of this project shabby, so I dry brushed a tiny amount of Stone paint around the very edges.

Followed by a little bit of Mud Splat for definition.

Now for the Treasure Gold......Oh my, I love this stuff so much, it simply brings a project to life! I use a small brush to apply it, almost like a dry brushing technique, you don't need much of this stuff and it dries super fast and then you can buff it up.......a really beautiful effect. I used a bit of Spanish Topaz and White Fire. Spanish Topaz is an often an overlooked colour, but I use it constantly, the warmth and 'pop' is stunning.

I used a script stamp from Sara Nauman's ESN03 with Archival Sepia Ink to fill in a few gaps. No acrylic block required, just bend the stamp to print small sections of text to finish off the background.


I love, love, love using Fresco Finish Paint on black cardstock, it is quite a dramatic look and I'm a bit addicted to it at the moment. However, I have figured out some tricks!
In order for translucent paint colours to show up on black card, an opaque colour will be needed underneath it. I have found that by layering all my required colours directly onto the stamp, I can print gorgeous leaves, which accidentally get a kind of variagated effect from the layers of paint sucking up and off the card as you lift the stamp off the paper. I started with Honey Dew, added some Hey Pesto over the top followed by a smidge of Green Olives around the edges.

This is what you get. I printed several of these as I wasn't sure how much foliage I would need to complete my project. Once stamped, trim, leaving a narrow black border.

Next, I cut two flowers out of black card using my Eclectica³ Bloom Die (available from PA retailers now) and scraped some Grunge Paste through stencils onto them. I also die cut two flowers using Grunge Flower 1 out of Crunchy Paper. Grunge Flower 1 is slightly bigger than my Bloom die so they layer up nicely. At this point in time, I'm not sure if I will use all of these but it's easier to make them now and save any extras in a box for future use.

I added a few layers of paint, Pumpkin Soup, Brown Shed and Claret.
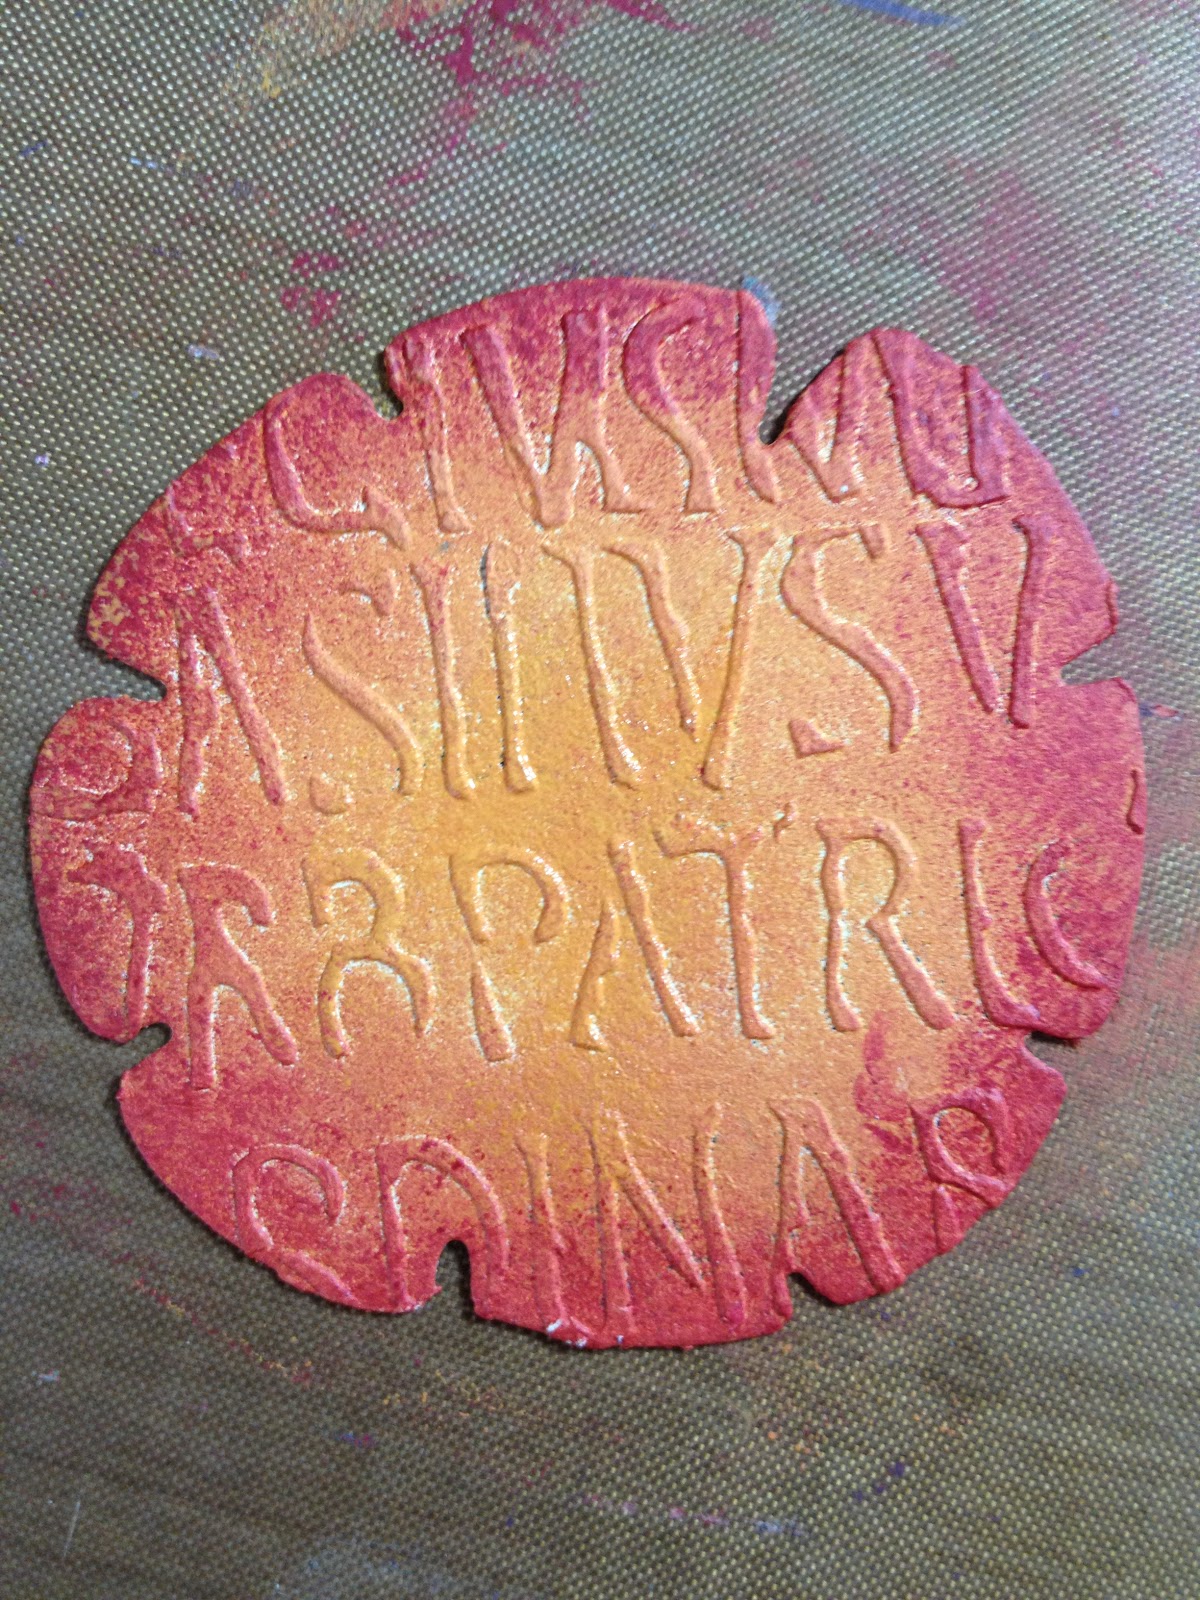
I painted the Crunchy Paper flowers with Squid Ink and added White Fire Treasure Gold to all flowers. I snipped between all the petals with my scissors to give the flowers a bit more movement.

I painted a button with Squid Ink and White Fire Treasure Gold as embellishments to my flower.

I stamped a few flowers on some more books pages using Pumpkin Soup and Claret. The pages will need to be glued on some cardstock for stability. I chose to stick them on black card in order to give them a black border to match my leaves.

Now it is time to start laying things out on the background.....don't stick anything down yet!!!
You will notice that I didn't use my two large blooms after all, they just didn't sit well together, so I quickly made another flower centre using one of my other stamps from ELB01 and cut out the centre part. When layered on black card and then on the Crunchy Paper flower, it worked much better than the texture paste one.
 |
| ELB01 |
 |
| ELB03 |
You will notice that there was quite a large area to the top left of my background that was looking pretty empty, so I quickly made a little filler, using the phrase "The Beauty of a Garden" stamp from this plate.
 |
| ELB02 |

With the addition of a final flower, some ribbon, buttons and mounting the whole thing on black board, it's finished. Sorry that this turned out to be a bit of an epic post but I thought it might be quite nice for you to follow the thought process throughout the whole project.

I took my final photograph in the garden, in the hope that the colours would come through as the day I made this was such a dreary day.

I hope this inspires you enough to have a dabble at making some of your own flowers, and enjoying the fun that comes from dabbling with Fresco Chalk Paints!
Lin x
Thanks Lin, It's so useful to see the stages involved in a project's life. And it's lovely to have you do something for the blog too. :)
If you would like to take a class with Lin, or see her demoing her signature products and other PaperArtsy items, then these are the upcoming dates she has booked into her diary.
The Craft Barn Extravaganza, Demo days, Sat/Sun June 1/2, Redhill, Surrey
Lin will be demoing her Eclectica³ line of stamps and dies with Fresco Paints, Grunge Paste, Treasure Gold and more. A chance to sit and chat with Lin about how she creates.
The Craft Barn, Workshop, Monday 3rd June, Redhill, Surrey
A class with Lin using Eclectica³ stamps and dies, Fresco Paints, Grunge paste.

Colemans Craft Warehouse Demo Day Saturday 27th July
Come and watch Lin as she demos all things PaperArtsy for Colemans.

Crafting Time Workshop 17 August (How does your Garden Grow), Shepreth, Cambs.
A fantastic class is planned for this day and a great way to understand some of the basic principles of working with Fresco paints. Learn how to use Lin's unusual hand carved style of rubber stamps and matching dies from the Eclectica³ collection.
(picture is NOT the class sample but an indication of Lin's recent work with these products)

Crafting Time Workshop Sunday 1st September (How does your Garden Grow)
A fantastic class is planned for this day and a great way to understand some of the basic principles of working with Fresco paints. Learn how to use Lin's unusual hand carved style of rubber stamps and matching dies from the Eclectica³ collection.
(picture is NOT the class sample but an indication of Lin's recent work with these products)

Lin also teaches classes monthly at the Bead Scene, examples of which are below. Keep your eyes firmly on her site (links below) for future dates and classes, you need to book the day she releases the classes or you'll miss out, places are limited.
Alternative Stamping (sold out), Saturday 27th April, The Bead Scene, Potterspury, Northants.

Secret Garden (sold out), Saturday 18 May, The Bead Scene, Pottersbury, Northants.

Shrink Plastic Bracelet (sold out), Sunday 30th June, The Bead Scene, Pottersbury, Northants.