Showing posts with label PaperArtsy Dies. Show all posts

Thursday, 27 June 2024

With 3 Things: Journal Spread {by Liesbeth Fidder - de Vos}


Hello everyone it's Liesbeth here with you for another With 3 Things post. So much fun!

This feature on the PaperArtsy Blog is where 3 bloggers are sent 3 items in the post. We have no clue what PaperArtsy HQ is going to send us, there might be a slight variation (for example on this round we each were sent different stamps sets from the same release) but generally 2 of the 3 things will be identical.

This are the 3 things: the lovely cutting die Small Songbird, Alison Bomber's Printed tissue PT08 and a zen stamp set PaperArtsy FP021!


It was so exiting and fun to unpack the three things! And I am so curious about what the other two bloggers come up with!

The current blog topic has just been Books & Journals, so I was thinking about an art journal spread, and of course I want to include our quarter theme, hidden'. As always, I just start, have fun and see what will happen!


And this was the result, a journal spread with a hidden text ...... let's take a closer look.


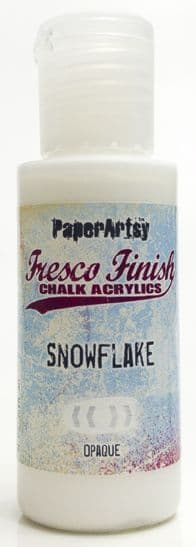
First I covered the entire spread of my A5 journal with a piece of the printed tissue paper using gel medium. After drying I painted a diagonal stripe across the spread with PaperArtsy Fresco paint Snowflake to cover the images a bit. Using Distress inks and blending tools, I sponged overlapping areas with lots of colour.


Here I bleached (with pure bleach and a synthetic brush) the branches, flowers and berries of the tissue paper. With black waterproof ink I stamped the flowers, berries and texts from the  PaperArtsy FP021 stamp set, And also some of the other stamps with the Distress inks I used before. I used every stamp of the set!


I coloured the berries with different gel pens and the big flowers with Distress inks and water and I cut  the bird 3 times out of an old book page, sponged the edges with black ink and glued the birds on the spread...


...as you can see here.


Let's hide something! From another sheet of the Printed Tissue I cut out the same leaves as I used in the first layer, glued it on a piece of white cardstock, cut out and coloured it. I added a tiny hinge and covered the leaves and text with it by gluing the other side of the hinge in the spread. I finished the spread with black edges and white gel pen.


The hidden text! :-)

This was so much fun to do! I love the challenge to play with three things! And now I really can't wait to see what the other girls make! I hope we inspire you, have fun!

Have a nice day, 
                           
LiesbethXX

Blog: Liesbeth's Arts & Crafts (www.liesbethart.blogspot.com)
Instagram:liesbeth_fidder


Wednesday, 15 October 2014

GD: Clare Lloyd Project #3 Festive Gift Box

"Evening everyone, Clare back with my last project for October and tonight I am going to make a little festive gift box. It's never too early to start right"!!


I simply rollered London Bus onto some Smoothy card and created my little gift box net by stamping/heat embossing images from my Nordic inspired Christmas stamps ECL02.


Then I cut it out, scored and glued to fit it all together.


As a closure and finishing touch to my project I used the off cuts of my red card, die cut a couple of little hardware elements using Hardware 1 and then stamped/heat embossed the hardware images from Hot Pick Xtra 05. I attached 2 of the elements onto the main box to make the closure using brads and made a little tag with the rest. These were threaded together using some co-ordinating twine.


Here is my finished festive gift box all filled with chocolates, a perfect little gift for anyone. Needless to say the chocolates aren't going to make it to Christmas, a crafter's perk! I hope I have inspired you to join in with this months challenge.

~Clare~

A huge thanks from all at PA HQ. Beautiful embossed detail and the traditional colour scheme is perfect for this festive project. Thanks for sharing your creativity with us all this week and good to have you back Clare.

We would love you to join in with our monthly challenge. If you are inspired by any of this month's guests who have blogged between Oct 1st 2014 and Oct 31st 2014 then join in and link up your creativity HERE. You will go in the draw to win a £50 voucher to spend on products of your choice from the PaperArtsy online store. You need to add your link by 19:00 (London time) Oct 31st 2014.

Tuesday, 12 August 2014

GD: Penny Nuttall Project #3 Thinking Inside The Box


"Hello everyone, Penny here and welcome back for the finale! Tonights project follows on from our scroll last night ... Every scroll needs a casket right?? So here it is".


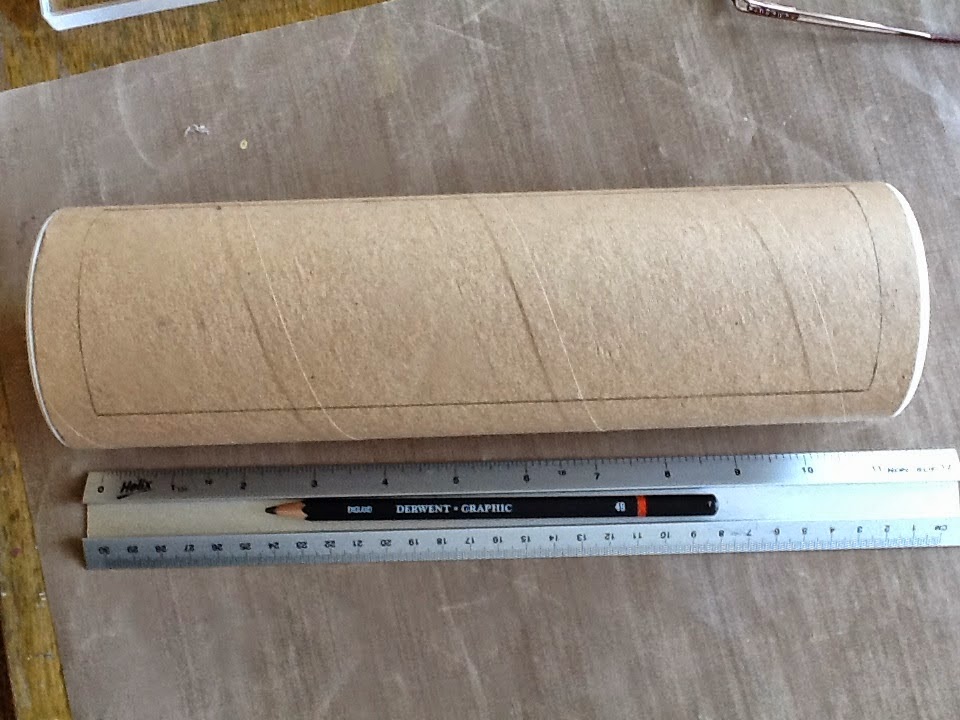
I started with an ordinary postal tube and marked out a cutting line for an opening lid.


Time for the serious paper crafting tools! and a craft knife for the straight bits (make several shallow cuts rather than trying to cut right through all at once).


I hinged the lid with a strip of cotton tape.


I painted the whole thing in blended layers of Haystack and Very Berry Fresco and stamped images from HotPicks 1302EZ and 1305EZ in Baltic Blue and Archival Inks ( the stamps will bend easily round the tube for stamping).


I added gilding foil with a light brush of medium and an iron (carefully!), lace and ribbon trim, and painted cotton reel feet.


Finally the flowers, die cut in felt and paper with PA Grunge Flowers #2 and 3 cutting dies.


All done! Would make a lovely heir-loom with transferred family photographs on the scroll.


I hope the last three posts have given you some ideas of your own to play with and that you join in with the challenge this week.


Many thanks for your supportive and encouraging comments. Until we meet again!


~Penny ~

Leandra Says: How very funny, that casket is superb! We have loved watching your brain tick this semester Penny!! Thanks for such an array of inspiration!

Gillian Says: What a finale project ... beautiful! Thank you for sharing all your techniques and inspiration throughout the semester Penny. I have really enjoyed your creative journey and hope to see your art again soon.

If you would like to join in this week's challenge and play along with Penny's techniques, then do link up your creativity here, and go in the draw to win some PA stamps of your choice! You need to link your entry by 17:00, Sunday August 17th 2014.

Monday, 11 August 2014

GD: Penny Nuttall Project #2 Fabric Scroll Book

"Hello everyone and welcome back ... Penny here with something a bit different tonight". 


First I made the "fabric paper" background. The base material is a piece of "stitch and tear"
stabiliser - a cross between fabric and paper used in dressmaking. You could get a fairly
similar result with a backing of muslin or even used dryer sheets.


Tape it to some wax paper or plastic to protect your work surface! I applied strips of tissue,
scraps of lace and paper flowers to the background using watered down acrylic medium, and when dry painted it with glazes of Fresco Finish Paints.


You may know that I have a habit of visiting the cheap kitchen shop looking for artistic
inspiration, so ....


OBVIOUSLY a book scroll... I cut my fabric paper into strips, slightly narrower than the mini rolling pin, and stitched (you can glue!) to make one long piece.


I added some glitz by ironing transfer foil and fusible web. I stamped the images from HP1302  HP1305 and HP1306 onto the strip in a mixture of Black Ink and Fresco Paints (Claret, Baltic Blue, Very Berry).


I painted the rolling pin in co-ordinating colours, glued the top end of the strip to it and
rolled up the scroll, securing with a ribbon bow.


Oh yes!.....nearly forgot the moths. I die cut them from the spare bit of fabric paper using
the Paperartsy Moth cutting die.

Hope you have enjoyed following this project and I will be back for the finale tomorrow.
See you then.

~ Penny ~


Leandra Says: Wow I love how the different textures worked out on that scroll. Such an unusual idea - yet again Penny!

Gillian Says: Penny you come up with the most creative ideas :) The added lace and flowers to the fabric background adds some great texture, the colours are soft/pretty and the transfer foil adds the perfect opulent finishing touch to this project.

If you would like to join in this week's challenge and play along with Penny's techniques, then do link up your creativity here, and go in the draw to win some PA stamps of your choice! You need to link your entry by 17:00, Sunday August 17th 2014.