
2019 Topic 14: Inchies & Twinchies


With
lovely positioning of the inchies and a theme of family, Amanda has
created two wonderful projects using a masterboard created with a gel
plate. There's a real plethora of texture and I love the soothing almost
monochrome colour scheme. ~ Keren
Hi everyone, it's Amanda here with you today, and I'd like to share with you my project for the current topic: Inchies & Twinchies. The initial inspiration for my project came from a couple of my old collage/Uni photo I.D. cards that I happened upon the other month. The yesteryear 'selfies' on the cards were really small. So as well as making me laugh and cringe (quite literally on both counts) the size of the photos sparked the idea to create a portrait photo theme project using inchie, twinchies and small stamped portrait photos. One idea led to another and I actually ended up creating two projects - a portrait photo panel and a portrait photo cube (featured further down the post).
Hi everyone, it's Amanda here with you today, and I'd like to share with you my project for the current topic: Inchies & Twinchies. The initial inspiration for my project came from a couple of my old collage/Uni photo I.D. cards that I happened upon the other month. The yesteryear 'selfies' on the cards were really small. So as well as making me laugh and cringe (quite literally on both counts) the size of the photos sparked the idea to create a portrait photo theme project using inchie, twinchies and small stamped portrait photos. One idea led to another and I actually ended up creating two projects - a portrait photo panel and a portrait photo cube (featured further down the post).

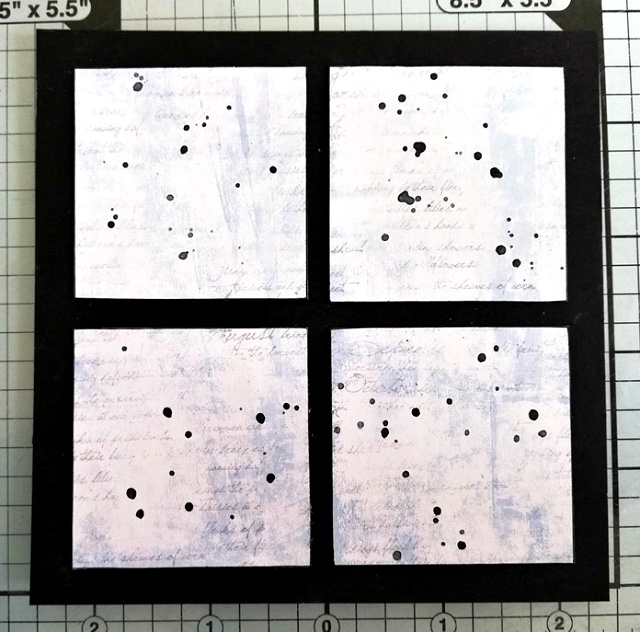
I created a masterboard using Paperartsy Smoothy card,
a gelli plate, a selection of Paper Artsy Fresco Finish Acrylic paints
and a Paper Artsy Stencil. This would be cut into I inch and 2 inch
square pieces to cover some Inchies and twinchies that I cut from PaperArtsy Heavy Grey/White Board.
I thought a monochrome colour palette would work well with the portrait photos so Antarctica, Glacier Ice, Mermaid, Space Cadet and Midnight PaperArtsy Fresco Finish Acrylic paint were my chosen colours.


The stencil I used was Emma Godfreys PS016. This has a great geometric design that I thought would compliment the square shape of the Inchies and twinchies.

This
was the masterboard after the first pull and I guess I could have
stopped there but why stop when you are having fun, right?

So I continued and built up lots of painty stencilled gel print layers. For the final layer I introduced Snowflake and Little Black Dress PaperArtsy Fresco Finish Paints.


They
were sponged very loosely and randomly through parts of the stencil to
give a kind of mottled textural effect. Some of the actual stencil
design did lose a little of its clarity amidst all the painty layers but
it definitely played its role in creating the overall look of the
finished piece.

Once
the masterboard was transformed into Inchies and twinchies I added some
detail stamping to each of them. I For this I used a couple of the
smaller stamps from Eclectica (Lin Brown) ELB30. stamp set.

These
stamps are the ideal size for smaller pieces of creativity and their
stars and number designs are neutral enough to lend themselves very
easily to a whole range of different projects.

The
design I had in mind for the portrait photo panel needed something
between the panel base and the inchies but I wanted it to compliment,
not distract or fight with the rest of the creativity. So, to keep
everything light and subtle I brayered a piece of PaperArtsy Smoothy Card with Glacier Ice PaperArtsy Fresco Finish Acrylic Paint and stamped with a very light grey ink using another of the stamps from Eclectica (Lin Brown) ELB30. This stamp set proved to be such a versatile and handy set with its lovely mix of stamp designs.

I
initially planned to use the card panel as one piece but when I was
'faffing' around working out the placement of everything I decided to
cut it into 4 twinchies. I felt, as twinchies it kept the ' inchie/
twinchie' continuity running through the overall design.
All the inchies were mat and layered on black card which framed them and gave them their own space within the design. A white pen helped highlighted the numbers and stars stamping.

For the focal feature I used PaperArtsy Geometric 2 (MXGC2EZ) stamp set for the frame, Paperartsy Ink and The Dog Kids Plate 6 (k6) stamp set for the portrait photo of the little boy and PaperArtsy Crackle Glaze to crackle the frame and a Twinchie.


I'm sure you'll agree that the little boy has the most endearing smile so he was a clear winner when it came to choosing which one of the 12 portrait photos on the stamp plate to spotlight. With a little trimming down he fitted the inchie window of the crackled frame perfectly.

By
using the heavy board for the Inchies and twinchies and stacking up the
focal feature the portrait photo panel had the dimension and rigidity I
wanted.

Now
I'm sure I said earlier 'why stop when you're having fun, right? I was.
So using some of the 'leftovers' plus a few extras I created a portrait
photo cube.

The cube itself was made from 6 twinchies that I painted with Little Black Dress PaperArtsy Fresco Finish Acrylic paint. Each cube face was covered with a piece of leftover stamped masterboard.

A
portrait photo inchie was adhered to each face of the cube. All the
portrait photo's were taken from the PaperArtsy Ink and The Dog Kids Plate 6 (K6) stamp set mentioned above.

Some family related chit chat stickers helped unify the portrait photos.

The little boy with his cute smile 'bagged' his place again. He made the top spot this time!

I
really enjoyed creating for this topic and as you've already read I had
lots of creative fun. I'm thinking I will continue the fun and rustle
up a few more of each design, maybe change up the colour palette and use
actual portrait photos of family and friends. Now, they would make for
some great gifts don't you think?
Thank you for joining me today.
Keep on Creating,
Amanda


