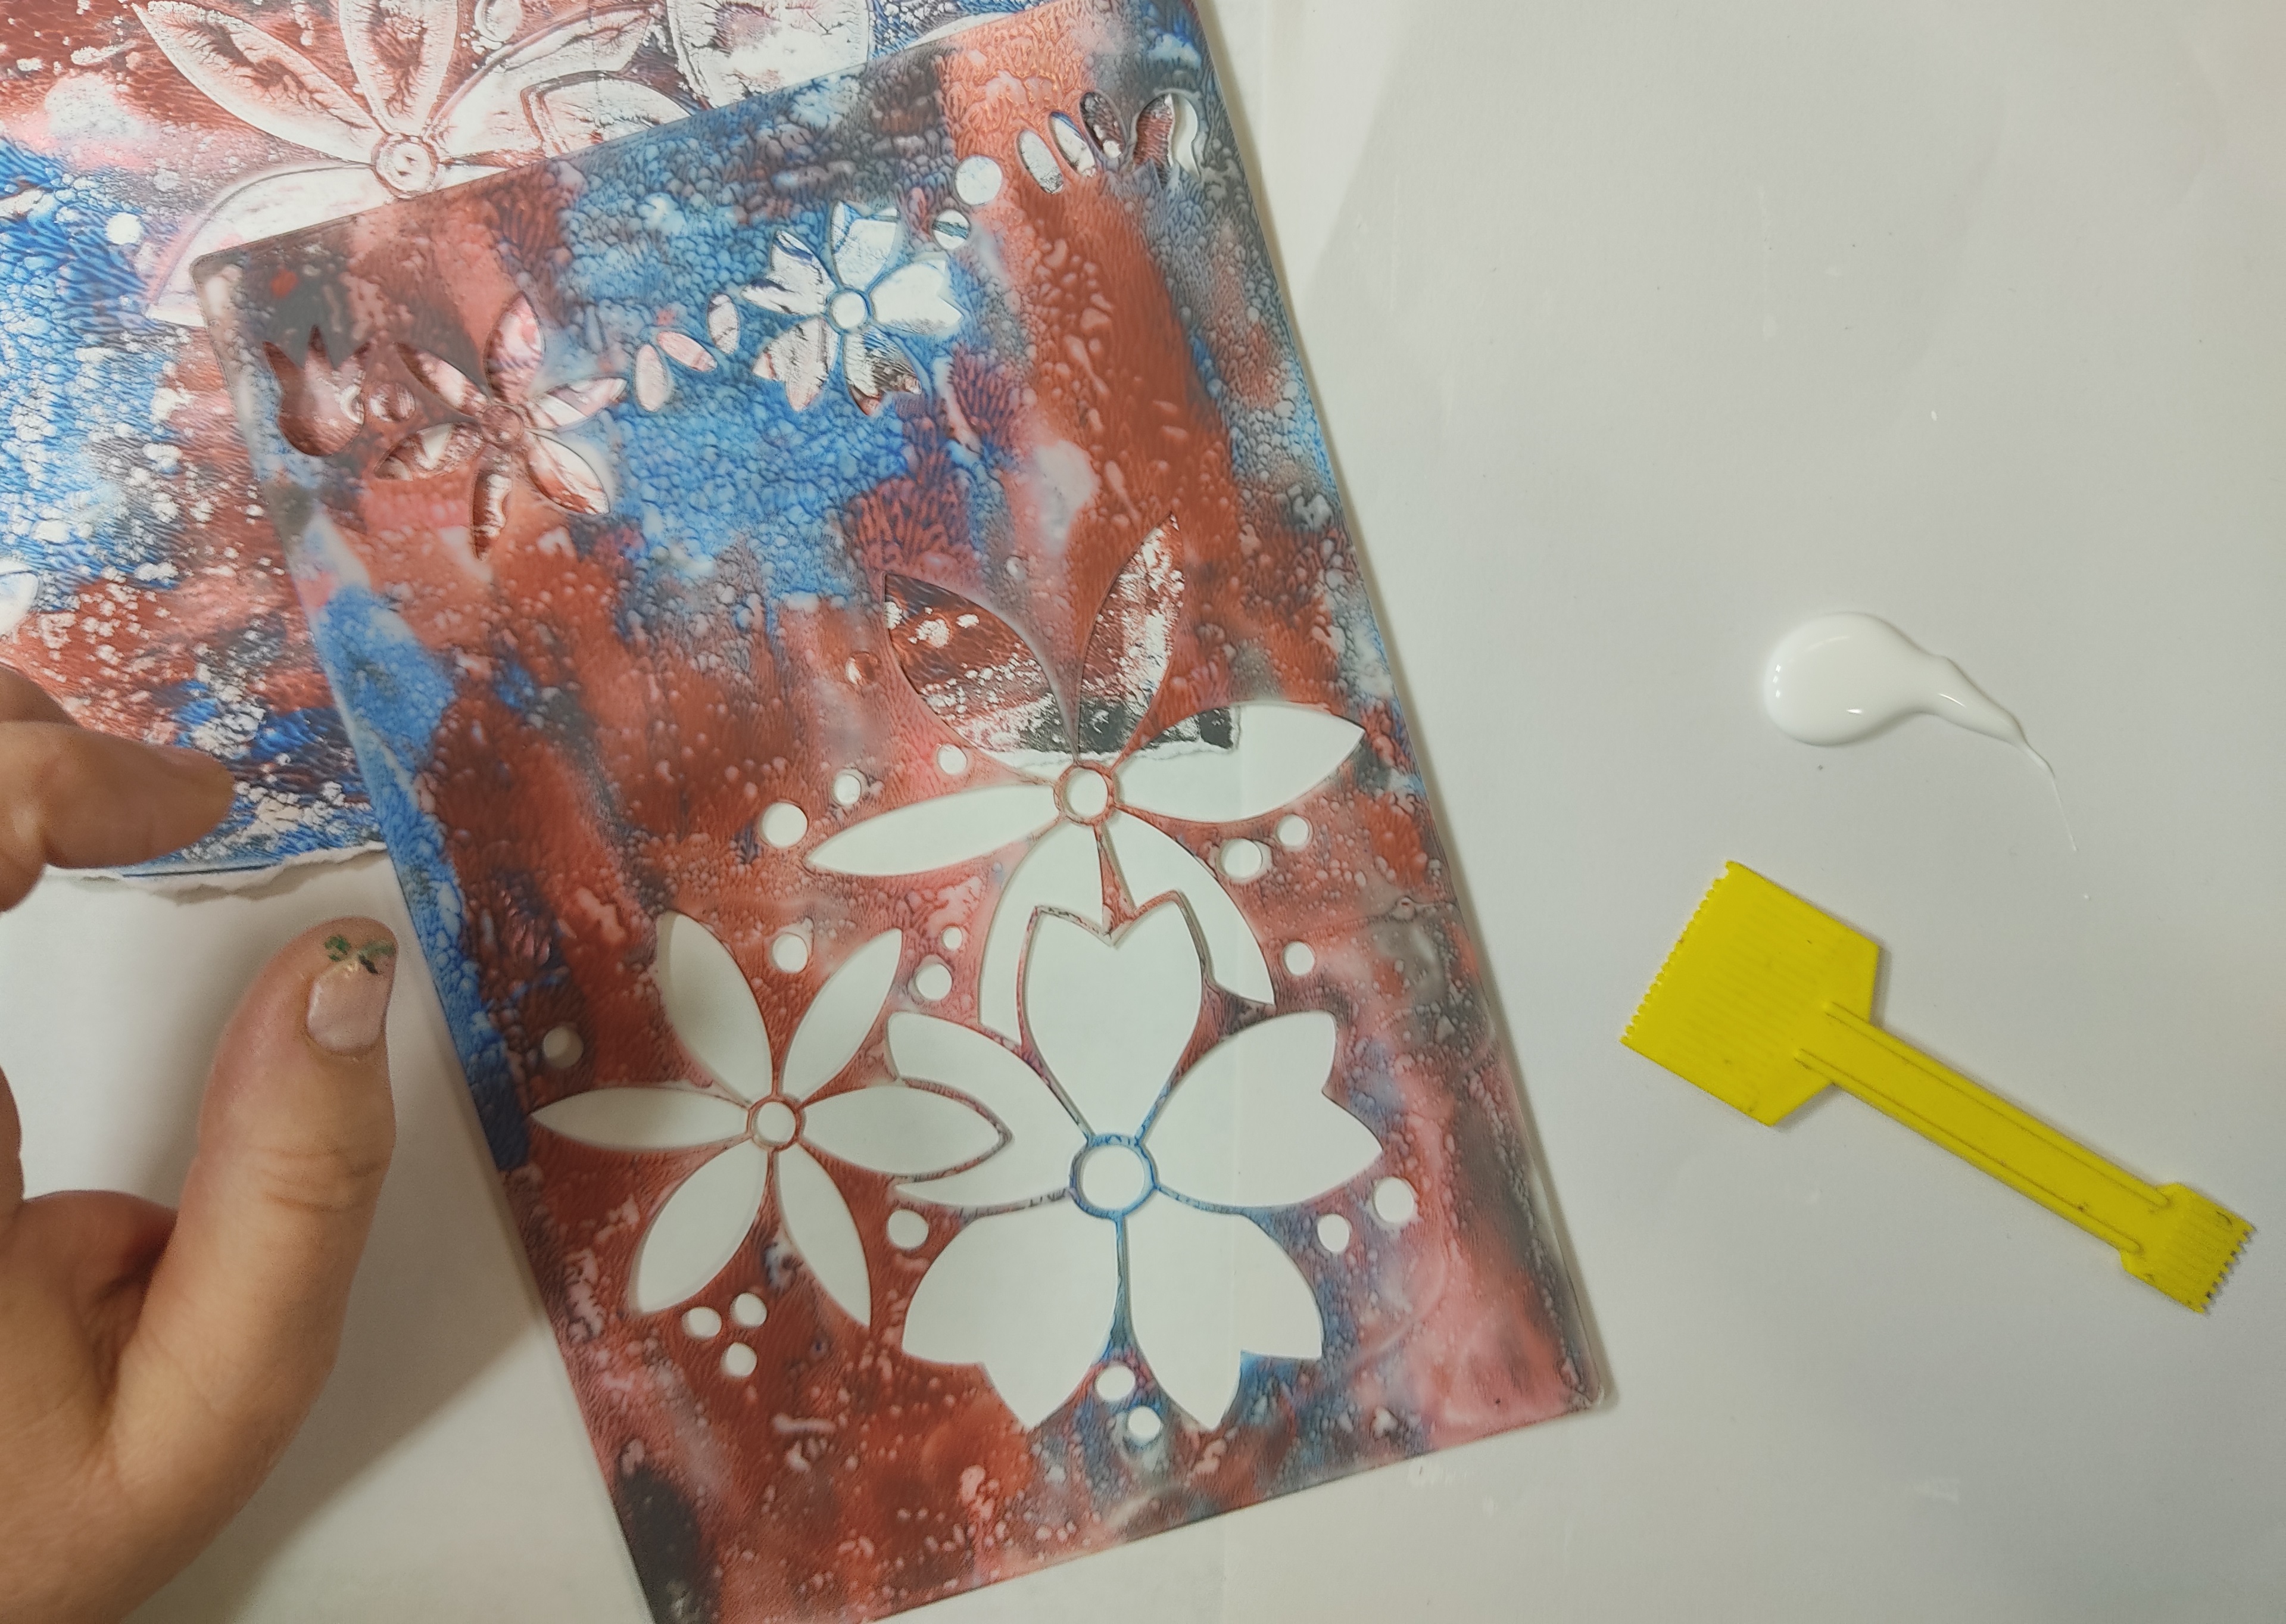
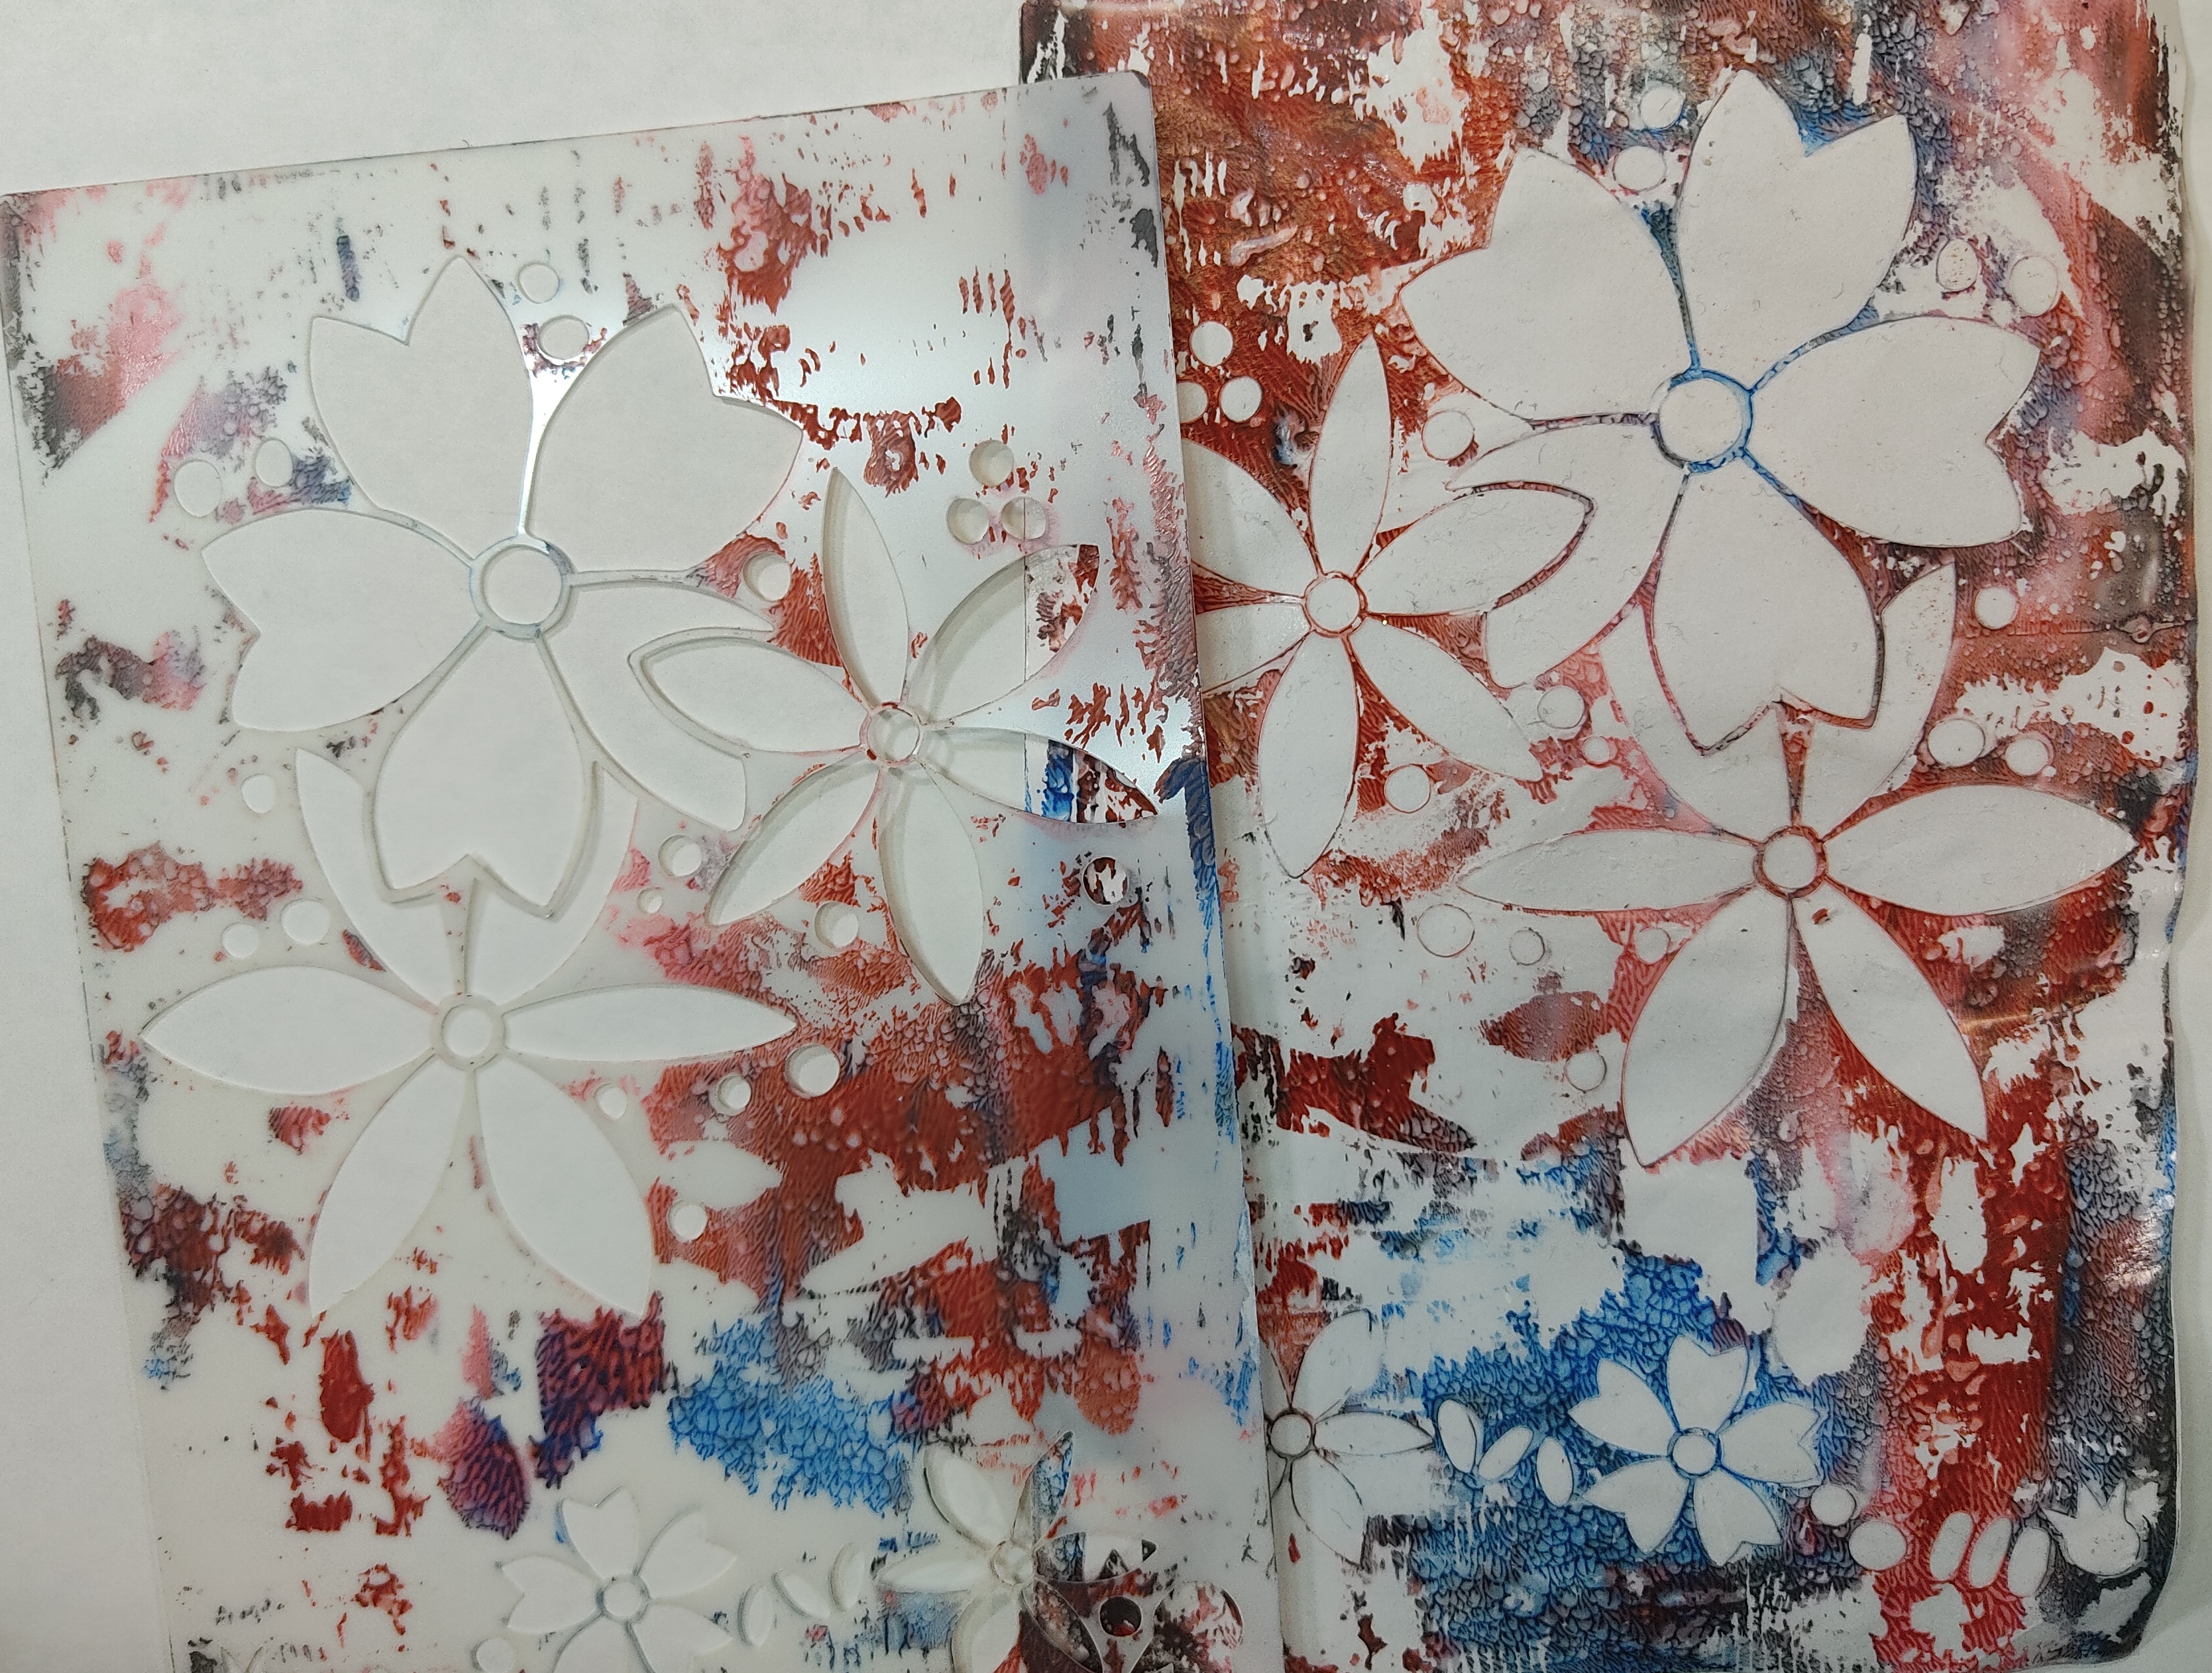
Hi
everyone, it's Leandra here today to share with you a starry idea in a
fun, bright and breezy style with the lovely stamps from designer Emma
Godfrey. With some Tracy Scott and JoFY stencils thrown in for good
measure! And frescos, we all need frescos, right!
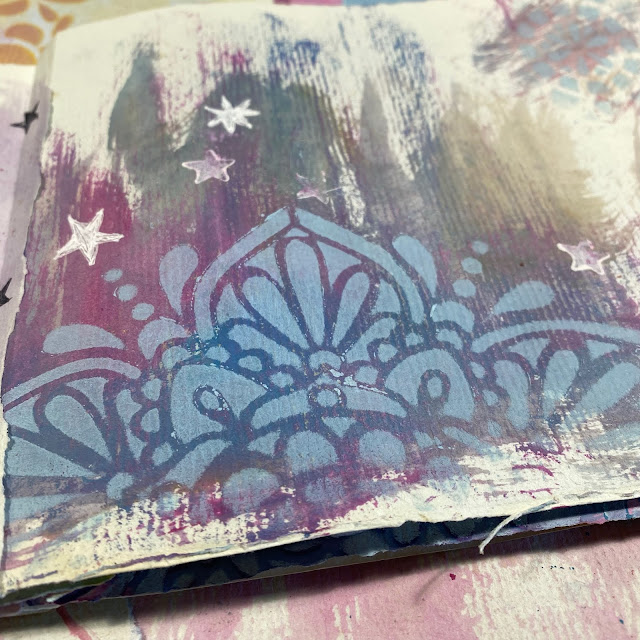
In
a practical sense, it's not all that easy for me to knock up any kind
of art at the moment, I still don't have a dedicated space! Having had a
house full of 7- 9 people here over the past 4 months, and plenty on
our plates with the huge move, getting things set up properly,
renovating, painting, gardening plus all the new releases we have done
this year, well that has been a whirlwind of stuff and a different type
of creative activity I guess! And all that stuff has been so much fun too! But
I must admit I'm getting super itchy fingers to be back at my OWN dedicated crafting desk! Anyway, its been a bit like
holiday crafting.... working with really limited supplies in a
small temporary space. And what is weird is that creating that way is
also a fun kind of challenge... it makes you more resourceful to recycle, and think a bit harder about what you can use or make do with! I like that!
That
is how this booklet started: arting in a resourceful minimalist way. It took me back
to my early days of crafting (yikes, almost 30 years ago) and that has
been a really good reminder to me; you can do quite a lot with a little!
I
know what you are thinking " but you MAKE craft products Leandra" ...
yes of course we do and so yes of course I do have access to a LOT of
stuff that I can lean into on site. Paint, stamps and stencils are not a
problem, but think of allllllll the other stuff you use: stamp
positioner, ink pads, embellishments, painting implements, my stabilo
all pencil (I wish I knew where that was) even matte medium. My tiny attacher!!! Where is that ?? I have
LOADS of all those indispensable tools in a lot of boxes.
Meantime,
a stripped back style of crafting is the reality of where I am at. I'm really liking
it, fresh, funky, some white space, and room to breathe. I LOVE that the
lack of supplies has pushed me into a new crafty 'lane'. It's fun that a simple flippy-flappy book has led me to a different outcome. Maybe that
wouldn't have happened if all my stuff was to hand??
Anyhow, as usual I am rambling. This project started with the gorgeous vintage ledger you can see in this
picture. We purchased in a brocante a few weeks ago, the pages are
stunning, and in the back were some totally blank pages. These pages are
huge, so even when I tore each page into 4, I ended up with pieces 22cm
x 15cm (5 3/4" x 8 3/4"). They are a soft grey-blue, kind of ribbed,
love the texture to them. OMG I would just LOVE to journal directly on
these pages direct in the ledger, is that wrong?! It's so beautiful!
Anyhow, lets put the dreaming of craft rooms and journals aside ... and
move into the now! This star' journal!
I placed a small spot of each colour
(Thumbnail) on my craft sheet. I used a decent size wet-ish brush on my first run
through. I just wanted to splodge colour on all the
pages, both front and back randomly. No cleaning of the brush, and I kept going until all the colour was gone. (check out my reel on Instagram to see how fast and easy this was)
After I had made a bunch of backgrounds, then I stencilled over them and
that was pages done. I did 8 so fast that I did another 8 straight away!
This stencil is one by Jo Firth-Young (PS130) that I use a lot, I often work with a bold, open stencil, and a fine detail one at the same time for contrast.


Sometimes
I might deliberately 'bump' the stencil with a technique I was taught
oodles of years ago in a class by Lynne Perrella back in 2008. She would
put down a darker colour, then shift the stencil and put the lighter
shade on top (this is a very addictive thing to do and generates awesome
depth). You can do it the other way, dark over light, but I find that
sometimes makes me feel a bit giddy as the effect can look blurry. In
Lynne's class we learned how to bump multiple stencils multiple times on
a big background, by the end of that segment of the class, one design
blended into the next, it was one of the most amazing things to do.

That gorgeous stencil is a Tracy Scott design PS210
Next
I decided the order of the pages before starting to work on each
spread. I decided to glue them (and commit) as I added on pages. The
book was getting larger fast as each spread was done without too much
thought.There are lots of words within Emma's stamp sets, but in general
I used this set EEG20
A
mix of words and stars in the background were all stamped in black. And
that gorgeous Japanese script is from one of the newer JOFY stamps, in
fact it was her 100th stamp set!
Rummaging
through the bin I was reminded of how Jo often uses windows from bill
envelopes in her junk journals (I would save ours for her so she could
use them in her classes) so I added an insert as I was gluing together
the bindings, leaving the lower part of the window as a peek-through.
Here are the 2 sides, both front and then the back is below. That is the
most faffing I did on the whole thing!
Finally,
I love a Lynne Perrella addition to any journal page, her stamps are
just so beautifully detailed and bold, a mix of whimsy and vintage that
just zings into life with the addition of bright colours.
This
'head' is from one of her newer sets (LPC049) and was added onto a
pre-made body from a gel print I had in my bits and bobs. A few doodles
and collage paper to make a more recognisable dress.
I
used to frequently make 'bodies' like this back in the day (turn of the century era !) inspired by
Teesha Moore whose art was often associated with this rounded body
shape. Teesha uses bold colours, patterns, and she had an amazing line
of stamps too called Zettiology which I absolutely adored. This body
shape is perfect for any situation as you don't need to bother with
hands and arms! Or faces if you use an interesting Lynne Perrella Head, and there are heaps of those!
I've
also been inspired this year by the wonderfully talented Megan
Whisner-Quinlan (@megan_whisner_quinlan on IG) She has been creating
what she aptly terms 'paper dolls' as gorgeous collage fodder and
ready-made focal points for her journal pages (example here).
She sometimes uses Lynne Perrella stamps to go with her 'bodies' which
are beautifully done. You should take a look at her work if you don't
follow her yet, always mesmerising!
This
book still has a few more sets of pages for me to add, but doing the
above in a couple of hours was a wonderful creative touch point for me recently. I think I
still want to go back in and add some doodling, handwriting and other
more personal touches too.
Also
I'm thinking a lot about water-colouring over the frescos lately, so I
might give some of that a whirl too and keep exploring on those gorgeous
ledger papers!! We have a paper mill near us in the village, well
actually there are 3, and I must go and buy some of their paper and give
that a test run too!
Nice to spend time with you today!
I hope crafting keeps a smile on your face too!
Take care,
Leandra (Mrs PaperArtsy)