Hi everyone
Nikki (a2a.craft) here with you today.
This quarter we have seen some great projects on the topics of Tags and Monchrome, all incorporating the current theme of Typography.
Our designer focus on JOFY is the last topic for the quarter. I decided to go for what PaperArtsy call the 'Quadruple Whammy' - a project incorporating the theme and all three topics! I love JOFY's designs and artwork - but it's not my natural style. I am definitely a blues and greens crafter - so thought I'd challenge myself with this too, and go for Magenta as my monochrome colour.
I have had quite a while to do this project and I have been dipping in and out of it. As my deadline approached I realised I had made 25+ tags! I can't share the detail of them all but of course I do have lots of photos.

My tags are grouped into 5 collections of 5. I had been trying to come up with an umbrella theme when I was out walking one morning - appreciating the trees, the weather, the sights and sounds. So I decided I would have a set of tags for each of our five senses; sight, smell, taste, sound and touch - with each tag naming some of my favourites.

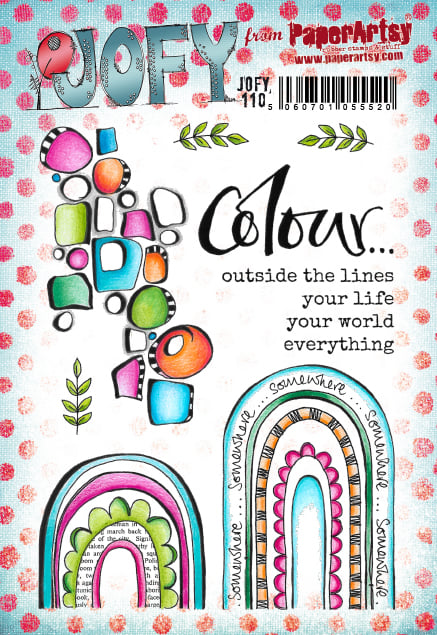
For my monochrome 'colour' I selected PaperArtsy Fresco Finish Chalk Acrylic - Bougainvillea with the addition of Little Black Dress and Chalk. It wasn't difficult to create lots of variation in tones and shades. I really enjoyed using the wonderful JOFY tissue paper, as backgrounds and focal points. In addition I used JOFY stamp set 62, with a little bit of JOFY 112 and a couple of stencils.


My usual start point for a project is to create some background papers in the colours I am using. I might also stamp any images on scrap and cut a few out. This allows me to play with collage ideas or combining stamped images just to get some ideas.

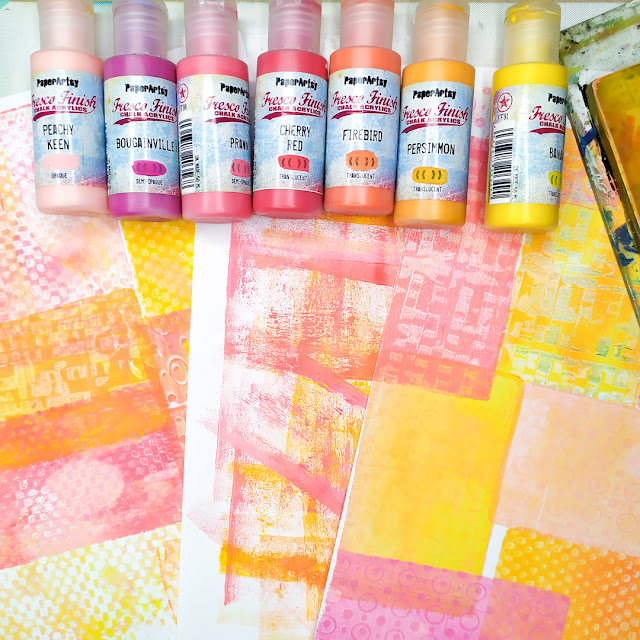
My gel plate came out first and I played with creating different backgrounds using stencils and stamps.

I love using black and white - and played around with these on my gel plate too.

I stamped a few images - both on book paper, white card and the coloured gel prints.


At this point I had lots of ideas, backgrounds and focal points - so decided to work on these groups of 5 themed tags.

For one series I used the swirly stencil (PS231) to sponge some tags and then added PaperArtsy Printed Tissue by JOFY (PT03). Most of this tissue included some text or numbers.

I then added various embellishments - some stamped images (or part images) and some elements from the the printed tissue that I had adhered to Bougainvillea coloured card (e.g the circles below).

This series used the same stencil layered over some brayered black paint (PaperArtsy Fresco Finish Chalk Acrylic - Little Black Dress). I then cut some sections of printed tissue and adhered to white card.

I cut these out to create focal points for my tags. This printed tissue is fabulous to give you a variety of different images!


I also created by own embellishments using the stencils.

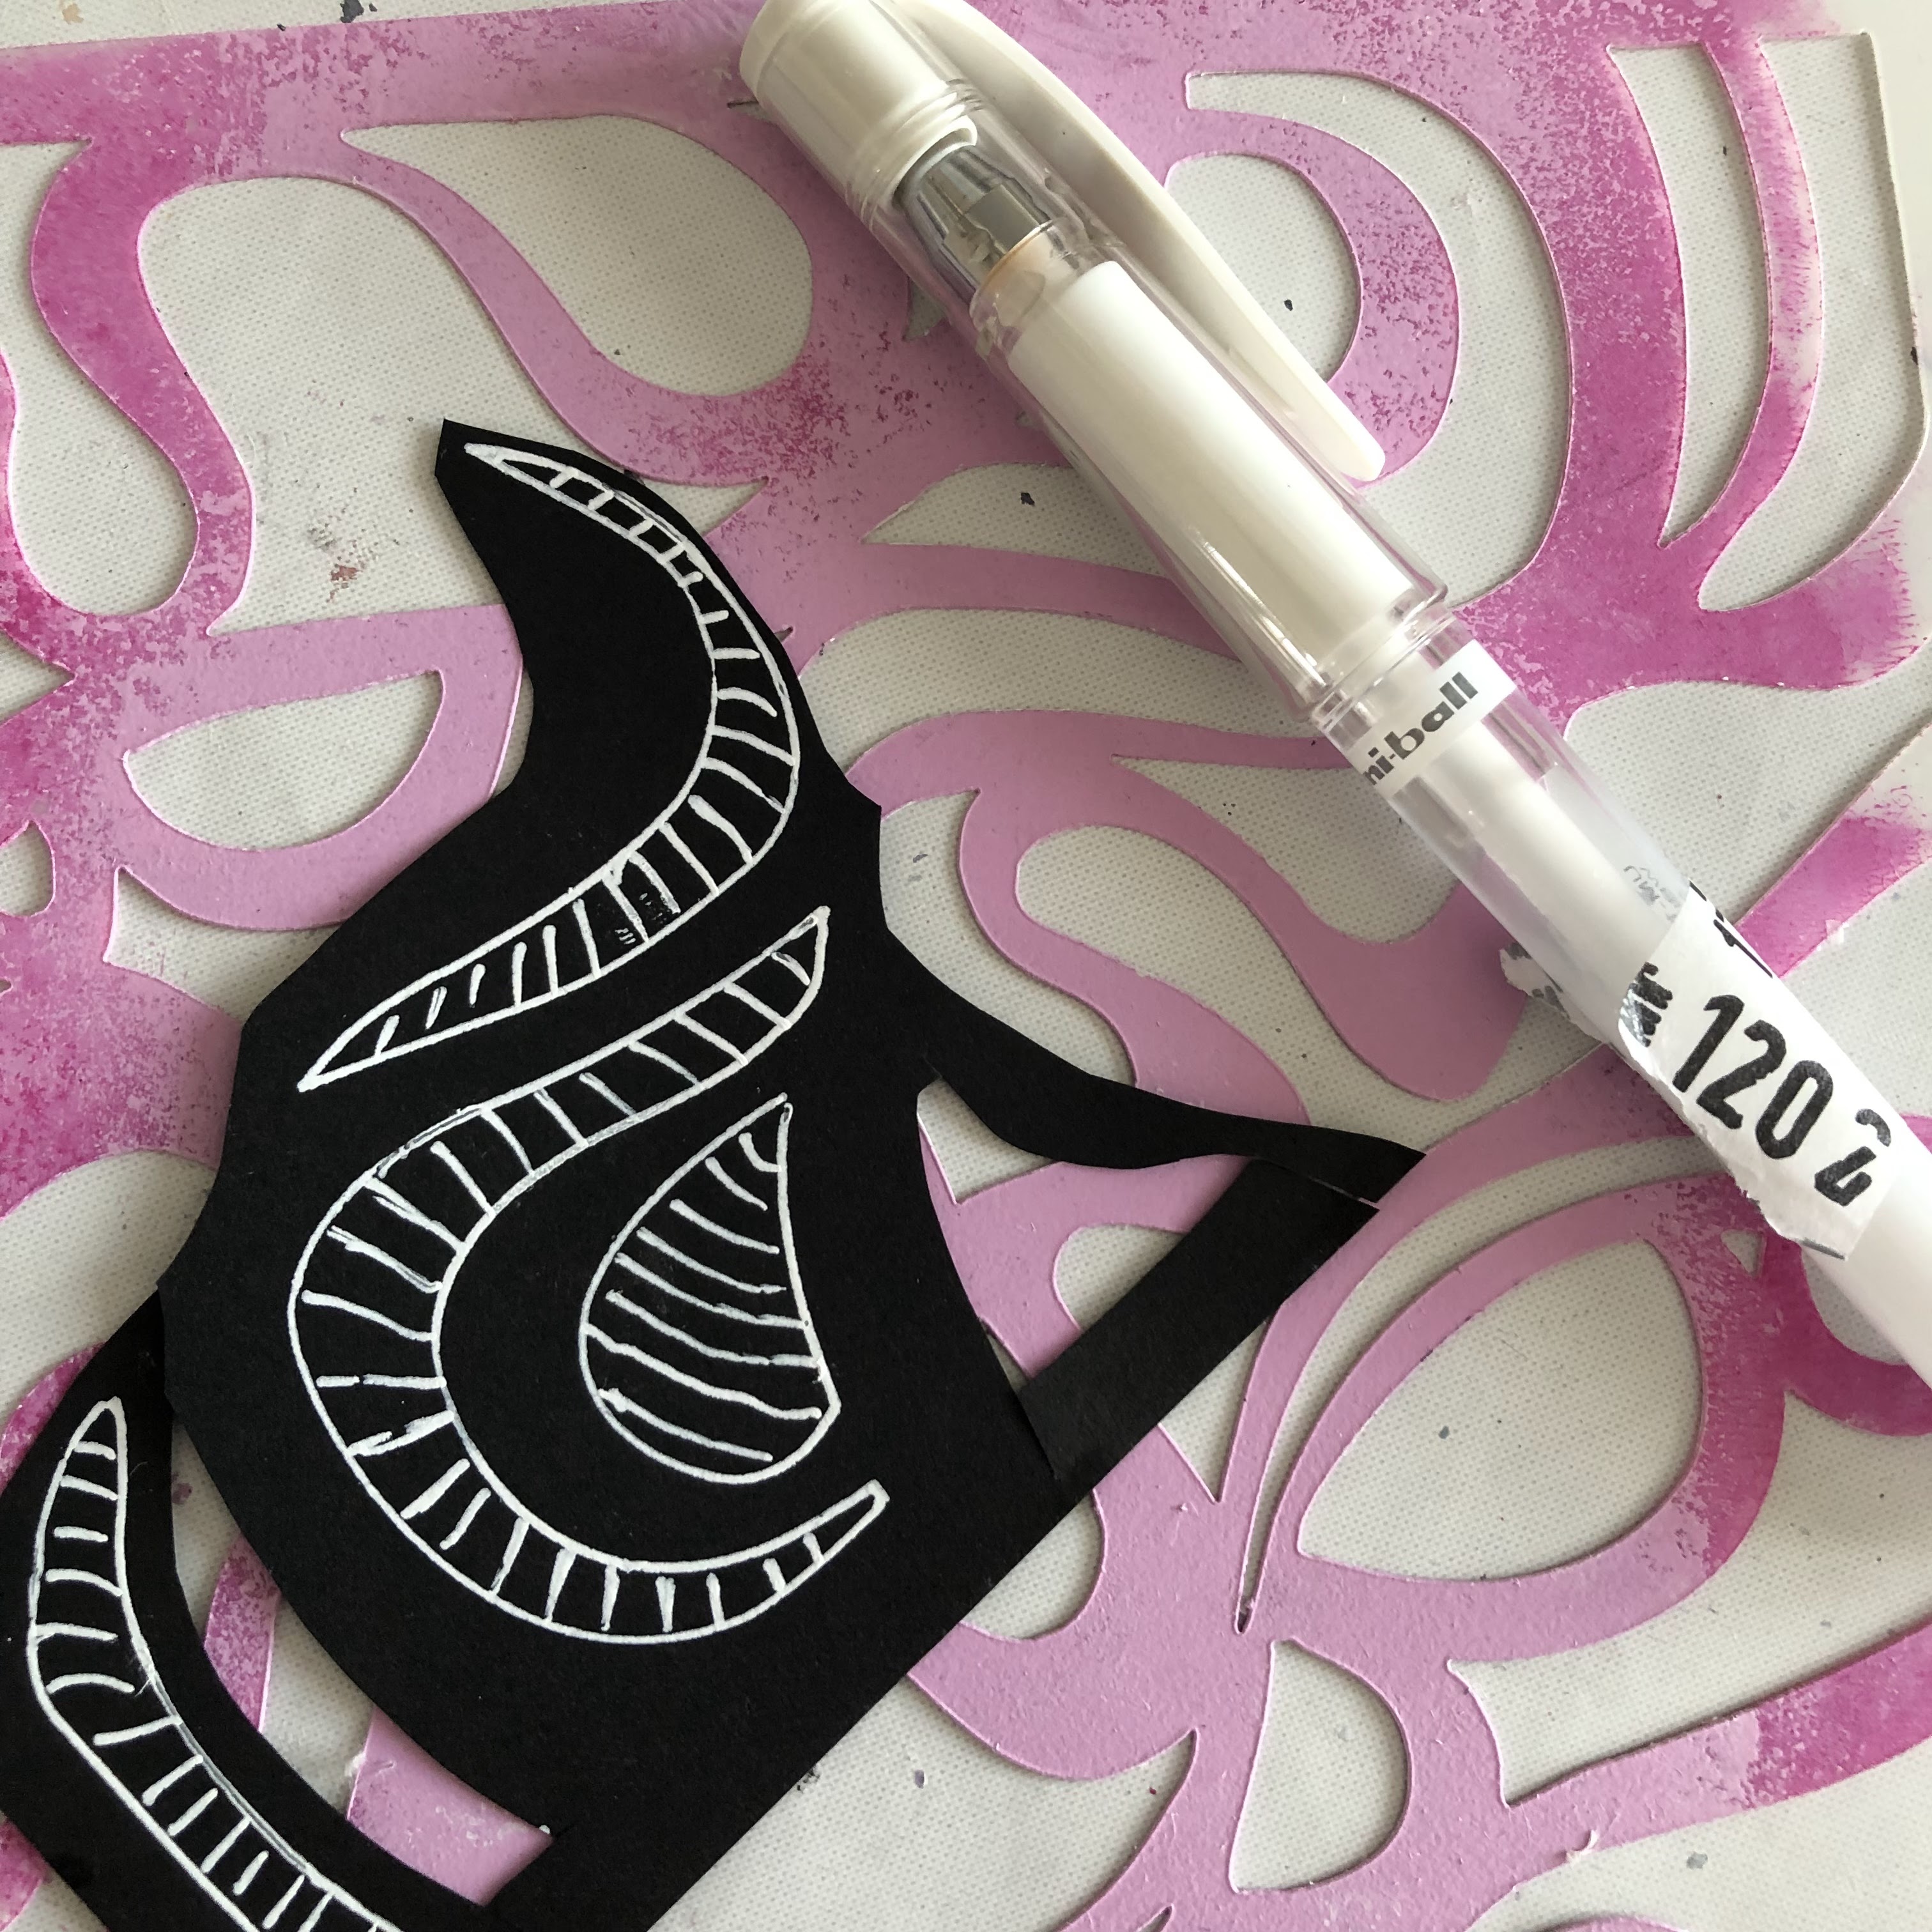
I used a white gel pen on black card to create some shapes from the swirly stencil again.....


My original plan was to make a tag book, but as I began making so many I had an idea about displaying them all together in a big frame!

But in the end I decided to make a box for my tags - so measured the size I would need and cut some white card before using my gel plate to add some layers of colour.
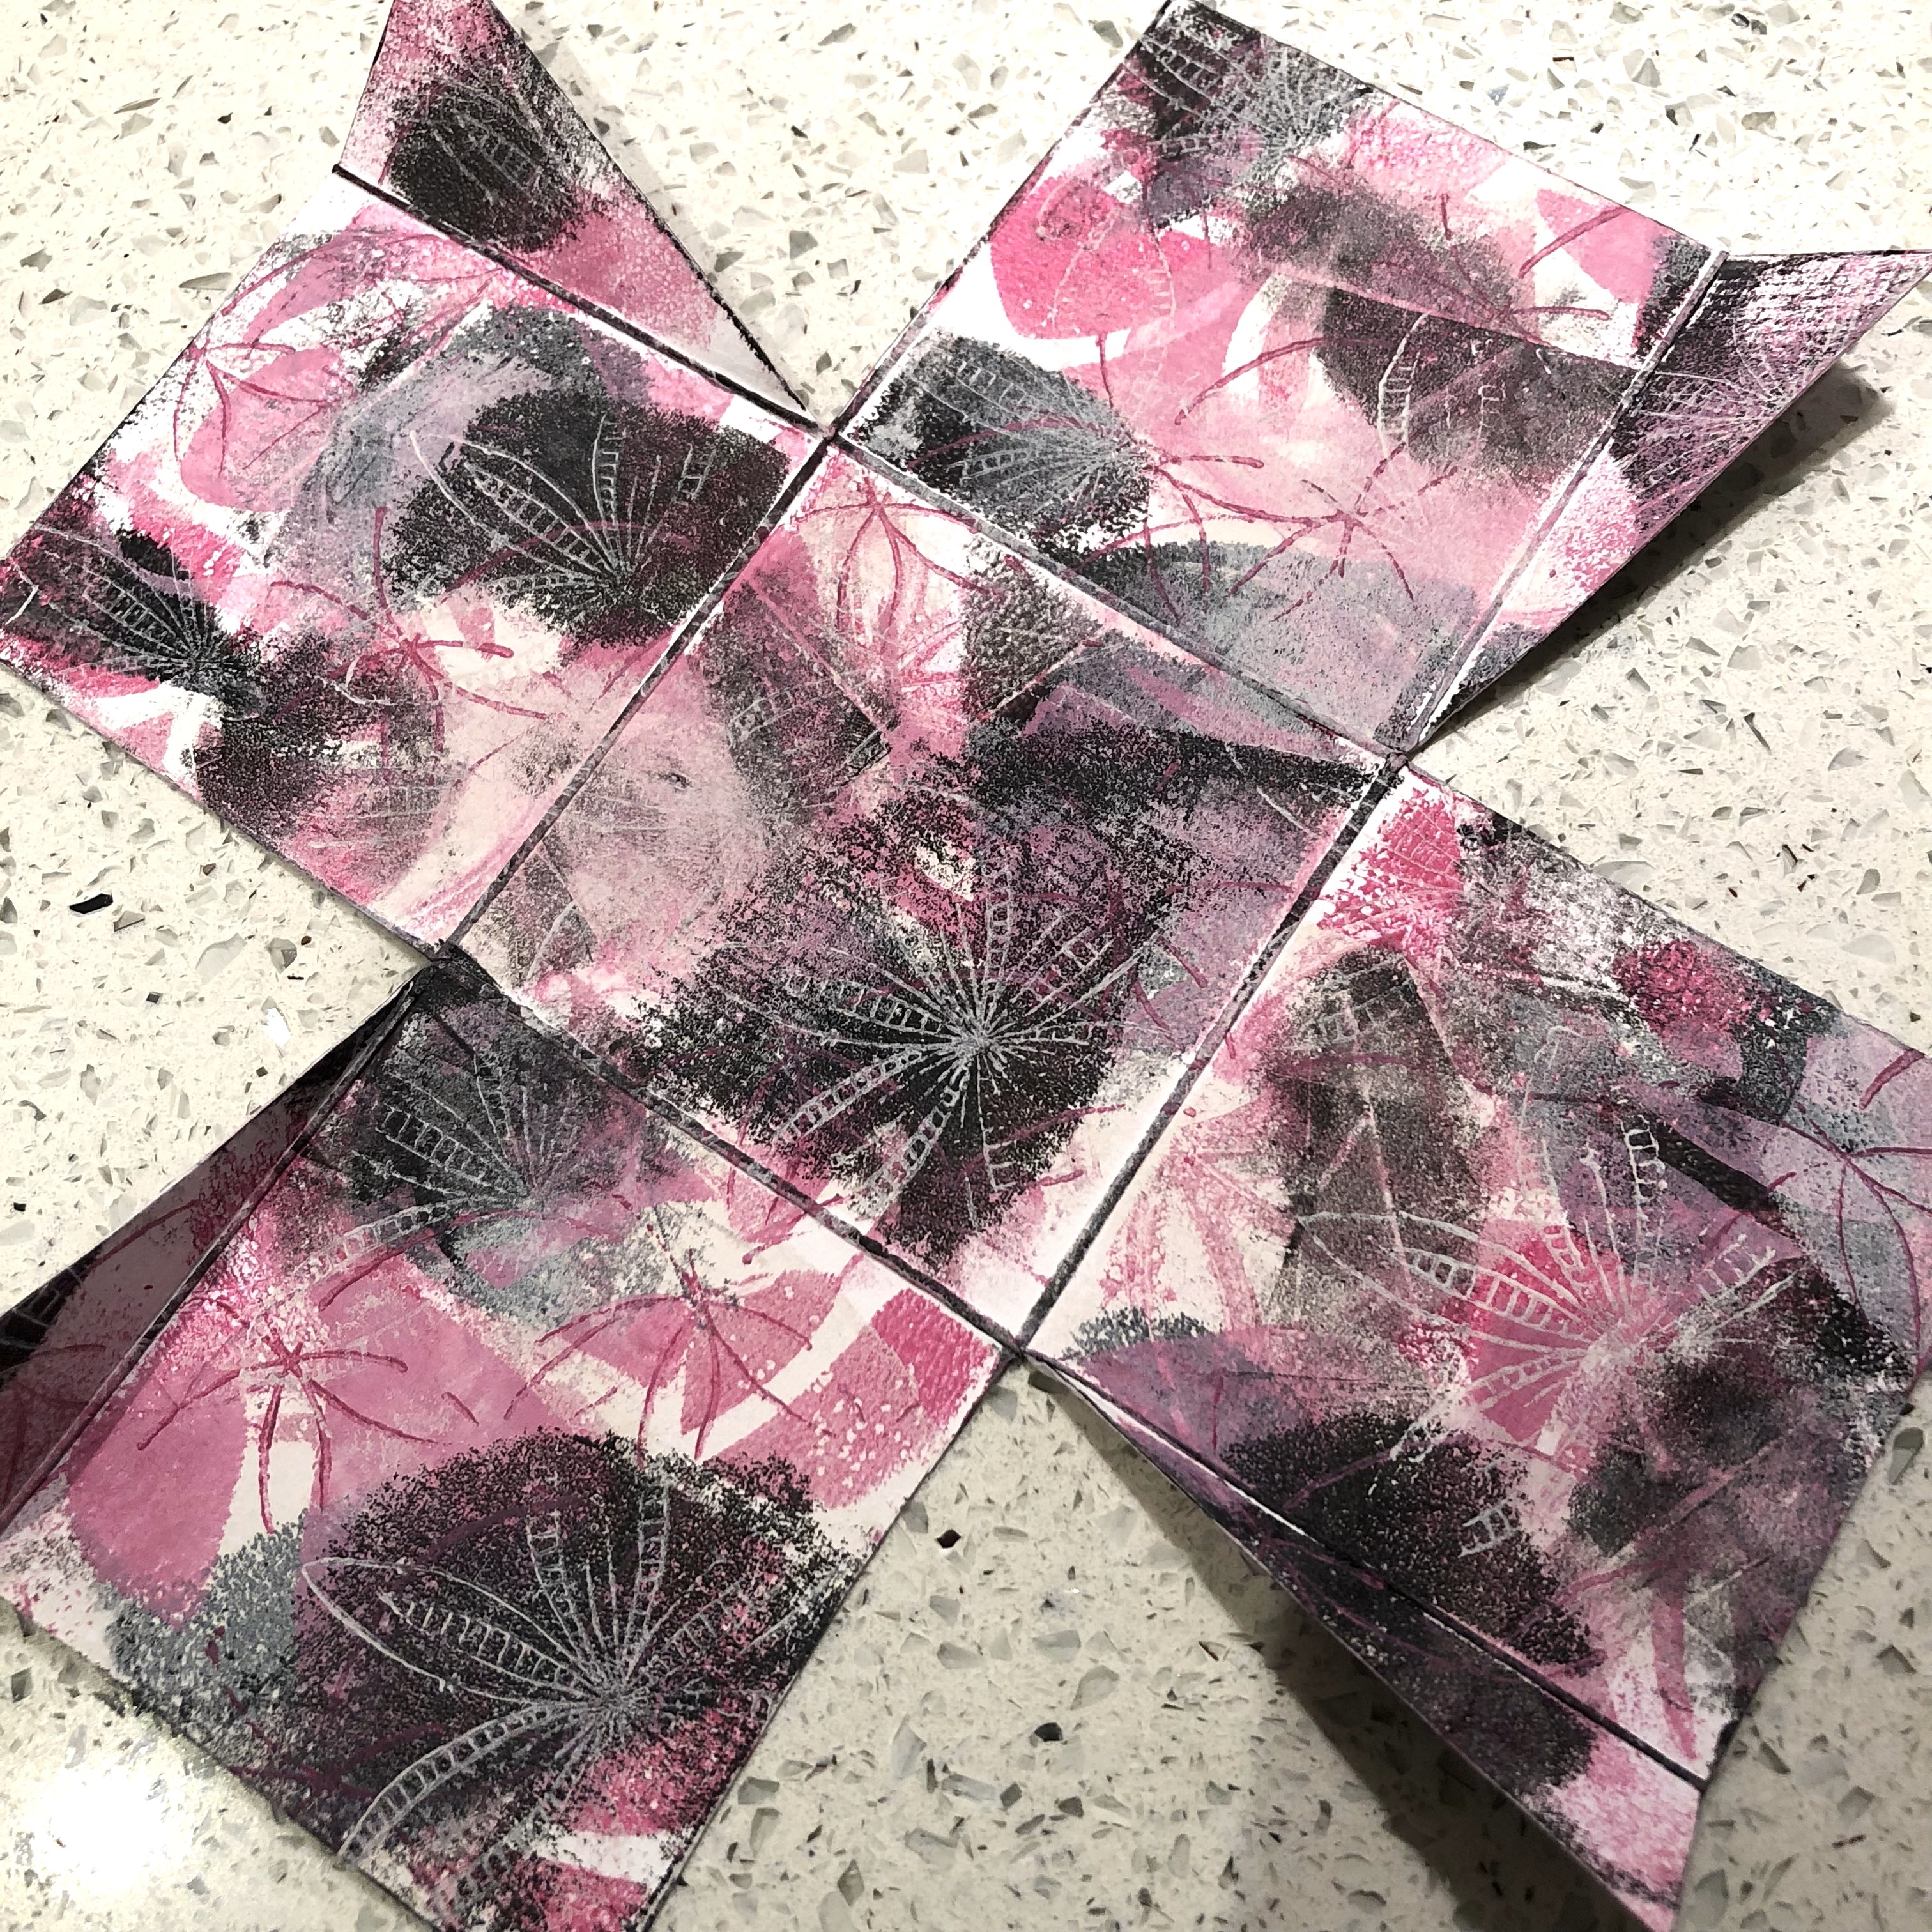
Once glued together I added some Printed Tissue.


With my 5 sets of tags nearly complete I needed to chose some of the things that make me happy for each of the senses. Out came the typewriter!

I added some ribbon / seam binding to them all. I varied this - above white seam binding is dyed with Bougainvillea and below I used one the stamps to stamp archival ink onto ribbon.


This was great fun - I found it an easy project to work on 'a bit at a time' which is good for me as I rarely have long periods of time to craft! Sometimes it can be beneficial - I often plan a layout - but don't stick it down - then the next day I see an improvement!
Nikki