Showing posts with label EGL23. Show all posts

Monday, 9 October 2023

2023 Topic 10: Tags {by Etsuko Noguchi} with Gwen Lafleur stamps


Hi everyone, It's Etsuko with you today, and I'm here to share with you ' Tag book' using talented designer Gwen Lafleur's lovely and very useful stamps.

When I was child, I loved collecting labels, tags and wrapping papers as you were too. The fun memories of exchanging the items with friends and crafting and playing paper dolls are still the source of my creativity to now.


The large tags are full of possibilities and have been used in various works. Today I use these #10 and #3 tags to make a case with a window and an accordion book with a pockets in it. And please enjoy with me, as I have also included this time themes of 'Tags' and 'Typography' in the project.


First of all, you will see the tools PaperArtsy products used for the case and accordion book, there are still others that are needed but I will be introduced shortly.


I used these tags are ready-made #10 and #3 sizes that I have on hand. 


These tags was coated with white gesso. The #10 tag on the case was painted PaperArtsy Fresco Finish Chalk Acrylic - Cerulean and Double Denim using PaperArtsy brayer. The colours were a bit vibrant so I toned down the Snow Flake using brayer.


I then made the collage papers for the surface of the tag case, I added PaperArtsy Fresco Finish Chalk Acrylic Heavy Cream using PaperArtsy Stencil by Tracy Scott PS234 and PS386 stencils on the Cerulean and Double Denim painted copy papers.


Collage and paste those papers onto the painted tag.


I die cut it into an oval shape and made the window for the tag case.


Use the tag case by folding it like this. This photo was taken after this time but I will explain the frame and button band in the image later.


Now I made the accordion book background by painting the front and back pages using stencils onto the Smoothy (Heavy) A4 white stamping card. This photo is the front of book. I then using the PaperArtsy Stencil by Tracy Scott (PS365), I first applied the PaperArtsy Fresco Finish Chalk Acrylic - Aqua Duck Egg (199) and moved stencil slightly to apply - Willow (FF178).


Then on the back page, I used brayer to paint Tangerine Twist and Firebird, and tapped Heavy Cream onto the PS386 stencil with a sponge.


Fold the book paper backwards and cut into a mountain shape to make a pockets.


These are to use the papers for the book collage and I adde leftover too.


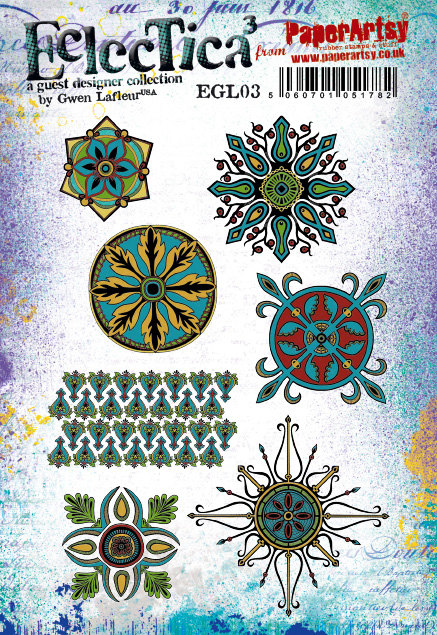
The Gwen Lafleur stamp set 22 and 23 ( EGL22 and EGL23 ) images stamped in Ranger Archival Ink - Jet Black on Smoothy (heavy) A4 white stamping card and lightly coloured with watercolour.


The second thematic Typography had letters SCENE created on a computer and EGL22 image coloured using Ranger Archival and Distress Oxide some inks.


This the entire front page of the accordion book.


Next my typography, I used Grunge Paste and Infusions - Golden Sands, Rusty Car and The Sage on PaperArtsy Stencil by Sara Naumann ( PS297 ) as a background for the tags to give it grungy look.


I was planning to use tissue paper for the focal point of the tags but the acetate I had ordered had just arrived, so I made a double tag. Some alcohol ink was dripped onto a clear block, a little alcohol was added, acetate tag was pressed onto it, coloured and EGL22 images was stamped on the other side with Ranger Archival ink Jet Black.


They are three pairs tags for the each (circle, acetate and typographic).


I also comes with the round tags and is decorated with sari ribbons and small charms.


These are each tags was placed in the pockets like this.


I wondered what kind of stopper be attached to the cover, I looked at the hole in the tag and decided to make a button out of clay and thread an elastic through it to make a band. To make the button, press EGL22 flower onto Sculpey Clay, cut in cookie mould and bake in the oven for five minutes.


Let button cool, I painted with Aqua Duck Egg and a little bit of diluted Double Denim. Once it dried I rubbed with Treasure Gold.


A die-cut oval frame is attached and the EGL23 image stamped onto the acetate  with Stazon Pigment - Snow flake, which is then affixed to the back of the cover to complete the piece.


I made a small pocket on the last page spread and put in a photo slide folder, paper flower and envelope.


I created this tag book by expanding on an idea from Gwen's Facebook free workshop ' Macthbook Minis', Her ideas amazing and always inspired by me and it spurs creativity. 

I first planned out how to incorporate the theme Tags and Typography using Gwen's stamps and decided to use a large tag as a  book cover, sandwich an accordion book in between, and layout the typography on it. In order to create a pleasant atmosphere, I added texture, acetate, Grunge Paste and clay to create a variety of changes. It may not enough yet but I finished it here to leave a topic for tomorrow.
Thank you so much stopping by.
Etsuko xxx


From here is extra post, I collaged after the tags and decorated it with Alison  Bomber's quotes in order to use enough leftover papers.


Facebook: Etsuko Noguchi
Instagram: Pixienest
Pinterest: Etsuko N

Sunday, 6 March 2022

2022 Topic 04: Interactive {by Etsuko Noguchi} with Gwen Lafleur stamps


Hi everyone, it's (Etsuko My favorite thingswith you today, and I'm here to share with you a very fun interactive project. Thank you so much Dounia for suggesting this, I got very carried away while making it.


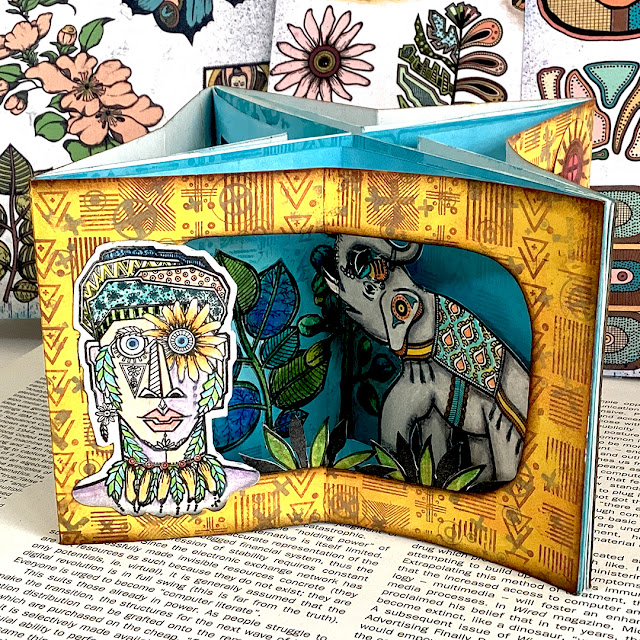
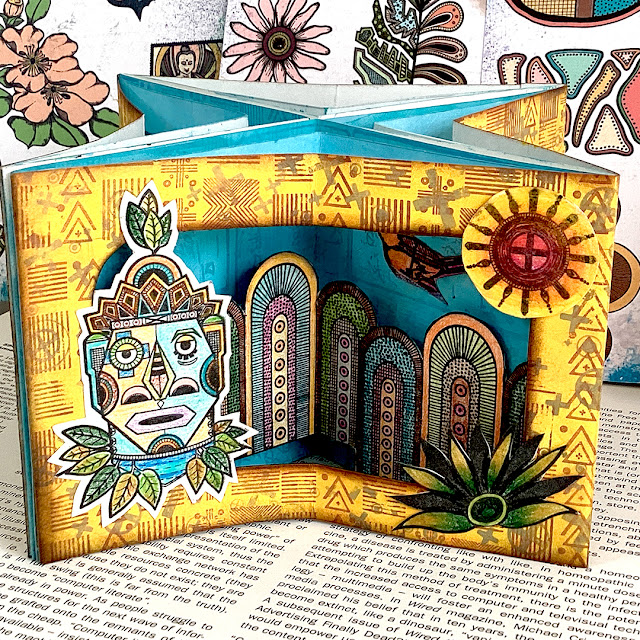
I still remember when I was little girl and for Christmas I was given a three-dimensional picture book of 'Hansel and Gretel' and 'The little Mermaid'. I decided to create this Carousel Book based on happy memories of turning the pages of the book over and over again to enter a fantasy world. Today's Carousel book is only four pages long, so it's perfect for creating short stories with little children. Also the images I used here today are from my favorite PaperArtsy artist Gwen Lafleur who has always inspired me with her ethnic and Boho imagery.


The tribal images I chose before making the book are elements that inspire me and help me draw ideas smoothly, so I developed the images based on yellow and blue as my favorite combination, then I adopted those here.


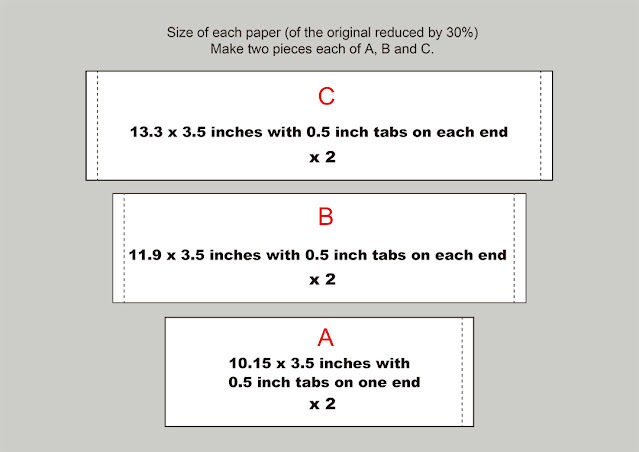
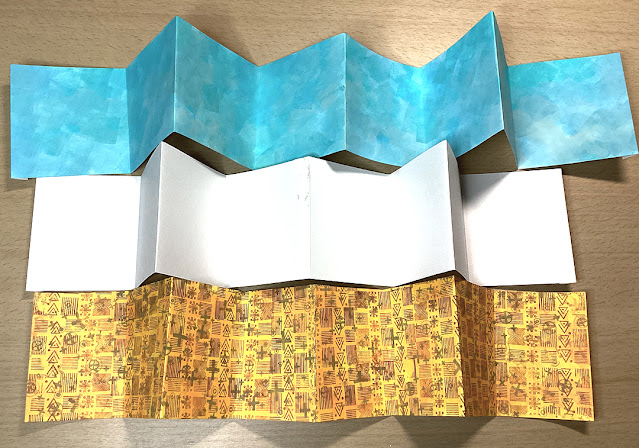
First of all I will let you know the size of the three sheets of paper that will be used as the bace, I made them 30% off the actual size used on the YouTube video for the size of the stamps. You can see the Youtube video HERE(The Carousel Book). There you will find detailed step-by-step instructions on how to make it in the video. Step1, I made two sheets of paper each sizes A, B and C as shown below.


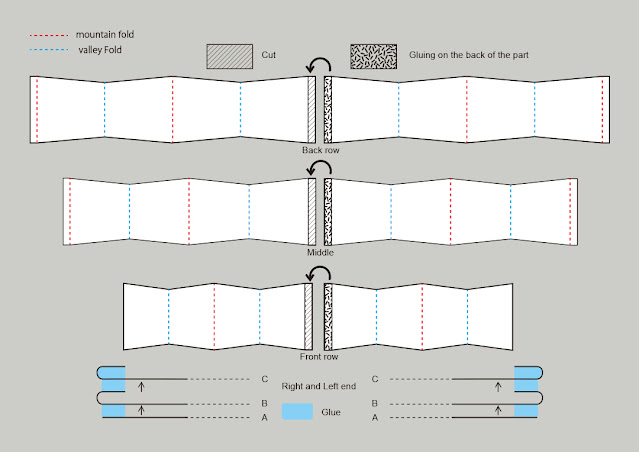
Fold each piece of paper like an accordion in the mountains and valleys so that there are four sections, excluding the tabs. Then cut the shaded areas as shown in the diagram and glue them together as described. The original size in the video was quite large, so he designed it in half the size and then glued it together, but my size is less obtrusive.
*Please watch the video on Youtube to see how the final product is made, including folding and gluing.


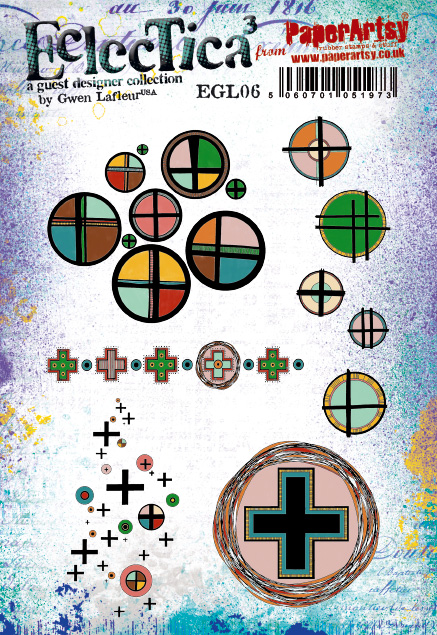
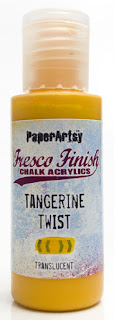
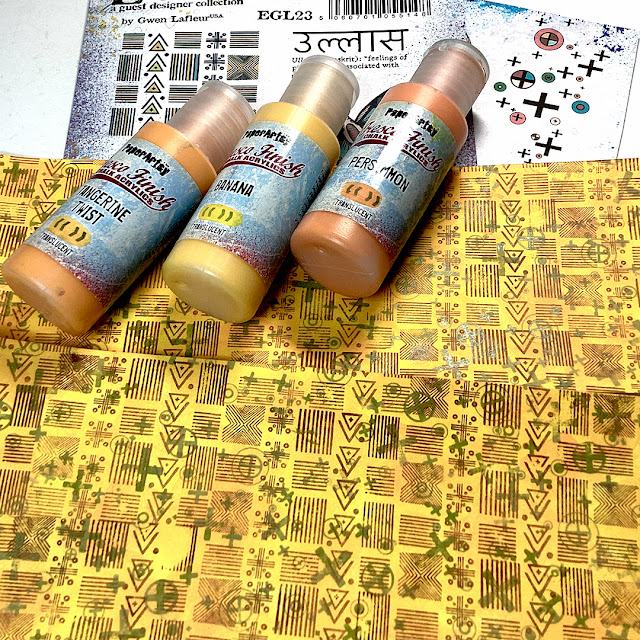
Now that I had a base for my book, I was looking forward to designing and decorating it. This is the shortest piece of A-paper in the front window and I made to go with happy colour. I thought I would use a sponge rather than jelly plate to apply with PaperArtsy Fresco Finish Chalk Acrylic- Tangerine Twist (FF92), Banana (FF91) and Persimmon (FF209) in a random order. After the paints has dried I stamped Gwen Lafleur Set 23, 06 (EGL23EGL06) by Ranger Archival Ink Sepia and Watering Can.


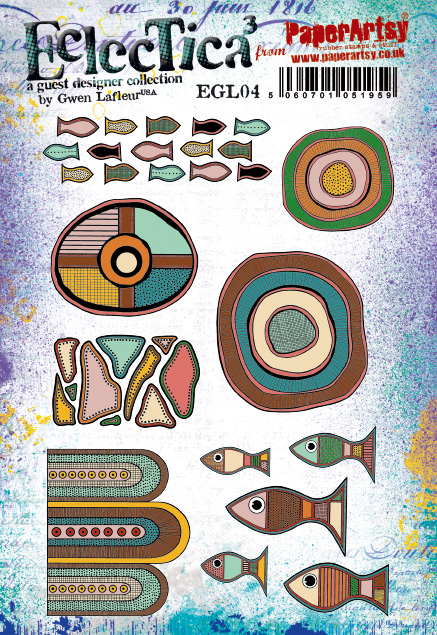
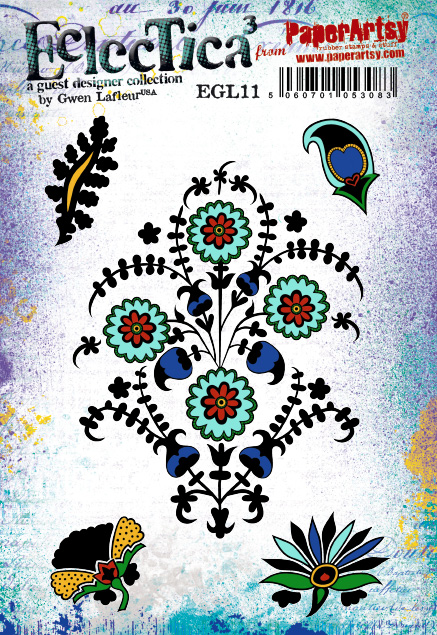
The second and third papers (B, C) were sponged with PaperArtsy Fresco Finish Chalk Acrylic- Bluw Oyster (FF99), A Bit Fishy (FF208) and Cerulean (FF200). Afterwards when It was dry, I stamped the Gwen Lafleur Set 04, 11, 23 (EGL04EGL11EGL23) for the scene on each page with Ranger Distress Oxide (salty ocean, peacock feathers). The B paper in the middle was decided to be the same blue as C paper after each scene and character.


The middle part of the book is closed with a nylon thread to prevent it from falling apart. The visible paper-clipped ends were later covered with small magnets. When the three pieces of paper are connected and viewed from above, they from a cross like this.


The tribal stamps image on each window and other decorative stamps image in the center and in the background were coloured with coloured pencils which I love and use a lot on small material these days.


All the parts are now attached.


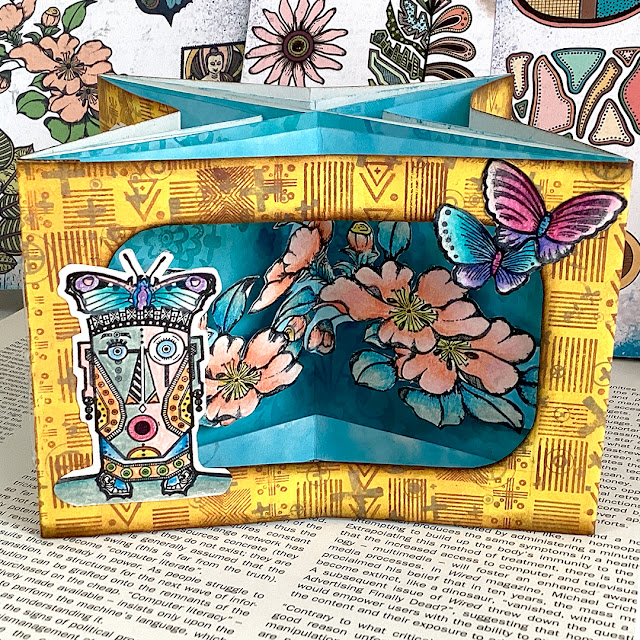
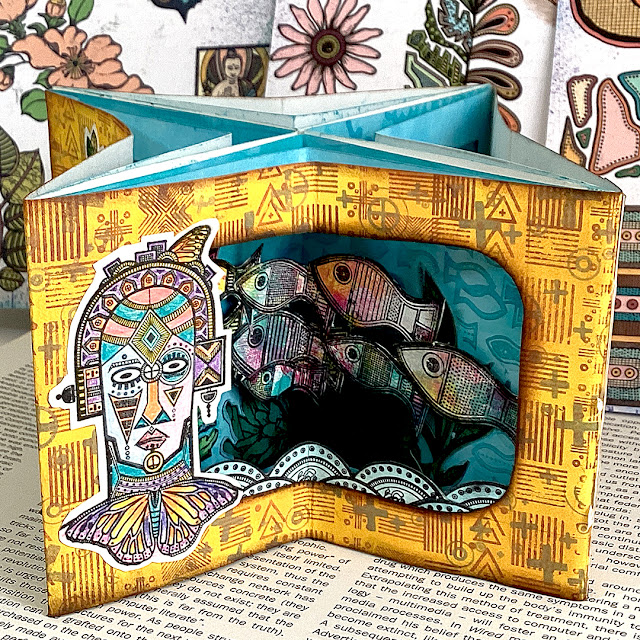
Let's take a look at each page-- for the harmony of all the animals, plants, fishes, oceans, mountains and people of the earth--I named Nature Land for the book.


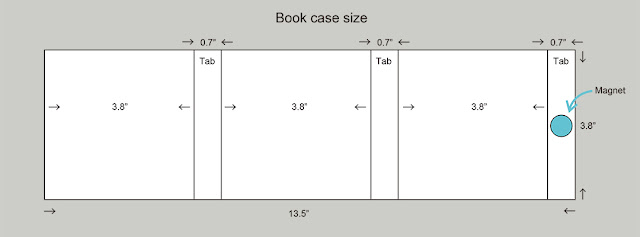
I thought it would be better to have a case for this book. The case dimensions image can be found at the top of this blog, please take a look.


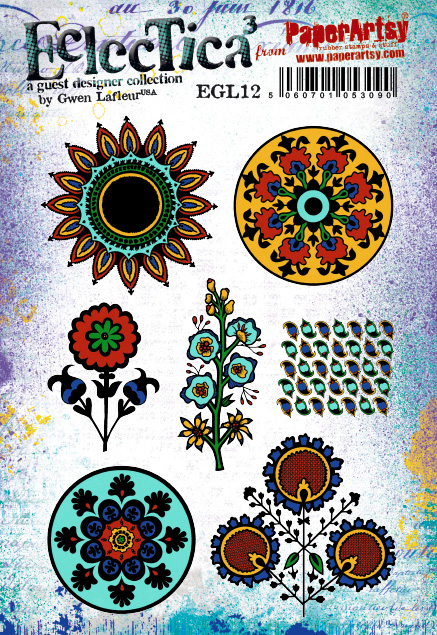
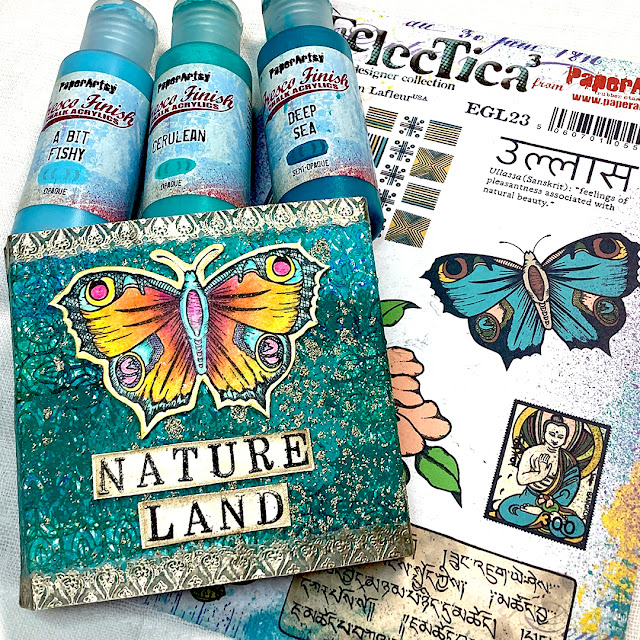
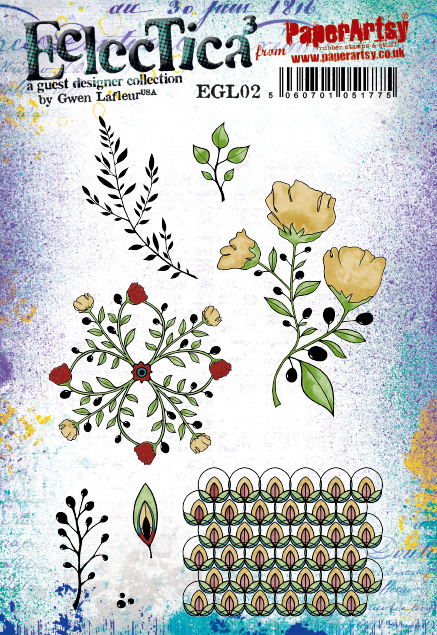
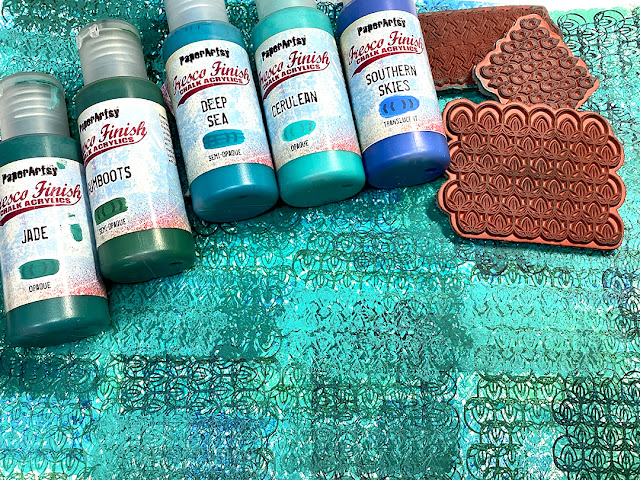
I was going to use a gel print image for the background, but I wanted it to be bit thicker, so I thought it would be better to stamp it with a few stamps using paint. Here I used Gwen Lafleur Set 02, 03, 12 (EGL02EGL03EGL12) pattern stamps with PaperArtsy Fresco Finish Chalk Acrylic- Jade (FF97), Gumboots (FF183), Deep Sea (FF198), Cerulean (FF200) and Southern Skies (FF95).


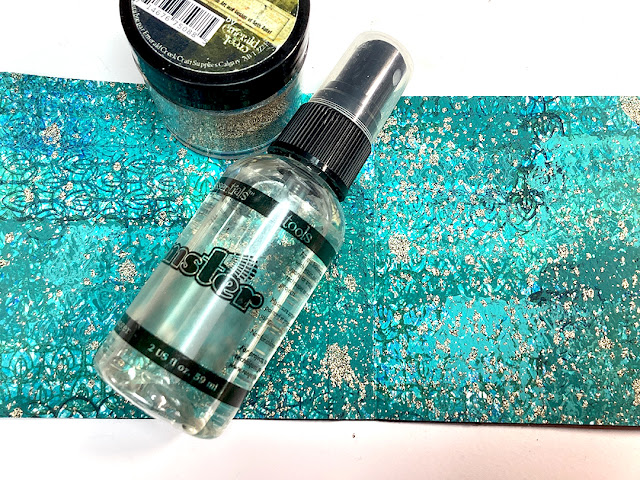
I have splattered some water and used Seth Apter's baked texture Dirty Sand on the case.


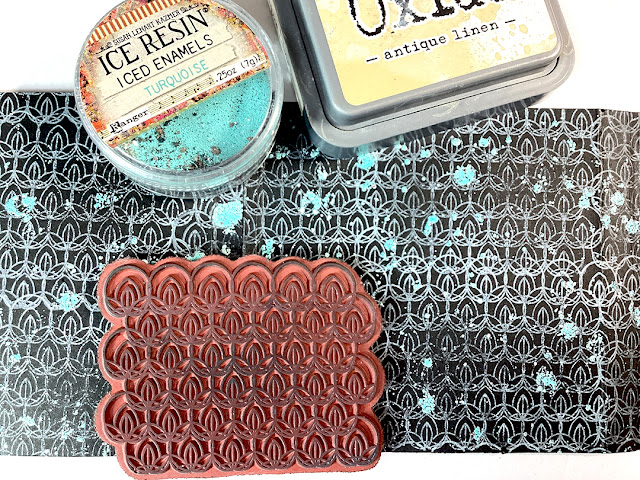
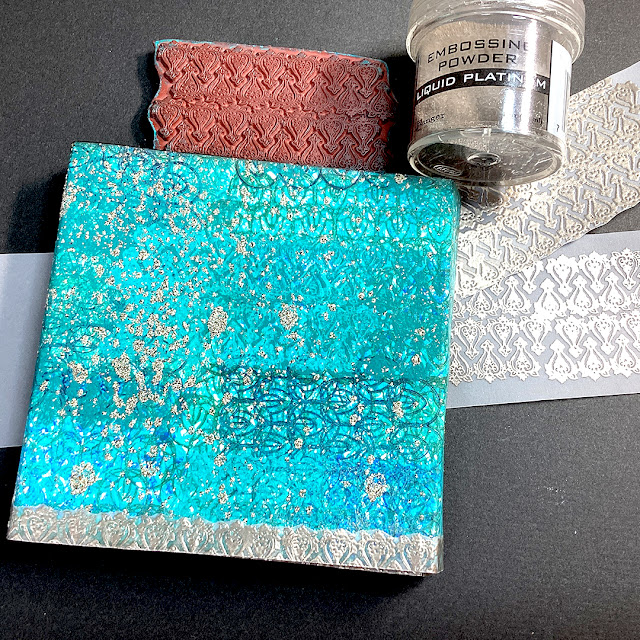
Next I made the back side, I stamped EGL02 with Ranger Distress Oxide antique linen on the black card stock then I made splatters using turquoise embossing powder. The two sheets of paper were then laminated together.


Also I made the border, using ELG03 with Ranger embossing powder liquid platinum on the vellum. The vellum is a  bit thicker and the surface of the case is uneven so it was a bit difficult to apply, I used Ranger Glossy Accents for the adhesive.


Finally, a focal point butterfly was created by EGL23, used coloured pencils, fussy cut and attached to the front using 3D foam with the words Nature Land. The last tab of the case is fitted with a magnet to close the case.


With this project I have learned how to make another fun book. I'm going to try to make more of these as they can be adapted to different sizes and with different pages. If you're interested in making one, please go ahead and make one! Thank you so much for visiting here today. I hope you enjoyed this.

Etsuko xxx


Facebook: Etsuko Noguchi
Instagram: Pixienest
Pinterest: Etsuko N

More Posts to Enjoy