Hi everyone, it's Amanda Pink (ink-a-pink) with you today, and I'm here to share with you a few projects I've created using a selection of stencils designed by Clare Lloyd. It'll probably be no surprise that as a child I always enjoyed being creative so had all the usual felt tips, crayons, paints etc as well as some of the 'arty/crafty' types of toys like etch-a-sketch, spirograph, plaster of paris modelling sets etc but there was one toy on my Christmas wish list each year that Santa kept forgetting (I must have been a very naughty child ;)) - a Spin Art machine!
Fast forward many years later when I'd long since given up on Santa leaving me one under the Christmas tree I saw some in the shops and without hesitation a Spin Art machine came home with me!
Having wanted it for so long you would think I would have tore it out of its box eager to use asap but no, it sat on a shelf waiting and wondering when its day would come while life happened. Then this 'Splosh' topic came up that's all about fluid media and fun ways to apply them and I thought some Spin Art would be a great fit!
I wasn't sure what kind of project I would make when I started but ended up creating a trio of Spin Art Circles that would make lovely gifts for family/ friends or they could be given as Art cards (as I call them) - cards that can be kept after the occasion and displayed as a piece of art.
I also created a second project- an Art Panel that saw me switching out my Spin Art machine for my 'rotating display stand'.
So, with 2 projects to share it's a long post as I'll take you through my Spin Art Circle creativity first before moving onto my Art Panel creativity.
To begin I gathered together some supplies to create my Spin Art Circles: the spin machine (very pink- like its owner ;) ), some PaperArtsy Smoothy die cut circles, a few paint brushes and a selection of PaperArtsy Fresco Finish Chalk Acrylics -Twilight (FF147), A Bit Fishy (FF208), Cloudy (FF184), Yellow Submarine (FF73), Cheesecake (FF54). It was a bright sunny unusually warm autumnal day when I started making so I think that influenced my blue/ yellow summery colour palette.
I knew there was a chance when I started to splosh/splatter that some paint could go 'astray' so I placed the spin machine inside a pizza box, the lid held open with some cardboard 'walls' to catch any 'rogue' sploshes/splatters.
The machine is super easy to use. The hand gives you a clue as to where you press to make the central 'wheel' spin. The machine only allows for smaller panels of card as they have to fit in the central spinning wheel. It's about 4.3 x 4.3 inches max. I'm ok with that as 4x4 is one of the sizes I like to work with.
To splosh/ splatter my chosen PaperArtsy Fresco Finish Chalk Acrylics they would need to have a little more fluidity than they have straight from the bottle so I assigned each of the colours their own small pot and spritzed them a few times with water.
Not a lot of water is needed which is why I used a water spritzer. It allowed me to add a light spray at a time and then repeat if needed. If the paint is too runny, the colour too diluted it won't give the best results for this kind of creativity and as we all know the more water the greater the chance of the colours mixing/ bleeding and potentially creating mud!
I found if the paint sat on my brush but with a nudge or a flick dripped off I'd hit the 'sweet spot'.
My 'cheap as chips' paint brushes worked fine for sploshing so no need to use my 'besties'!
With the card in situ, I sploshed/splattered it with each of my chosen PaperArtsy Fresco Finish Chalk Acrylics colours. Such fun! I was in my element throwing paint around!!
It's all very random as I'm sure you know only too well if and when you splosh/ splatter paint. The paint will go where it goes - you may get big sploshes or small splatters; they may intermingle but that's ok as they all help create the end result when spun.
Please do not adjust your sets - Spinning in progress! For a manually operated kids toy I was super impressed at how fast it spins! Definitely faster than I would be at a spinning class ;) !!
Freshly spun...
...once dry!
I loved the results and was more than happy to welcome the addition of some splashes of green that some of the wet sploshes/splatters of blue and yellow PaperArtsy Fresco Finish Chalk Acrylics had created while spinning.
I also tried sploshing/splattering the paint while the machine was spinning which created a different result as you can see in the photo below. The left circle is the result of splosh/splatter while spinning the circle, on the right is splosh/splatter then spin.
Both have their own unique personality and are effective within their own right but personally I was more drawn (for this project) to the circles I'd created with the splosh/splatter then spin technique. I felt they had more impact, great randomness and dare I say a 'Jackson Pollock' kind of vibe about them. So, these were the ones I moved forward with.

Although I loved the Spin Art Circles as they were I wondered if some subtle stamping may add just a touch of detail to some of the white spaces so I picked out a couple of PaperArtsy Mini stamps (MN72, MN108) and inks that I thought would play nicely with the style and colours of the Spin Art.
PaperArtsy Mini stamp (MN72) is a splatter design so given the Topic it was a bit of a 'no brainer' choice. Stamping it with Tim Holtz Distress Archival ink (Speckled Egg) kept the splatter very light and subtle as I wanted.
PaperArtsy Mini stamp (
MN108) is a text stamp and much like PaperArtsy Mini stamp (
MN72) I'd say is suitable for almost any project with the text being small and not fancy or stylised at all.
Stamped in a broken fashion using both first and second generation stamping with Ranger Industries- Archival ink(Cobalt) helped give a varied mix of subtle and more defined stamping.
Now, it was time for me to turn my attention to some of PaperArtsy Stencils by Clare Lloyd (PS028, PS174, PS175) and how I would use them.
I didn't really favour adding any more detail to the circles as I wanted the effects of the Spin Art to shine so thought more about using the stencils to create a/some focal element/s. A quick scan of the stencils and I could see there was potential to create flowers; dimensional flowers!
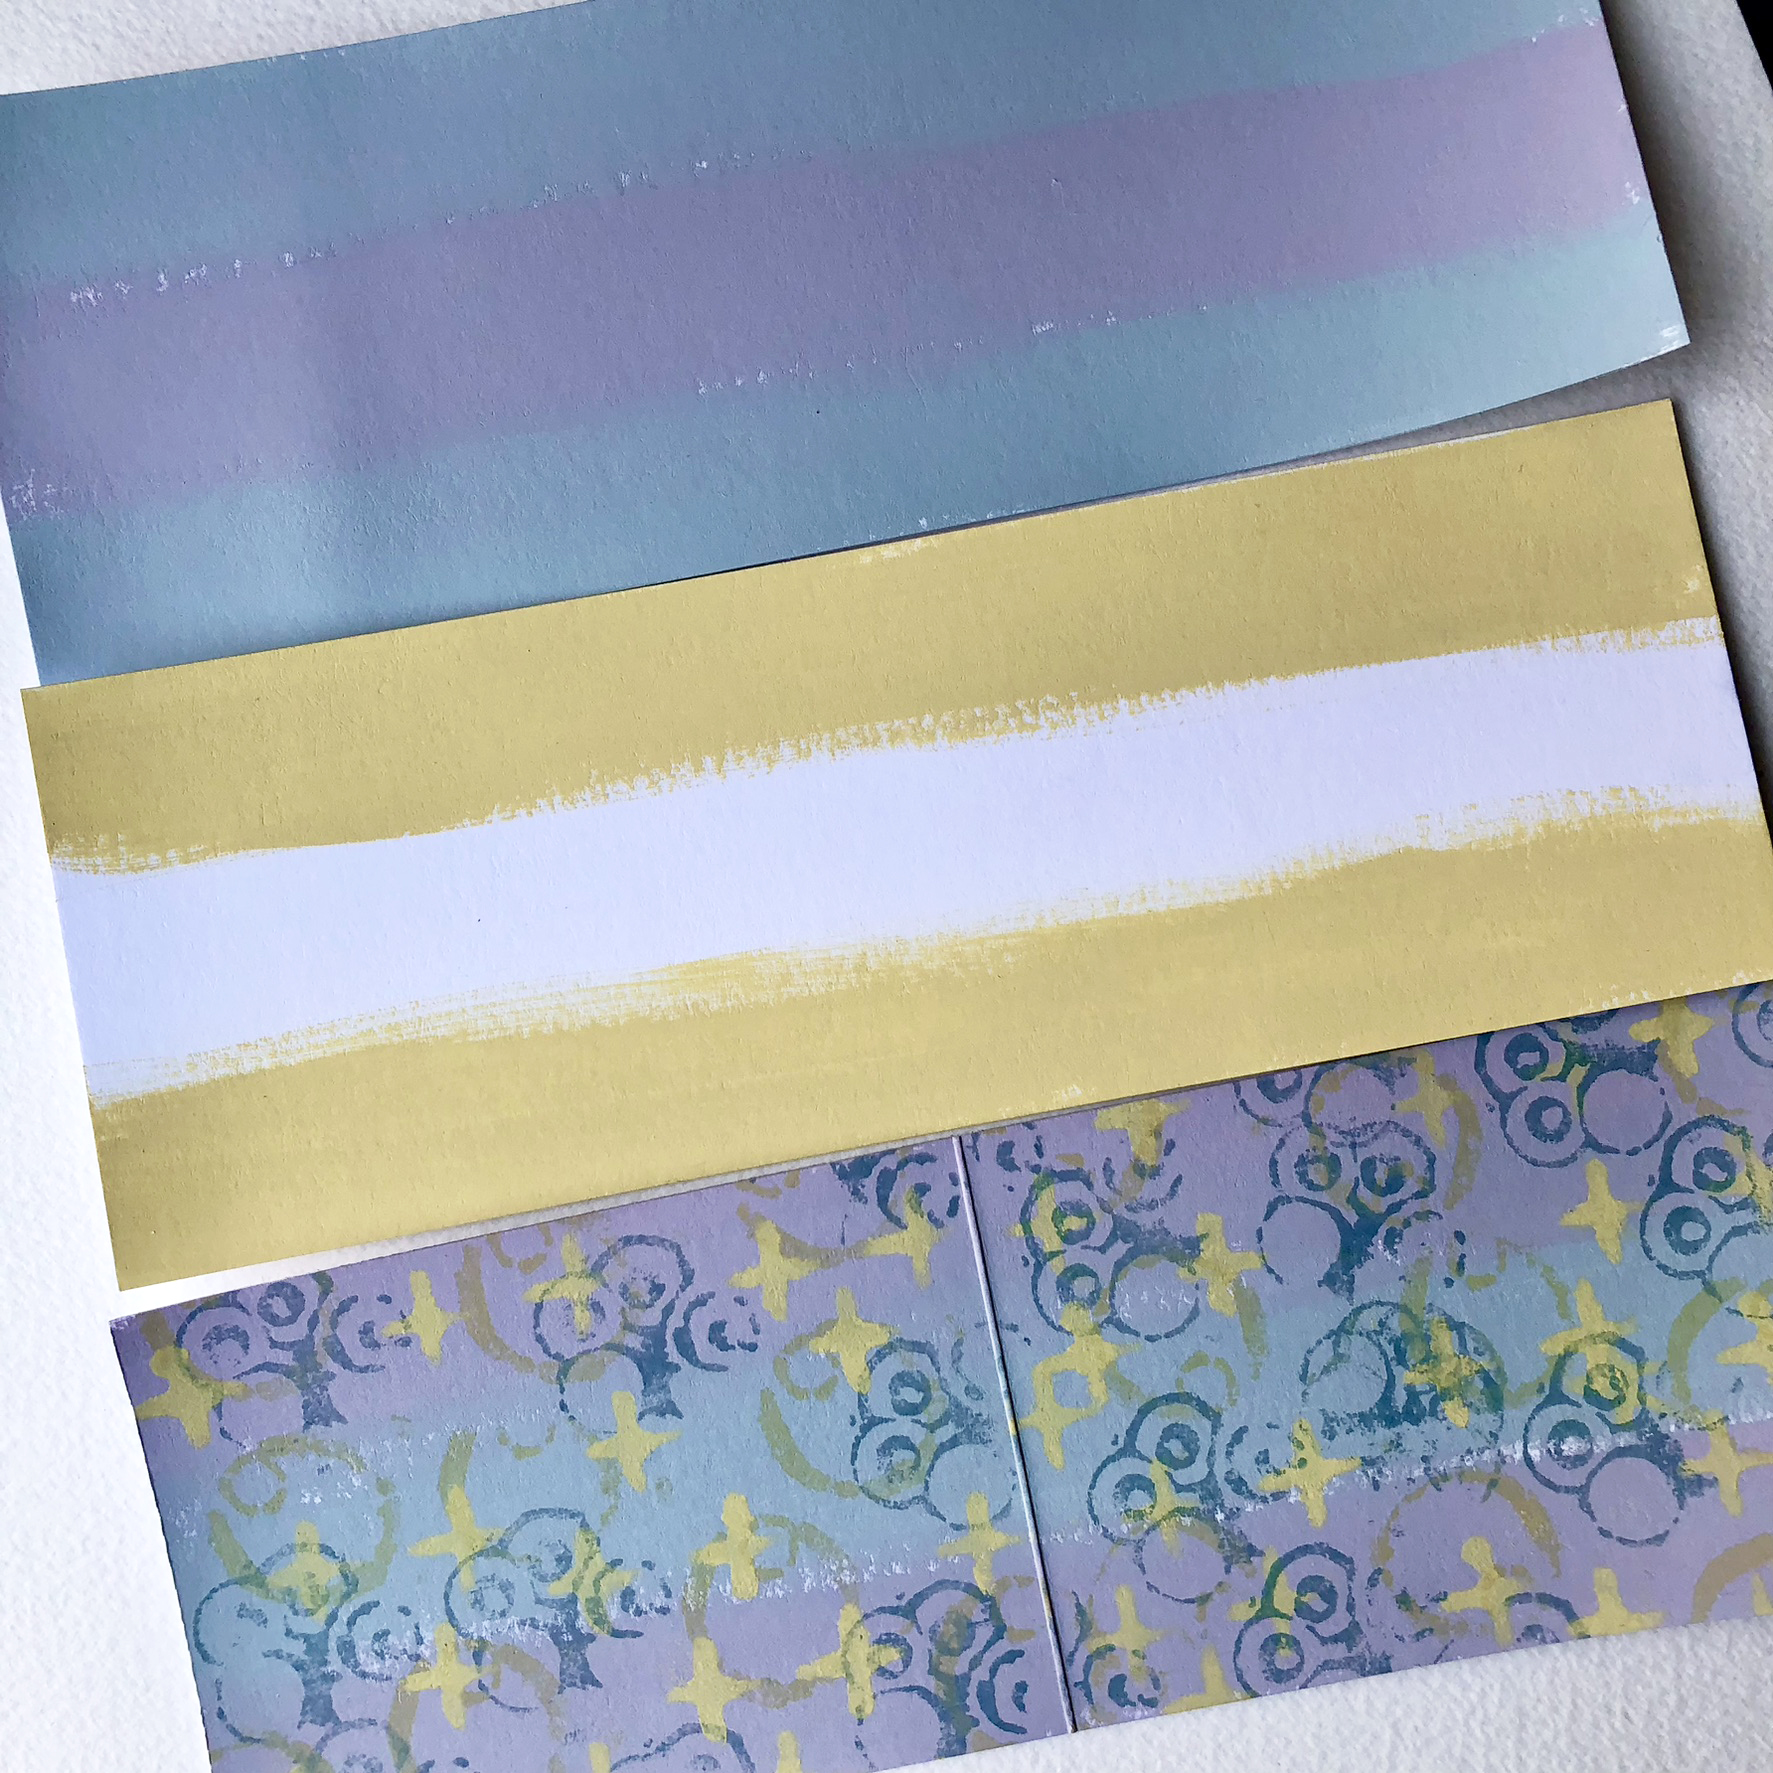
So, I painted a couple of pieces of PaperArtsy Smoothy with the two shades of yellow I'd used for the Spin Art Circles - Yellow Submarine (FF73), Cheesecake (FF54).
Diluting the PaperArtsy Fresco Finish Chalk Acrylic colours with water enabled them to be applied as more of a wash. I like to use a flat paint brush for this kind of painting as I find it makes for quick coverage and is less likely to leave visible brushstrokes.
PaperArtsy Stencil by Clare Lloyd (PS174) holds a collection of various sized questions marks so the dot of the largest question mark became the centre of my flower.
One of the leaves on PaperArtsy Stencil by Clare Lloyd (PS028) repeatedly moved around the question mark dot formed the petals of the flower.
Stencilling the leaf several times also gave me some individual flower petals that would help in making my flower dimensional.
After cutting them out I felt the flowers and leaves needed some detail so reached for
PaperArtsy Stencil by Clare Lloyd (
PS174) again and added some PaperArtsy Fresco Finish Chalk Acrylic - Snowflake (
FF15) dots.
Catching the edges of the flower and leaves with PaperArtsy Fresco Finish Chalk Acrylic - Snowflake (
FF15) helped to give them definition before I brought them all together to form my dimensional flower. Another question mark dot painted with PaperArtsy Fresco Finish Chalk Acrylic - Twilight (
FF147) for the centre.
I find using stencil designs and/or parts of a full stencil design to create something dimensional like this flower really pleasing and rewarding! Do you ever use your stencils in a similar way?

Time now to think about a few finishing touches.
I wanted my Spin Art Circles to have some rigidity for displaying so crackled some chipboard circles with PaperArtsy Crackle Glaze (FF22) sandwiched between PaperArtsy Fresco Finish Chalk Acrylics - Twilight (FF147) and Snowflake (FF15).
A sponge application creates lovely small round cracks.
PaperArtsy's Crackle Glaze (
FF22) can be dried with a heat tool without it having any detriment to the resulting crackle so it's ideal if time's short or patience is lacking!
I shared more about PaperArtsy Crackle Glaze (FF22) on my blog post here and a lot of designers have shared about this fabulous product too throughout the blog so if you search PaperArtsy Crackle Glaze (in the sidebar) you'll be able to find lots of info, hints and tips etc. You can also watch Leandra doing a great PaperArtsy Crackle Glaze tutorial here on PaperArtsy You Tube channel.
Given my Spin Art Circles may be offered as gifts I thought a sentiment of some sort would be a welcome addition. I chose one from Emma Godfrey Stamp set 22 (EM22).
Covering the reverse of the circles with card also provided an open space for me to write a few words/ wishes to whoever I may gift them to.
I was now ready to start bringing things together but I couldn't resist one last splattering with some PaperArtsy Fresco Finish Chalk Acrylic - Snowflake (
FF15).
My 'best wishes' found their place atop a die cut ring embellishment...
...tucked under the dimensional flower with its glossy accents centre.
My trio of Spin Art Flower Circles! Such fun to create!
Why stop when you're having fun, right? So I made a second project!
My second project is an Art Panel (another lovely gift idea) created with the same colours, stencils, stamps and crackle I'd used for my Spin Art Circles but I thought this time I'd switch out my spin machine for an alternative way to spin the paint to create the background.
I know some people make Spin Art using a salad spinner or a lazy susan, some even a drill!! Now I do love a power tool so will be giving that one a go for sure...outdoors...in the summer I think, as knowing me it could/will get messy!! ;) For now, though, I decided to give my 'rotating display stand' a go. So, I guess technically not quite spinning more rotating!
I began by gathering together some supplies I'd need to create my Art Panel background. All the same as I used for my Spin Art Circles apart from my rotating display stand.
The design of the rotating display stand isn't as size restrictive as the spin machine, so it offered me the opportunity to work with larger size panels of PaperArtsy Heavy Smoothy. To get around the fact that the rotating display stand doesn't have a designated space or anything to hold the card in place like the spin machine does I used some Sizzix - Sticky Grid.
My chosen PaperArtsy Fresco Finish Chalk Acrylic colours were prepped for sploshing/ splattering in the same way as they had been for the Spin Art Circles but rather than apply them all together, I applied the colours one at a time before rotating. I had no rules about the 'order of play' for the colours. It was all very much a random selection.
The display stand doesn't rotate as fast as the spin machine spins. It's much slower so to assist the movement of the sploshed PaperArtsy Fresco Finish Chalk Acrylics on the rotating card, I 'kissed' it with another panel of card (held lightly at 2 corners) allowing both to move with the rotation of the display stand. (Excuse the blue hands - not my norm as I'm all about getting as painty as I can!)
Here's the results of the first rotation...
...and after numerous rotations repeating the process using all my chosen PaperArtsy Fresco Finish Chalk Acrylic colours!
Applying the colours and rotating them one at a time allowed me to gradually build up layers of colour and interest. Much like when I sploshed and spun my Spin Art Circles wherever the blue and yellow colours hadn't dried between rotations they blended together nicely to create some lovely splashes of green.
I couldn't resist some PaperArtsy Fresco Finish Chalk Acrylics -Snowflake (FF15) splatters before I selected which of the 2 backgrounds I'd use for my Art Panel.
As I mentioned above the same stamps / inks used on my Spin Art Circles were also used on my Art Panel background: PaperArtsy Mini stamps (MN72) with Tim Holtz- Distress Archival Ink (Speckled Egg), PaperArtsy Mini stamps (MN108) with Ranger Industries - Archival Ink (Cobalt).
Drawing round some of the question mark dots on PaperArtsy Stencil designed by Clare Lloyd (
FF174) with a white pen added a touch more interest.
The spikey shapes on PaperArtsy Stencil designed by Clare Lloyd (PS175) made me think 'of 'flowers' so they were ideal.
Again, much like with my Spin Art Circles the finishing touches for my Art Panel involved some crackling and stamping.
There's a PaperArtsy Crackle Glaze (FF22) chipboard base onto which I mounted the background.
A PaperArtsy Crackle Glaze (FF22) circle topped with my dimensional flower taking centre stage surrounded by a die cut PaperArtsy Crackle Glaze (FF22) ring.
The PaperArtsy Crackle Glaze (FF22) ring was embellished with my spikey flowers...
...and a few of my much-loved hex nuts.
Rather than a sentiment this time I went with a couple of words that came to mind when I looked at the panel.
Sunshine...
...Happiness.
The words were from a couple of the quotes on Alison Bombers stamp sets (
EAB13,
EAB14). I like to be able to pick out words from longer quote /sentiments stamps to use in my creativity and Alison's quotes are great for this given how many quotes there are on each of her stamp sets and how many words there are in each of those quotes!
My 'Sunshine Happiness 'Art Panel is now ready to be displayed or offered as a gift!


.jpg)


.png)

