
2019 Topic 20: A Bit of Sparkle

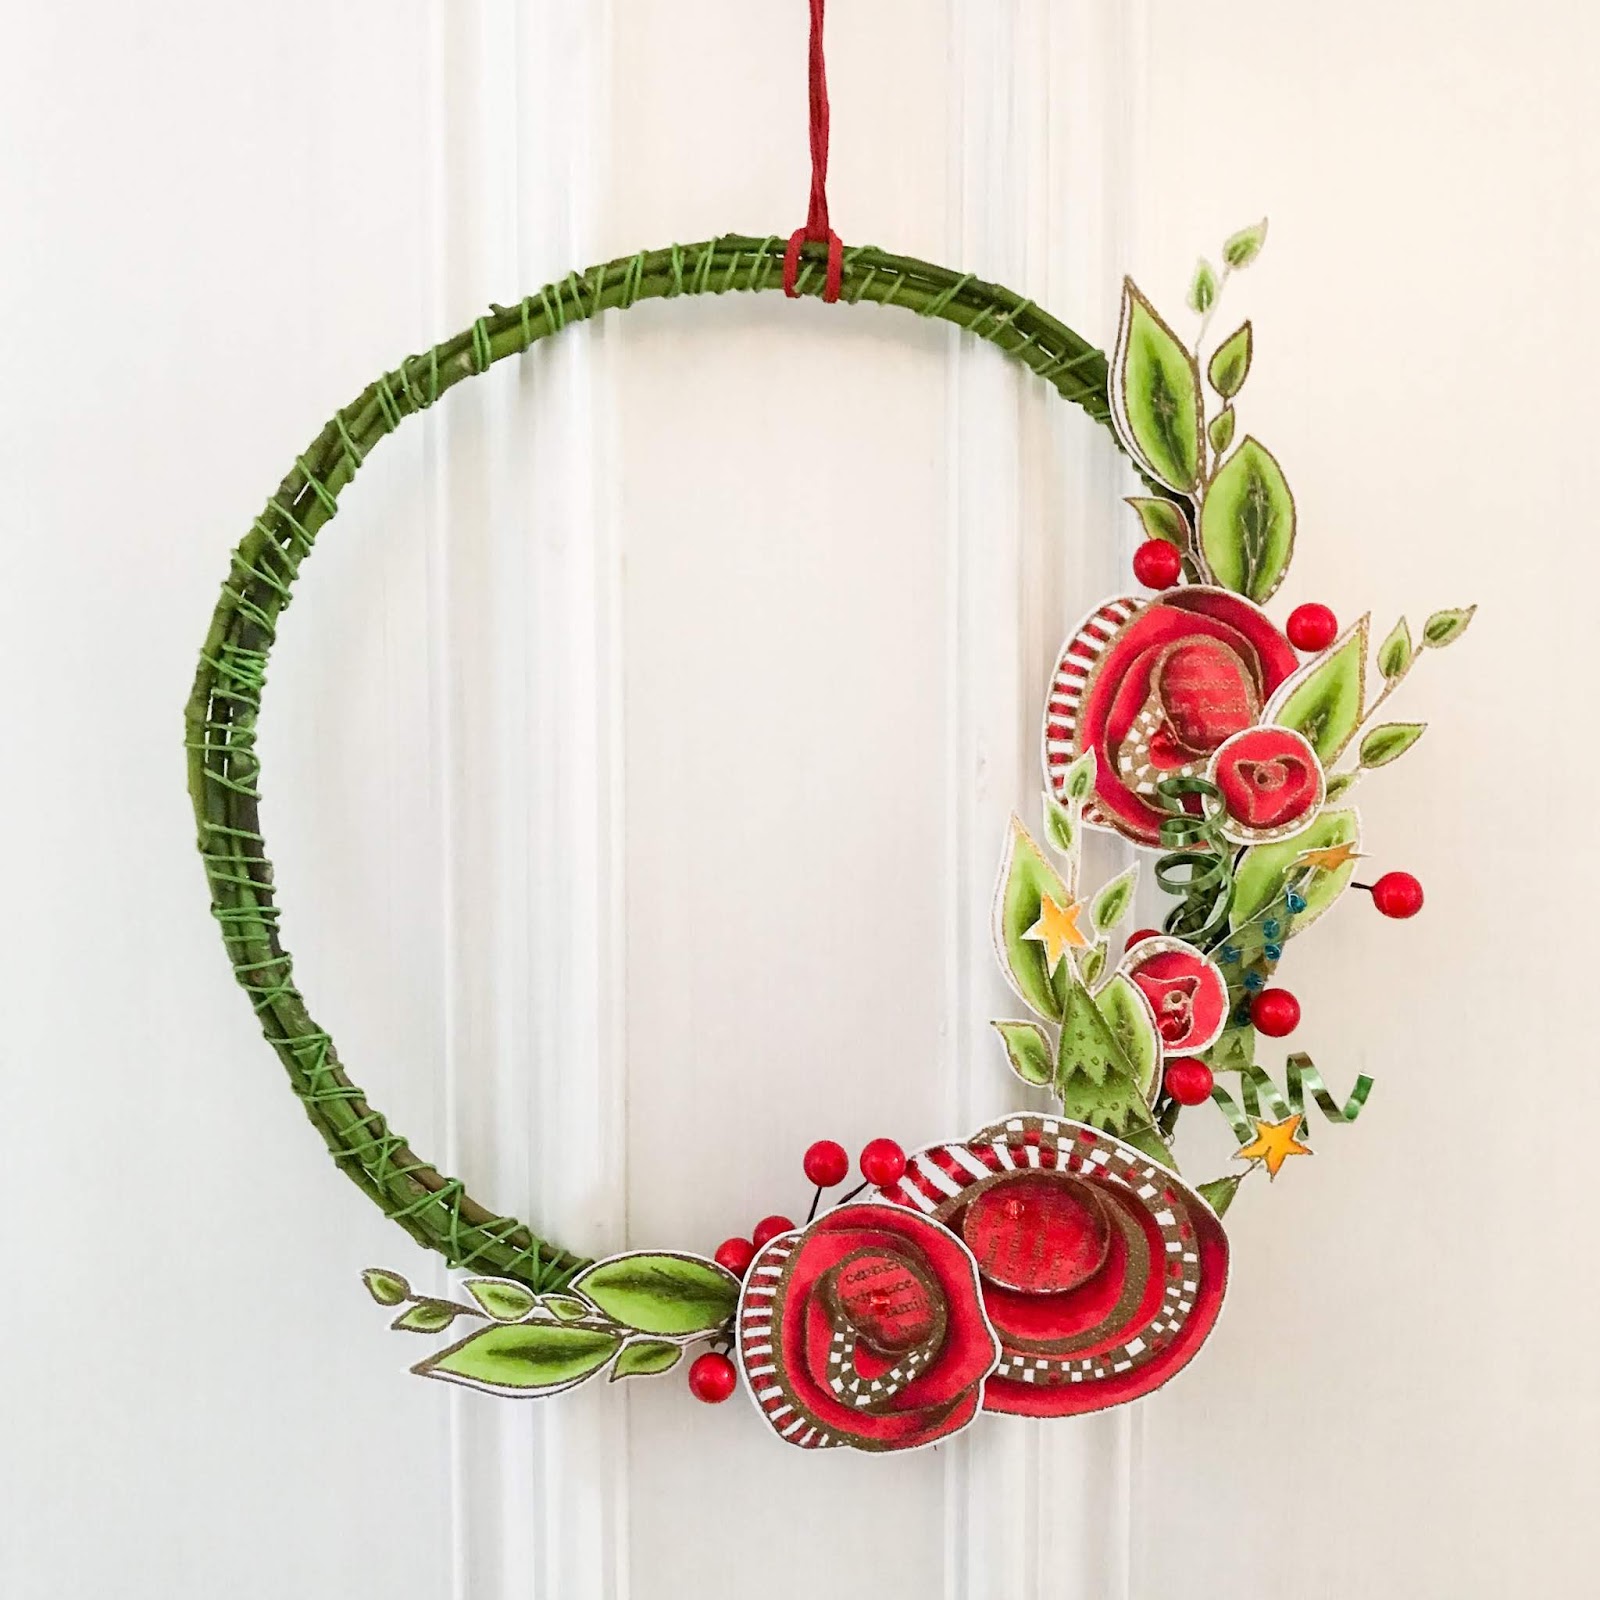
What a blingy beauty from Keren...sparkles, lights, stars, red and green - the totally perfect Christmas combination! ~Leandra
Hi everyone, it's Keren Baker with
you today, and I'd like to share with you a little wreath courtesy of
some sparkly embossing powder plus some other sparkly details. I wanted
to do something that was a little more subtle..although it didn't quite
end up like that and is rather more 'blingy' than I ever would have
chosen. Good job that Christmas often is a time of lights, sparkle and
glitter, so this wreath might not appear quite so over the top!
I'd
wanted to try creating my own wrapped wreath using some greenery from
my garden, so this project seemed the perfect opportunity to give it a
go.
I
selected some long branches- the sort that are spindly with little
foliage; exactly the ones that should have been pruned already (oops!).
By joining a couple together and securing with some gardeners wrapped
wire, it started to take shape. I worried that the circle would be
misshapen, but the more branches I added, the better the shape became. I
went a bit gung- ho with wrapping the branches but have ended up loving
the textural effect.

I
needed to stamp and heat emboss a lot of images. I used WOW! Metallic
Gold Sparkle embossing powder with a combination of JOFY floral and
Christmas Stamp sets- JOFY 75 and JOFY84.


To put the wreath together it involved a lot of wire. I used Heavyweight Smoothy
as I knew I couldn't successfully glue the elements on and needed a
substantial surface to support wire. I'd coloured the images with
alcohol markers and then found little anchor points to place the wire
on. With the large flowers, I poked a hole and used a bead to stop the
wire from disappearing back down the hole.

Once
the elements were all coloured and wire added, I just needed to add
them in the order of the background ones first and work around the
wreath.

Onto
some more detailed shots. When you're using cardstock for a dimensional
project, it really does need some added extras. These little wire
berries were perfect for the job.

It
really was quite 'sparkly' (quite hard to capture) but I wanted to add
sparkle by way of reflective surfaces to make things sparkle. I had some
rings of flat wire and created some spirals to help bring another
dimension.

The
lovely trees from the JOFY 84 are so perfect for trimming out
separately. They made surprisingly good fillers and I added some beads
on a wire wrapped around one of the trees. I love creating tiny details.

Truthfully,
I didn't entirely love the end result. I wished I'd added sparkle using
glitter or mica more sparingly but once I'd begun, I just had to
continue. I thought one more type of sparkle might reduce the overall
bling; it did! The tiny lights add a wonderful seasonal warmth and I
just might put it up in my home now!

It's great to create something that's not just a card or journal page. I think that the topic title was completely right; a 'BIT' of sparkle! I loved creating my own wreath base and suspect my garden might look a bit more sparse by the end of the Christmas season! I definitely recommend combining natural products from around you with your favourite PaperArtsy products! Thanks for joining me and I want to wish you all a very happy Christmas and peaceful New Year too!
Keren x


