
Hi everyone Leandra here, joining you this evening with a post about brayered backgrounds, very much inspired by Ellen Vargo and the work she has done with her stamps and a mini brayer.

All year I have been demoing variations of this idea using various colour combinations. If you can master this basic technique first and get the feel for the paint on the brayer, and how to layer up transluscents and opaque chalk Frescos, then you will be ready to go on to explore it in numerous other directions.
Today I'm showing you the simplest version as below, using a bunch of colours from the same family of yellows, oranges and reds. The top part has been left bright, the lower portions has been brayered with a layer of snowflake, which softens the overall effect allowing the background to be more usable for stamped projects.

For example, here are 2 brayered backgrounds stamped with archival ink in the same shades with Clare Lloyds stamps and set into small white-painted niche frames.

For the orange background I used the following paints, a brayer and quarter of a PaperArtsy Craft Mat as a small palette. Snowflake, Haystack, Yellow Submarine, Pumpkin Soup, Tango, Brown Shed, London Bus, Blood Orange.
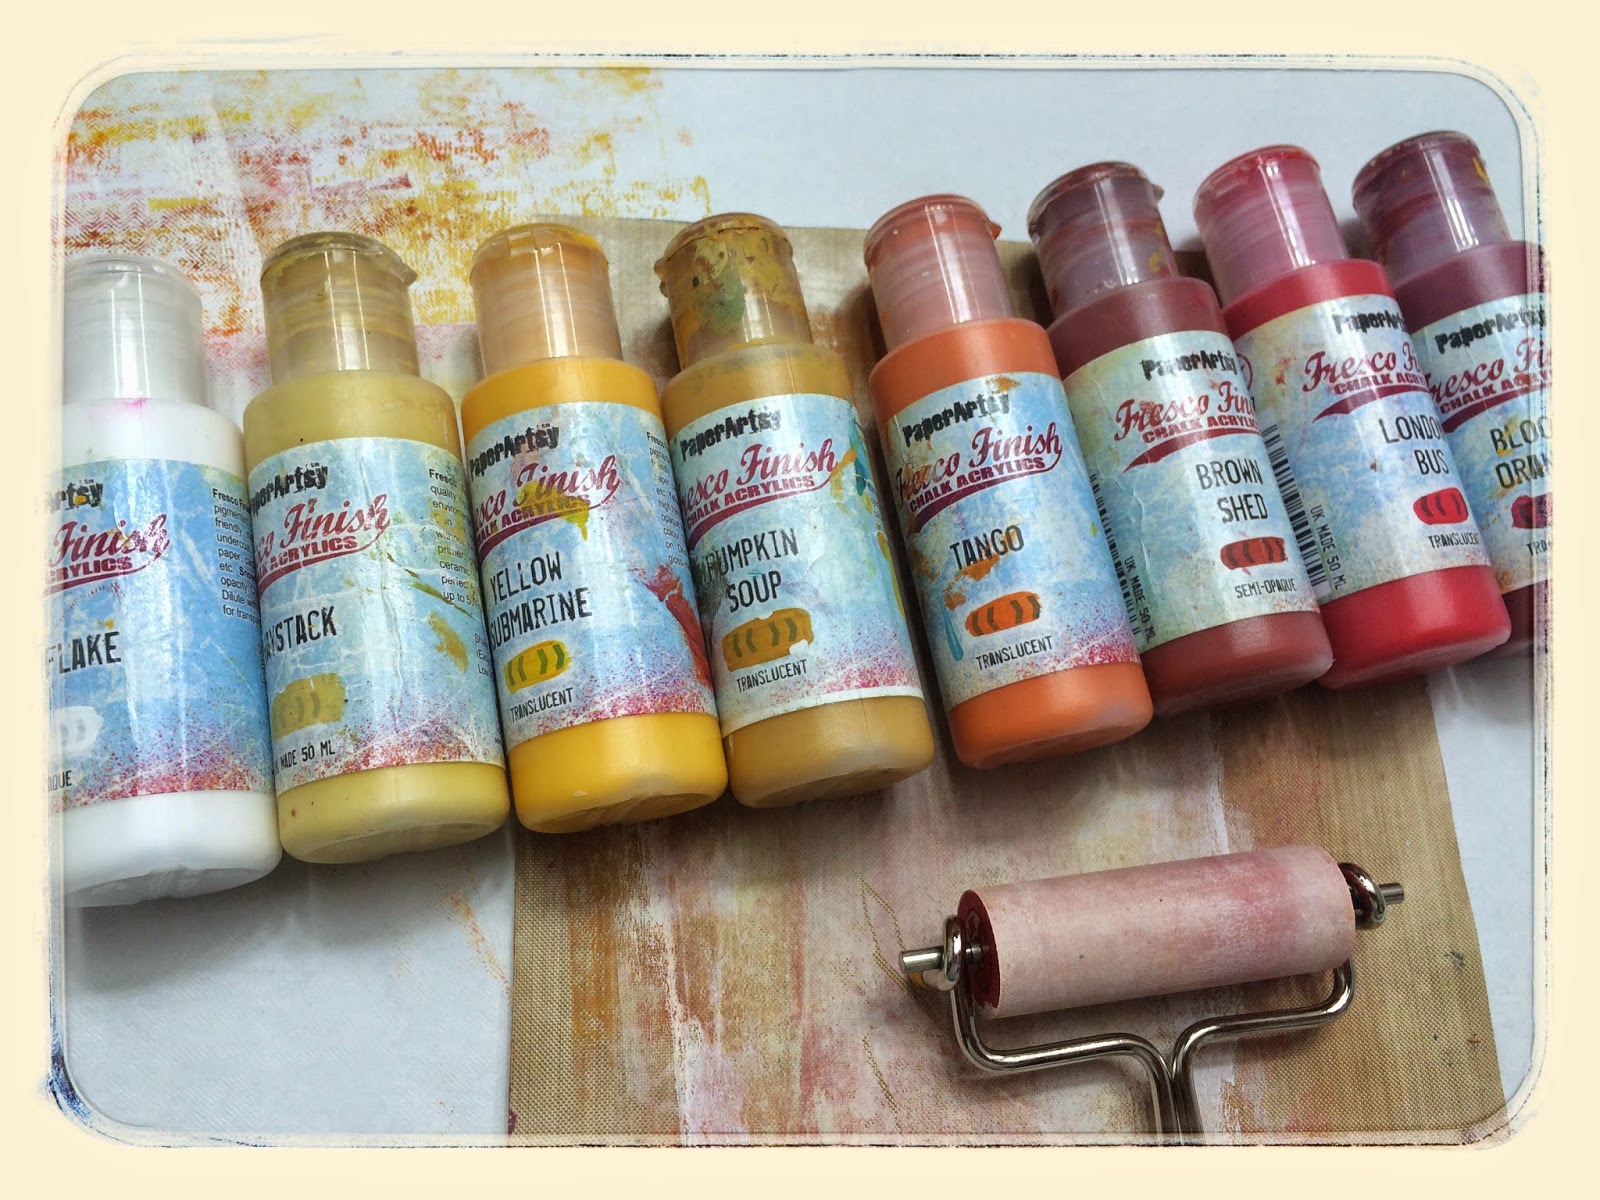
Step One: Start by applying a small spot of paint to a small piece of craft sheet. With very little pressure on the brayer, gradually 'ink up' the brayer with the paint and soft pull onto your smoothy card with soft gentle, flicking action, from the outside edges to the inner section rotating the page 90 degrees each time until you have a loaded brayer. Repeat until you run out of paint.
Step Two: Repeat with colours, getting darker until you have a page coloured with various shades of the same tone. eg yellow/ orange/ red.
Step Three: If you wish to soften the background to stamp over the top more easily, then apply a layer of snowflake with the brayer to soften back.
Step Three: If you wish to soften the background to stamp over the top more easily, then apply a layer of snowflake with the brayer to soften back.
Video: Here's a video to show you step by step the basic technique.
This is the first part in a series where I will explore and expand this technique further. In the next video that will follow in a week's time I will show you how to add additional colours to make backgrounds like these, and of course, layers of stamps too, like these examples below.


I hope you get a chance to have a go with this technique, for me, it has become my go-to starting point with paint, there is no waste, no mess, and every item you make is different. The resulting pages are perfect for journal pages, card or scrapbook backgrounds.
I look forward to touching base with you in a week.
Leandra.
Leandra.
We would love you to join in with the challenge. If you are inspired to action by any of this month's guests who have blogged in December 2014 then join in and link up your creativity HERE. You might win a voucher to spend on products of your choice from the PaperArtsy online store. You need to add your link by 17:00 (London time) Dec 31st 2014, the winner will be announced 2 hours later at 19:00, Dec 31st, 2014.


