

This is the last of our 2017 review posts. I hope you have all eaten all your Christmas leftovers, and are planning for a safe and Happy New Year. As 2018 looms, it's hard to accept the turn of the century was only 18 years ago. We were all so excited to see if computers would fail the world over, but of course they didn't ! In that time, all our kids have grown from babies to adults. I wonder what life will bring in the next 18 years? I guess we cannot begin to imagine.
Tonight I'm sharing my picks from Topics 17-19, the last 3 topics of 2017.
Leandra
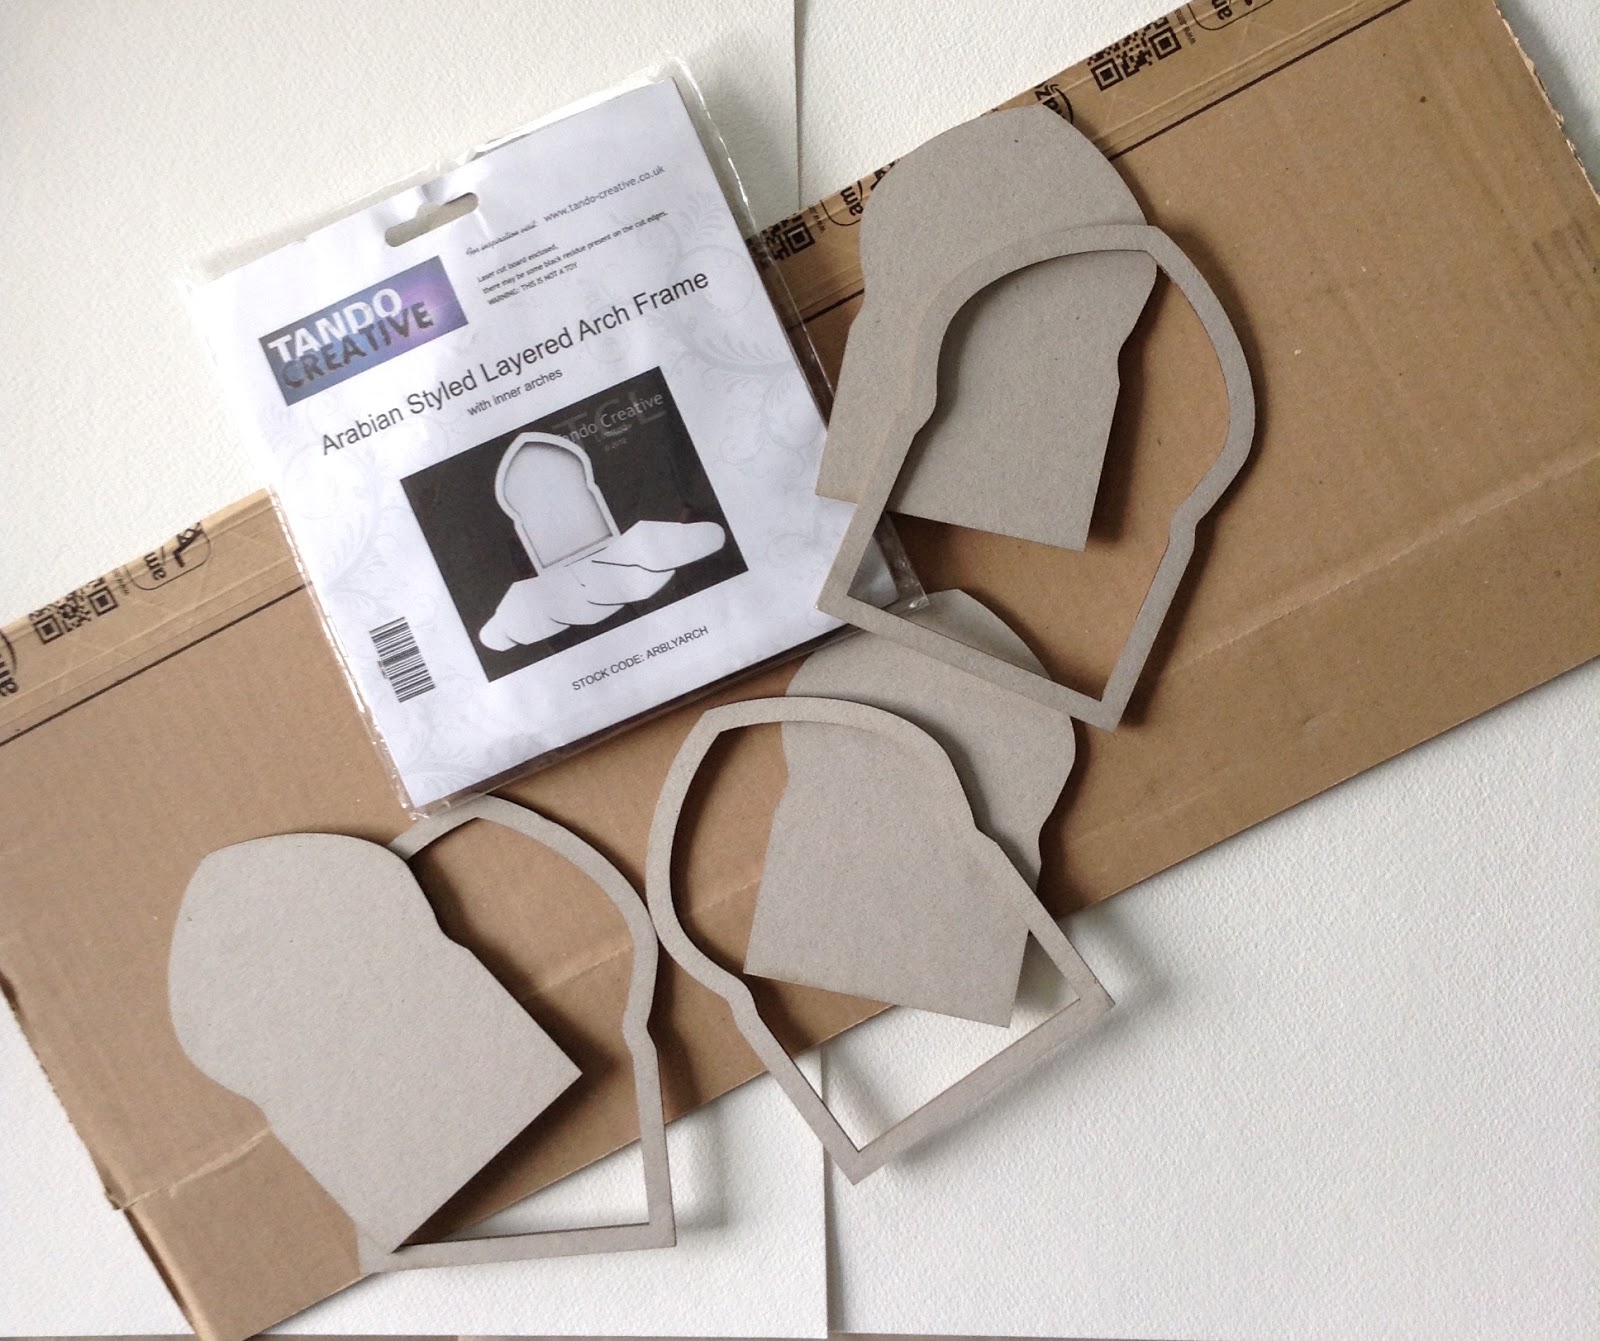
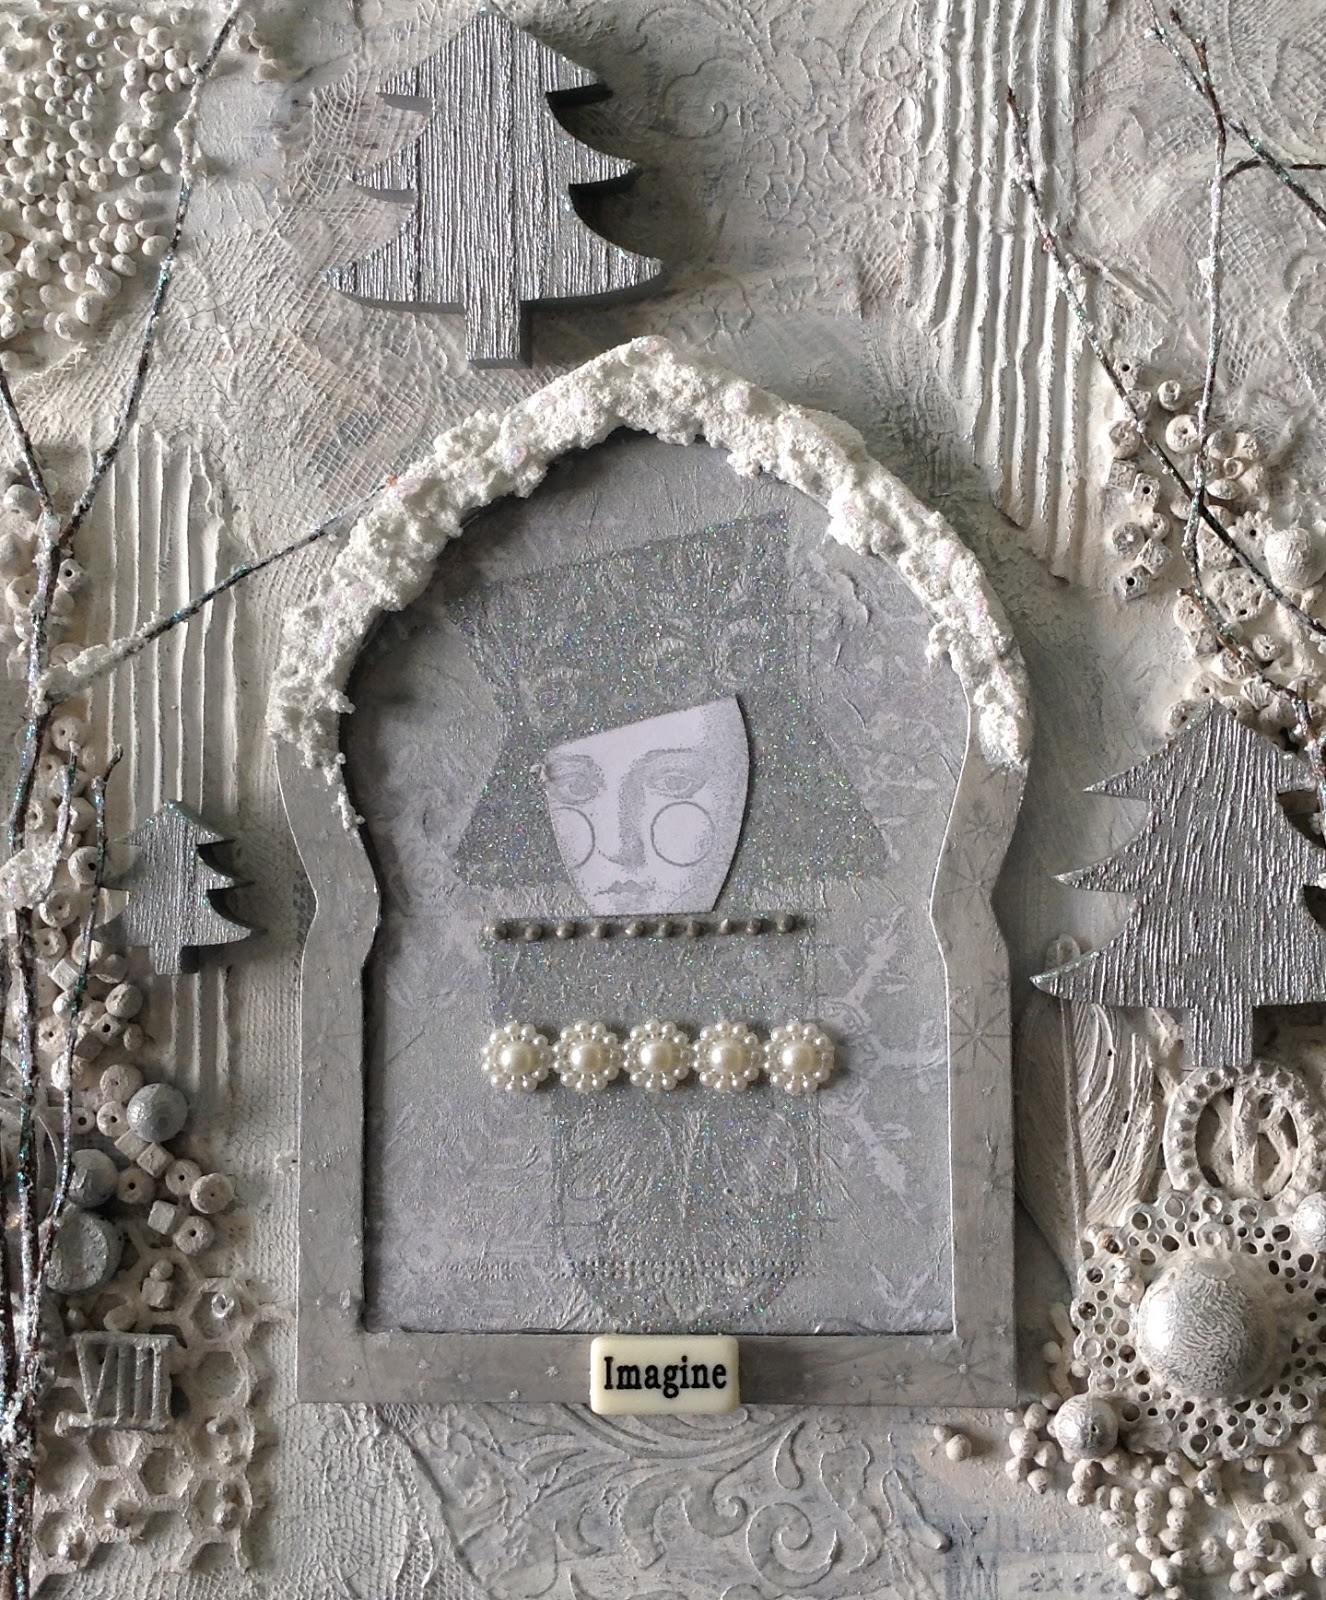
Topic 17: Shades of White
I was so excited for this topic, but boy were the bloggers challenged by it. Every single one of them said how hard it was to work without colour, yet every single one absolutely LOVED the results and surprised themselves in the process.
Moral of this: step outside of your comfort zone and stretch yourself to try something new! It might be food or a flavour, maybe its a new job, or maybe a different hairstyle? As you contemplate 2018, what can you push yourself to do differently? Embrace change, why not!
Moral of this: step outside of your comfort zone and stretch yourself to try something new! It might be food or a flavour, maybe its a new job, or maybe a different hairstyle? As you contemplate 2018, what can you push yourself to do differently? Embrace change, why not!
My first pick is this amazing assemblage by Liz Borer. I have seen her make several of these niche frames over the years, and she always kicks the concept out of the park! Amazing!

Wanda layered up a simple 'leaf' stamp by Ellen Vargo, and suddenly it was a white poinsettia! All the layers underneath are also amazing!


Anneke showed us just how many shades of white there are in the PaperArtsy Fresco Paint line - and she hasn't even got Antarctic, Stone, Moonlight.....in that mix!


And Ingrid had so much fun doing this with our Squiggly Ink stamps!

Topic 18: Torn, Ripped and Burnt
So we are lucky no one burnt their house down after this topic, but naught pyromaniacs emerged en masse! What is it about playing with fire that we love so much!
I'm pretty sure Raquel did not resort to flames - she is such an expert with Vintage inks, that she could represent torn or burnt perfectly with her inherent distressing skills! This post had a sewing theme, and the details are stunning!


This post by Kate Yetter was another of her journal cover masterclasses in layers and colour!

And this layer blew my socks off! How stunning is this!

Topic 19 : My Favourite Things
Which bring us to our final topic of the year! It was nice to round off the year with bloggers doing what they most like to do! The biggest problem they all had was choosing where to start!
Claire S got into the Zinskis - and journalling, I'm sure those 2 activities have been a favourite past time for many people this year!


Lauren's elf in a stocking went down well last week! I must admit, he found his way onto my Xmas cards too! Cheeky chappie.


There you have it , 2017 on the PA blog. A mahoosive thanks to all our Blogging team! They are fantabulous! Unparalleled. Totes Amazeballs....I'm sure you will agree!
The past year has been one of political and economic turmoil for many of us the world over. Be it food shortages, weather bombs, extreme viruses (medical and technological), impossible to fathom terrorist attacks, people fleeing their beloved homelands, or election results that we could never imagine. The world has become a smaller place in the past 2 decades since the turn of the century, and yet, it seems so much bigger in our daily lives now that we are more aware about what is happening outside of the 4 small walls we call home.
I'm sure we have all be touched by the anguish and pain of this seemingly incessant turmoil. As we go about our daily life, we can still choose to be kind, we can choose to share our talent with other people, and we can only try our best to make wise choices in the face of adversity.
Our blog will continue to be a crafty lighthouse of inspiration. Thanks to the tremendous blogging team we have collected over numerous years, we are honoured to be a safe place for you to visit to enjoy their talents, and make your own kind of crafty magic in response. A big thanks to them and to you too!
Have a safe and Happy New Year, we'll see you on the other side with lots of good stuff planned for your enjoyment in 2018!!!
We very much look forward to doing it all again with you next year! Be on the alert, we start fast this year before we hit the tradeshow season....and you know what that means!!! ....shhhhhhhh.....not telling you yet....
Leandra


.png)
