Hi everyone, it's Liesbeth with you today, and I'm here to share with you my abstract, sploshy, glossy cards using a selection of stamps designed by Seth Apter!
With Seth´s beautiful stamp sets and the topic Splosh as a starting point in mind, I immediately thought about the contrast between the sturdy stamps (black ink) and very glossy paper. And to drip, trickle, drop and dribble using colourful alcohol inks, a perfect combination!
Doing these kind of techniques I can totally lose myself and make backgrounds for hours and hours, not able to stop, so wonderful and surprising to do! I just do and experiment, so at the end I have a big stack of beautiful coloured backgrounds. For these cards I picked out some nice parts and saved the rest for another use. I use lots of alcohol inks...please don't ask me what colours I used for a specific card... I really don't know. For these background techniques you need lights and brights; not too dark. The paper I use is Chromolux, 300 gr. Size A4. I also use blending solution and some golden transfer foil.
And of course this wonderful PaperArtsy stamps! ESA29 and ESA30. I see so many possibilities with these stamps! I see circles, swirls, fences, an antenna, crosses, targets, plinths and I even see grass, bushes and paths. And of course, those amazing words and texts. Love them!
Now lets start with the backgrounds and splashing. The first technique is the one I do most. You need to work quickly; the inks and blending solution dissipate quick. That's the reason it was a little difficult to shoot good pictures!
Drip several colours of alcohol ink in a nice mix of light and bright colours onto a craftsheet.
Drop some blending solution as well, not too little, as shown here.
Put your glossy paper in right away and press and move & turn it a bit. Lift the paper off the surface again... magic!
For a 'bokeh' effect: take the bottle of blending solution in your hand and through and splash some drops on the coloured paper.
Another technique: spread a large amount of blending solution on the paper using a blending tool and felt.
Drop different colours of alcohol ink, it will flow much more now. Interchange every now and then with blending solution till the paper is almost full or until you are satisfied.
When the ink and blending solution is almost dry it's nice to add some gold transfer foil on edges that are still a little wet.
The third technique is this: Hold the paper (here I used a smaller piece: A6) upright and drop the ink at the top and let it weep and flow downwards. Sometimes some blending solution is needed here.
Doing this technique, sometimes a landscape appears! So I made a sun with orange ink, a piece of felt and a circle stencil.
And the fourth technique:
The same vertical dropping, but in this case first spray the entire paper with blending solution. I put some in a mini-mister. Then quickly throw and slash some alcohol inks from a bigger distance (20-30 cm) and magic will happen. After drying it's great to spray a bit of blending solution again. Make sure you ventilate your room well and don't do this for too long.
And now the good old marbling technique: put some drops of alcohol inks and a droplet of blending solution onto the blending felt and start pounding. twist the blending tool a little after each time to change position.
Sometimes you need some new/more ink or blending solution. This needs some patience, keep going until you are satisfied.
Here I did some extras onto the marbled paper: I used PaperArtsy stencil PS040 (Kim Dellow), put it on the paper and added some more alcohol ink using the felt tool.
This is the result, I love it! Stained glass!
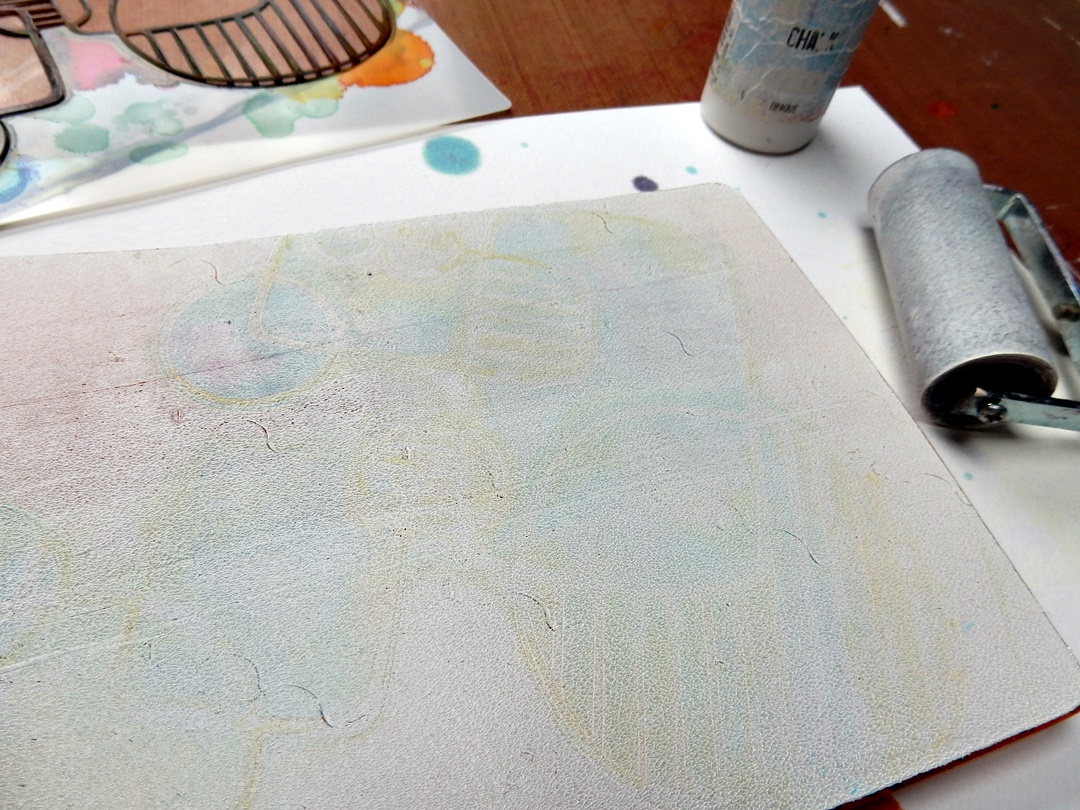
And now a bonus technique using the same stencil, a bit different. Roll out some light alcohol ink onto a gelli plate with a brayer.
Put the stencil on the gelli plate, the ink works as a glue. Now start dropping again, lots of colours of alcohol ink until you don't see the gelli plate anymore.
Leave the stencil on, let it dry for a long time, overnight for example.
Peel off the paper carefully and...magic again!
Here is the result of not being able to stop...a pile of wonderful coloured papers. Of course, it's also great to mix and combine the different techniques and there are so many more nice techniques. Now it's time to cut out some beautiful pieces and stamp!


I have chosen some nice parts from the papers and cut out different sizes. Using Tsukineko StazOn ink - Jet Black.
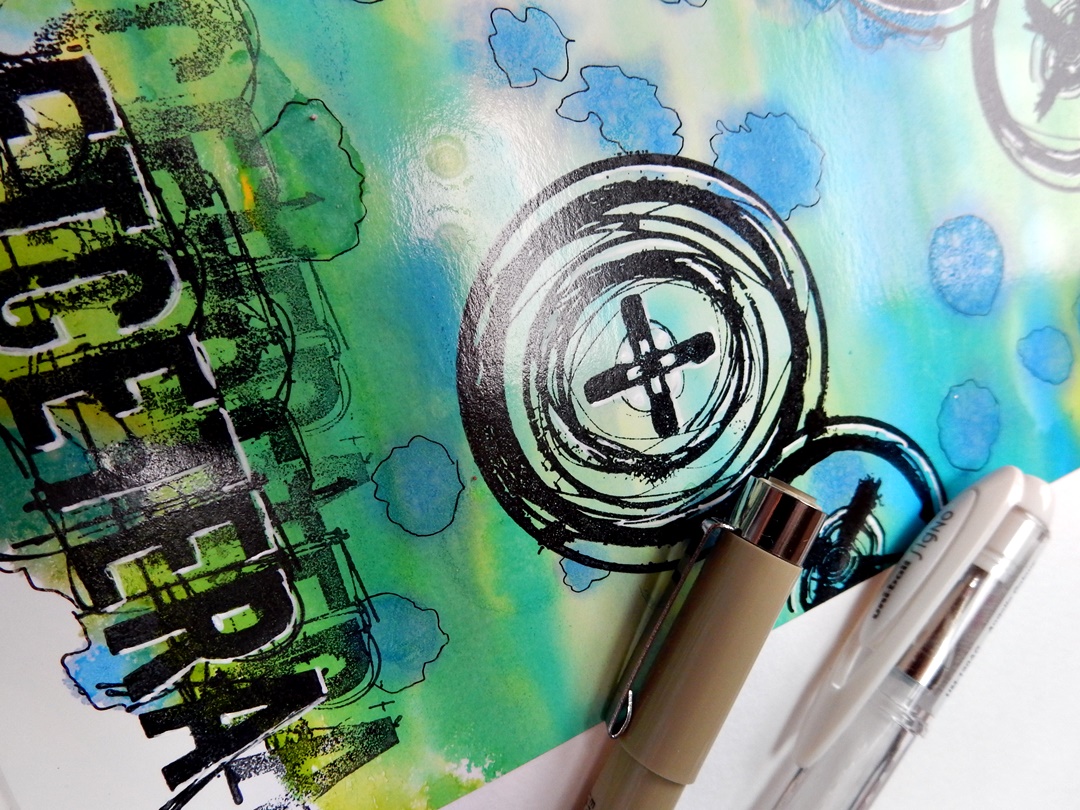
Stamping with the wonderful Seth Apter stamps, they are so perfect for this abstract cards. I stamped 'Etcetera' three times to create a shadow. The card is a Slimline (21 x 10 cm).
After stamping I drew some details with a white gel pen and a black fine-liner.
Here I coloured only half the card and left some white.
The landscape background. Here I masked pars of it and stamped a fence and some bushes. ;-)
I also drew grasses and plants and even a road and houses (See the finished card below).
Like I almost always do I finished the cards with some glitter glue (Stickles Diamond).
Some finished cards, matted on two colours of cardstock.

And here are the results: nine glossy abstract cards. First the gelli printed one: for the stamps I chose the same shape, fitting in the shape of the stencil. After that I masked the card here and there to stamp the numbers.
Two slimline cards.
'Stained glass' made with the stencil...this background needed just this beautiful sentiment! I outlined the stencil print with a black fine-liner.
A peaceful landscape. I used the big cross stamp laying at the bottom as bushes. Some white spots in the background became houses.
The other finished cards with the different and mixed splosh techniques.
A detail...


1 comment:
Please don't spray Alcohol Blending Solution even in well ventilated places. It contains resin that sticks to your lungs in patches that cannot be removed. Do it a lot and the patches join up...
Post a Comment