

Hi everyone, Nikki (a2a.craft) with you today to share a few ideas using Alison Bomber designed stamps.
This year on the blog, we are being given free reign to do a deep dive into one of the PaperArtsy product ranges. I am very happy to be using a couple of stamp sets from Alison's range - one from her last release of 2024 (the fabulous Winter Umbels from her botanical texture series) combined with one of her older curated quote sets (The Time Edition).

You can see already, my projects are not very 'Alison like'! - I love working with bright colours and geometric shapes.
I started off just making the wall panel on the left in the photo above - but as I had lots of 'bits' leftover I made a card to go with it.
It all started with gel plate prints and I'll show you how I created the pattern from these.


I love how Alison's recent stamp sets provide a combination of elements; focal points, ephemera, texture and words. Before Christmas I was visiting a friend who had a piece of art (in her cloakroom!) using this colour range. It really appealed to me, so I have used PaperArtsy colours to reflect this today.


As I often do I started with my gel plate and PaperArtsy Smoothy Card. I chose to work with three colours; PaperArtsy Fresco Acrylics in Gold (FF20), Butternut (FF02) and Cerise (FF136).

I used each colour on it's own but also combined them for some prints. I used the main Umbels stamp from PaperArtsy stamp set EAB44 (by Alison Bomber) to stamp off the painted gel plate giving me 2 prints in one go. I also used the stamp and brayered some paint onto it to create more backgrounds. The gold on black card is fabulous!

You can see how the Umbels image is dominant in some of my prints but just hinted at in others.
As usual once the gel plate is out, it is hard to stop but I knew I had more than enough, so it was time to create the pattern.


I had an idea of the pattern I wished to create. The pattern is overlapping circles which are built up with different colours.

Firstly I drew a circle using a compass - but you could draw around something or use a die or punch. My circle is 5 cm diameter. I drew a 5cm square around it.

The corner of this square is the centre of the overlapping circle - so I could now draw this one too. You can see above the pattern is created by repeating this.

I then used this idea on different colour backgrounds and fussy cut the pieces.

If you don't have a compass - just draw and measure a circle. Add lines for the horizontal and vertical centres and this will show you where the overlapping circle will sit. You can fussy cut the pieces and use as templates.

I glued the fussy cut pieces onto my drawn pattern sketch to help get them positioned correctly. Fussy cutting means there were going to be slight imperfections - but after the pen work, I don't think they are too visible.

For a matt layer I took some Smoothy Card and used Ranger Archival Ink in Watering Can to randomly stamp some of the texture, word and ephemera stamps.

I cut my border out of the gold paint stamped Umbels on black card. (I had to do it like this as by created background wasn't big enough for the wooden panel!)
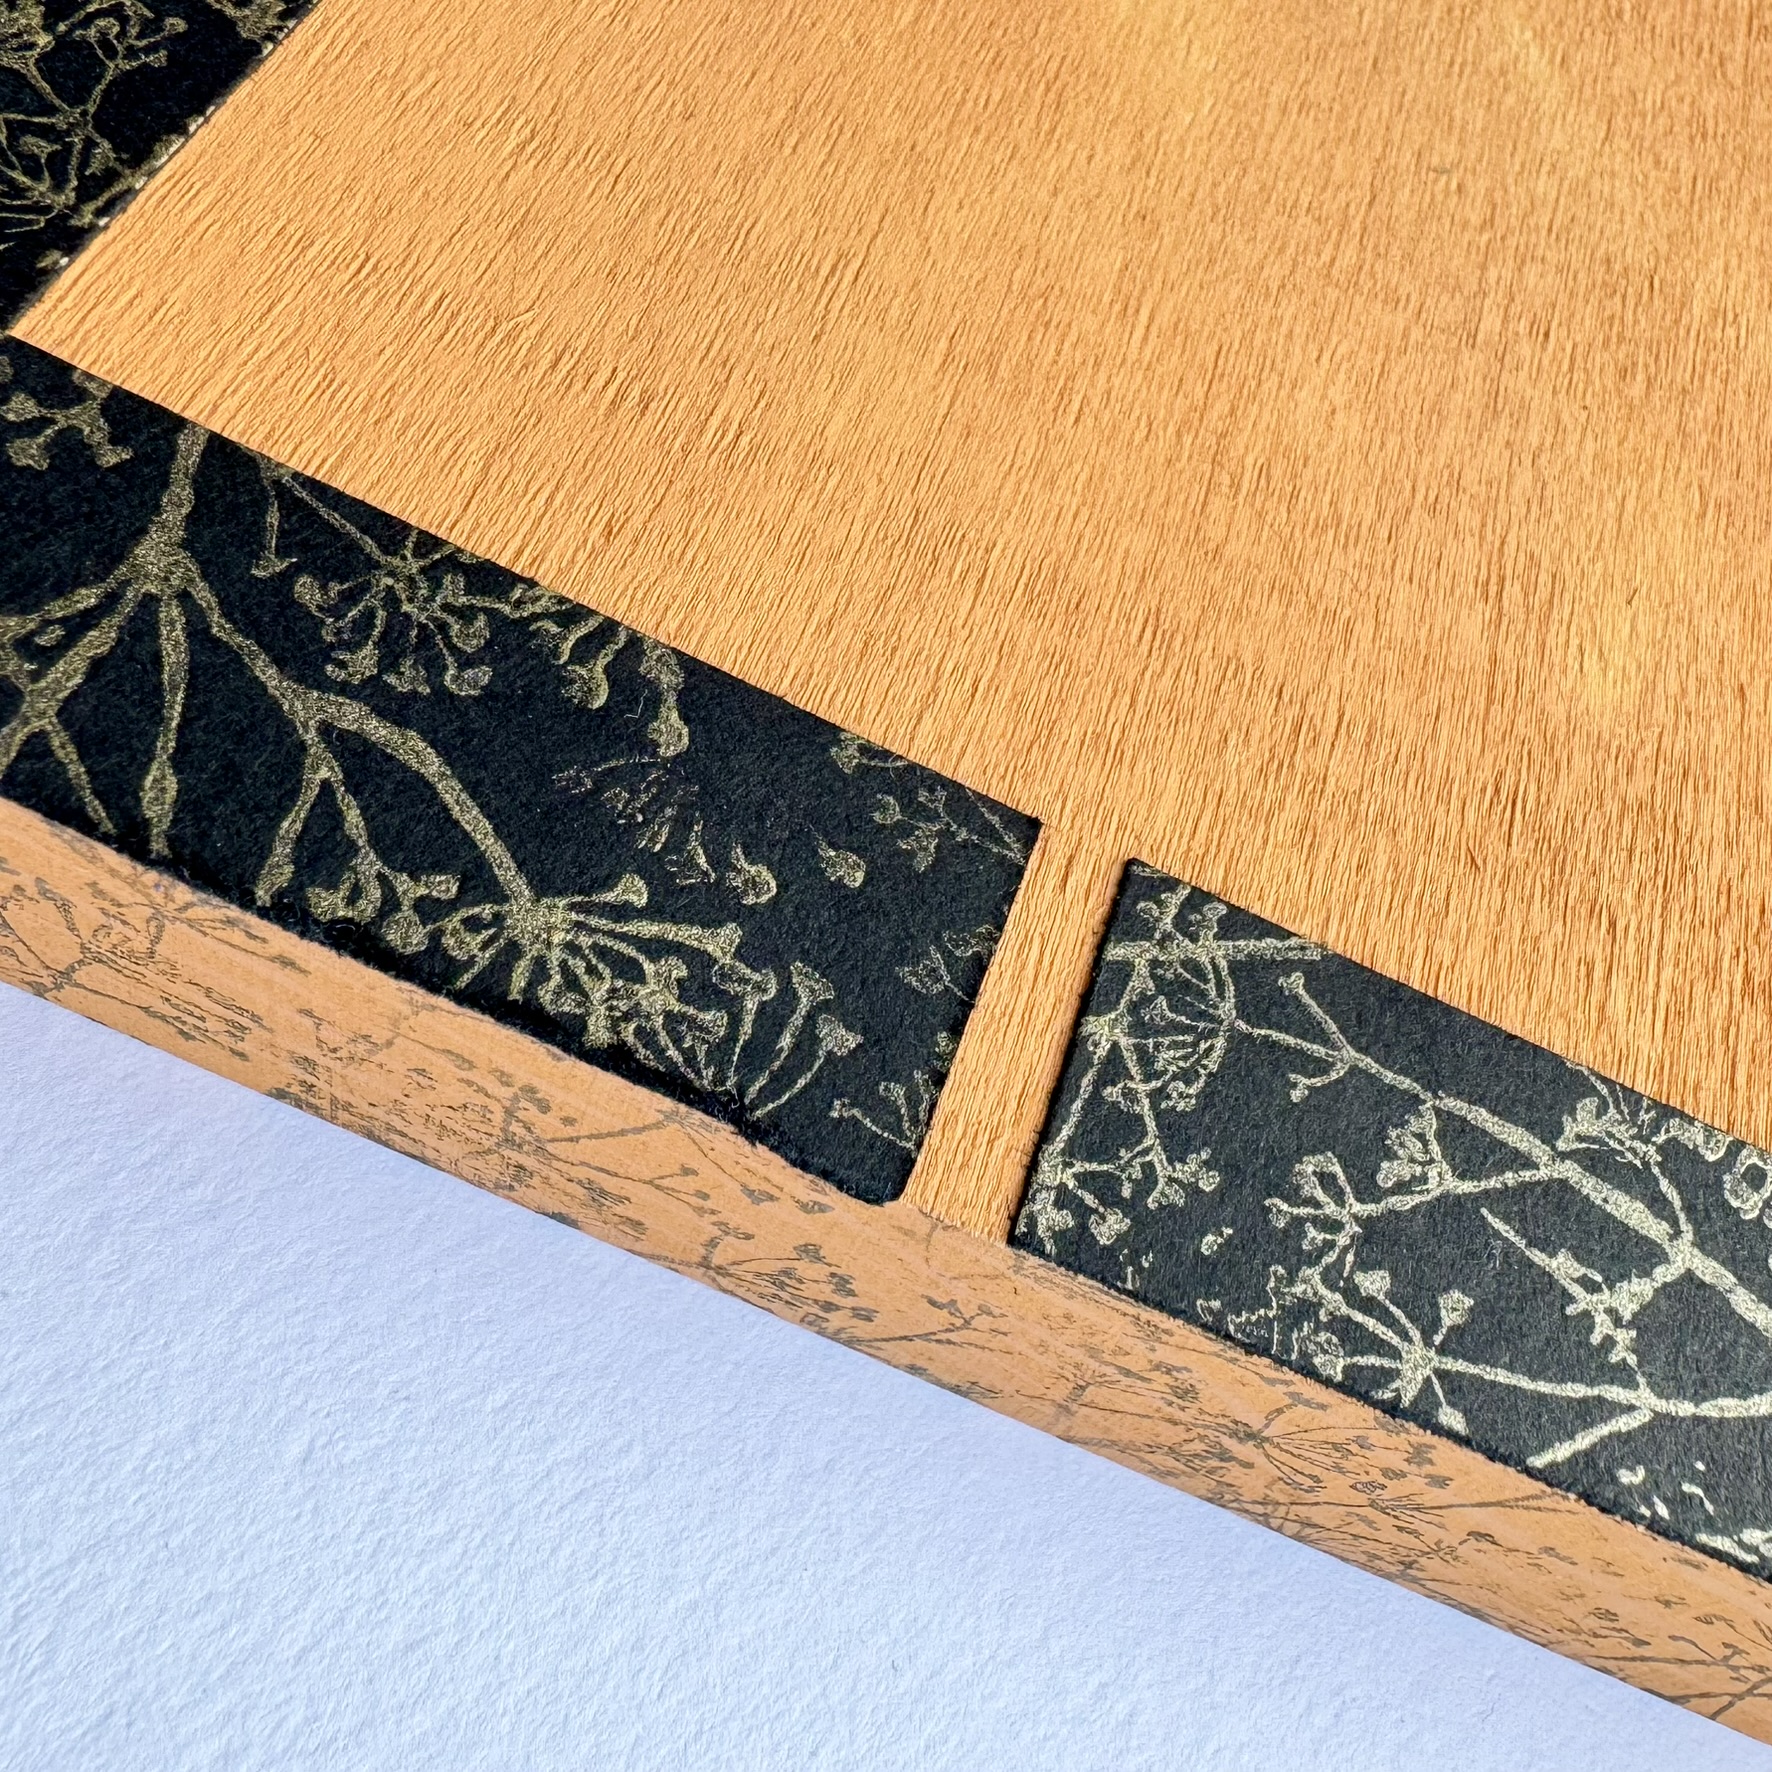
The base wooden panel is 6x6 inches. I painted this in PaperArtsy Fresco Acrylic in Butternut before stamping the Umbels on the visible edge.

The detail around the pattern elements is done with Posca Pens - firstly in black and then gold dots were added.
To finish I stamped one of the quotes from PaperArtsy stamp set (EAB17 - The Time Edition) by Alison Bomber.


With all my 'Umbels' backgrounds I had some left over so made the card to go with it.

Again you can see the Umbels in each of the squares below.

And another wonderful quote....


No comments:
Post a Comment