Friday, 27 September 2013

Happy Stampers craft show, Port Sunlight

Hello my lovely stamping enthusiasts...so this post was supposed to wing it's way to you on Wednesday night....but best plans and late nights...and mild panic meant that....well...I guess I am not superwoman after all....must send a memo to mr PA and the kids....although the piles of ironing, clumps of dust, and lack of food in the house probably means they knew that already.

I was emailing someone this week saying 'I wish I had one of those Tabatha noses'...you know Missy Bewitched....OH out of Darren's genie bottle....do you even remember that programme?? ...blimey I think it may have even been in black and white back in the day....well I reckon I have spent my whole life wishing for a Tabatha nose!!! ESP for the ironing bit....

I guess you can tell I am on the very extreme edge of insanity ... LOL

Not gonna lie, the last 2 weeks have been BONKERS! Not only was it the fabulous Ally Pally show last weekend ( and utterly fab-u-lous to see so many of our blog and twitty-er followers there) ...but I know it seems a zillion years ago...but we did just turn a whole TEN years old...and all the product releases throughout August has meant the numerous shops we supply have been chomping at the bit to get those items in stock ready for ...shhhh...C'mas....not allowed to say that word until October in my rule book....but of course the fantabulous shops are planning their classes thru to the end of the year, getting samples made and all that malarkey... So naturally they are ordering their socks off ...world wide! So it's been more than a bit busy at PA HQ !

Annnnyyyyhooooo

The purpose of this waffley post is to say, we are exhibiting at the Happy Stampers show tomorrow. It's at the gorgeously quaint Port Sunlight ( of Sunlight soap fame....Google it!) , Hulme Hall to be exact ....apparently my parents used to go dancing there back in the 60's when they were 'courting' ... And it's odd to think we go there twice a year now to exhibit at a craft show! Is that a generational déjà vu. LOL

We first exhibited ther 10 years ago, and as it's not far from where all my English relllies are from, it's a bit like coming home when I head up north. I have a huge fondness for this show.

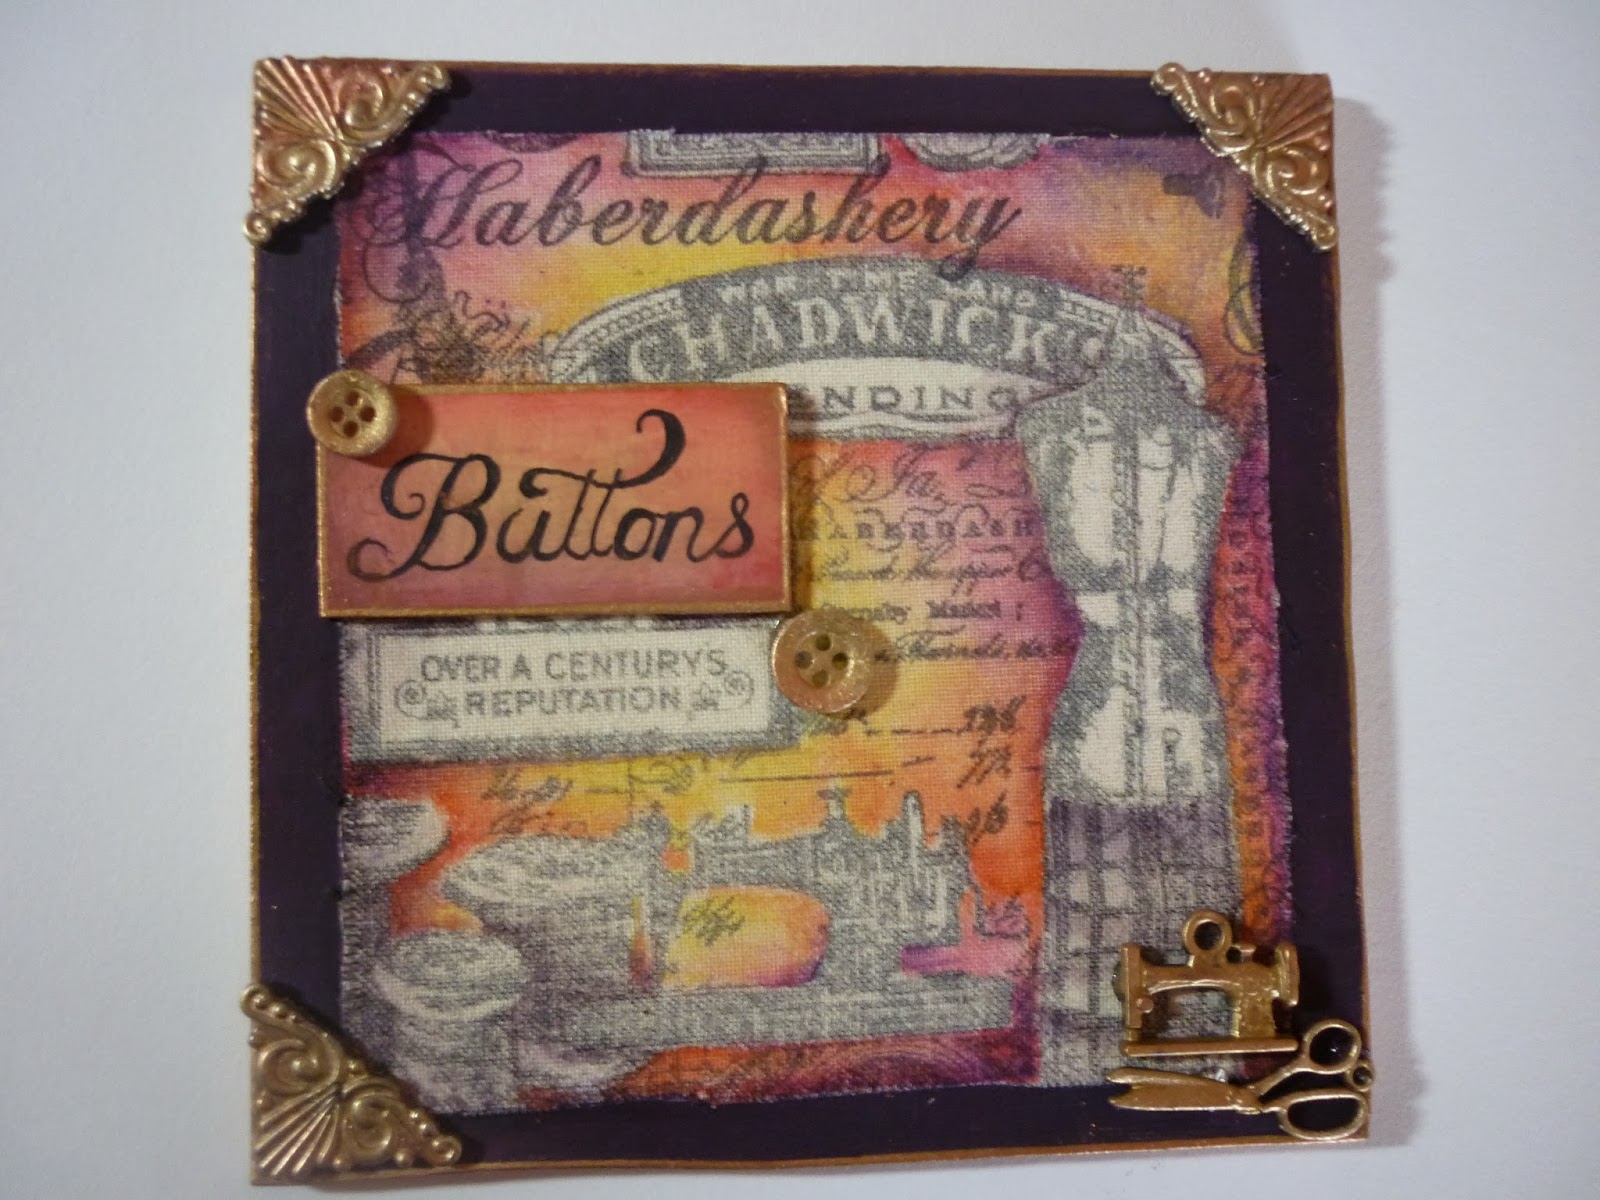
Right, so what have we got for you on the stand? Well, I am buzzing about the Anna Dabrowska (Finnabair) mechanicals range. It's like idea-ology only girlier, and cheaper - quite a lot cheaper! So it's a no brainer! Buy it, use it and buy some more! We also have the prima canvas journal covers. These have a fantastic resist puffy fabric cover, too cool. If you spritz with water, then paint with fresco...instant gorgeousness! Or use dye sprays, whatever works for you.

We also have a load of prima flowers, resin bellies (awesome with paint and treasure gold) wooden items for altering, journals, Bo Bunny journal binders and inserts, stamps (duh), wicked canvases of all shapes, sizes and thicknesses...Treasure Gold metallic wax...and masses of new stencils, Grunge paste....

OMG almost forgot about he NEW FRESCO PAINTS!! The last of them arrived into HQ this week, and we managed to get limited numbers ready for the show. YAY !!!! Tango replaces Smoked Paprika, it's slightly higher coverage, and BRIGHTER!

Pea Coat has been tweaked, it's darker, opaque, (new is shown on right)

The autumnal families have been revamped. Caramel is new, like an opaque pumpkin Soup. A lovely ochre shade. Toffee is a semi, and a lovely warm brown tone.

This is how Pea Coat fits into its family.

Autumn Fire is back and this is the existing family it fits into.

Our brights have got some oomph now. Yellow Sub , wicked sunshine yellow, and Tango , proper orange, are perfect for layering, and adding to existing shades to create some cool new ones. For example, yellow sub is great into any green to create a more olive toned green...I love it!

We now have 2 pink families....here is the brighter ones. New are Candy Floss, Orchid was in our first release, was discontinued, and now returns with Spanish mulberry! a fab plum tone pink. Bound to be very popular.

These are the more vintage pinks. Blush is new, the others are all existing.

And my faves, the steely blues. Antarctic, lake Wanaka ( a lake in New Zealand that can look this colour depending on the cloud cover overhead...a chalky blue) ... You've probably seen similar on lord of the Rings films...., and Space Cadet is wicked. A must have!

BY THE WAY Wanaka is pronounced Wan-nack-haa, 3 syllables, even emphasis on each. Wa-na-ka. Got it? LOl

Right, I need to get this info out to you. Enough waffle. Excuse any typos....seeing double now ... If we don't see you tomorrow, our next show is Stamp Magic in Doncaster , oct 20th.

Take care, and get stamping! Xx

Leandra


Tuesday, 24 September 2013

Liz Borer Project #3 ....


Today I will use the third piece of fabric from the first day to make something quite different. The frame is from a well known Swedish shop, it has a very deep centre for the picture. I painted this initially with Nougat to start with but things changed as the project went along. I find that it is best to paint one coat of paint onto wood surfaces, dry and sand well before a second coat. This results in a nice smooth surface. I carefully cut out the centre of the fabric panel and adhered the panel to the front of the frame with book binding glue and trimmed away any excess fabric.
 I then started painting the fabric using Mermaid. Next I painted random areas being careful not to paint over the stamped lines. I then mixed Honey Dew and Hey Pesto to paint other areas.
 I then used yellow and orange mixed with a little Matte Glaze (to thin the colour and make it more transparent ). These colours can be painted over stamped lines because of their transparency. I have included a picture of my paint swatch showing the colours that I used .


The next colours are Blood Orange and Eggplant. I kept adding colours randomly, blending them together until I liked the result. There are areas that are not painted where  I have stamped cards etc. from HP1212.


 Next the face fromLPC013 was stamped onto white card. The background was painted using Mermaid and a very light wash of colour was painted onto her face. 


 I started adding colours from my colour palette around the face starting with yellow on the right and working through orange, red and purple round to the left. 

 I added a wash of yellow to the adornments around her head and then some orange. I then stuck on some pearls and sparkles.  

I realised that the cream paint did not add to the design and painted the sides and the centre aperture with Mermaid. I had a piece of tape with jewels attached which I also painted with Mermaid. When dry it was stuck to the top of the aperture. 

I added some black lace to the bottom of the picture and trimmed it to the size of the aperture. Using three layers of foam board on the back of the picture brought it forward in the frame where it was stuck in place. 
I came across this very large button in my stash which I painted with Mermaid. The surface of the button is concave {rather difficult to stamp}, so I stamped on tissue paper and adhered this to the button with matt medium. 
I washed some off the red paint around the edge and then some orange then added a little White Fire Treasure Gold. I took an artificial flower and pulled it apart. Next I washed a little Blood Orange around the edge of the petals (later I felt that there was too much pink and washed some of the Orange colour on as well ). Using some spider fabric I cut some pieces about 2 inches by 4 inches, cut around the top to curve it like a petal and tied nearer the bottom with thread to gather the fabric. I then stuck the flower petals onto the back of the button and then added the spider petals trimming as needed . 

The mannequin is cut from card using a Tim Holtz die which I then embossed. I painted it using Little Black Dress, then rubbed Treasure Gold over the raised areas. Next I made the skirt from spider fabric which was tied with thread as shown to gather it. I painted some of the remaining petals from the flower as before and stuck both pieces onto the mannequin. 

The sides of the frame were painted using colours from the palette which were swiped over using cut and dry foam. I started with red then purple. I then went back using a little Mermaid and then a little White Fire Treasure Gold. I realised that without some orange this looked odd and so I added a little orange . 


To finish I added some lace to the frame which I had painted with White Fire Treasure Gold,  and other metal embellishments also coloured with white fir and then aquamarine treasure gold. I added some little flowers, faux pearls and beads to finish the project.                                                                 


This takes us to the little plaque from yesterday which was stuck onto some Greyboard and painted as above. The edges are painted with a mix of Claret and Eggplant. The little sign I wrote myself and a few embellishments were added .
                 
That’s all for now – see you next month .            

Leandra Says: What a wonderful 1st week of projects Liz, it has been a pleasure to see you share them with us. This project depicts your style beautifully. Love it!

Gillian Says: Oooo this is beautiful Liz, love the addition of the warmer colours, really bring the project alive. One of my fav LP images too. Treasure Gold embellies add that real finishing detail.

Monday, 23 September 2013

Liz Borer Project #2 .....


"When I started this project I wasn’t quite sure where it was going . However I remembered visiting a street in Lisbon where a lot of the shops sell only buttons or lace (a sort of haberdashery paradise !) This set me off making shrink plastic buttons". 

I die cut some circles of shrink plastic and also some flower shapes and lightly sanded the back. I have coloured the shrink plastic with the same coloured paints or with coloured pencils. Punch holes in the centre of the buttons before shrinking them. It was great fun shrinking the buttons – I got a bit carried away, particularly the floral shaped ones because they curled up like buds and then opened like a real flower.
 

I used the JOFY13 flowers which I cut out after stamping, a large flower from ELB01 also cut out, Mini 20  pattern on die cut circles, JOFY flower on die cut circles.

The clock from HP1102 on flower shaped die cuts and the spikey flowers on the circles. I also simply stamped the long run of buttons, bodice and scissors from HP1213 and the dressmakers dummy and scissors from HP1215 and the sewing machine from HP1214


When the ink was dry I cut out these pieces but didn’t colour them. When the were all made I die cut some tags out of white card and stamped and embossed them with frames from HP1214. The tags were punched and eyelets put in. I added some thread to the buttons and stuck them onto the tags, which were then all put onto a ring.


I made a cover for the button book  with a scrap of the chair fabric, the shrunken sewing machine and one flower.
This all started out with making a rag doll. I’m not going to work through that here. I have given the patterns to Leandra if you want to make her. The patterns are drawn on A4 paper so that if printed on A4 paper they will be the correct size. However I will just say that the easiest way to make the doll is to pin two pieces of fabric together and draw round the patterns. You can then just sew around the lines leaving the bottom of the torso, the top of the legs and  a space in the arm open for  stuffing. 
{Leandra says: the pattern is available here, just click on the link, and then print it out on A4 paper}
 
The hair is made with wool wrapped around the head. I used a thick variegated wool but any wool will do. Stick hat pins around the head and wind the wool around the pins criss- crossing the back of the head. I found the I needed two or three loops per pin. Then add more pins at the back and wind around them to form a bun. Before removing the pins stitch the loops in place sewing up from the head, catching the loops, and then back to the head.


The hat is made from one of the stamped pieces of fabric from yesterday. It is decorated with a Hessian flower from my stash and one of the shrink plastic buttons. Hat pins are also used as they keep the hat in place. The boots are made from black felt and are sewn together with blanket stitch.
                                                                    

She has a dress made from plum coloured fabric trimmed with black lace.


I then used more of the stamped fabric to make her an apron which was decorated with some of the buttons .   


One of the buttons was made using the clock from HP1102 and this was sewn to the bib of the apron . 


Here is another – large – button on her apron . 


There is also a plaque saying Buttons which I will explain tomorrow .

So finally here is the whole project – a Button Lady to show off the lovely buttons I made.


I do hope you have enjoyed tonights project, join me again tomorrow night.

Leandra Says: Wow Liz, what a fabulous project. Beautifully executed! I adore the buttons, and can see how much fun they are to make for so many other situations too!! I love your fabric, it must have been so templting to colour in everything, but the deep purple, and stamped, plain cream fabric allow the buttons to accent and pull it all together perfectly! An absolute delight of a project!


Gillian Says: Liz this is just wonderful project, all the different elements have such a vintage/feminine feel to them. Love how it looks all together. Bravo.